Page 89 of 461
Replacing front parking lamp/turn signal/sidemarker bulbs
1. Make sure that the headlamp control is in the off position and open
the hood.
2. Remove the pushpin that holds
the air deflector/protective cover
from the upper inboard corner of
the lamp.
3. Loosen the three retaining bolts
(two at top of lamp, one at lower
inboard corner).
4. Once the three retaining bolts
have been removed, slide the
headlamp assembly forward,
disconnecting the two snap attachments at the fender.
5. Remove the bulb and socket by
turning it counterclockwise, then
pull it straight out.
6. Pull the bulb straight out of the
socket.
Install the new bulb(s) in reverse order.
Replacing tail/brake/turn signal/backup lamp bulbs
1. Make sure the headlamp control
is in the off position.
2. Open the tailgate to expose the
lamp assembly and remove the two
bolts from the tail lamp assembly.
Lights
89
2011 F-150(f12)
Owners Guide, 1st Printing
USA(fus)
Page 90 of 461

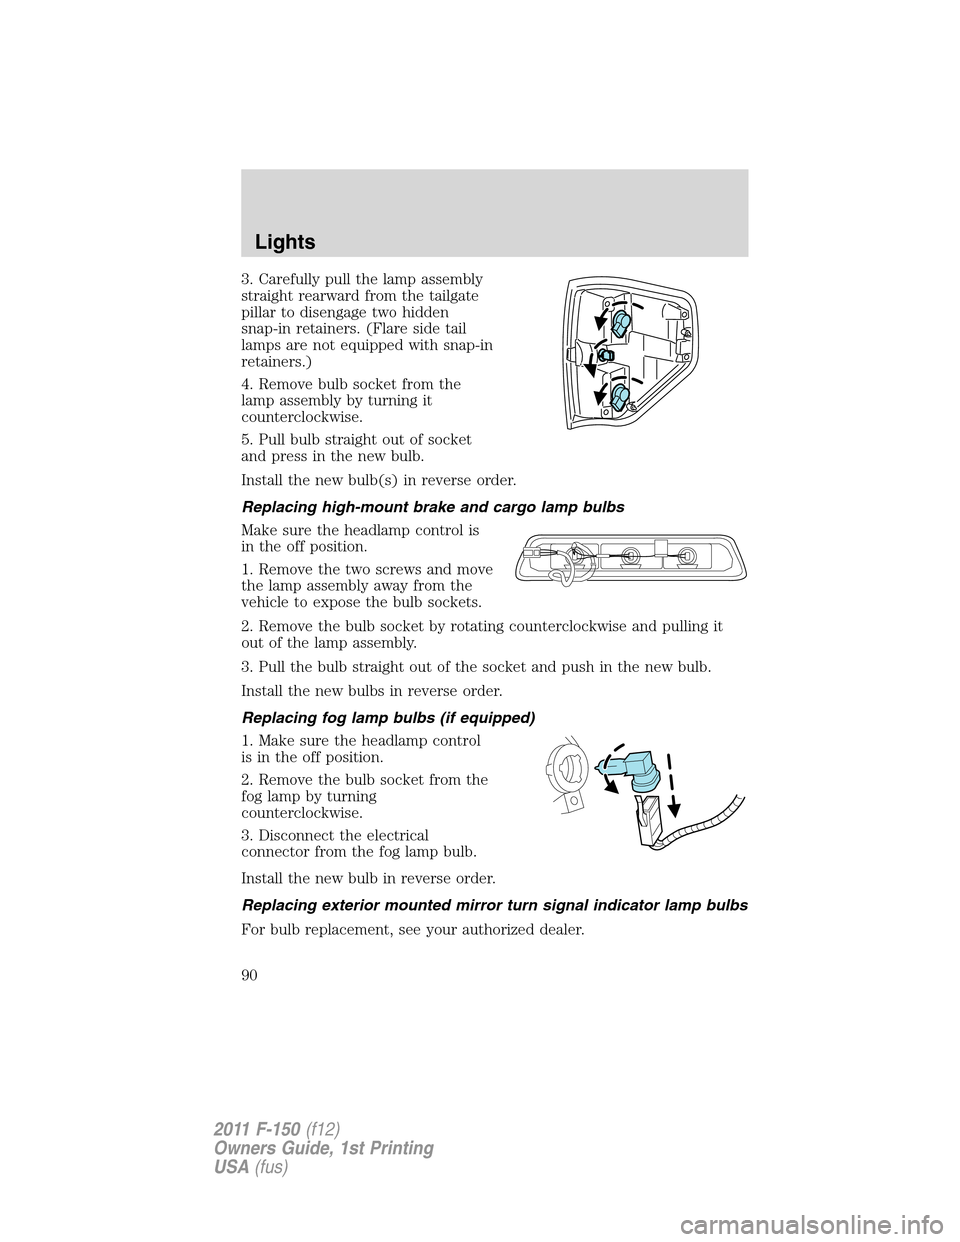
3. Carefully pull the lamp assembly
straight rearward from the tailgate
pillar to disengage two hidden
snap-in retainers. (Flare side tail
lamps are not equipped with snap-in
retainers.)
4. Remove bulb socket from the
lamp assembly by turning it
counterclockwise.
5. Pull bulb straight out of socket
and press in the new bulb.
Install the new bulb(s) in reverse order.
Replacing high-mount brake and cargo lamp bulbs
Make sure the headlamp control is
in the off position.
1. Remove the two screws and move
the lamp assembly away from the
vehicle to expose the bulb sockets.
2. Remove the bulb socket by rotating counterclockwise and pulling it
out of the lamp assembly.
3. Pull the bulb straight out of the socket and push in the new bulb.
Install the new bulbs in reverse order.
Replacing fog lamp bulbs (if equipped)
1. Make sure the headlamp control
is in the off position.
2. Remove the bulb socket from the
fog lamp by turning
counterclockwise.
3. Disconnect the electrical
connector from the fog lamp bulb.
Install the new bulb in reverse order.
Replacing exterior mounted mirror turn signal indicator lamp bulbs
For bulb replacement, see your authorized dealer.
Lights
90
2011 F-150(f12)
Owners Guide, 1st Printing
USA(fus)
Page 91 of 461
Replacing license plate lamp bulbs
The license plate bulbs are located
behind the rear bumper. To change
the license plate lamp bulbs:
1. Reach behind the rear bumper to
locate the bulb.
2. Twist the bulb socket
counterclockwise and carefully pull
to remove it from the lamp
assembly.
3. Pull out the old bulb from the
socket and push in the new bulb.
4. Install the bulb socket in lamp assembly by turning it clockwise.
Lights
91
2011 F-150(f12)
Owners Guide, 1st Printing
USA(fus)
Page 93 of 461

Windshield washer:Press the end
of the stalk:
•briefly: causes a single swipe of
the wipers without washer fluid.
•a quick press and hold: the
wipers will swipe three times with
washer fluid.
•a long press and hold: the wipers and washer fluid will be activated for
up to ten seconds.
Note:Do not operate the washer when the washer reservoir is empty.
This may cause the washer pump to overheat. Check the washer fluid
level frequently. Do not operate the wipers when the windshield is dry.
This may scratch the glass, damage the wiper blades and cause the wiper
motor to burn out. Before operating the wiper on a dry windshield,
always use the windshield washer. In freezing weather, be sure the wiper
blades are not frozen to the windshield before operating the wipers.
Courtesy wipe feature:One extra wipe will occur a few seconds after
washing the front window to clear any excess washer fluid remaining on
the windshield. This feature can be enabled/disabled through the
message center. Refer toMessage centerin theInstrument Cluster
chapter.
Windshield wiper rainlamp feature (if equipped with autolamp)
When the windshield wipers are turned on during daylight, and the
headlamp control is in the autolamp position, the exterior lamps will turn
on after a brief delay and will remain on until the wipers are turned off.
TILT OR TILT/TELESCOPE STEERING COLUMN (IF EQUIPPED)
To adjust the steering column:
1. Pull the lever down to unlock the
steering column.
2. Adjust the steering wheel up or
down.
3. If also equipped with the
telescope feature, adjust the
steering wheel in or out.
4. While holding the steering wheel
in place, pull the lever up to its
original position to lock the steering column.
o
Driver Controls
93
2011 F-150(f12)
Owners Guide, 1st Printing
USA(fus)
Page 96 of 461

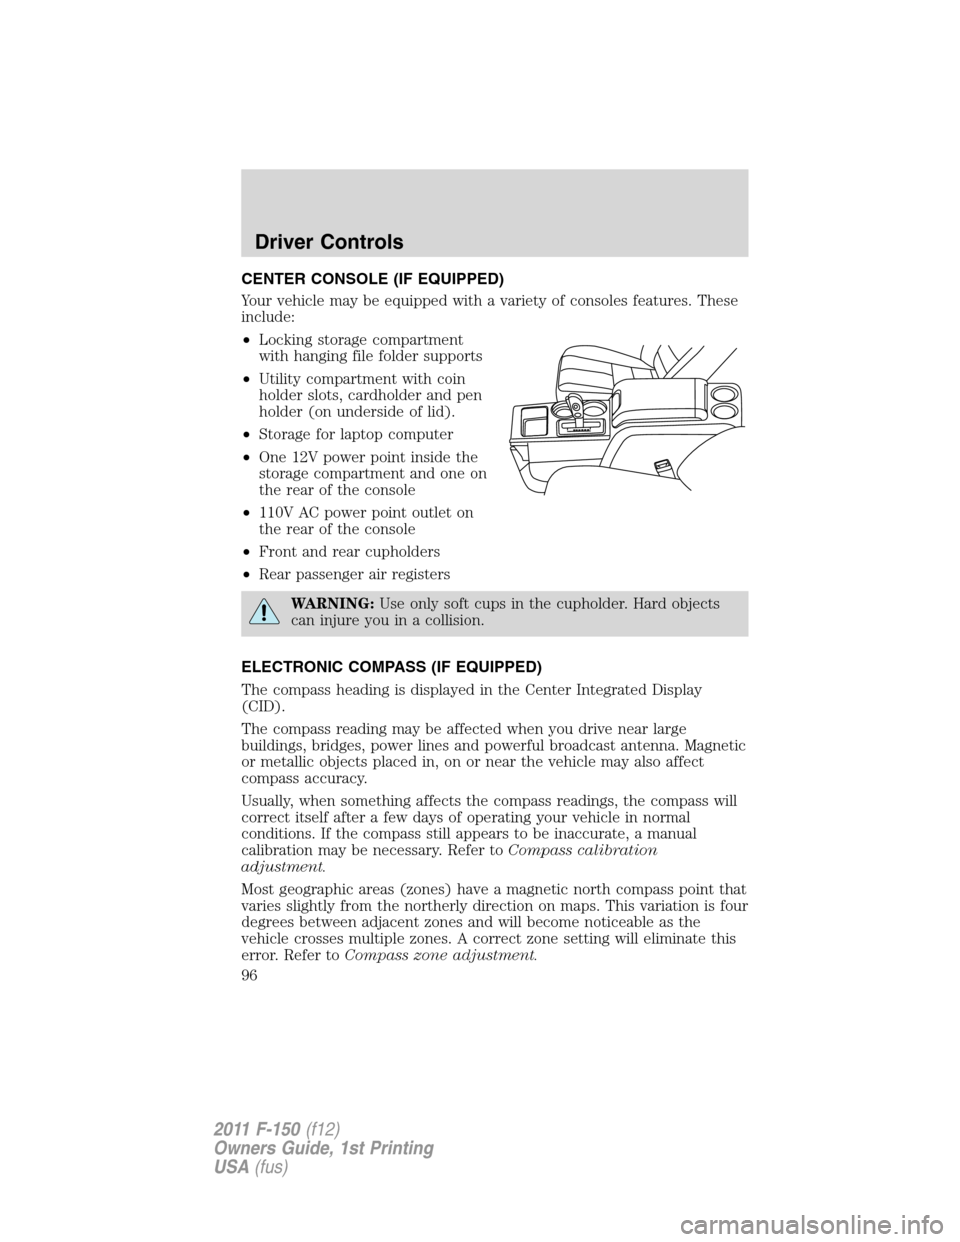
CENTER CONSOLE (IF EQUIPPED)
Your vehicle may be equipped with a variety of consoles features. These
include:
•Locking storage compartment
with hanging file folder supports
•Utility compartment with coin
holder slots, cardholder and pen
holder (on underside of lid).
•Storage for laptop computer
•One 12V power point inside the
storage compartment and one on
the rear of the console
•110V AC power point outlet on
the rear of the console
•Front and rear cupholders
•Rear passenger air registers
WARNING:Use only soft cups in the cupholder. Hard objects
can injure you in a collision.
ELECTRONIC COMPASS (IF EQUIPPED)
The compass heading is displayed in the Center Integrated Display
(CID).
The compass reading may be affected when you drive near large
buildings, bridges, power lines and powerful broadcast antenna. Magnetic
or metallic objects placed in, on or near the vehicle may also affect
compass accuracy.
Usually, when something affects the compass readings, the compass will
correct itself after a few days of operating your vehicle in normal
conditions. If the compass still appears to be inaccurate, a manual
calibration may be necessary. Refer toCompass calibration
adjustment.
Most geographic areas (zones) have a magnetic north compass point that
varies slightly from the northerly direction on maps. This variation is four
degrees between adjacent zones and will become noticeable as the
vehicle crosses multiple zones. A correct zone setting will eliminate this
error. Refer toCompass zone adjustment.
Driver Controls
96
2011 F-150(f12)
Owners Guide, 1st Printing
USA(fus)
Page 102 of 461

Bounce-back override (front windows only)
To override bounce-back, within two seconds after reaching bounce-back
position, if the switch is moved from the neutral to the express-up
positionthe window will travel up with no bounce-back protection.
If the switch is released before the window reaches fully closed position,
the window will stop. For example: bounce-back override can be used to
overcome the resistance of ice on the window or seals.
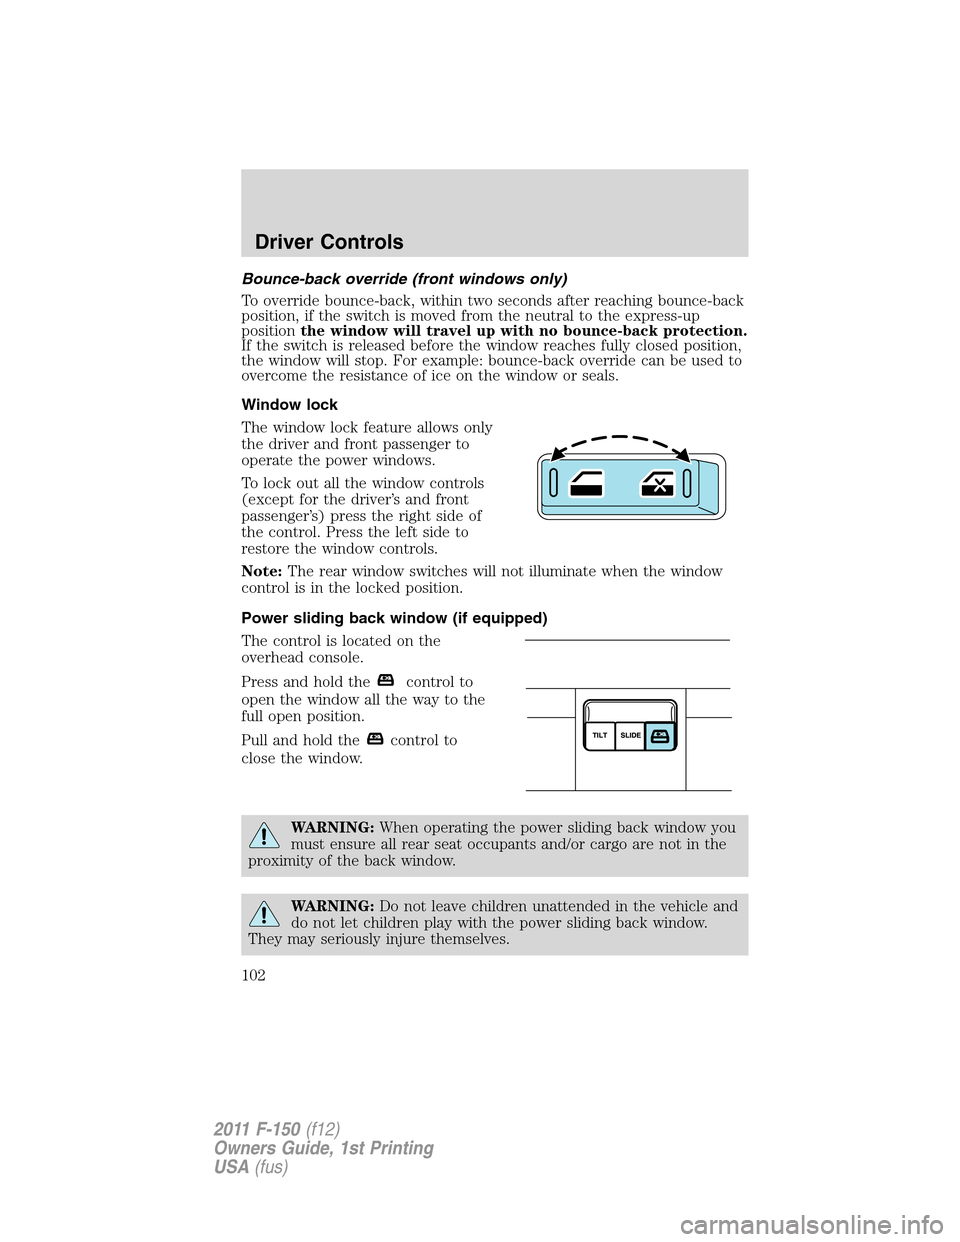
Window lock
The window lock feature allows only
the driver and front passenger to
operate the power windows.
To lock out all the window controls
(except for the driver’s and front
passenger’s) press the right side of
the control. Press the left side to
restore the window controls.
Note:The rear window switches will not illuminate when the window
control is in the locked position.
Power sliding back window (if equipped)
The control is located on the
overhead console.
Press and hold the
control to
open the window all the way to the
full open position.
Pull and hold the
control to
close the window.
WARNING:When operating the power sliding back window you
must ensure all rear seat occupants and/or cargo are not in the
proximity of the back window.
WARNING:Do not leave children unattended in the vehicle and
do not let children play with the power sliding back window.
They may seriously injure themselves.
Driver Controls
102
2011 F-150(f12)
Owners Guide, 1st Printing
USA(fus)
Page 103 of 461

Accessory delay (if equipped)
With accessory delay, the window switches may be used for up to
10 minutes after the ignition switch is turned to the off position or until
any door is opened.
INTERIOR MIRROR
The interior rear view mirror has two pivot points on the support arm
which lets you adjust the mirror up or down and from side to side.
WARNING:Do not adjust the mirror while the vehicle is in
motion.
Automatic dimming interior rear view mirror (if equipped)
The interior rear view mirror has an auto-dimming function (optional on
the driver’s side exterior mirror). The electronic day/night mirror will
change from the normal (high reflective) state to the non-glare
(darkened) state when bright lights (glare) reach the interior mirror.
When the interior mirror detects bright light from behind the vehicle, the
interior rear view mirror and the driver’s side exterior mirror (if
equipped) will automatically adjust (darken) to minimize glare.
The mirrors will automatically return to the normal state whenever the
vehicle is placed in R (Reverse) to ensure a bright clear view when
backing up.
Do not block the sensors on the front and back of the interior
rear view mirror since this may impair proper mirror
performance.
Note:A rear center passenger and/or raised rear center headrest (if
equipped) may also block the light from reaching the sensor.
Do not clean the housing or glass of any mirror with harsh
abrasives, fuel or other petroleum-based cleaning products.
Note:If equipped with a rearview camera system, a video image will
display in the mirror or the navigation system display (if equipped) when
the vehicle is put in R (Reverse). As you shift into any other gear from R
(Reverse), the image will remain for a few seconds and then turn off.
Refer toRearview camera systemin theDrivingchapter.
Driver Controls
103
2011 F-150(f12)
Owners Guide, 1st Printing
USA(fus)
Page 104 of 461

EXTERIOR MIRRORS
Power side view mirrors (if equipped)
WARNING:Do not adjust the mirror while the vehicle is in
motion.
To adjust your mirrors:
1. Rotate the control clockwise to
adjust the right mirror and rotate
the control counterclockwise to
adjust the left mirror.
2. Move the control in the direction
you wish to tilt the mirror.
3. Return to the center position to lock mirrors in place.
Memory feature (if equipped)
The power side view mirror positions are saved when doing a memory
set function and can be recalled along with the vehicle personality
features when a memory position is selected through the remote entry
transmitter, keyless entry keypad or memory switch on the driver’s seat.
Refer toMemory seats and mirrorsin theSeating and Safety
Restraintschapter.
Automatic dimming feature (if equipped)
The driver’s side view mirror has an auto-dimming function. For more
information, refer toAutomatic dimming interior rear view mirrorin
this chapter.
Driver Controls
104
2011 F-150(f12)
Owners Guide, 1st Printing
USA(fus)