Page 370 of 461
IDENTIFYING COMPONENTS IN THE ENGINE COMPARTMENT
3.7L V6 engine
1. Windshield washer fluid reservoir
2. Battery
3. Engine oil dipstick (out of view)
4. Brake fluid reservoir
5. Engine coolant reservoir
6. Air filter assembly
7. Engine oil filler cap (out of view)
8. Power distribution box
12345
687
Maintenance and Specifications
370
2011 F-150(f12)
Owners Guide, 1st Printing
USA(fus)
Page 371 of 461
5.0L V8 engine
1. Windshield washer fluid reservoir
2. Battery
3. Engine oil filler cap
4. Engine oil dipstick
5. Brake fluid reservoir
6. Engine coolant reservoir
7. Air filter assembly
8. Power distribution box
123
87
456
Maintenance and Specifications
371
2011 F-150(f12)
Owners Guide, 1st Printing
USA(fus)
Page 372 of 461
6.2L V8 engine
1. Windshield washer fluid reservoir
2. Engine oil dipstick
3. Brake fluid reservoir
4. Engine coolant reservoir
5. Air filter assembly
6. Power steering fluid reservoir
7. Power distribution box
8. Engine oil filler cap
9. Battery
1234
98657
Maintenance and Specifications
372
2011 F-150(f12)
Owners Guide, 1st Printing
USA(fus)
Page 373 of 461
3.5L V6 EcoBoost™ engine
1. Windshield washer fluid reservoir
2. Battery
3. Engine oil filler cap
4. Engine oil dipstick
5. Brake fluid reservoir
6. Engine coolant reservoir
7. Air filter assembly
8. Power distribution box
12356
78
4
Maintenance and Specifications
373
2011 F-150(f12)
Owners Guide, 1st Printing
USA(fus)
Page 375 of 461

To prolong the life of the wiper blades, it is highly recommended to
scrape off the ice on the windshield before turning on the wipers. The
layer of ice has many sharp edges and can damage the micro edge of the
wiper rubber element.
ENGINE OIL
Checking the engine oil
Refer to thescheduled maintenance informationfor the appropriate
intervals for checking the engine oil.
1. Make sure the vehicle is on level ground.
2. Turn the engine off and wait 15 minutes for the oil to drain into the
oil pan.
3. Set the parking brake and ensure the gearshift is securely latched in P
(Park).
4. Open the hood. Protect yourself from engine heat.
5. Locate and carefully remove the
engine oil level dipstick. See
Identifying components in the
engine compartmentin this
chapter for location of dipstick.
6. Wipe the dipstick clean. Insert the dipstick fully, then remove it again.
•If the oil level isbetween the lower and upper holes or between
the MIN and MAX marks (depending on application),the oil
level is acceptable.DO NOT ADD OIL.
•If the oil level is below the lower hole or the MIN mark, add enough
oil to raise the level within the lower and upper holes or within the
MIN-MAX range.
•Oil levels above the upper hole or the MAX mark may cause engine
damage. Some oil must be removed from the engine by an authorized
dealer.
7. Put the dipstick back in and ensure it is fully seated.
Adding engine oil
1. Check the engine oil. For instructions, refer toChecking the engine
oilin this chapter.
Maintenance and Specifications
375
2011 F-150(f12)
Owners Guide, 1st Printing
USA(fus)
Page 376 of 461

2. If the engine oil level is not within the normal range, add only certified
engine oil of the recommended viscosity. Remove the engine oil filler cap
and use a funnel to pour the engine oil into the opening.
3. Recheck the engine oil level. Make sure the oil level is not above the
normal operating range on the engine oil level dipstick.
4. Install the dipstick and ensure it is fully seated.
5. Fully install the engine oil filler cap by turning the filler cap clockwise
1/4 of a turn until three clicks are heard or until the cap is fully seated.
To avoid possible oil loss, DO NOT operate the vehicle with the
engine oil level dipstick and/or the engine oil filler cap removed.
Engine oil and filter recommendations
3.7L V6, 5.0L V8, and 6.2L V8 engines
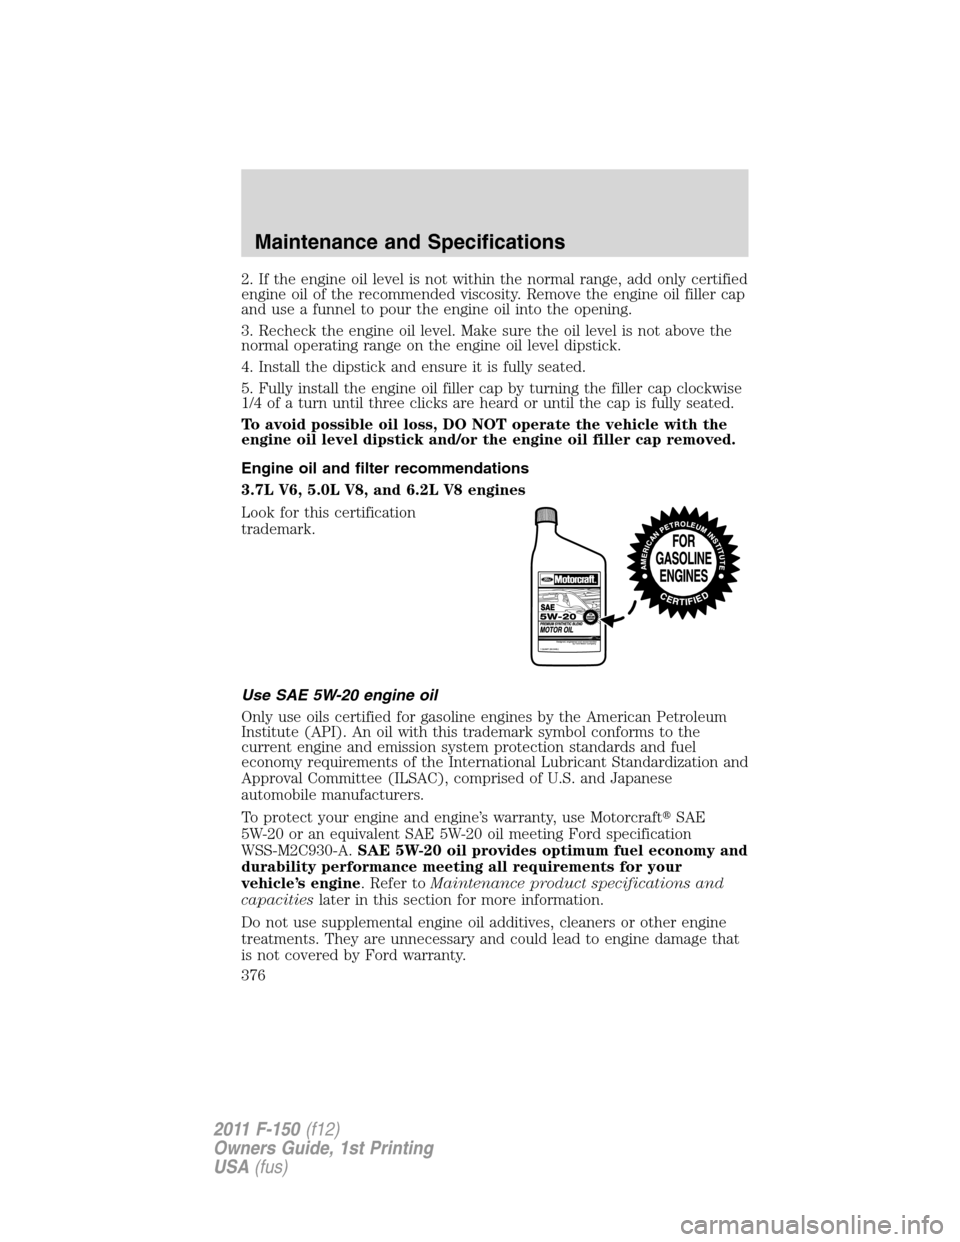
Look for this certification
trademark.
Use SAE 5W-20 engine oil
Only use oils certified for gasoline engines by the American Petroleum
Institute (API). An oil with this trademark symbol conforms to the
current engine and emission system protection standards and fuel
economy requirements of the International Lubricant Standardization and
Approval Committee (ILSAC), comprised of U.S. and Japanese
automobile manufacturers.
To protect your engine and engine’s warranty, use Motorcraft�SAE
5W-20 or an equivalent SAE 5W-20 oil meeting Ford specification
WSS-M2C930-A.SAE 5W-20 oil provides optimum fuel economy and
durability performance meeting all requirements for your
vehicle’s engine. Refer toMaintenance product specifications and
capacitieslater in this section for more information.
Do not use supplemental engine oil additives, cleaners or other engine
treatments. They are unnecessary and could lead to engine damage that
is not covered by Ford warranty.
Maintenance and Specifications
376
2011 F-150(f12)
Owners Guide, 1st Printing
USA(fus)
Page 414 of 461

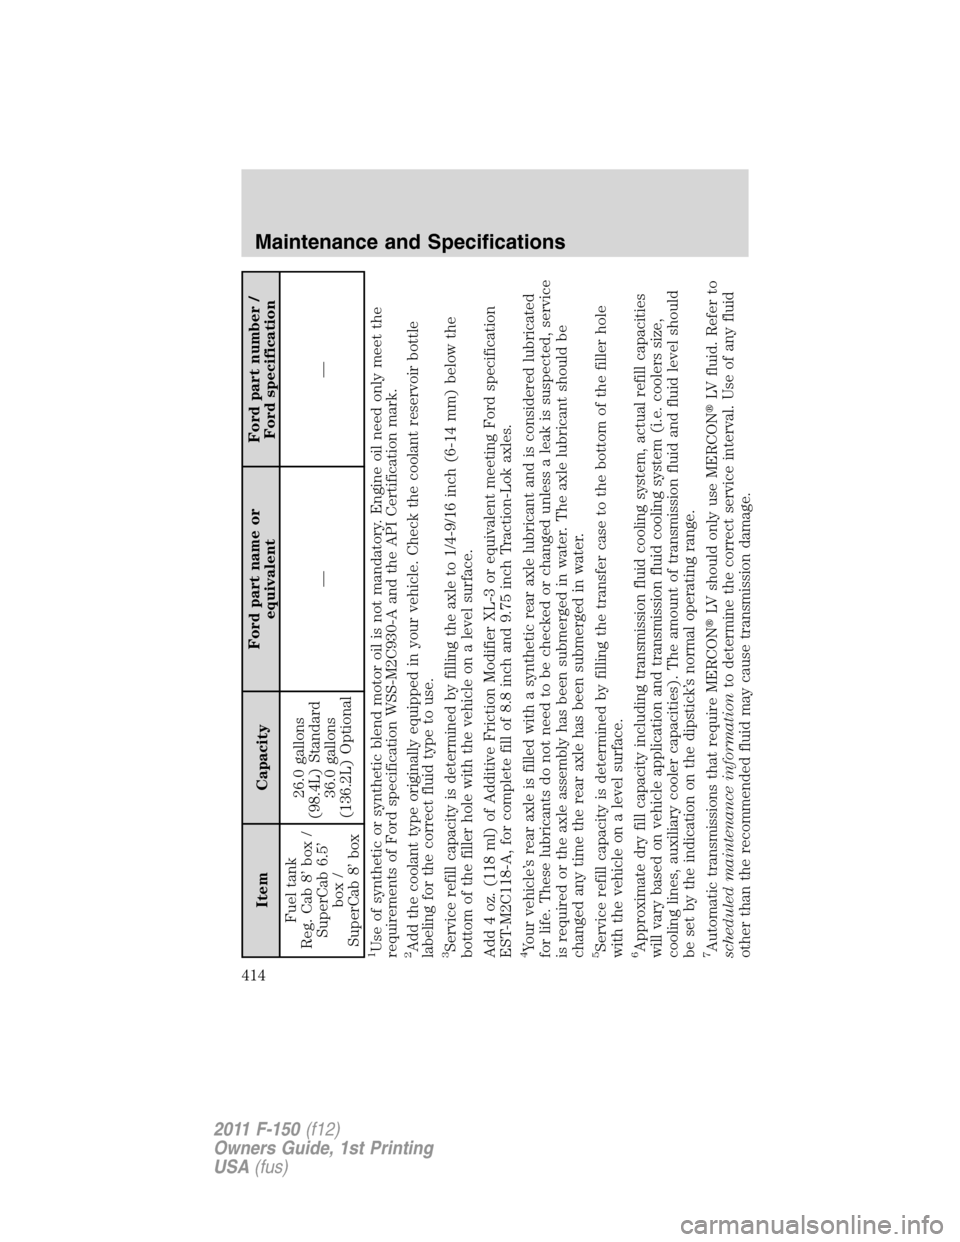
Item CapacityFord part name or
equivalentFord part number /
Ford specification
Fuel tank
Reg. Cab 8’ box /
SuperCab 6.5’
box /
SuperCab 8’ box26.0 gallons
(98.4L) Standard
36.0 gallons
(136.2L) Optional——
1Use of synthetic or synthetic blend motor oil is not mandatory. Engine oil need only meet the
requirements of Ford specification WSS-M2C930-A and the API Certification mark.2Add the coolant type originally equipped in your vehicle. Check the coolant reservoir bottle
labeling for the correct fluid type to use.3Service refill capacity is determined by filling the axle to 1/4-9/16 inch (6-14 mm) below the
bottom of the filler hole with the vehicle on a level surface.
Add 4 oz. (118 ml) of Additive Friction Modifier XL-3 or equivalent meeting Ford specification
EST-M2C118-A, for complete fill of 8.8 inch and 9.75 inch Traction-Lok axles.4Your vehicle’s rear axle is filled with a synthetic rear axle lubricant and is considered lubricated
for life. These lubricants do not need to be checked or changed unless a leak is suspected, service
is required or the axle assembly has been submerged in water. The axle lubricant should be
changed any time the rear axle has been submerged in water.5Service refill capacity is determined by filling the transfer case to the bottom of the filler hole
with the vehicle on a level surface.6Approximate dry fill capacity including transmission fluid cooling system, actual refill capacities
will vary based on vehicle application and transmission fluid cooling system (i.e. coolers size,
cooling lines, auxiliary cooler capacities). The amount of transmission fluid and fluid level should
be set by the indication on the dipstick’s normal operating range.7Automatic transmissions that require MERCON�LV should only use MERCON�LV fluid. Refer to
scheduled maintenance informationto determine the correct service interval. Use of any fluid
other than the recommended fluid may cause transmission damage.
Maintenance and Specifications
414
2011 F-150(f12)
Owners Guide, 1st Printing
USA(fus)
Page 431 of 461

Multi-point inspection – Recommended each visit
Accessory drive belt(s) Half-shaft dust boots (if equipped)
Battery performance Horn operation
Clutch operation (if equipped) Radiator, cooler, heater and A/C hoses
Engine air filter Suspension components for leaks and
damage
Exhaust system Steering and linkage
Exterior lamps and hazard
warning system operationTires for wear and proper pressure,
including spare
Fluid levels*; fill if necessary Windshield for cracks, chips or pits
For oil and fluid leaks Washer spray and wiper operation
*Brake, coolant recovery reservoir, manual and automatic transmission
(with an underhood dipstick), power steering (if equipped) and
window washer
Be sure to ask your dealership service advisor or technician about the
multi-point vehicle inspection. It’s a comprehensive way to perform a
thorough inspection of your vehicle. It’s your checklist that gives you
immediate feedback on the overall condition of your vehicle. You’ll know
what’s been checked, what’s okay, as well as those things that may
require future or immediate attention. The multi-point vehicle inspection
is one more way to keep your vehicle running great!
Scheduled Maintenance Guide
431
2011 F-150(f12)
Owners Guide, 1st Printing
USA(fus)