Page 246 of 452
Operation Tips Chart
244 UNDERSTANDING YOUR INSTRUMENT PANEL
Page 260 of 452
transmission is sufficiently warm, will demonstrate
that the transmission is able to shift into, and out of
Overdrive.
•If the vehicle has not been driven in several days, the
first few seconds of operation after shifting the trans-
mission into gear may seem sluggish. This is due to the
fluid partially draining from the torque converter into
the transmission. This condition is normal and will not
cause damage to the transmission. The torque con-
verter will refill within five seconds of shifting from
PARK into any other gear position.
FOUR-WHEEL DRIVE OPERATION —
IF EQUIPPED
Transfer Case Operating Information/Precautions
The electronic-shift transfer case is operated by the
transfer case switch, which is located on the instrument
panel.The transfer case provides four mode positions:
•Two-wheel drive high range (2WD)
•Four-wheel drive lock range (4WD LOCK)
•Four-wheel drive low range (4WD LOW)
•Neutral (N)
Transfer Case Switch
258 STARTING AND OPERATING
Page 273 of 452
If necessary, add fluid to restore to the proper indicated
level. With a clean cloth, wipe any spilled fluid from all
surfaces. Refer to “Fluids, Lubricants, and Genuine
Parts” in “Maintaining Your Vehicle” for further
information.
PARKING BRAKE
Before leaving the vehicle, make sure that the parking
brake is fully applied and place the shift lever in the
PARK position.
The foot operated parking brake is located below the
lower left corner of the instrument panel. To apply the
park brake, firmly push the park brake pedal fully. To
release the parking brake, pull the parking brake release
handle.When the parking brake is applied with the ignition
switch ON, the “Brake Warning Light” in the instrument
cluster will illuminate.
NOTE:
The “Brake Warning Light” only shows that the
parking brake is applied. It does not show the degree of
brake application.
Parking Brake
5
STARTING AND OPERATING 271
Page 409 of 452

Your authorized dealer will reset the oil change indicator
message after completing the scheduled oil change. If a
scheduled oil change is performed by someone other
than your authorized dealer, the message can be reset by
referring to the steps described under “Electronic Vehicle
Information Center (EVIC)/Oil Change Required” in
“Understanding Your Instrument Panel” or under “In-
strument Cluster Description/Odometer/Trip Odom-
eter” in “Understanding Your Instrument Panel” for
further information.
At Each Stop For Fuel
•Check the engine oil level about five minutes after a
fully warmed engine is shut off. Checking the oil level
while the vehicle is on level ground will improve the
accuracy of the oil level reading. Add oil only when
the level is at or below the ADD or MIN mark.
•Check the windshield washer solvent and add if
required.
Once A Month
•Check tire pressure and look for unusual wear or
damage.
•Inspect the battery, and clean and tighten the terminals
as required.
•Check the fluid levels of the coolant reservoir, brake
master cylinder, and transmission, and add as needed.
•Check all lights and other electrical items for correct
operation.
8
M A I
N T
E
N A
N CE
S
C
H E
D
U L
E
SMAINTENANCE SCHEDULES 407
Page 441 of 452

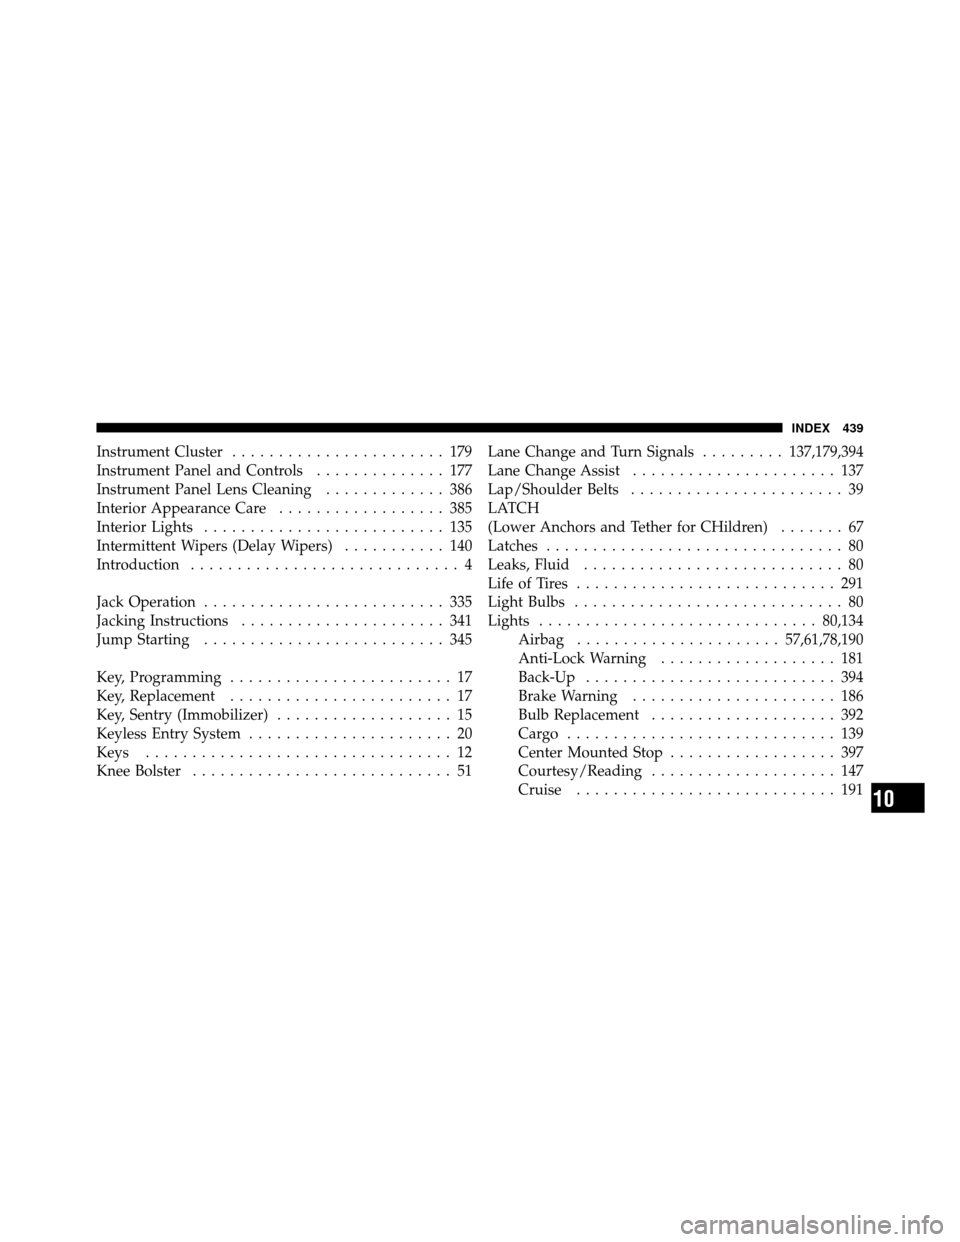
Instrument Cluster....................... 179
Instrument Panel and Controls .............. 177
Instrument Panel Lens Cleaning ............. 386
Interior Appearance Care .................. 385
Interior Lights .......................... 135
Intermittent Wipers (Delay Wipers) ........... 140
Introduction ............................. 4
Jack Operation .......................... 335
Jacking Instructions ...................... 341
Jump Starting .......................... 345
Key, Programming ........................ 17
Key, Replacement ........................ 17
Key, Sentry (Immobilizer) ................... 15
Keyless Entry System ...................... 20
Keys ................................. 12
Knee Bolster ............................ 51 Lane Change and Turn Signals
.........137,179,394
Lane Change Assist ...................... 137
Lap/Shoulder Belts ....................... 39
LATCH
(Lower Anchors and Tether for CHildren) ....... 67
Latches ................................ 80
Leaks, Fluid ............................ 80
Life of Tires ............................ 291
Light Bulbs ............................. 80
Lights .............................. 80,134
Airbag ...................... 57,61,78,190
Anti-Lock Warning ................... 181
Back-Up ........................... 394
Brake Warning ...................... 186
Bulb Replacement .................... 392
Cargo ............................. 139
Center Mounted Stop .................. 397
Courtesy/Reading .................... 147
Cruise ............................ 191
10
INDEX 439