2011 BMW 535I rear entertainment
[x] Cancel search: rear entertainmentPage 139 of 304
Close the glove compartment again im‐
mediately
Close
the glove compartment immediately after
use while driving; otherwise, injury may occur
during accidents.◀
Closing
Fold up the cover.
Center armrest
Front
A storage compartment is located in the center
armrest between the front seats.
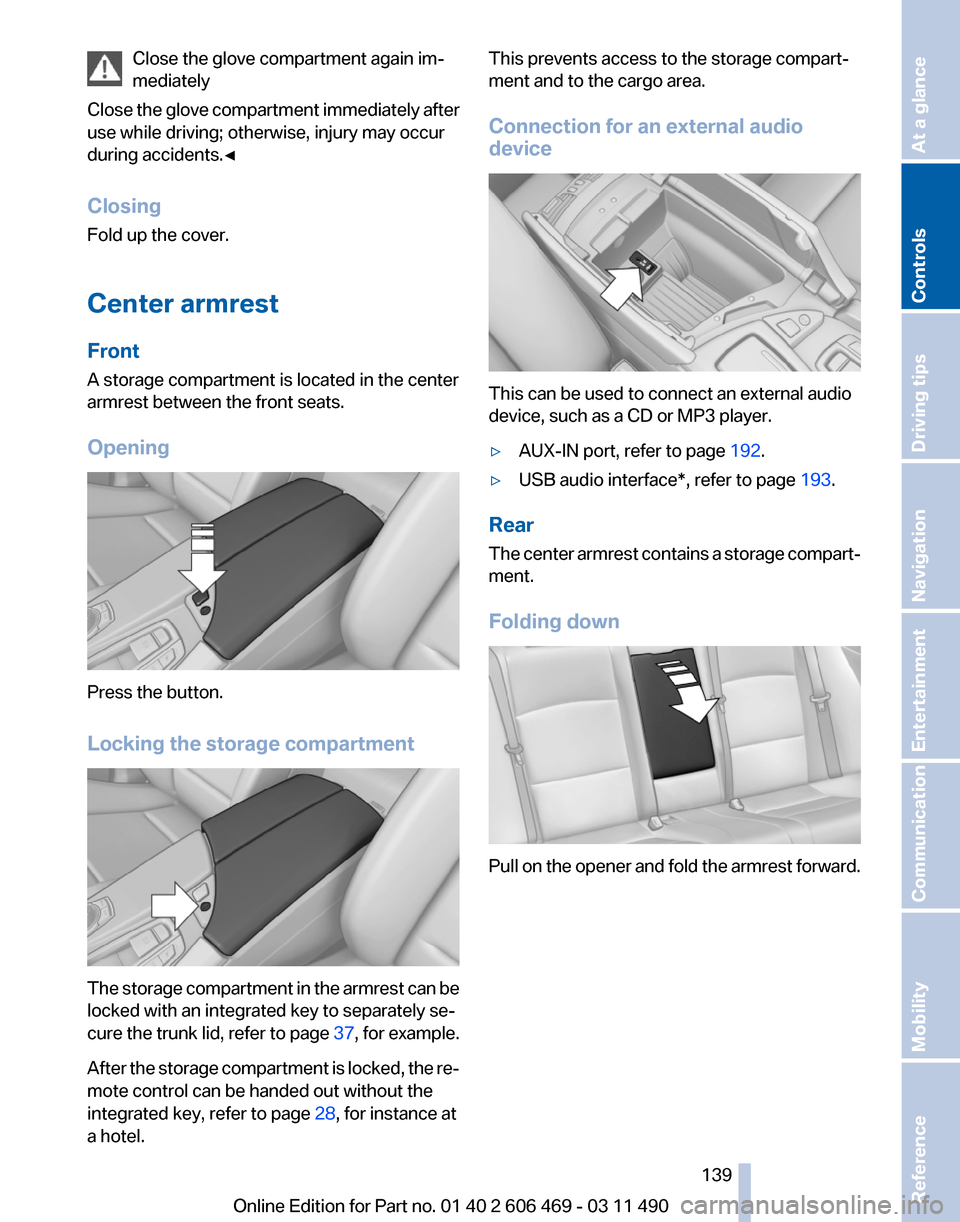
Opening Press the button.
Locking the storage compartment
The storage compartment in the armrest can be
locked with an integrated key to separately se‐
cure
the trunk lid, refer to page 37, for example.
After the storage compartment is locked, the re‐
mote control can be handed out without the
integrated key, refer to page 28, for instance at
a hotel. This prevents access to the storage compart‐
ment and to the cargo area.
Connection for an external audio
device
This can be used to connect an external audio
device, such as a CD or MP3 player.
▷
AUX-IN port, refer to page 192.
▷ USB audio interface*, refer to page 193.
Rear
The
center armrest contains a storage compart‐
ment.
Folding down Pull on the opener and fold the armrest forward.
Seite 139
139Online Edition for Part no. 01 40 2 606 469 - 03 11 490
Reference Mobility Communication Entertainment Navigation Driving tips
Controls At a glance
Page 141 of 304
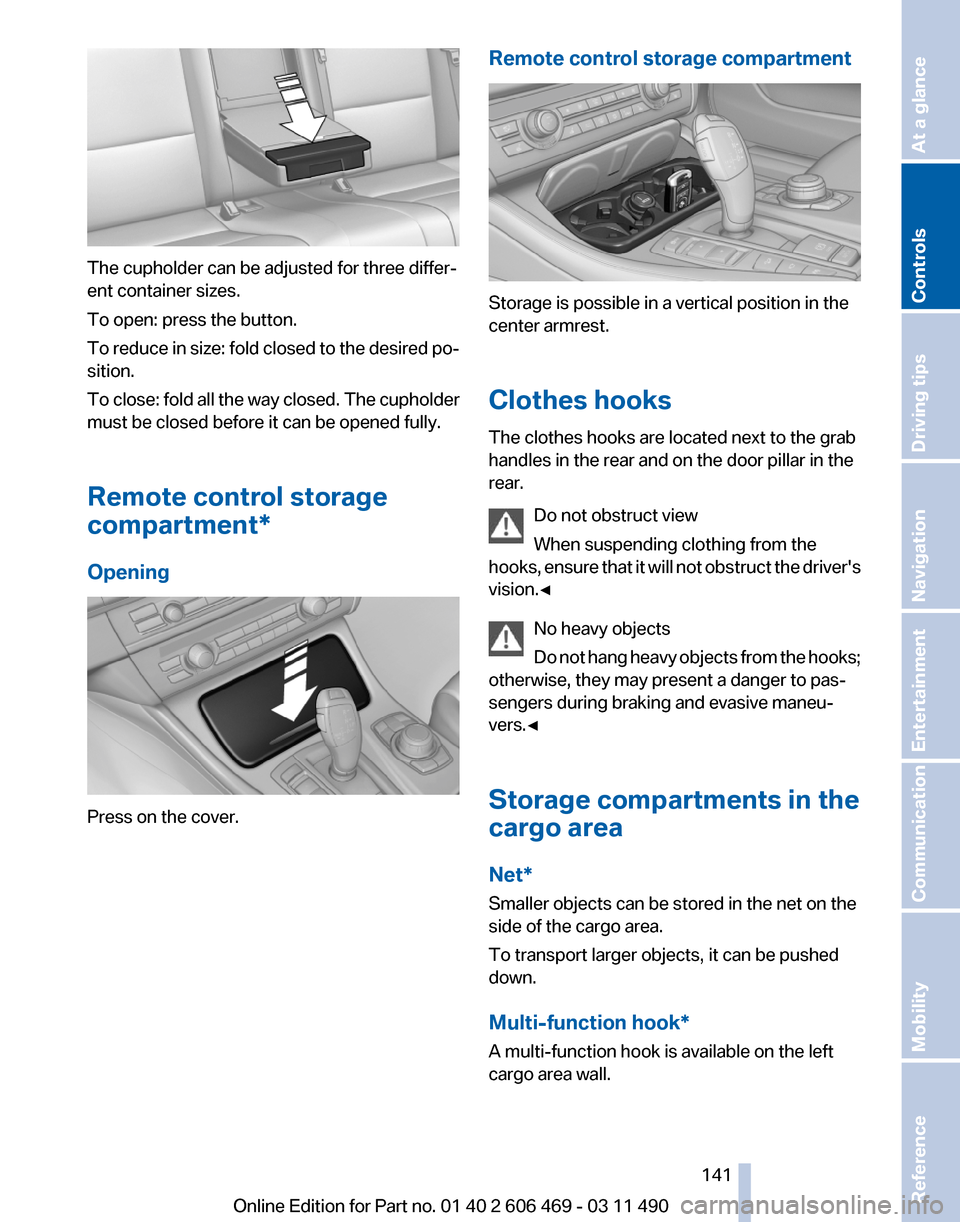
The cupholder can be adjusted for three differ‐
ent container sizes.
To open: press the button.
To
reduce in size: fold closed to the desired po‐
sition.
To close: fold all the way closed. The cupholder
must be closed before it can be opened fully.
Remote control storage
compartment*
Opening Press on the cover. Remote control storage compartment Storage is possible in a vertical position in the
center armrest.
Clothes hooks
The clothes hooks are located next to the grab
handles in the rear and on the door pillar in the
rear.
Do not obstruct view
When suspending clothing from the
hooks,
ensure that it will not obstruct the driver's
vision.◀
No heavy objects
Do not hang heavy objects from the hooks;
otherwise, they may present a danger to pas‐
sengers during braking and evasive maneu‐
vers.◀
Storage compartments in the
cargo area
Net*
Smaller objects can be stored in the net on the
side of the cargo area.
To transport larger objects, it can be pushed
down.
Multi-function hook*
A multi-function hook is available on the left
cargo area wall. Seite 141
141Online Edition for Part no. 01 40 2 606 469 - 03 11 490
Reference Mobility Communication Entertainment Navigation Driving tips
Controls At a glance
Page 149 of 304
hicle and unstable driving situations may
result.
2. Determine the combined weight of the
driver and passengers that will be riding in
your vehicle.
3. Subtract the combined weight of the driver
and
passengers from XXX kilograms or YYY
pounds.
4. The resulting figure equals the available
amount
of cargo and luggage load capacity.
For example, if the YYY amount equals
1,000 lbs and there will be four 150 lbs pas‐
sengers in your vehicle, the amount of avail‐
able cargo and luggage load capacity is
400 lbs: 1,000 lbs minus 600 lbs = 400 lbs.
5. Determine the combined weight of luggage
and
cargo being loaded on the vehicle. That
weight may not safely exceed the available
cargo and luggage load capacity calculated
in Step 4.
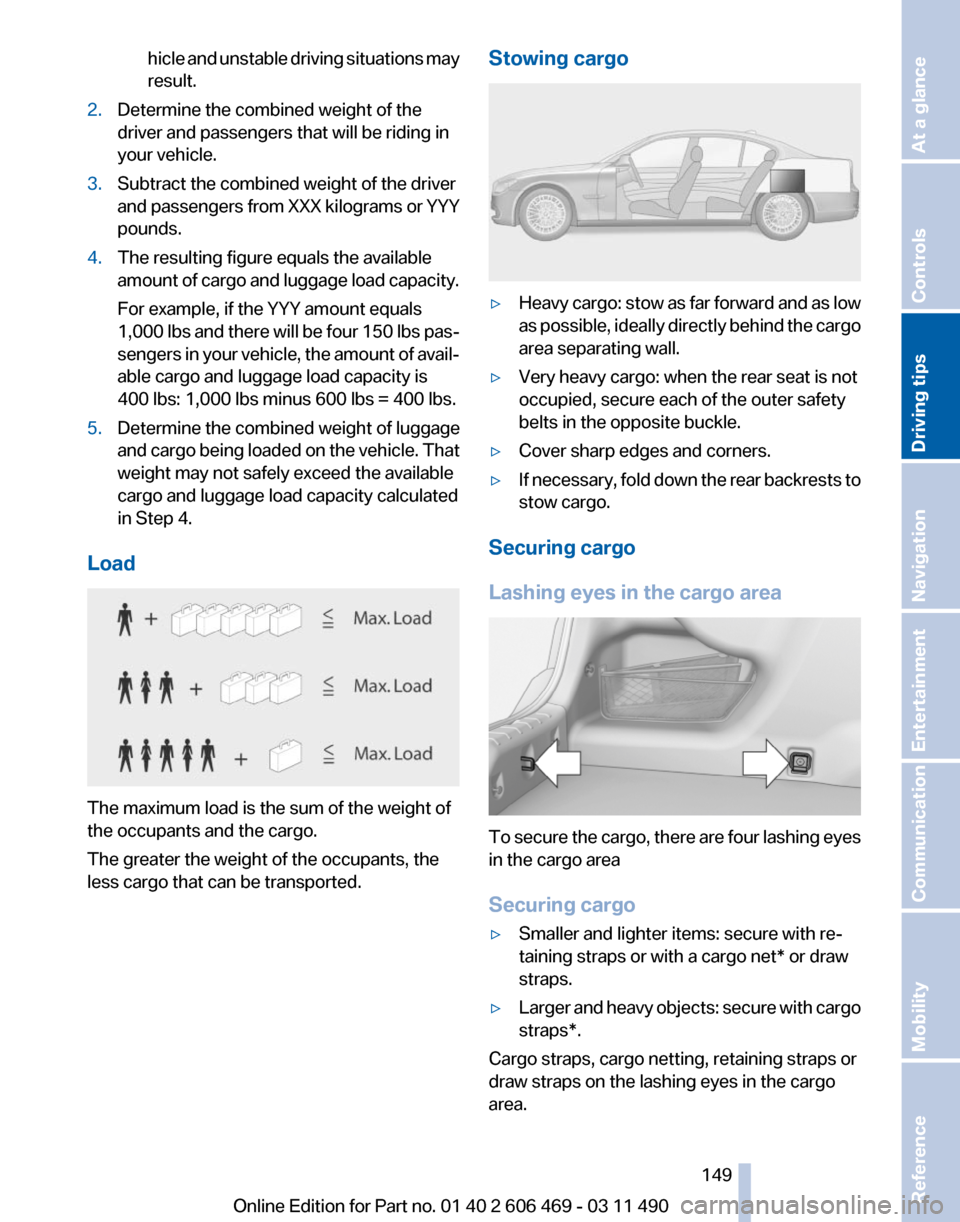
Load The maximum load is the sum of the weight of
the occupants and the cargo.
The greater the weight of the occupants, the
less cargo that can be transported. Stowing cargo ▷
Heavy cargo: stow as far forward and as low
as
possible, ideally directly behind the cargo
area separating wall.
▷ Very heavy cargo: when the rear seat is not
occupied, secure each of the outer safety
belts in the opposite buckle.
▷ Cover sharp edges and corners.
▷ If necessary, fold down the rear backrests to
stow cargo.
Securing cargo
Lashing eyes in the cargo area To secure the cargo, there are four lashing eyes
in the cargo area
Securing cargo
▷
Smaller and lighter items: secure with re‐
taining straps or with a
cargo net* or draw
straps.
▷ Larger and heavy objects: secure with cargo
straps*.
Cargo straps, cargo netting, retaining straps or
draw straps on the lashing eyes in the cargo
area.
Seite 149
149Online Edition for Part no. 01 40 2 606 469 - 03 11 490
Reference Mobility Communication Entertainment Navigation
Driving tips Controls At a glance
Page 151 of 304
Check the tire inflation pressure
regularly
Check
and, if necessary, correct the tire inflation
pressure at least twice a month and before start‐
ing on a long trip.
Low tire inflation pressure increases rolling re‐
sistance and thus raises fuel consumption and
tire wear.
Drive away without delay
Do not wait for the engine to warm up while the
vehicle remains stationary. Start driving right
away, but at moderate engine speeds.
This is the fastest way for the cold engine to
reach its operating temperature.
Look well ahead when driving
Avoid unnecessary acceleration and braking.
By maintaining a suitable distance to the vehicle
driving ahead of you.
Driving smoothly and looking ahead reduces
fuel consumption.
Avoid high engine speeds
Use 1st gear to get the vehicle in motion. Be‐
ginning with 2nd gear, accelerate rapidly. When
accelerating, shift up before reaching high en‐
gine speeds.
When you reach the desired speed, shift into the
highest applicable gear and drive with the en‐
gine speed as low as possible and at a constant
speed.
As a rule: driving at low engine speeds lowers
fuel consumption and reduces wear.
The gear shift indicator* of your vehicle indi‐
cates the most fuel efficient gear.
Use coasting conditions
When approaching a red light, take your foot off
the accelerator and let the vehicle coast to a halt.
On a downhill gradient, take your foot off the ac‐
celerator and let the vehicle roll.
The flow of fuel is interrupted while coasting. Switch off the engine during longer
stops
Switch off the engine during longer stops, e.g.,
at traffic lights, railroad crossings or in traffic
congestion.
Fuel savings are achieved after the vehicle is
switched off for only approx. 4 seconds.
Switch off any functions that are not
currently needed
Functions
such as seat heating and the rear win‐
dow defroster require a lot of energy and con‐
sume additional fuel, especially in city and stop-
and-go traffic.
Therefore, switch off these functions if they are
not actually needed.
Have maintenance carried out
Have vehicles maintained regularly to achieve
optimal vehicle economy and operating life.
Have the maintenance carried out by your serv‐
ice center.
Please also note the BMW Maintenance Sys‐
tem.
Seite 151
151Online Edition for Part no. 01 40 2 606 469 - 03 11 490
Reference Mobility Communication Entertainment Navigation
Driving tips Controls At a glance
Page 181 of 304
CD/multimedia
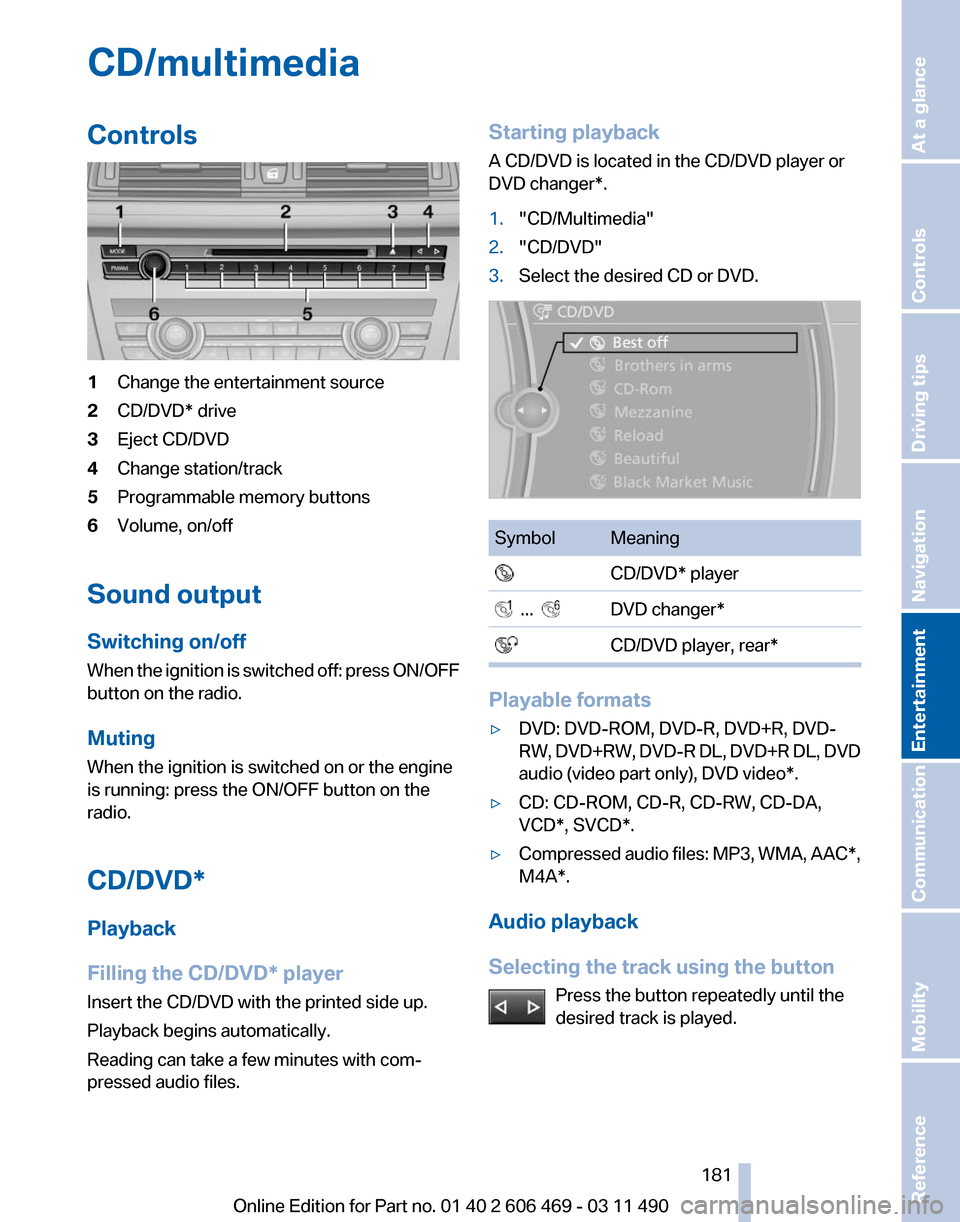
Controls
1
Change the entertainment source
2 CD/DVD* drive
3 Eject CD/DVD
4 Change station/track
5 Programmable memory buttons
6 Volume, on/off
Sound output
Switching on/off
When
the ignition is switched off: press ON/OFF
button on the radio.
Muting
When the ignition is switched on or the engine
is running: press the ON/OFF button on the
radio.
CD/DVD*
Playback
Filling the CD/DVD* player
Insert the CD/DVD with the printed side up.
Playback begins automatically.
Reading can take a few minutes with com‐
pressed audio files. Starting playback
A CD/DVD is located in the CD/DVD player or
DVD changer*.
1.
"CD/Multimedia"
2. "CD/DVD"
3. Select the desired CD or DVD. Symbol Meaning
CD/DVD* player ... DVD changer*
CD/DVD player, rear* Playable formats
▷
DVD: DVD-ROM, DVD-R, DVD+R, DVD-
RW,
DVD+RW, DVD-R DL, DVD+R DL, DVD
audio (video part only), DVD video*.
▷ CD: CD-ROM, CD-R, CD-RW, CD-DA,
VCD*, SVCD*.
▷ Compressed audio files: MP3, WMA, AAC*,
M4A*.
Audio playback
Selecting the track using the button Press the button repeatedly until the
desired track is played. Seite 181
181Online Edition for Part no. 01 40 2 606 469 - 03 11 490
Reference Mobility Communication
Entertainment Navigation Driving tips Controls At a glance
Page 201 of 304

Rear entertainment*
Controls
1
Screen, left
2 Screen, right
3 Center armrest, remote control
4 CD/DVD player
Rear CD/DVD player 1
CD/DVD slot
2 Eject CD/DVD
3 On/off, right
4 Headphone connection, right
5 RCA sockets
6 Headphone connection, left
7 On/off, left
Switching the system on/off Press the left or right side of the button
on the CD/DVD player in the rear for the
respective page. Rear entertainment and screens are switched
on/off.
After
switching off the ignition, the system must
be switched on again.
Screens
Adjusting
Danger of burns when screen is folded out
Do not reach behind the screen; other‐
wise, there is the danger of getting burned. The
back of the screen can become very hot.◀ ▷
To fold out: pull at the bottom edge.
▷ To fold in: press against the bottom edge.
Notes
▷ Do not cover lower screen edge, since this
is where the sensors and the infrared inter‐
face are installed.
▷ When loading the rear seats and adjusting
the backrest of the front seat, fold in the
screens.
▷ When using the through-loading system*,
fold the screens down.
▷ When cleaning the screen, follow the care
instructions, refer to page 276. Seite 201
201Online Edition for Part no. 01 40 2 606 469 - 03 11 490
Reference Mobility Communication
Entertainment Navigation Driving tips Controls At a glance
Page 202 of 304
Remote control
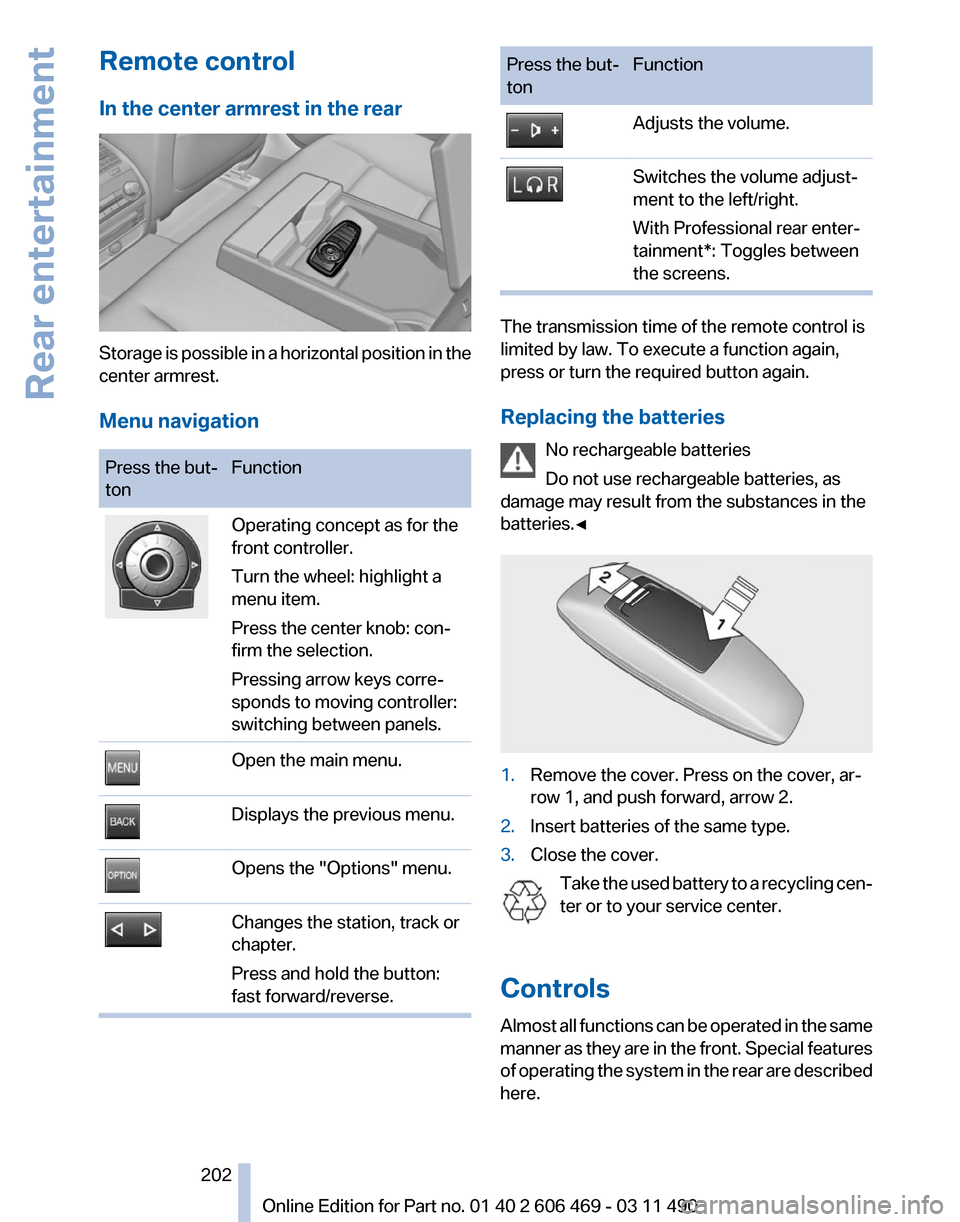
In the center armrest in the rear
Storage is possible in a horizontal position in the
center armrest.
Menu navigation
Press the but‐
ton
Function Operating concept as for the
front controller.
Turn the wheel: highlight a
menu item.
Press the center knob: con‐
firm the selection.
Pressing arrow keys corre‐
sponds to moving controller:
switching between panels.
Open the main menu.
Displays the previous menu.
Opens the "Options" menu.
Changes the station, track or
chapter.
Press and hold the button:
fast forward/reverse. Press the but‐
ton
Function Adjusts the volume.
Switches the volume adjust‐
ment to the left/right.
With Professional rear enter‐
tainment*: Toggles between
the screens.
The transmission time of the remote control is
limited by law. To execute a function again,
press or turn the required button again.
Replacing the batteries
No rechargeable batteries
Do not use rechargeable batteries, as
damage may result from the substances in the
batteries.◀ 1.
Remove the cover. Press on the cover, ar‐
row 1, and push forward, arrow 2.
2. Insert batteries of the same type.
3. Close the cover.
Take the used battery to a recycling cen‐
ter or to your service center.
Controls
Almost
all functions can be operated in the same
manner as they are in the front. Special features
of operating the system in the rear are described
here. Seite 202
202 Online Edition for Part no. 01 40 2 606 469 - 03 11 490
Rear entertainment
Page 203 of 304
Audio/video playback
Audio
Audio
can be played back via rear entertainment
from any source in the vehicle.
Operation is the same as for the front audio play‐
back, refer to page 181.
Video
Video can be played back in the rear from the
following sources:
▷ DVD changer*.
▷ Rear CD/DVD player.
▷ External device in rear.
If a video image is being played back in the rear,
the rear CD/DVD player cannot be selected in
the front.
Operation
is the same as for the front video play‐
back, refer to page 183.
Radio
When the same radio source is selected in the
front and rear (e.g., FM/AM), the same radio sta‐
tion is played.
Operation is the same as for the front radio, refer
to page 174.
CD/multimedia
CD/DVD
When the same audio source (front CD/DVD
player, rear CD/DVD player, DVD changer) is se‐
lected in the front and rear, the same material is
played.
Operation is the same as for the front CD/DVD,
refer to page 181.
Notes on CDs/DVDs, refer to page 187.
Music collection*
Music can only be stored and data can only be
exported and imported via the front CD/DVD
player or the USB interface in the glove com‐
partment. When music collections are selected in the front
and rear, they are played back separately.
Operation
is the same as for the front music col‐
lection, refer to page 188.
Tone
Only treble and bass can be set in the rear. The
settings are made separately for the left and
right headphones.
Operation is the same as for the front tone, refer
to page 172.
Contacts*
Operation is the same as for the front contacts.
Navigation*
Route planning can be performed separately on
the left and right sides in the rear. Destination
guidance can only be started from the front.
Operation is the same as for the front navigation,
refer to page 154.
Suggesting a destination
A destination or trip can be sent to the front as
a suggestion. The suggestion can be adopted,
stored, or declined in the front. This function is
not available with the following setting: "Driver
control".
1. Enter the destination.
2. "Suggest destination"
BMW Assist*
Operation is the same as for BMW Assist in the
front, refer to page 232.
Adjusting
The following settings are available:
▷ "Rear displays"
▷ "Language/Units": language can be set
globally for all screens.
▷ "Tone"
▷ If necessary. "Climate".
Seite 203
203Online Edition for Part no. 01 40 2 606 469 - 03 11 490
Reference Mobility Communication
Entertainment Navigation Driving tips Controls At a glance