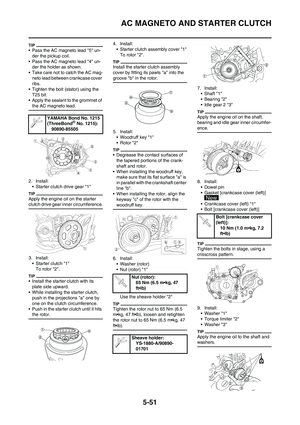
Page 17 of 230

1-7
CHECKING OF CONNECTION
3. When disassembling the ma-chine, keep mated parts together.
They include gears, cylinders,
pistons, and other mated parts
that have been "mated" through
normal wear. Mated parts must
be reused as an assembly or re-
placed.
4. During the machine disassembly, clean all parts and place them in
trays in the order of disassembly.
This will speed up assembly time
and help assure that all parts are
correctly reinstalled.
5. Keep away from fire.
ALL REPLACEMENT PARTS
1. We recommend to use Yamaha genuine parts for all replace-
ments. Use oil and/or grease rec-
ommended by Yamaha for
assembly and adjustment.
GASKETS, OIL SEALS AND O-
RINGS
1. All gaskets, oil seals, and O-rings should be replaced when an en-
gine is overhauled. All gasket sur-
faces, oil seal lips, and O-rings
must be cleaned.
2. Properly oil all mating parts and bearings during reassembly. Ap-
ply grease to the oil seal lips.
LOCK WASHERS/PLATES AND
COTTER PINS
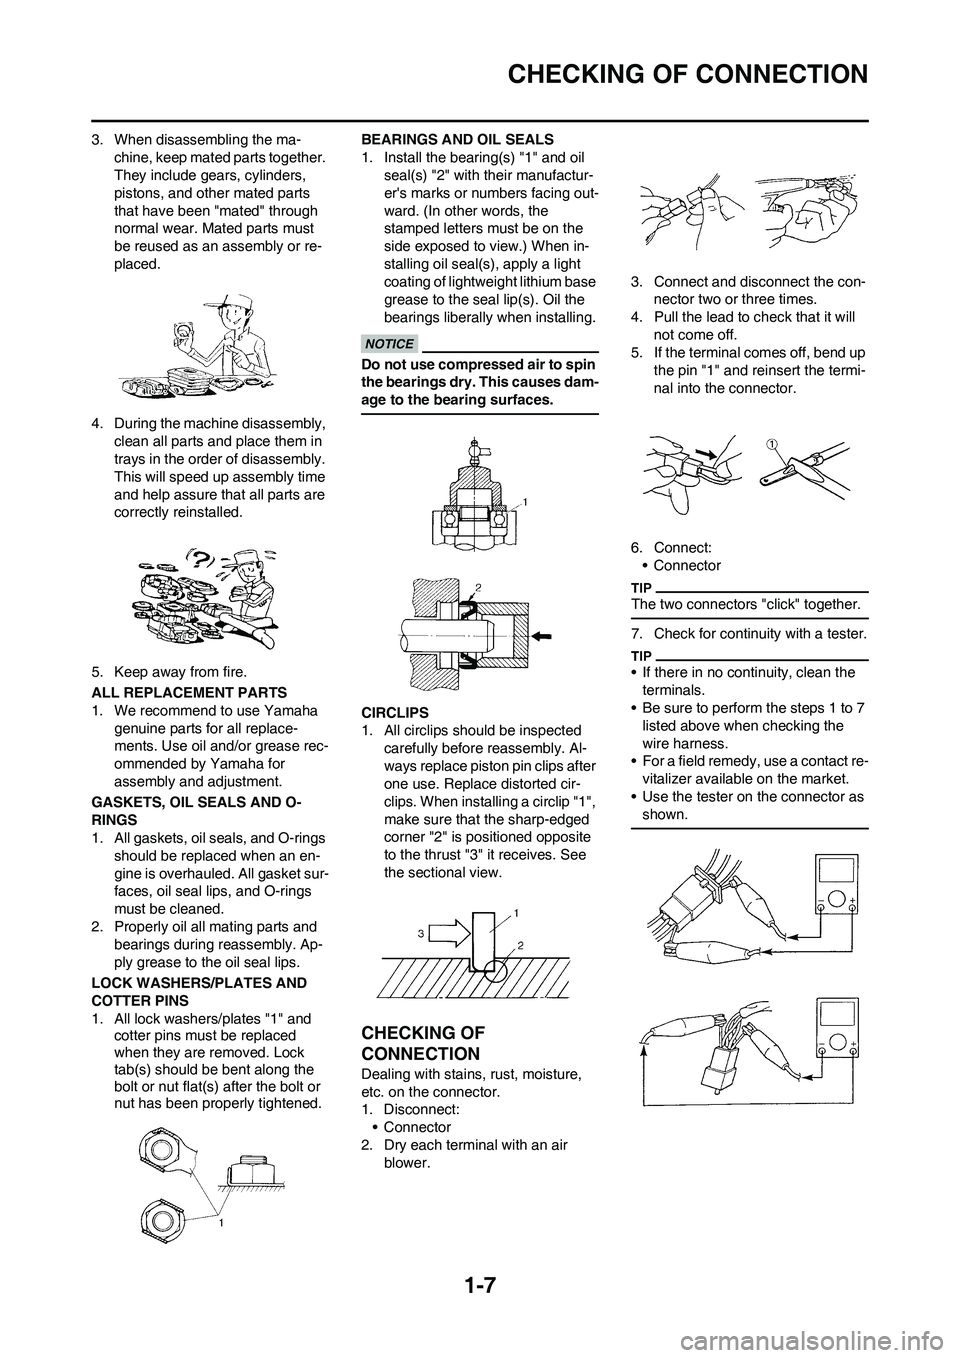
1. All lock washers/plates "1" and cotter pins must be replaced
when they are removed. Lock
tab(s) should be bent along the
bolt or nut flat(s) after the bolt or
nut has been properly tightened. BEARINGS AND OIL SEALS
1. Install the bearing(s) "1" and oil
seal(s) "2" with their manufactur-
er's marks or numbers facing out-
ward. (In other words, the
stamped letters must be on the
side exposed to view.) When in-
stalling oil seal(s), apply a light
coating of lightweight lithium base
grease to the seal lip(s). Oil the
bearings liberally when installing.
Do not use compressed air to spin
the bearings dry. This causes dam-
age to the bearing surfaces.
CIRCLIPS
1. All circlips should be inspected carefully before reassembly. Al-
ways replace piston pin clips after
one use. Replace distorted cir-
clips. When installing a circlip "1",
make sure that the sharp-edged
corner "2" is positioned opposite
to the thrust "3" it receives. See
the sectional view.
CHECKING OF
CONNECTION
Dealing with stains, rust, moisture,
etc. on the connector.
1. Disconnect:• Connector
2. Dry each terminal with an air blower. 3. Connect and disconnect the con-
nector two or three times.
4. Pull the lead to check that it will not come off.
5. If the terminal comes off, bend up
the pin "1" and reinsert the termi-
nal into the connector.
6. Connect: • Connector
The two connectors "click" together.
7. Check for continuity with a tester.
• If there in no continuity, clean the terminals.
• Be sure to perform the steps 1 to 7 listed above when checking the
wire harness.
• For a field remedy, use a contact re- vitalizer available on the market.
• Use the tester on the connector as shown.
Page 18 of 230

1-8
SPECIAL TOOLS
SPECIAL TOOLS
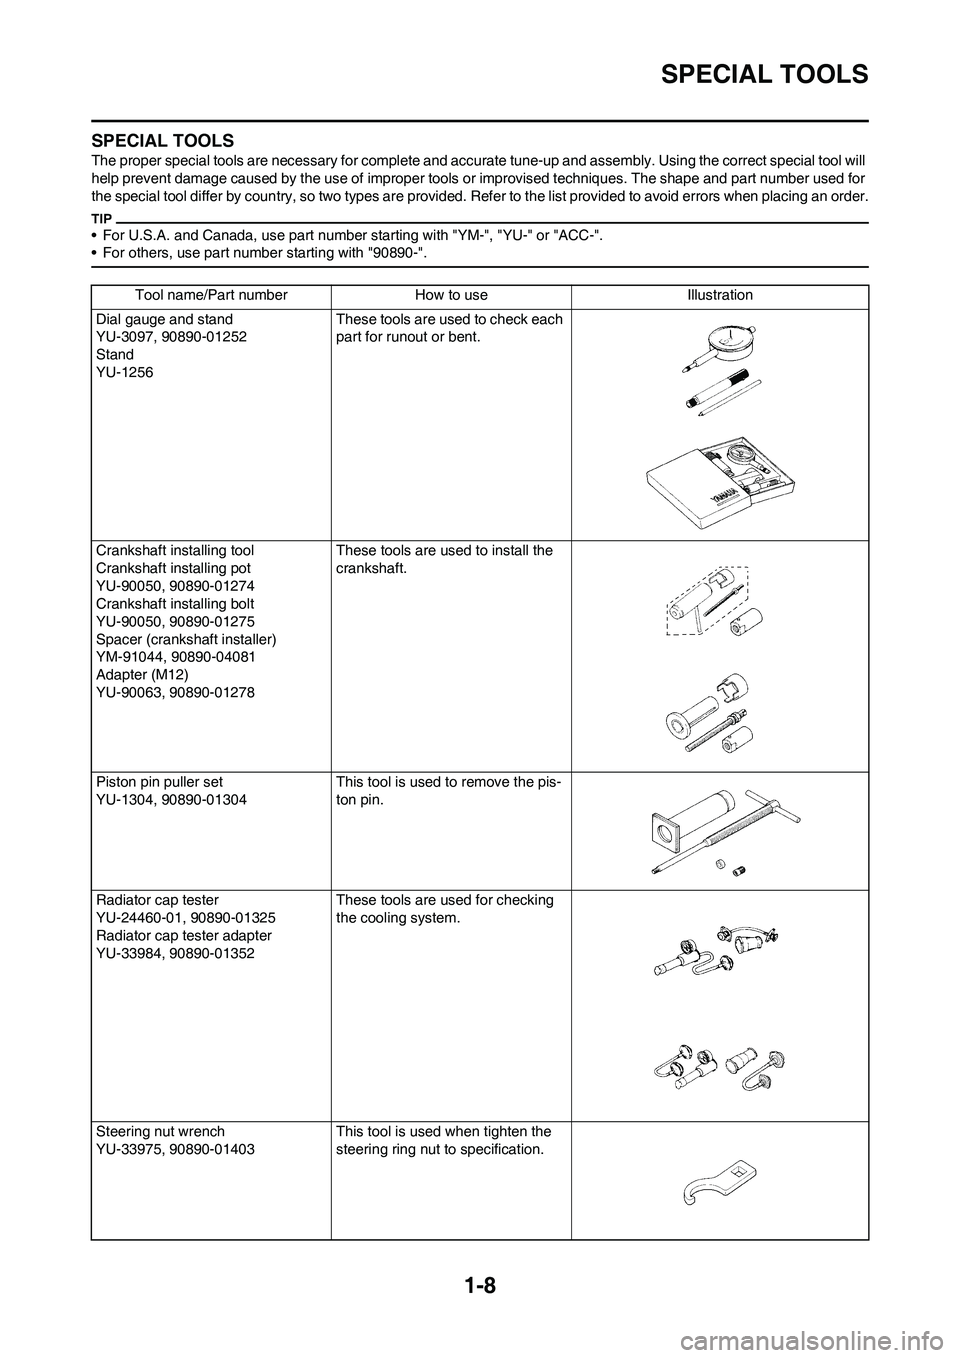
The proper special tools are necessary for complete and accurate tune-up and assembly. Using the correct special tool will
help prevent damage caused by the use of improper tools or improvised techniques. The shape and part number used for
the special tool differ by coun try, so two types are provided. Refer to the list provided to avoid errors when placing an order .
• For U.S.A. and Canada, use part number starting with "YM-", "YU-" or "ACC-".
• For others, use part num ber starting with "90890-".
Tool name/Part number How to use Illustration
Dial gauge and stand
YU-3097, 90890-01252
Stand
YU-1256 These tools are used to check each
part for runout or bent.
Crankshaft installing tool
Crankshaft installing pot
YU-90050, 90890-01274
Crankshaft installing bolt
YU-90050, 90890-01275
Spacer (crankshaft installer)
YM-91044, 90890-04081
Adapter (M12)
YU-90063, 90890-01278 These tools are used to install the
crankshaft.
Piston pin puller set
YU-1304, 90890-01304 This tool is used to remove the pis-
ton pin.
Radiator cap tester
YU-24460-01, 90890-01325
Radiator cap tester adapter
YU-33984, 90890-01352 These tools are used for checking
the cooling system.
Steering nut wrench
YU-33975, 90890-01403 This tool is used when tighten the
steering ring nut to specification.
Page 19 of 230
1-9
SPECIAL TOOLS
Damper rod holder
YM-01494, 90890-01494Use this tool to remove and install
the damper rod.
Fork seal driver
YM-A0948, 90890-01502 This tool is used when install the fork
oil seal.
Spoke nipple wrench
YM-01521, 90980-01521 This tool is used to tighten the
spoke.
Sheave holder
YS-1880-A, 90890-01701 This tool is used for when loosening
or tightening the flywheel magneto
securing nut.
Pocket tester
YU-3112-C, 90890-03112 Use this tool to inspect the coil resis-
tance, output voltage and amper-
age.
Timing light
YM-33277-A, 90890-03141 This tool is necessary for checking
ignition timing.
Tool name/Part number How to use Illustration
Page 20 of 230

1-10
SPECIAL TOOLS
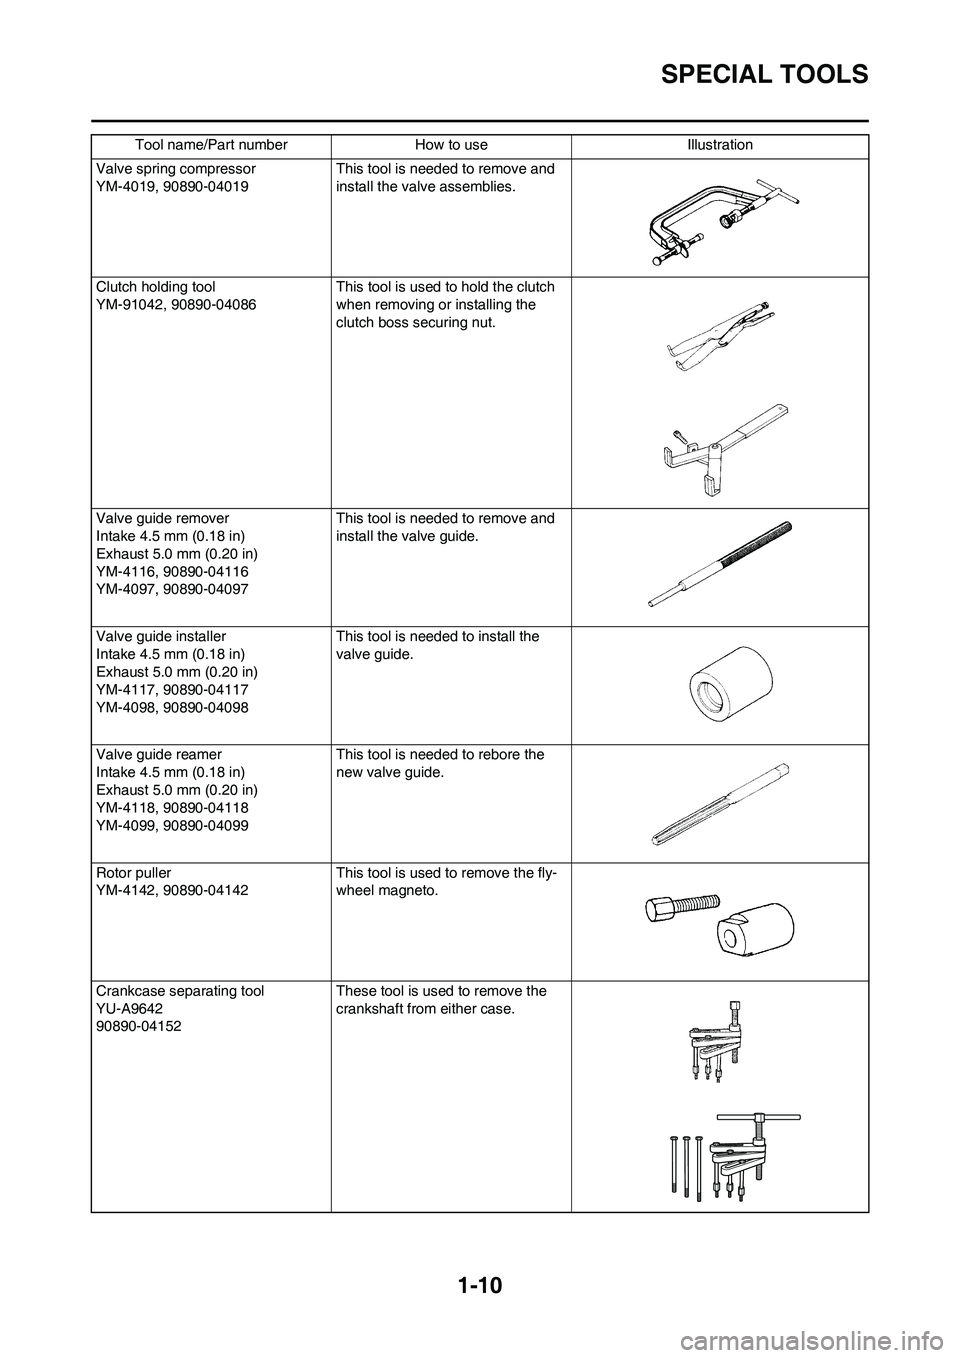
Valve spring compressor
YM-4019, 90890-04019 This tool is needed to remove and
install the valve assemblies.
Clutch holding tool
YM-91042, 90890-04086 This tool is used to hold the clutch
when removing or installing the
clutch boss securing nut.
Valve guide remover
Intake 4.5 mm (0.18 in)
Exhaust 5.0 mm (0.20 in)
YM-4116, 90890-04116
YM-4097, 90890-04097 This tool is needed to remove and
install the valve guide.
Valve guide installer
Intake 4.5 mm (0.18 in)
Exhaust 5.0 mm (0.20 in)
YM-4117, 90890-04117
YM-4098, 90890-04098 This tool is needed to install the
valve guide.
Valve guide reamer
Intake 4.5 mm (0.18 in)
Exhaust 5.0 mm (0.20 in)
YM-4118, 90890-04118
YM-4099, 90890-04099 This tool is needed to rebore the
new valve guide.
Rotor puller
YM-4142, 90890-04142 This tool is used to remove the fly-
wheel magneto.
Crankcase separating tool
YU-A9642
90890-04152 These tool is used to remove the
crankshaft from either case.
Tool name/Part number How to use Illustration
Page 21 of 230
1-11
SPECIAL TOOLS
Dynamic spark tester
YM-34487
Ignition checker
90890-06754This instrument is necessary for
checking the ignition system compo-
nents.
Vacuum/pressure pump gauge set
YB-35956-A, 90890-06756 This tool is used to check the air in-
duction system.
Digital tachometer
YU-39951-B, 90890-06760 This tool is needed for observing en-
gine rpm.
YAMAHA Bond No. 1215 (Three-
Bond
® No. 1215)
90890-85505 This sealant (Bond) is used for
crankcase mating surface, etc.
Tool name/Part number How to use Illustration
Page 22 of 230

1-12
CONTROL FUNCTIONS
CONTROL FUNCTIONS
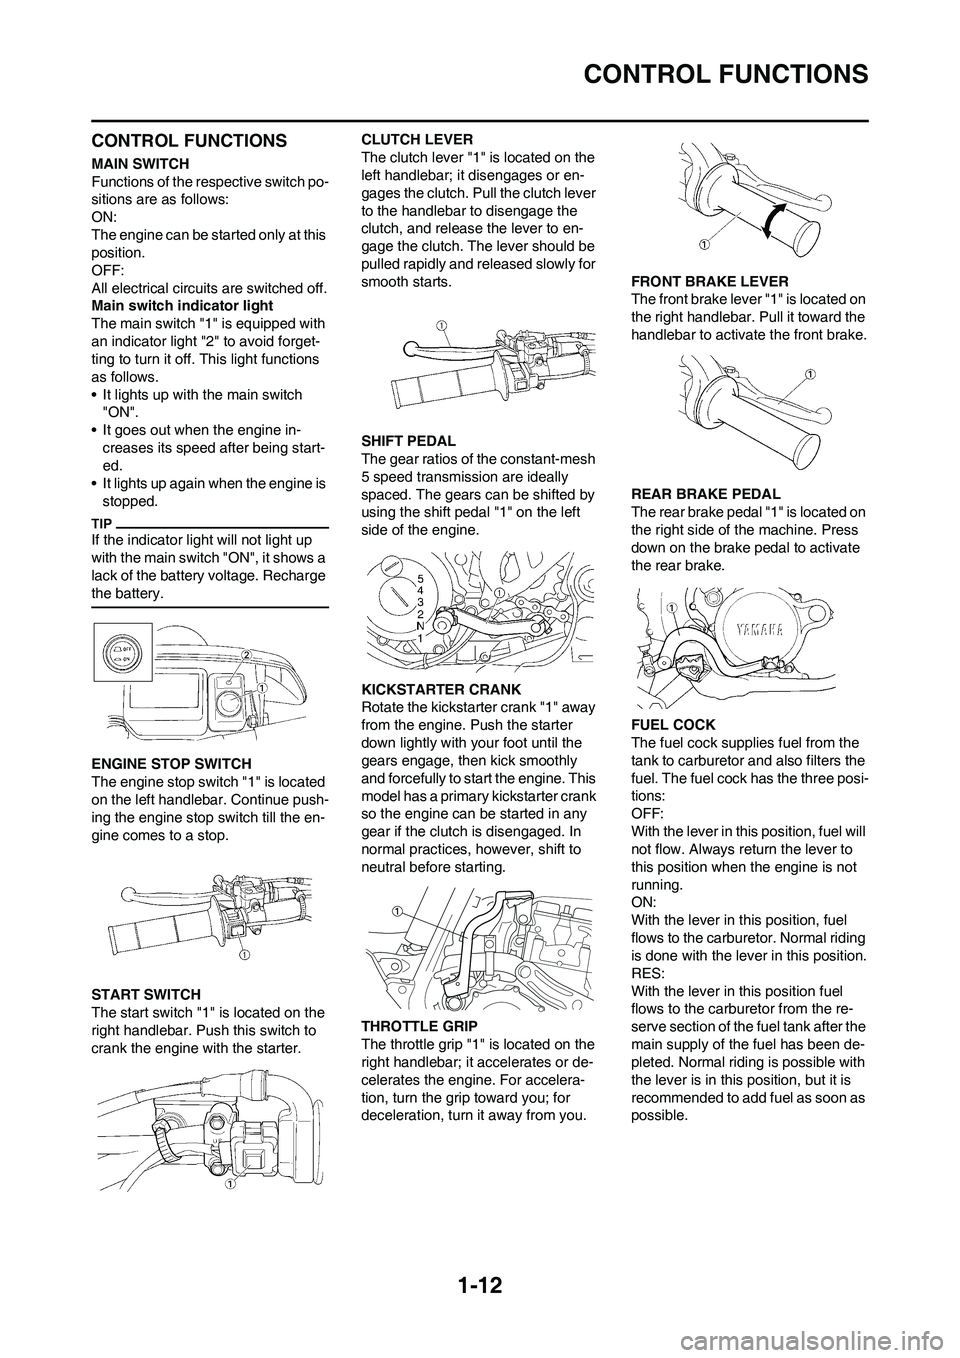
MAIN SWITCH
Functions of the respective switch po-
sitions are as follows:
ON:
The engine can be started only at this
position.
OFF:
All electrical circuits are switched off.
Main switch indicator light
The main switch "1" is equipped with
an indicator light "2" to avoid forget-
ting to turn it off. This light functions
as follows.
• It lights up with the main switch "ON".
• It goes out when the engine in-
creases its speed after being start-
ed.
• It lights up again when the engine is
stopped.
If the indicator light will not light up
with the main switch "ON", it shows a
lack of the battery voltage. Recharge
the battery.
ENGINE STOP SWITCH
The engine stop switch "1" is located
on the left handlebar. Continue push-
ing the engine stop switch till the en-
gine comes to a stop.
START SWITCH
The start switch "1" is located on the
right handlebar. Push this switch to
crank the engine with the starter. CLUTCH LEVER
The clutch lever "1" is located on the
left handlebar; it disengages or en-
gages the clutch. Pull the clutch lever
to the handlebar to disengage the
clutch, and release the lever to en-
gage the clutch. The lever should be
pulled rapidly and released slowly for
smooth starts.
SHIFT PEDAL
The gear ratios of the constant-mesh
5 speed transmission are ideally
spaced. The gears can be shifted by
using the shift pedal "1" on the left
side of the engine.
KICKSTARTER CRANK
Rotate the kickstarter crank "1" away
from the engine. Push the starter
down lightly with your foot until the
gears engage, then kick smoothly
and forcefully to start the engine. This
model has a primary kickstarter crank
so the engine can be started in any
gear if the clutch is disengaged. In
normal practices, however, shift to
neutral before starting.
THROTTLE GRIP
The throttle grip "1" is located on the
right handlebar; it accelerates or de-
celerates the engine. For accelera-
tion, turn the grip
toward you; for
deceleration, turn it away from you. FRONT BRAKE LEVER
The front brake lever "1" is located on
the right handlebar. Pull it toward the
handlebar to activate the front brake.
REAR BRAKE PEDAL
The rear brake pedal "1" is located on
the right side of the machine. Press
down on the brake pedal to activate
the rear brake.
FUEL COCK
The fuel cock supplies fuel from the
tank to carburetor and also filters the
fuel. The fuel cock has the three posi-
tions:
OFF:
With the lever in this position, fuel will
not flow. Always return the lever to
this position when the engine is not
running.
ON:
With the lever in this position, fuel
flows to the carburetor. Normal riding
is done with the lever in this position.
RES:
With the lever in this position fuel
flows to the carburetor from the re-
serve section of the fuel tank after the
main supply of the fuel has been de-
pleted. Normal riding is possible with
the lever is in this position, but it is
recommended to add fuel as soon as
possible.
Page 23 of 230

1-13
MULTI-FUNCTION DISPLAY
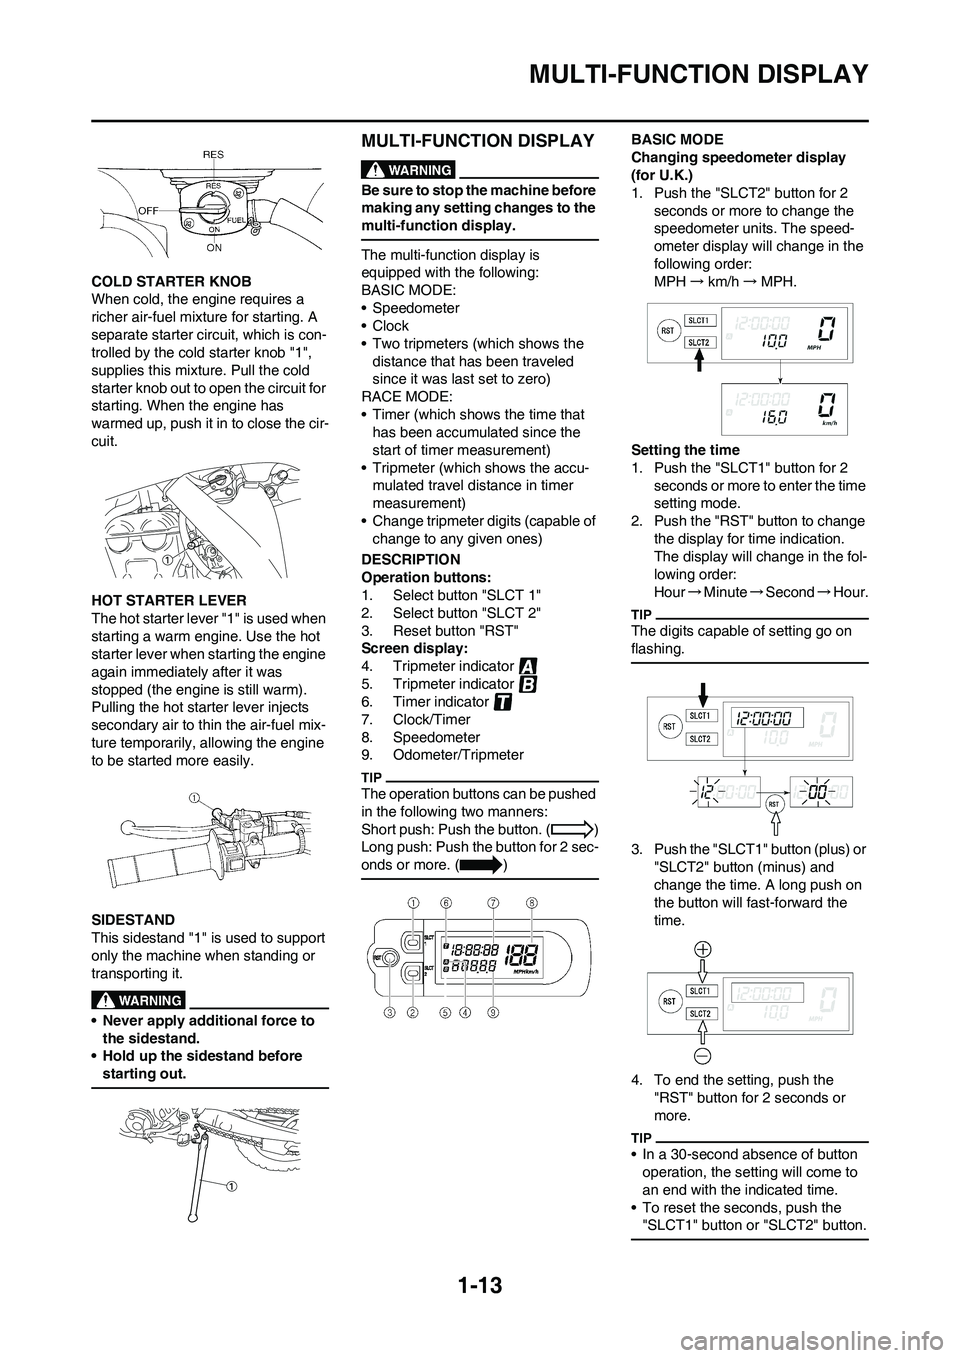
COLD STARTER KNOB
When cold, the engine requires a
richer air-fuel mixture for starting. A
separate starter circuit, which is con-
trolled by the cold starter knob "1",
supplies this mixture. Pull the cold
starter knob out to open the circuit for
starting. When the engine has
warmed up, push it in to close the cir-
cuit.
HOT STARTER LEVER
The hot starter lever "1" is used when
starting a warm engine. Use the hot
starter lever when starting the engine
again immediately after it was
stopped (the engine is still warm).
Pulling the hot starter lever injects
secondary air to thin the air-fuel mix-
ture temporarily, allowing the engine
to be started more easily.
SIDESTAND
This sidestand "1" is used to support
only the machine when standing or
transporting it.
• Never apply additional force to the sidestand.
• Hold up the sidestand before
starting out.
MULTI-FUNCTION DISPLAY
Be sure to stop the machine before
making any setting changes to the
multi-function display.
The multi-function display is
equipped with the following:
BASIC MODE:
• Speedometer
•Clock
• Two tripmeters (which shows the distance that has been traveled
since it was last set to zero)
RACE MODE:
• Timer (which shows the time that has been accumulated since the
start of timer measurement)
• Tripmeter (which shows the accu- mulated travel distance in timer
measurement)
• Change tripmeter digits (capable of change to any given ones)
DESCRIPTION
Operation buttons:
1. Select button "SLCT 1"
2. Select button "SLCT 2"
3. Reset button "RST"
Screen display:
4. Tripmeter indicator
5. Tripmeter indicator
6. Timer indicator
7. Clock/Timer
8. Speedometer
9. Odometer/Tripmeter
The operation buttons can be pushed
in the following two manners:
Short push: Push the button. ( )
Long push: Push the button for 2 sec-
onds or more. ( )
BASIC MODE
Changing speedometer display
(for U.K.)
1. Push the "SLCT2" button for 2 seconds or more to change the
speedometer units. The speed-
ometer display will change in the
following order:
MPH →km/h →MPH.
Setting the time
1. Push the "SLCT1" button for 2 seconds or more to enter the time
setting mode.
2. Push the "RST" button to change the display for time indication.
The display will change in the fol-
lowing order:
Hour →Minute →Second →Hour.
The digits capable of setting go on
flashing.
3. Push the "SLCT1" button (plus) or
"SLCT2" button (minus) and
change the time. A long push on
the button will fast-forward the
time.
4. To end the setting, push the "RST" button for 2 seconds or
more.
• In a 30-second absence of button operation, the setting will come to
an end with the indicated time.
• To reset the seconds, push the "SLCT1" button or "SLCT2" button.
Page 24 of 230

1-14
MULTI-FUNCTION DISPLAY
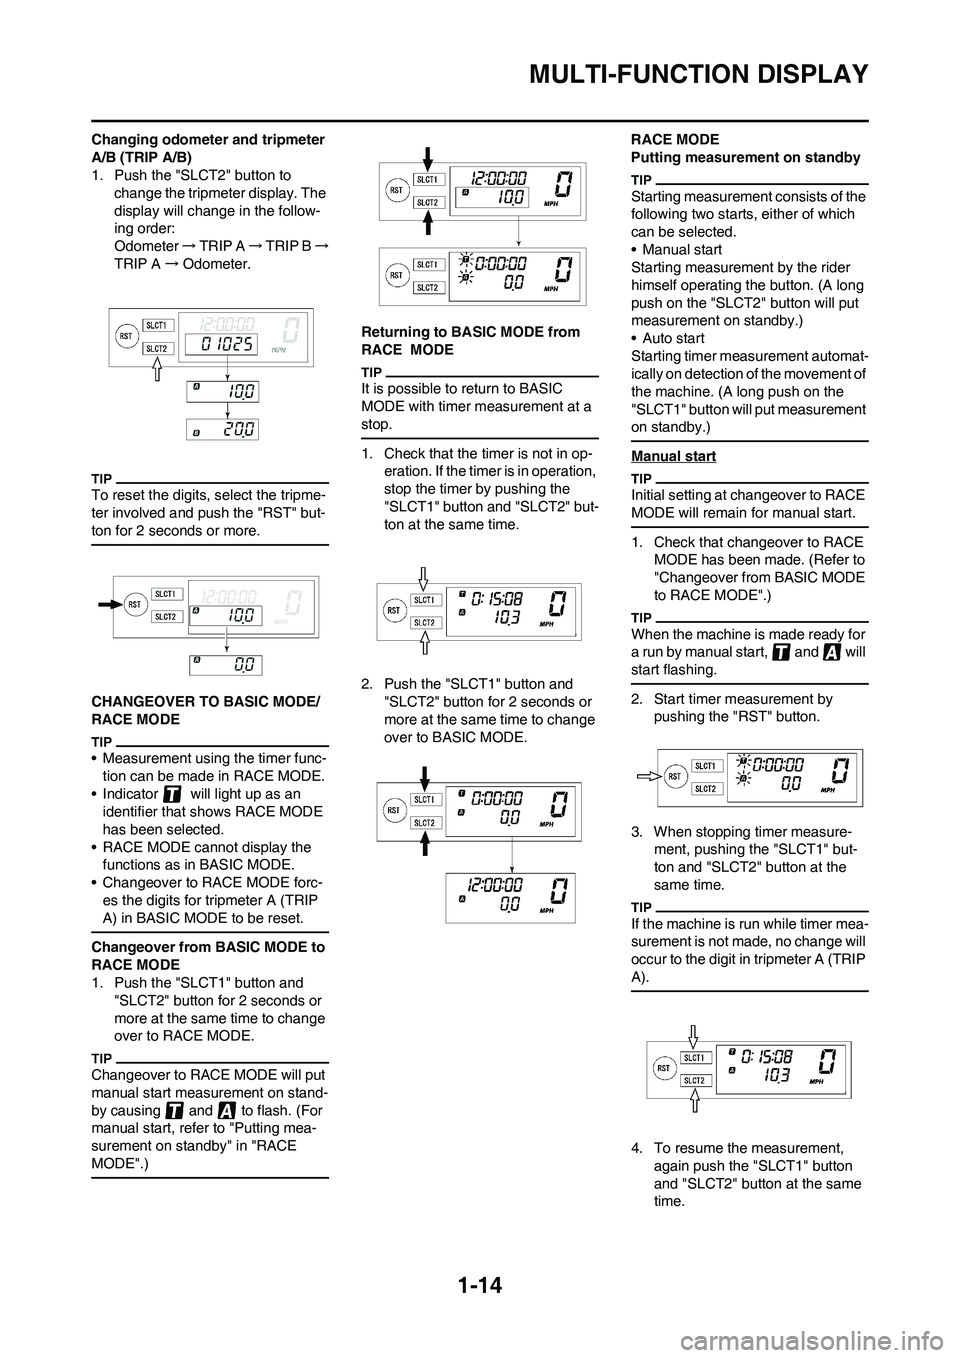
Changing odometer and tripmeter
A/B (TRIP A/B)
1. Push the "SLCT2" button to change the tripmeter display. The
display will change in the follow-
ing order:
Odometer →TRIP A →TRIP B →
TRIP A →Odometer.
To reset the digits, select the tripme-
ter involved and push the "RST" but-
ton for 2 seconds or more.
CHANGEOVER TO BASIC MODE/
RACE MODE
• Measurement using the timer func-
tion can be made in RACE MODE.
• Indicator will light up as an identifier that shows RACE MODE
has been selected.
• RACE MODE cannot display the functions as in BASIC MODE.
• Changeover to RACE MODE forc-
es the digits for tripmeter A (TRIP
A) in BASIC MODE to be reset.
Changeover from BASIC MODE to
RACE MODE
1. Push the "SLCT1" button and "SLCT2" button for 2 seconds or
more at the same time to change
over to RACE MODE.
Changeover to RACE MODE will put
manual start measurement on stand-
by causing and to flash. (For
manual start, refer to "Putting mea-
surement on standby" in "RACE
MODE".)
Returning to BASIC MODE from
RACE MODE
It is possible to return to BASIC
MODE with timer measurement at a
stop.
1. Check that the timer is not in op- eration. If the timer is in operation,
stop the timer by pushing the
"SLCT1" button and "SLCT2" but-
ton at the same time.
2. Push the "SLCT1" button and "SLCT2" button for 2 seconds or
more at the same time to change
over to BASIC MODE. RACE MODE
Putting measurement on standby
Starting measurement
consists of the
following two starts, either of which
can be selected.
• Manual start
Starting measurement by the rider
himself operating the button. (A long
push on the "SLCT2" button will put
measurement on standby.)
• Auto start
Starting timer measurement automat-
ically on detection of the movement of
the machine. (A long push on the
"SLCT1" button will put measurement
on standby.)
Manual start
Initial setting at changeover to RACE
MODE will remain for manual start.
1. Check that changeover to RACE MODE has been made. (Refer to
"Changeover from BASIC MODE
to RACE MODE".)
When the machine is made ready for
a run by manual start, and will
start flashing.
2. Start timer measurement by pushing the "RST" button.
3. When stopping timer measure- ment, pushing the "SLCT1" but-
ton and "SLCT2" button at the
same time.
If the machine is run while timer mea-
surement is not made, no change will
occur to the digit in tripmeter A (TRIP
A).
4. To resume the measurement,
again push the "SLCT1" button
and "SLCT2" button at the same
time.