2010 SUZUKI SX4 engine
[x] Cancel search: enginePage 136 of 297
4-3DRIVING TIPS
80J23-03E
60A183S
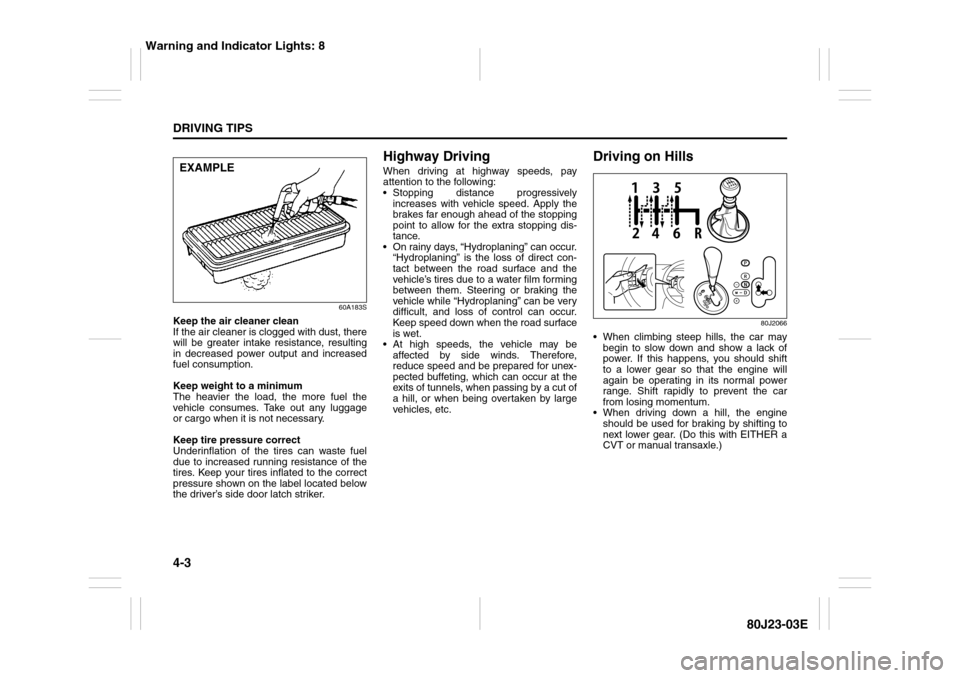
Keep the air cleaner clean
If the air cleaner is clogged with dust, there
will be greater intake resistance, resulting
in decreased power output and increased
fuel consumption.
Keep weight to a minimum
The heavier the load, the more fuel the
vehicle consumes. Take out any luggage
or cargo when it is not necessary.
Keep tire pressure correct
Underinflation of the tires can waste fuel
due to increased running resistance of the
tires. Keep your tires inflated to the correct
pressure shown on the label located below
the driver’s side door latch striker.
Highway DrivingWhen driving at highway speeds, pay
attention to the following:
Stopping distance progressively
increases with vehicle speed. Apply the
brakes far enough ahead of the stopping
point to allow for the extra stopping dis-
tance.
On rainy days, “Hydroplaning” can occur.
“Hydroplaning” is the loss of direct con-
tact between the road surface and the
vehicle’s tires due to a water film forming
between them. Steering or braking the
vehicle while “Hydroplaning” can be very
difficult, and loss of control can occur.
Keep speed down when the road surface
is wet.
At high speeds, the vehicle may be
affected by side winds. Therefore,
reduce speed and be prepared for unex-
pected buffeting, which can occur at the
exits of tunnels, when passing by a cut of
a hill, or when being overtaken by large
vehicles, etc.
Driving on Hills
80J2066
When climbing steep hills, the car may
begin to slow down and show a lack of
power. If this happens, you should shift
to a lower gear so that the engine will
again be operating in its normal power
range. Shift rapidly to prevent the car
from losing momentum.
When driving down a hill, the engine
should be used for braking by shifting to
next lower gear. (Do this with EITHER a
CVT or manual transaxle.)
EXAMPLE
Warning and Indicator Lights: 8
Page 137 of 297
4-4
DRIVING TIPS
80J23-03E
Driving on Slippery Roads
60G089S
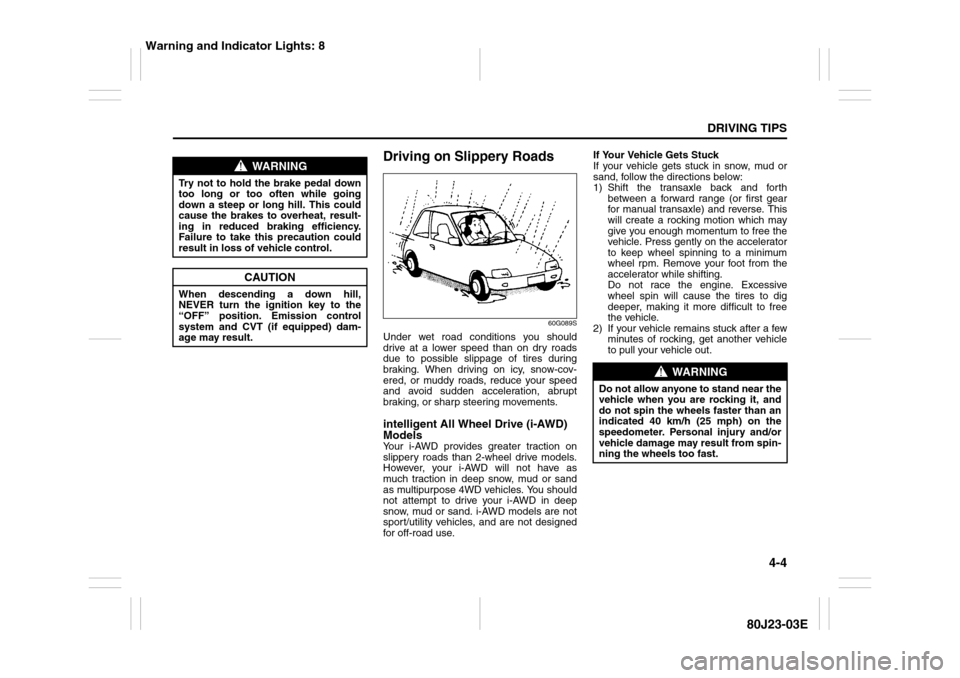
Under wet road conditions you should
drive at a lower speed than on dry roads
due to possible slippage of tires during
braking. When driving on icy, snow-cov-
ered, or muddy roads, reduce your speed
and avoid sudden acceleration, abrupt
braking, or sharp steering movements.intelligent All Wheel Drive (i-AWD)
ModelsYour i-AWD provides greater traction on
slippery roads than 2-wheel drive models.
However, your i-AWD will not have as
much traction in deep snow, mud or sand
as multipurpose 4WD vehicles. You should
not attempt to drive your i-AWD in deep
snow, mud or sand. i-AWD models are not
sport/utility vehicles, and are not designed
for off-road use.If Your Vehicle Gets Stuck
If your vehicle gets stuck in snow, mud or
sand, follow the directions below:
1) Shift the transaxle back and forth
between a forward range (or first gear
for manual transaxle) and reverse. This
will create a rocking motion which may
give you enough momentum to free the
vehicle. Press gently on the accelerator
to keep wheel spinning to a minimum
wheel rpm. Remove your foot from the
accelerator while shifting.
Do not race the engine. Excessive
wheel spin will cause the tires to dig
deeper, making it more difficult to free
the vehicle.
2) If your vehicle remains stuck after a few
minutes of rocking, get another vehicle
to pull your vehicle out.
WARNING
Try not to hold the brake pedal down
too long or too often while going
down a steep or long hill. This could
cause the brakes to overheat, result-
ing in reduced braking efficiency.
Failure to take this precaution could
result in loss of vehicle control.
CAUTION
When descending a down hill,
NEVER turn the ignition key to the
“OFF” position. Emission control
system and CVT (if equipped) dam-
age may result.
WARNING
Do not allow anyone to stand near the
vehicle when you are rocking it, and
do not spin the wheels faster than an
indicated 40 km/h (25 mph) on the
speedometer. Personal injury and/or
vehicle damage may result from spin-
ning the wheels too fast.
Warning and Indicator Lights: 8
Page 138 of 297
4-5DRIVING TIPS
80J23-03E
Tire ChainsTire chains should only be used if they are
needed to increase traction or are required
by law. Make sure that the chains you use
are small-link chains or cable-type chains
and are the correct size for your vehicle’s
tires. Also make sure that there is enough
clearance between the fenders and the
chains as installed on the tires.
Install the chains on the front tires tightly,
according to the chain manufacturer’s
instructions. Retighten the chains after
driving about 1.0 km (1/2 mile) if neces-
sary. With the chains installed, drive slowly.Do not drive through deep or rushing
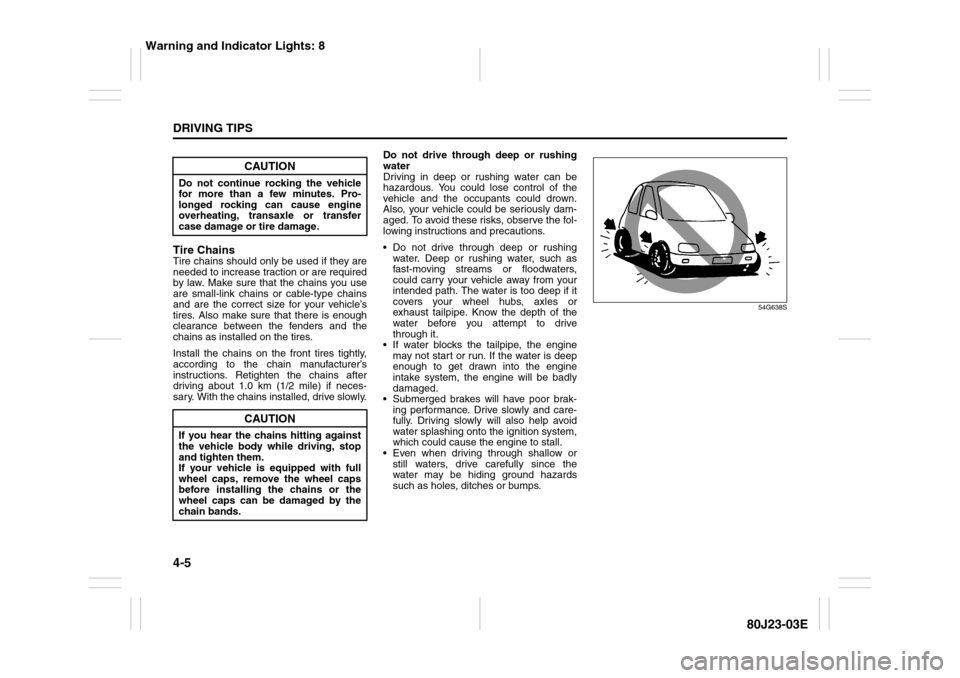
water
Driving in deep or rushing water can be
hazardous. You could lose control of the
vehicle and the occupants could drown.
Also, your vehicle could be seriously dam-
aged. To avoid these risks, observe the fol-
lowing instructions and precautions.
Do not drive through deep or rushing
water. Deep or rushing water, such as
fast-moving streams or floodwaters,
could carry your vehicle away from your
intended path. The water is too deep if it
covers your wheel hubs, axles or
exhaust tailpipe. Know the depth of the
water before you attempt to drive
through it.
If water blocks the tailpipe, the engine
may not start or run. If the water is deep
enough to get drawn into the engine
intake system, the engine will be badly
damaged.
Submerged brakes will have poor brak-
ing performance. Drive slowly and care-
fully. Driving slowly will also help avoid
water splashing onto the ignition system,
which could cause the engine to stall.
Even when driving through shallow or
still waters, drive carefully since the
water may be hiding ground hazards
such as holes, ditches or bumps.
54G638S
CAUTION
Do not continue rocking the vehicle
for more than a few minutes. Pro-
longed rocking can cause engine
overheating, transaxle or transfer
case damage or tire damage.
CAUTION
If you hear the chains hitting against
the vehicle body while driving, stop
and tighten them.
If your vehicle is equipped with full
wheel caps, remove the wheel caps
before installing the chains or the
wheel caps can be damaged by the
chain bands.
Warning and Indicator Lights: 8
Page 141 of 297
OTHER CONTROLS AND EQUIPMENT
5
80J23-03E
60G407
OTHER CONTROLS AND EQUIPMENTHeating and Air Conditioning System ............................... 5-1
Radio Antenna ..................................................................... 5-15
Audio Systems .................................................................... 5-15
Fuel Filler Cap ..................................................................... 5-43
Engine Hood ........................................................................ 5-44
Sun Visor ............................................................................. 5-45
Interior Light Switch ........................................................... 5-45
Luggage Compartment Light (SX4) ................................... 5-46
Trunk Light (SX4 SEDAN) ................................................... 5-46
Spot Light ............................................................................ 5-47
Accessory Socket (if equipped) ......................................... 5-47
Cigarette Lighter and Ashtray (if equipped) ..................... 5-47
Assist Grips (if equipped) .................................................. 5-48
Glove Box ............................................................................ 5-49
Cup Holder and Storage Area (if equipped) ..................... 5-49
Front Seat Back Pocket (if equipped) ............................... 5-50
Armrest (if equipped) .......................................................... 5-51
Shopping Hook (if equipped) ............................................. 5-51
Floor Mats (if equipped) ..................................................... 5-51
Luggage Compartment Cover (if equipped) ..................... 5-52
Luggage Compartment Board (if equipped) ..................... 5-53
Roof Rails or Roof Rack Anchors (if equipped) ............... 5-55
Frame Hooks ....................................................................... 5-56
Page 148 of 297
5-7OTHER CONTROLS AND EQUIPMENT
80J23-03E
Air conditioning switch (5)
To turn on the air conditioning system,
push in the “A/C” switch and set the blower
speed selector to a position other than
“OFF”. With this “A/C” switch operation, a
indicator light will come on when the air
conditioning system is on. To turn off the
air conditioning system, push the “A/C”
switch again.
During operation of the air conditioner, you
may notice slight changes in engine
speed. These changes are normal, the
system is designed so that the compressor
turns on or off to maintain the desired tem-
perature.
Less operation of the compressor results
in better fuel economy.
System Operating InstructionsNatural ventilation
Select “VENTILATION” and “FRESH AIR”,
the temperature selector to the desired
temperature position, and the blower
speed selector to “OFF”. Fresh air will flow
through the vehicle during driving.
Forced ventilation
The control settings are the same as for
natural ventilation except you set the
blower speed selector to a position other
than “OFF”.
Normal heating (using outside air)
Select “HEAT” and “FRESH AIR”, the tem-
perature selector to the desired tempera-
ture position and the blower speed selector
to the desired blower speed position. Set-
ting the blower speed selector to a higher
blower speed position increases heating
efficiency.
Quick heating (using recirculated air)
The control settings are the same as for
normal heating except you select “RECIR-
CULATED AIR”. If you use this heating
method for an extended period of time, the
air in the vehicle can become contami-
nated and the windows can become misty.
Therefore, use this method only for quick
heating and change to the normal heating
method as soon as possible.Head cooled/Feet warmed heating
Select “BI-LEVEL” and “FRESH AIR”, the
temperature selector to the desired tem-
perature position, and the blower speed
selector to the desired blower speed posi-
tion. Unless the temperature selector is in
the fully COLD position or fully HOT posi-
tion, the air that comes out of the center
and side outlets will be cooler than the air
that comes out of the floor outlets.
Normal cooling
Turn on the “A/C” switch, set the air flow
selector to “VENTILATION”, the tempera-
ture selector to the desired temperature
position and the blower speed selector to
the desired blower speed position. Setting
the blower speed selector to a higher
blower speed position increases cooling
efficiency.
You can switch the air intake selector to
either “FRESH AIR” or “RECIRCULATED
AIR” as you desire. Choosing “RECIRCU-
LATED AIR” increases cooling efficiency.
Folding Rear Seats: 3
Page 149 of 297
5-8
OTHER CONTROLS AND EQUIPMENT
80J23-03E
Quick cooling (using recirculated air)
The control settings are the same as for
normal cooling except you select “RECIR-
CULATED AIR” and the highest blower
speed.
NOTE:
If you select “RECIRCULATED AIR” for
an extended period of time, the air in the
vehicle can become contaminated.
Therefore, you should occasionally
select “FRESH AIR”.
If your vehicle has been left in the sun
with the windows closed, it will cool
faster if you open the windows briefly
while you operate the air conditioner with
the air intake selector at “FRESH AIR”
and the blower at high speed.
Dehumidifying
Turn on the “A/C” switch, set the air flow
selector to a desired air flow selector posi-
tion, and select “FRESH AIR”, the temper-
ature selector to the desired temperature
position, and the blower speed selector to
the desired blower speed position.
NOTE:
Because the air conditioner dehumidifies
the air, turning it on will help keep the win-
dows clear, even when blowing heated air
using the “DEFROST” or “HEAT &
DEFROST” functions.
79J070
NOTE:
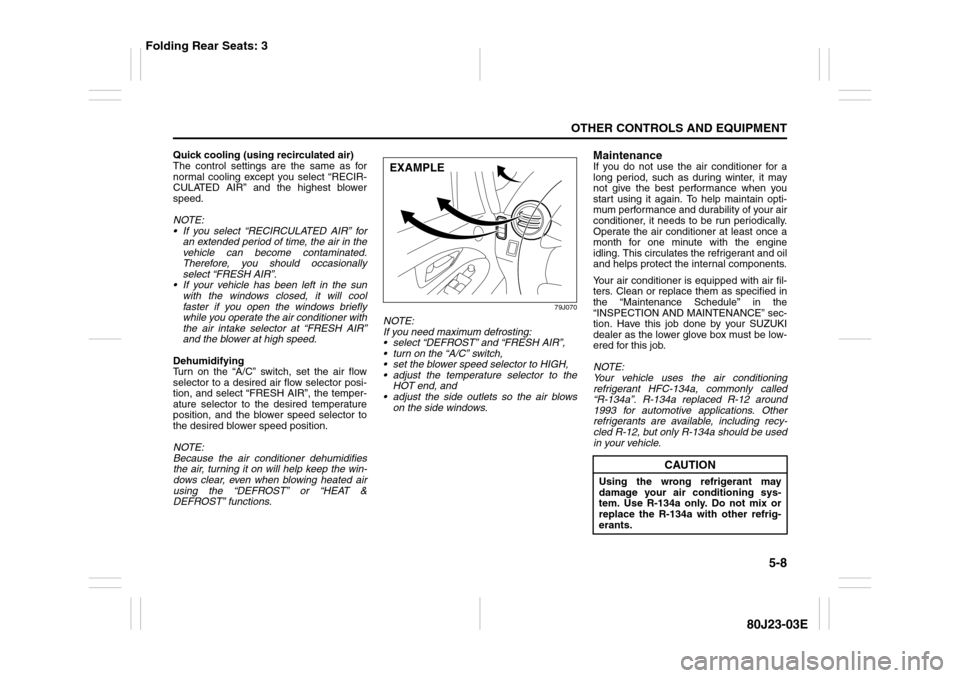
If you need maximum defrosting:
select “DEFROST” and “FRESH AIR”,
turn on the “A/C” switch,
set the blower speed selector to HIGH,
adjust the temperature selector to the
HOT end, and
adjust the side outlets so the air blows
on the side windows.
MaintenanceIf you do not use the air conditioner for a
long period, such as during winter, it may
not give the best performance when you
start using it again. To help maintain opti-
mum performance and durability of your air
conditioner, it needs to be run periodically.
Operate the air conditioner at least once a
month for one minute with the engine
idling. This circulates the refrigerant and oil
and helps protect the internal components.
Your air conditioner is equipped with air fil-
ters. Clean or replace them as specified in
the “Maintenance Schedule” in the
“INSPECTION AND MAINTENANCE” sec-
tion. Have this job done by your SUZUKI
dealer as the lower glove box must be low-
ered for this job.
NOTE:
Your vehicle uses the air conditioning
refrigerant HFC-134a, commonly called
“R-134a”. R-134a replaced R-12 around
1993 for automotive applications. Other
refrigerants are available, including recy-
cled R-12, but only R-134a should be used
in your vehicle.
EXAMPLE
CAUTION
Using the wrong refrigerant may
damage your air conditioning sys-
tem. Use R-134a only. Do not mix or
replace the R-134a with other refrig-
erants.
Folding Rear Seats: 3
Page 153 of 297
5-12
OTHER CONTROLS AND EQUIPMENT
80J23-03E
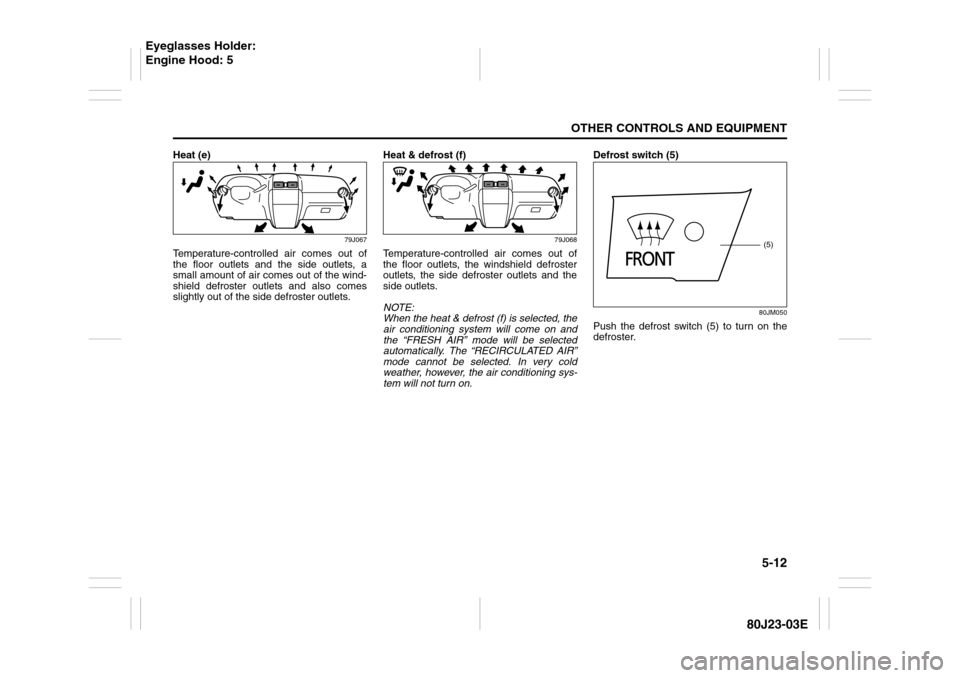
Heat (e)
79J067
Temperature-controlled air comes out of
the floor outlets and the side outlets, a
small amount of air comes out of the wind-
shield defroster outlets and also comes
slightly out of the side defroster outlets.Heat & defrost (f)
79J068
Temperature-controlled air comes out of
the floor outlets, the windshield defroster
outlets, the side defroster outlets and the
side outlets.
NOTE:
When the heat & defrost (f) is selected, the
air conditioning system will come on and
the “FRESH AIR” mode will be selected
automatically. The “RECIRCULATED AIR”
mode cannot be selected. In very cold
weather, however, the air conditioning sys-
tem will not turn on.Defrost switch (5)
80JM050
Push the defrost switch (5) to turn on the
defroster.
(5)
Eyeglasses Holder:
Engine Hood: 5
Page 154 of 297
5-13OTHER CONTROLS AND EQUIPMENT
80J23-03E
Defrost
80JM051
Temperature-controlled air comes out of
the windshield defroster outlets, the side
defroster outlets and the side outlets.
NOTE:
When the defrost switch (5) is pushed to
turn on the defroster, the air conditioning
system will come on and the “FRESH AIR”
mode will be selected automatically. In
very cold weather, however, the air condi-
tioning system will not turn on.
System Operating InstructionsAutomatic operation
80JM126
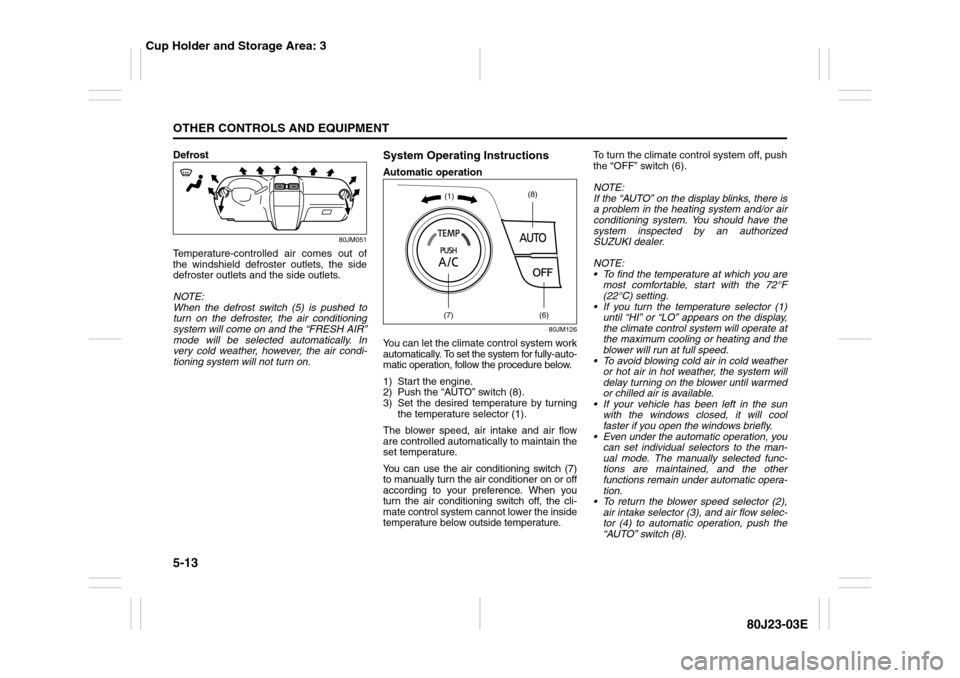
You can let the climate control system work
automatically. To set the system for fully-auto-
matic operation, follow the procedure below.
1) Start the engine.
2) Push the “AUTO” switch (8).
3) Set the desired temperature by turning
the temperature selector (1).
The blower speed, air intake and air flow
are controlled automatically to maintain the
set temperature.
You can use the air conditioning switch (7)
to manually turn the air conditioner on or off
according to your preference. When you
turn the air conditioning switch off, the cli-
mate control system cannot lower the inside
temperature below outside temperature.To turn the climate control system off, push
the “OFF” switch (6).
NOTE:
If the “AUTO” on the display blinks, there is
a problem in the heating system and/or air
conditioning system. You should have the
system inspected by an authorized
SUZUKI dealer.
NOTE:
To find the temperature at which you are
most comfortable, start with the 72°F
(22°C) setting.
If you turn the temperature selector (1)
until “HI” or “LO” appears on the display,
the climate control system will operate at
the maximum cooling or heating and the
blower will run at full speed.
To avoid blowing cold air in cold weather
or hot air in hot weather, the system will
delay turning on the blower until warmed
or chilled air is available.
If your vehicle has been left in the sun
with the windows closed, it will cool
faster if you open the windows briefly.
Even under the automatic operation, you
can set individual selectors to the man-
ual mode. The manually selected func-
tions are maintained, and the other
functions remain under automatic opera-
tion.
To return the blower speed selector (2),
air intake selector (3), and air flow selec-
tor (4) to automatic operation, push the
“AUTO” switch (8).
(7)
(6)
(8)
(1)
Cup Holder and Storage Area: 3