2010 SUBARU FORESTER light
[x] Cancel search: lightPage 189 of 402

5-18Audio
! Inserting a disc in a desired posi- tion
1. Briefly press the “LOAD ”button. If the
magazine in the player has an idle
position where you can insert a disc, the
disc number indicator associated with the
idle position will blink.
The positions in the magazine the indica-
tor of which steadily lights up are already
loaded with discs.
2. Press the disc select button at the
position where you want to insert a disc.
3. When the “LOAD ”indicator illumi-
nates, insert the disc. Once you have
inserted the disc, the “LOAD ”indicator will
turn off. The disc will then be automatically
drawn in, and the player will begin to play
the first track on the disc. . If you wish to insert another disc,
repeat the procedure beginning with step 1.
If you do not insert any disc in 15 seconds
after you have pressed the “LOAD ”button,
the player will begin to play back the first
track of the last disc you have inserted. . While the player is in the loading mode,
if you press “FM/AM ”, “SAT ”or “AUX ”
button, the player will enter standby mode. Press the
“CD ”button to start playback.
! Loading all the magazine (full disc
loading mode)
1. If you continue to press the “LOAD ”
button for more than 1.5 seconds, the
player will produce beep sound and will
enter the full disc loading mode.
2. When the disc number indicator
flashes and “ALL LOAD ”indicator illumi-
nates, insert a disc within 15 seconds. If a
disc is successfully loaded during this
period, the disc number indicator will stop
blinking and will steadily light.
3. When the loading of a disc is com-
plete, the next disc number indicator will
blink. Then repeat Step 2.
4. When the magazine is filled with discs
by repeating Steps 2 and 3, the player will
Page 190 of 402

start playback of the discs, beginning with
the one inserted first.
If you fail to insert any disc during each 15
seconds interval, the full disc loading
mode will be canceled, and the player will
start playback of the disc inserted first. &How to play back a CD
! When there is no CD inserted
Properly insert a CD. Refer to “How to
insert a CD (type A) ”F 5-17 / “How to
insert a CD(s) (type B) ”F 5-17.
When a CD is loaded, the player will start
playback of the CD, beginning with the
first track. ! When CD is in the player (type A)
When the “CD ”button is pressed, the
player will start playback. !
When there are CDs loaded (type B)
Press a desired one of the disc select
buttons the disc number indicator of which
steadily lights up. The player will then start
playback of the selected CD, beginning
with the first track.
If a disc that the player cannot read has
been loaded, the player will display themessage “CHECK DISC ”. &
To select a track from its beginning
! Forward direction
Turn the “TRACK ”dial clockwise to skip to
the beginning of the next track/file (track).
Each time the dial is turned, the indicated
track/file (track) number will increase.
NOTE
In an MP3 or WMA folder, skipping past
the last track/file (track) will take you
back to the first track/file (track) in the
folder. Audio
5-19
– CONTINUED –
Page 198 of 402

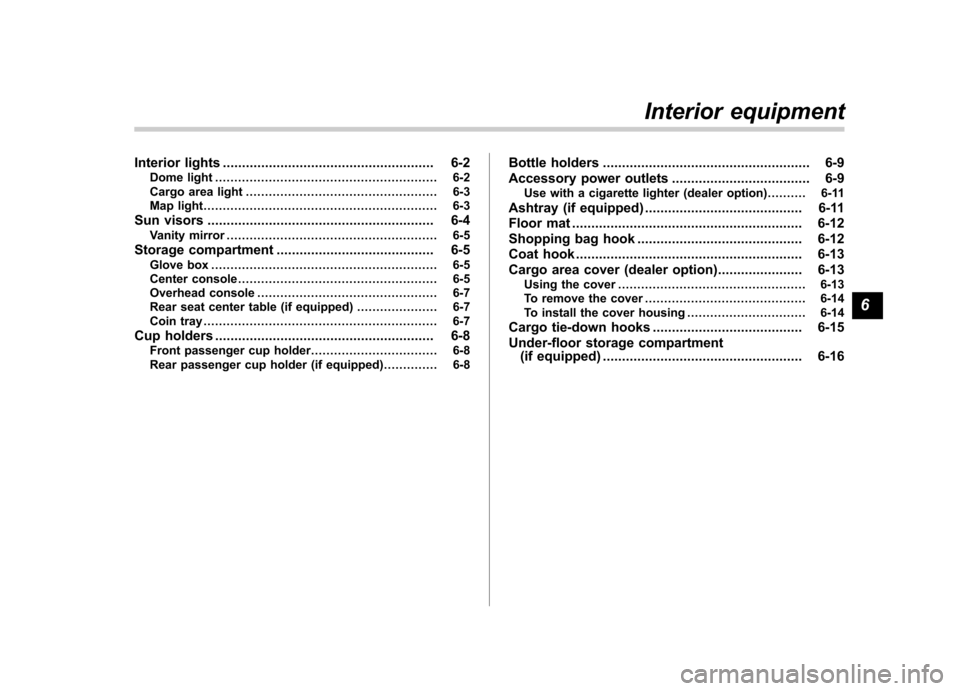
.You cannot use a DualDisc in the CD
player. If you insert a DualDisc into the
player, the disc may not come out again,
possibly causing the player to malfunction. . In cold and/or rainy weather, dew can
form inside the CD player, preventing
normal operation. If this happens, eject
the CD and wait for the player to dry out. . Skipping may occur when the CD
player is subjected to severe vibration
(for example, when the vehicle is driven
on a rough surface). . To remove a disc from the case, press
the center of the case and hold both
edges of the disc. If the disc surface is
touched directly, contamination could
cause poor tone quality. Do not touch the
disc surface. . Use a clean disc whenever possible. If there are deposits, wipe the disc surface
from the center outward with a dry, soft
cloth. Be sure not to use a hard cloth,
thinner, benzine, alcohol, etc. .
Do not use any disc that is scratched,
deformed, or cracked. Also, do not use
any disc that has a non-standard shape
(for example, a heart shape). Malfunctions
or problems might result. . A disc is vulnerable to heat. Never
keep it either in places exposed to direct
sunlight, near heaters or in vehicles
parked in the sun or on hot days. Audio
5-27
– CONTINUED –
Page 202 of 402

Interior lights....................................................... 6-2
Dome light .......................................................... 6-2
Cargo area light .................................................. 6-3
Map light ............................................................. 6-3
Sun visors ........................................................... 6-4
Vanity mirror ....................................................... 6-5
Storage compartment ......................................... 6-5
Glove box ........................................................... 6-5
Center console .................................................... 6-5
Overhead console ............................................... 6-7
Rear seat center table (if equipped) ..................... 6-7
Coin tray ............................................................. 6-7
Cup holders ......................................................... 6-8
Front passenger cup holder ................................. 6-8
Rear passenger cup holder (if equipped).. ............ 6-8Bottle holders
...................................................... 6-9
Accessory power outlets .................................... 6-9
Use with a cigarette lighter (dealer option)..... ..... 6-11
Ashtray (if equipped) ......................................... 6-11
Floor mat ............................................................ 6-12
Shopping bag hook ........................................... 6-12
Coat hook ........................................................... 6-13
Cargo area cover (dealer option) ...................... 6-13
Using the cover ................................................. 6-13
To remove the cover .......................................... 6-14
To install the cover housing ............................... 6-14
Cargo tie-down hooks ....................................... 6-15
Under-floor storage compartment (if equipped) .................................................... 6-16Interior equipment
6
Page 203 of 402

6-2Interior equipment
Interior lights
When leaving your vehicle, make sure the
light is turned off to avoid battery dis-charge. &Dome light
Type A
Type B
1) ON
2) DOOR
3) OFF
The dome light switch has the following
three positions. ON: The light remains on continuously.
OFF: The light remains off.
DOOR: The dome light illuminates auto-
matically in the following cases. . Any of the doors or the rear gate is
opened.. The doors or the rear gate are un-
locked using the remote keyless entry
transmitter. . The ignition switch is turned from the
“ Acc ”position to the “LOCK ”position. The automatically illuminated dome light
remains on for several seconds and then
gradually turns off after all doors and the
rear gate are closed.
While the light is illuminated, if any of the
following operations are performed, the
dome light turns off immediately. .
The ignition switch is turned from the
“ LOCK ”position to the “Acc ”or “ON ”
position.. All doors and the rear gate are locked
using the remote keyless entry transmitter.
The setting of the period for which the light
remains on (OFF delay timer) can be
changed as follows. . Models with genuine SUBARU navi-
gation system:
The setting can be changed using the
navigation monitor. For details, please
refer to the Owner ’s Manual supplement
for the navigation system. Also, the setting
can be changed by a SUBARU dealer.
Contact your SUBARU dealer for details. . Models without genuine SUBARU
navigation system:
The setting can be changed by a
SUBARU dealer. Contact your SUBARU
dealer for details.
Page 204 of 402

&Cargo area light
1) DOOR
2) OFF
3) ON
The cargo area light switch has the
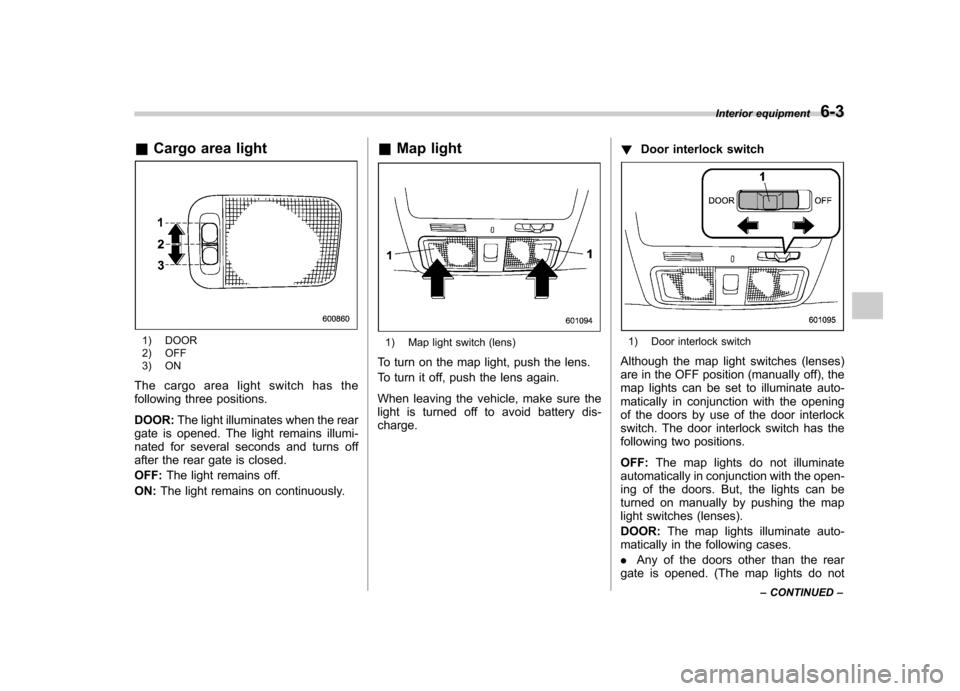
following three positions. DOOR: The light illuminates when the rear
gate is opened. The light remains illumi-
nated for several seconds and turns off
after the rear gate is closed. OFF: The light remains off.
ON: The light remains on continuously. &
Map light1) Map light switch (lens)
To turn on the map light, push the lens.
To turn it off, push the lens again.
When leaving the vehicle, make sure the
light is turned off to avoid battery dis-charge. !
Door interlock switch1) Door interlock switch
Although the map light switches (lenses)
are in the OFF position (manually off), the
map lights can be set to illuminate auto-
matically in conjunction with the opening
of the doors by use of the door interlock
switch. The door interlock switch has the
following two positions. OFF: The map lights do not illuminate
automatically in conjunction with the open-
ing of the doors. But, the lights can be
turned on manually by pushing the map
light switches (lenses). DOOR: The map lights illuminate auto-
matically in the following cases.. Any of the doors other than the rear
gate is opened. (The map lights do not Interior equipment
6-3
– CONTINUED –
Page 205 of 402

6-4Interior equipment
illuminate when only the rear gate is opened.) .The doors are unlocked using the
remote keyless entry transmitter.. The ignition switch is turned from the
“ Acc ”position to the “LOCK ”position.
The automatically illuminated map lights
remain on for several seconds and then
gradually turn off after all doors are
closed. While the lights are on, if any of
the following operations are performed,
the map lights turn off immediately. . The ignition switch is turned from the
“ LOCK ”position to the “Acc ”or “ON ”
position.. All doors and the rear gate are locked
using the remote keyless entry transmitter.
The setting of the period for which the
lights remain on (OFF delay timer) can be
changed as follows. . Models with genuine SUBARU navi-
gation system:
The setting can be changed using the
navigation monitor. For details, please
refer to the Owner ’s Manual supplement
for the navigation system. Also, the setting
can be changed by a SUBARU dealer.
Contact your SUBARU dealer for details. .
Models without genuine SUBARU
navigation system:
The setting can be changed by a
SUBARU dealer. Contact your SUBARU
dealer for details. Sun visors
To block out glare, swing down the visors.
To use the sun visor at a side window,
swing it down and move it sideways.
Page 206 of 402

&Vanity mirror
CAUTION
Keep the vanity mirror cover closed
while the car is being driven to avoid
being temporarily blinded by the
glare of bright light.
To use the vanity mirror, swing down the
sun visor and open the vanity mirror cover. Storage compartment
CAUTION
. Always keep the storage com-
partment closed while driving to
reduce the risk of injury in the
event of a sudden stop or anaccident.
. Do not store spray cans, contain-
ers with flammable or corrosive
liquids or any other dangerous
items in the storage compart-ment. &
Glove box
1) Lock
2) Unlock
To open the glove box, pull the handle. To
close it, push the lid firmly upward.
To lock the glove box, insert the key and
turn it clockwise. To unlock the glove box,
insert the key and turn it counterclockwise. & Center console
The center console box provides a sto-
rage space. In addition, the top of the
console can be used as an armrest. Interior equipment
6-5
– CONTINUED –