Page 186 of 658
Features and controls
3-91
3
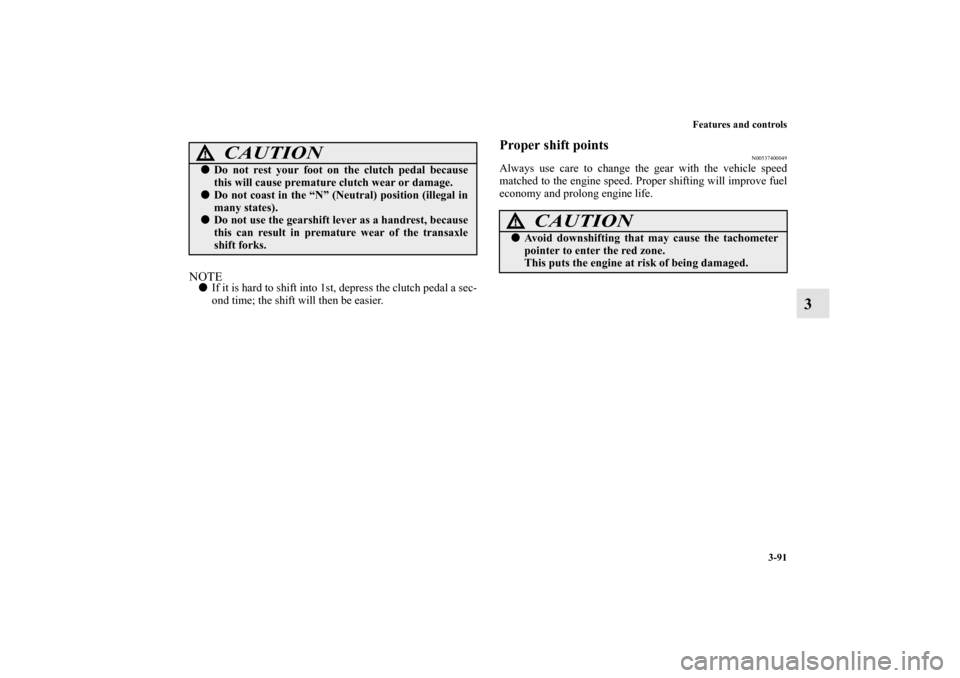
NOTE�
If it is hard to shift into 1st, depress the clutch pedal a sec-
ond time; the shift will then be easier.
Proper shift points
N00537400049
Always use care to change the gear with the vehicle speed
matched to the engine speed. Proper shifting will improve fuel
economy and prolong engine life.
CAUTION
!�
Do not rest your foot on the clutch pedal because
this will cause premature clutch wear or damage.
�
Do not coast in the “N” (Neutral) position (illegal in
many states).
�
Do not use the gearshift lever as a handrest, because
this can result in premature wear of the transaxle
shift forks.
CAUTION
!�
Avoid downshifting that may cause the tachometer
pointer to enter the red zone.
This puts the engine at risk of being damaged.
BK0103001US.book 91 ページ 2009年8月20日 木曜日 午前10時45分
Page 196 of 658
 or “P�")
Features and controls
3-101
3
NOTE�
Shift ranges can only be selected in a forward direction
from 1st to 6th. To reverse or park the vehicle, move the
selector lever to the “R” (REVERSE) or “P” (PARK)
position.
�
To maintain good running performance, the transmission
may refuse to perform an upshift when the selector lever
or sportronic steering wheel paddle shifter is moved to the
“+ (SHIFT UP)” position at certain vehicle speeds. Also,
to prevent over-revving of the engine, the transmission
may refuse to perform a downshift when the shift lever or
sportronic steering wheel paddle shifter is moved to the “-
(SHIFT DOWN)” position at certain vehicle speeds.
When this happens, a buzzer sounds to indicate that a
downshift is not going to take place.
�
Move the selector lever gently between the manual and
main gates and between positions in the manual gate. And
do not operate sportronic steering wheel paddle shifter
violently. Excessive force could damage the selector lever
or sportronic steering wheel paddle shifter.
Sports mode display
N00538800138
In sports mode, the currently selected shift range is displayed
on the information screen in the multi-information display.
�
By rapidly moving the selector lever or sportronic
steering wheel paddle shifter to the “- (SHIFT
DOWN)” side twice, it is possible to skip one shift
range (i.e., 3rd to 1st or 4th to 2nd). Since sudden
engine braking or acceleration can cause a loss of
traction, downshifts must be made carefully in
accordance with the vehicle’s speed.
�
Shift ranges may not change when the lateral paddle
shifters are operated at the same time.CAUTION
!
BK0103001US.book 101 ページ 2009年8月20日 木曜日 午前10時45分
Page 210 of 658
Features and controls
3-115
3
Manual shift
N00540500044
Using the gearshift lever (A) or the sportronic steering wheel
shifters (B), shifting can be performed manually.
Shifting can be performed even while the accelerator pedal is
depressed.
This allows the driver to enjoy sporty driving, such as quick
cornering, by nimbly downshifting to reduce vehicle speed just
before entering a curve.
CAUTION
!�
When manually shifting while the vehicle is being
driven, select the correct shift position to control the
engine speed so that the tachometer indicator does
not enter the red zone.
�
Sudden engine braking and rapid acceleration can
cause the vehicle to skid. Shift down according to
road conditions and vehicle speed.
�
If both the left and right sportronic steering wheel
shifters are operated at the same time, the transmis-
sion may not change gears.
BK0103001US.book 115 ページ 2009年8月20日 木曜日 午前10時45分
Page 223 of 658

3-128 Features and controls
3
ACD control mode
N00545400035
Select the control mode from the following three types to suit
the driving conditions.
ACD control mode switch
N00545500023
When the ignition switch is set to the “ON” position, operate
the “AWC” switch to change the control mode.
Each time the switch is pushed, the control mode changes in
the order “TARMAC” → “GRAVEL” → “SNOW” → “TAR-
MAC”.NOTE�
The control mode can be changed while the vehicle is
moving.
�
The selected control mode is stored in memory even if the
engine is stopped.
However, if a battery terminal is disconnected, the control
mode stored in memory will be erased and the control
mode will be set to the “TARMAC” mode.
ACD control
mode
Operation
TA R M A CNormally, use this control mode. Use this
mode for paved roads.
GRAVELUse this control mode when driving on some-
what slippery road surfaces, such as wet road
surfaces and gravel roads.
SNOWUse this control mode when driving on slip-
pery road surfaces, such as snow-covered
roads.
BK0103001US.book 128 ページ 2009年8月20日 木曜日 午前10時45分
Page 224 of 658

Features and controls
3-129
3
ACD control mode display
N00545600040
The currently selected control mode is displayed on the multi-
information display.
In addition, when the control mode is changed, the selected
mode appears on the interrupt display screen of the information
screen in the multi-information display.
The control mode display will appear on the information
screen for a few seconds, and then the original screen will
return.
ACD warning display
N00545700070
When there is a malfunction in the system, the warning dis-
play will appear on the information screen in the multi-infor-
mation display.
In addition, the ACD control mode display in section A will go
out at the same time.
Example: “TARMAC” mode is selected.
CAUTION
!�
The ACD control mode display may flash under
aggressive driving conditions.
At this time, ACD control is temporarily suspended
in order to protect the ACD device, but this will not
affect normal driving.
After the vehicle is driven for a while, if the ACD
control mode display remains on, the ACD control
will start operating again.
BK0103001US.book 129 ページ 2009年8月20日 木曜日 午前10時45分
Page 257 of 658
3-162 Features and controls
3
Tachometer
N00519200247
The tachometer shows engine revolutions per minute. This
allows the driver to determine the most efficient shift position
(manual transaxle), selector position {continuously variable
transmission (CVT)} or shift position (Twin Clutch SST) and
engine speed combinations.
This gauge also assists in evaluating engine performance.
Rheostat meter illumination button
N00554900108
Each time you press this button, there is a sound and the bright-
ness of the instruments changes.
CAUTION
!�
The red zone indicates an engine speed beyond the
range of safe operation.
�
Select the correct shift position (manual transaxle),
selector position (CVT) or gearshift position (Twin
Clutch SST) to control the engine speed so that the
tachometer indicator does not enter the red zone.
1- Brightness display
2- Rheostat illumination button
BK0103001US.book 162 ページ 2009年8月20日 木曜日 午前10時45分
Page 263 of 658

3-168 Features and controls
3
Multi-information meter switch
N00555100107
The multi-information meter switch is a button marked
“INFO” on the left side of the dash.
Each time the multi-information meter switch is operated, a
sound is emitted and the multi-information display changes
between information such as warnings, service reminder, aver-
age and momentary fuel consumption, driving range, average
speed and ACD control mode display (if so equipped).
It is also possible to change elements such as the language and
units used on the multi-information display by operating the
multi-information meter switch.
warning display screen (With ignition switch
in the “OFF” position)
N00555200111
If you press the multi-information meter switch and return
from the warning display screen to the previous screen, the
warning is displayed.
Refer to “Returning to the display screen from before the warn-
ing display” on page 3-171.
This mark is also displayed if there is another warning other
than the one displayed. When the cause of the warning display
is eliminated, the warning goes out automatically.NOTE�
When the warning is displayed, the warning display
screen can be redisplayed on the information screen.
Refer to “Information screen (With ignition switch in the
“OFF” position)” on page 3-168.
Refer to “Information screen (With ignition switch in the
“ON” position)” on page 3-176.
Information screen (With ignition switch in the
“OFF” position)
N00555300082
Each time you lightly press the multi-information meter
switch, the display screen changes in the following order.
BK0103001US.book 168 ページ 2009年8月20日 木曜日 午前10時45分
Page 264 of 658

Features and controls
3-169
3
Odometer/Trip odometer
N00555400070
Each time you lightly press the multi-information meter
switch, the display screen changes as follows:
Odometer/Trip odometer → Odometer/Trip odometer
→ Service reminder → Redisplay of a warning display screen
→ Odometer/Trip odometer .
Odometer
Shows the total distance traveled.
Trip odometer
Shows the distance traveled between two points.
When there is no
warning display
When there is a
warning display Ty p e 1
When there is no
warning display
When there is a
warning display Ty p e 2
1-
Odometer/Trip odometer
2-
Odometer/Trip odometer
3- Service reminder
4- Redisplay of a warning display screen
Usage examples for trip odometer , trip odometer :
It is possible to measure two currently traveled distances,
from home using trip odometer and from a particular
point on the way using trip odometer .
To reset the trip odometer:
To return the display to 0, hold down the multi-information
meter switch for about 2 seconds or more. Only the currently
displayed value will be reset.
Example:
If trip odometer is displayed, only trip odometer
will be reset.
BK0103001US.book 169 ページ 2009年8月20日 木曜日 午前10時45分
 or the sportronic steering wheel
shifters (B), shifting can be performed manually.
Shifting can be performed even")
, sele")