2010 MERCEDES-BENZ S550 4MATIC Settings
[x] Cancel search: SettingsPage 222 of 548
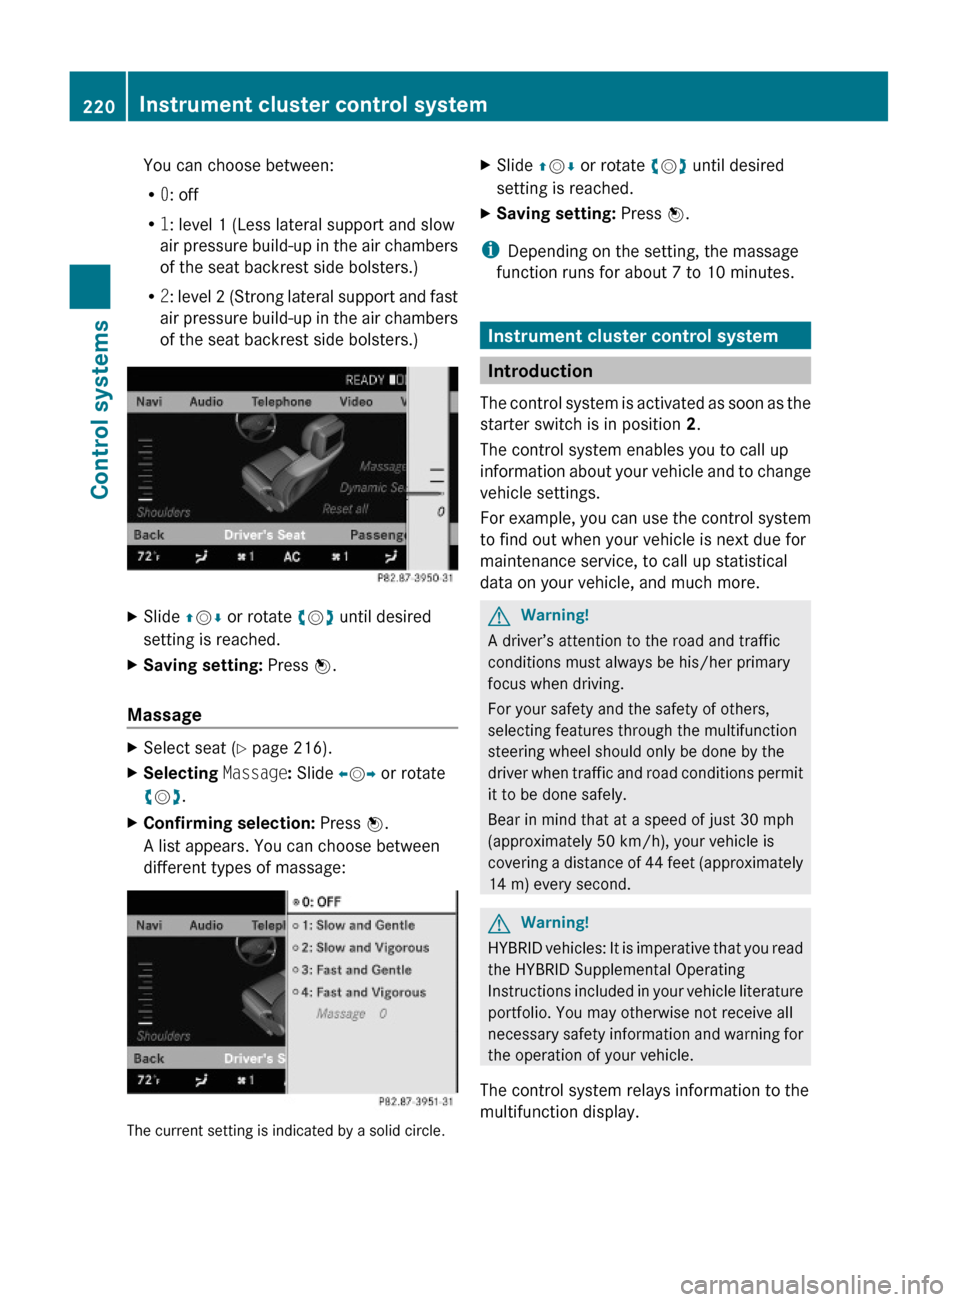
You can choose between:
R0: off
R1: level 1 (Less lateral support and slow
air pressure build-up in the air chambers
of the seat backrest side bolsters.)
R2: level 2 (Strong lateral support and fast
air pressure build-up in the air chambers
of the seat backrest side bolsters.)
XSlide ZVÆ or rotate cVd until desired
setting is reached.
XSaving setting: Press W.
Massage
XSelect seat (Y page 216).XSelecting Massage: Slide XVY or rotate
cVd.
XConfirming selection: Press W.
A list appears. You can choose between
different types of massage:
The current setting is indicated by a solid circle.
XSlide ZVÆ or rotate cVd until desired
setting is reached.
XSaving setting: Press W.
iDepending on the setting, the massage
function runs for about 7 to 10 minutes.
Instrument cluster control system
Introduction
The control system is activated as soon as the
starter switch is in position 2.
The control system enables you to call up
information about your vehicle and to change
vehicle settings.
For example, you can use the control system
to find out when your vehicle is next due for
maintenance service, to call up statistical
data on your vehicle, and much more.
GWarning!
A driver’s attention to the road and traffic
conditions must always be his/her primary
focus when driving.
For your safety and the safety of others,
selecting features through the multifunction
steering wheel should only be done by the
driver when traffic and road conditions permit
it to be done safely.
Bear in mind that at a speed of just 30 mph
(approximately 50 km/h), your vehicle is
covering a distance of 44 feet (approximately
14 m) every second.
GWarning!
HYBRID vehicles: It is imperative that you read
the HYBRID Supplemental Operating
Instructions included in your vehicle literature
portfolio. You may otherwise not receive all
necessary safety information and warning for
the operation of your vehicle.
The control system relays information to the
multifunction display.
220Instrument cluster control systemControl systems
221_AKB; 6; 20, en-USd2ugruen,Version: 2.11.8.12009-09-24T13:28:17+02:00 - Seite 220
Page 223 of 548
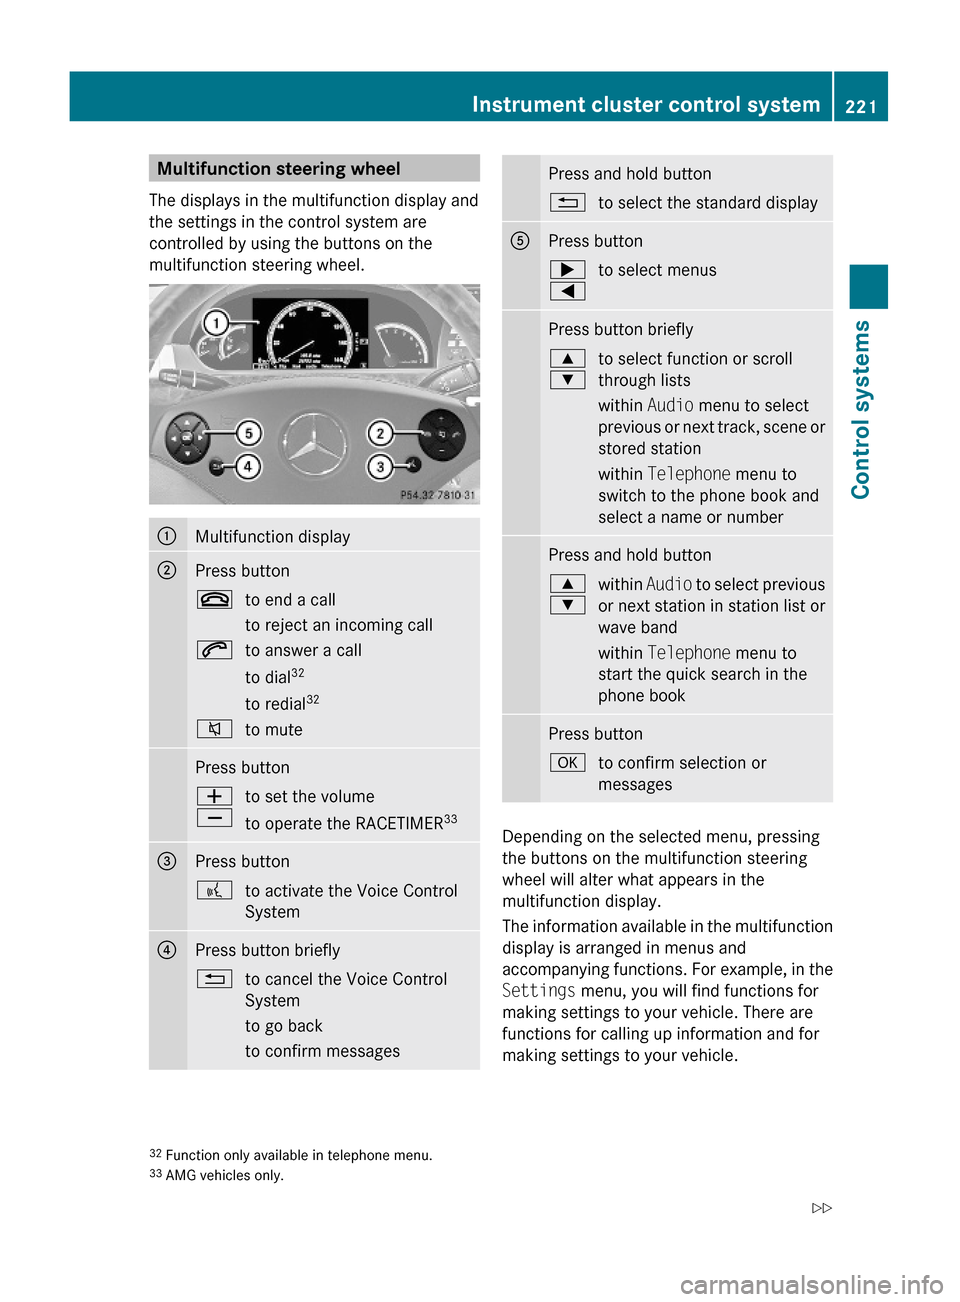
Multifunction steering wheel
The displays in the multifunction display and
the settings in the control system are
controlled by using the buttons on the
multifunction steering wheel.
:Multifunction display;Press button~to end a call
to reject an incoming call
6to answer a call
to dial32
to redial32
8to mutePress buttonW
X
to set the volume
to operate the RACETIMER33
=Press button?to activate the Voice Control
System
?Press button briefly%to cancel the Voice Control
System
to go back
to confirm messages
Press and hold button%to select the standard displayAPress button;
=
to select menusPress button briefly9
:
to select function or scroll
through lists
within Audio menu to select
previous or next track, scene or
stored station
within Telephone menu to
switch to the phone book and
select a name or number
Press and hold button9
:
within Audio to select previous
or next station in station list or
wave band
within Telephone menu to
start the quick search in the
phone book
Press buttonato confirm selection or
messages
Depending on the selected menu, pressing
the buttons on the multifunction steering
wheel will alter what appears in the
multifunction display.
The information available in the multifunction
display is arranged in menus and
accompanying functions. For example, in the
Settings menu, you will find functions for
making settings to your vehicle. There are
functions for calling up information and for
making settings to your vehicle.
32Function only available in telephone menu.33AMG vehicles only.
Instrument cluster control system221Control systems221_AKB; 6; 20, en-USd2ugruen,Version: 2.11.8.12009-09-24T13:28:17+02:00 - Seite 221Z
Page 224 of 548
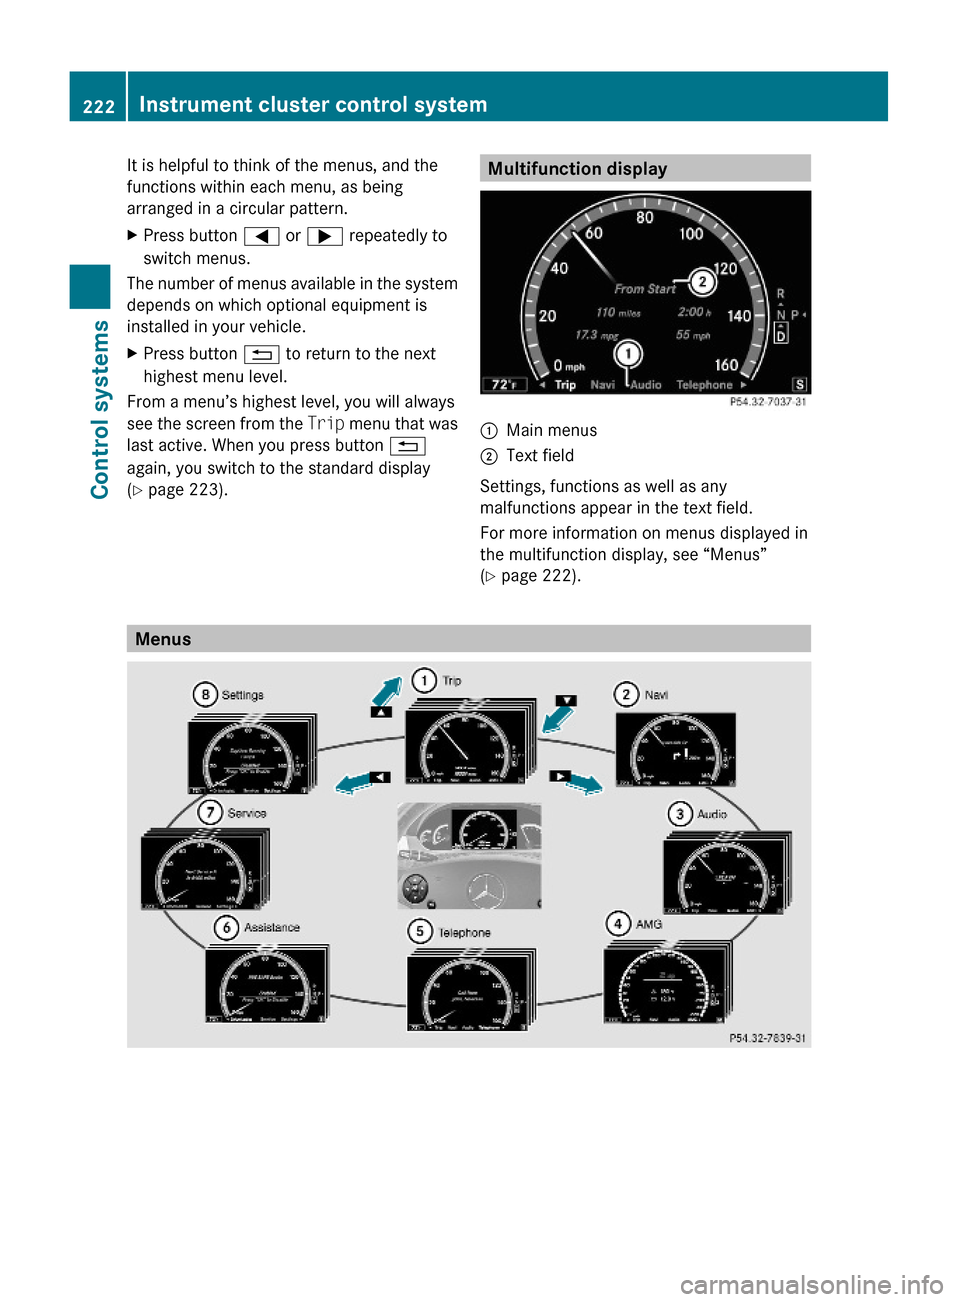
It is helpful to think of the menus, and the
functions within each menu, as being
arranged in a circular pattern.
XPress button = or ; repeatedly to
switch menus.
The number of menus available in the system
depends on which optional equipment is
installed in your vehicle.
XPress button % to return to the next
highest menu level.
From a menu’s highest level, you will always
see the screen from the Trip menu that was
last active. When you press button %
again, you switch to the standard display
(Y page 223).
Multifunction display:Main menus;Text field
Settings, functions as well as any
malfunctions appear in the text field.
For more information on menus displayed in
the multifunction display, see “Menus”
(Y page 222).
Menus
222Instrument cluster control systemControl systems
221_AKB; 6; 20, en-USd2ugruen,Version: 2.11.8.12009-09-24T13:28:17+02:00 - Seite 222
Page 225 of 548

Function:Trip menu (Y page 223);Navi menu (Y page 225)=Audio menu (Y page 226)?AMG34 menu (Y page 227)ATelephone menu (Y page 230)BAssistance menu (Y page 231)CService menu (Y page 233)DSettings menu (Y page 234)
Trip menu
In the Trip menu, you can show an additional
display for the speedometer and call up or
reset your vehicle’s statistical data.
The following information is available:
RStandard display (Y page 223)
RFuel consumption statistics since start
(Y page 223)
RFuel consumption statistics since last reset
(Y page 224)
RResetting values (Y page 224)
RRemaining driving range and current fuel
consumption (Y page 224)
RDigital Speedometer (Y page 224)
Standard display
XPress button = or ; to select the
Trip menu.
In the standard display, the main
odometer : and the trip odometer ;
appear in the multifunction display.
Fuel consumption statistics since start
XPress button = or ; to select the
Trip menu.
XPress button : or 9 to select From
Start.
:Distance driven since start;Time elapsed since start=Average speed since start?Average fuel consumption since start
All statistics stored since the last engine start
will be reset approximately 4 hours after the
SmartKey in the starter switch is turned to
position 0 or removed from the starter switch.
Resetting will not occur if you turn the
SmartKey back to position 1 or 2 within this
time period.
34AMG vehicles only.Instrument cluster control system223Control systems221_AKB; 6; 20, en-USd2ugruen,Version: 2.11.8.12009-09-24T13:28:17+02:00 - Seite 223Z
Page 233 of 548
Ending a call or rejecting an incoming
callXPress button ~.
Dialing a number from the phone book
When your telephone is ready to receive calls,
you may select and dial a number from the
phone book at any time.
XPress button = or ; to select the
Telephone menu.XPress button : or 9 or a to
switch to the phone book.
The stored names are displayed in
ascending alphabetical order.XPress button : or 9 to select the
desired entry.
If you press and hold button : or
9 the system scrolls rapidly through the
list of names (quick search). After holding
button : or 9 for a short while the
scrolling speed increases. Release the
button to stop the quick search. The search
stops automatically at the end of the list.XIf the Symbol G appears on the right-hand
side of the name several entries are
present for the same name: Press button
6 or a and select the desired entry.XPress button 6 or a .
The control system dials the selected
phone number.
If the connection is successful and this
feature is supported by your network
provider, the name of the party (if stored in
your phone book) you are calling will
appear in the multifunction display.
The control system stores the dialed
number in the redial memory.
or
XPress button ~ if you do not want to
make the call.Redialing
The control system stores the most recently
dialed phone numbers. This eliminates the
need to search through your entire phone
book.
XPress button = or ; to select the
Telephone menu.XPress button 6.XPress button : or 9 to select the
desired number or name.XPress button 6 or a .
The control system dials the selected
phone number.
Assistance menu
In the DriveAssist menu, you can change
the settings of your driving systems.
The following functions are available:
R Displaying distance graphic, DISTRONIC
PLUS ( Y page 334)
R Switching ESC on or off ( Y page 232)
R Activating/deactivating PRE-SAFE ®
Brake
(vehicles with DISTRONIC PLUS only)
( Y page 232)
R Switching ATTENTION ASSIST on or off
( Y page 232)
R Switching Blind Spot Assist on or off
( Y page 233)
R Switching Lane Keeping Assist on or off
( Y page 233)
Instrument cluster control system231Control systems221_AKB; 6; 20, en-USd2ugruen,Version: 2.11.8.12009-09-24T13:28:17+02:00 - Seite 231Z
Page 236 of 548
display and are based on conditions or
system status the vehicle’s system has
recorded.
The vehicle status message memory function
only appears if there are any messages
stored.
GWarning!
Malfunction and warning messages are only
indicated for certain systems and are
intentionally not very detailed. The
malfunction and warning messages are
simply a reminder with respect to the
operation of certain systems. They do not
replace the owner’s and/or driver’s
responsibility to maintain the vehicle’s
operating safety. Have all required
maintenance and safety checks performed on
the vehicle. Bring the vehicle to an authorized
Mercedes-Benz Center to address the
malfunction and warning messages.
XPress button = or ; to select the
Service menu.
If conditions have occurred causing status
messages to be recorded, the number of
messages appears in the multifunction
display: 2 Messages.
XPress button : or 9 to select the
Messages function.
XPress button a to confirm.
For malfunction and warning messages,
see “Vehicle status messages in the
multifunction display” (Y page 452).
XUse button : or 9 to scroll through
the messages.
If you turn the SmartKey in the starter switch
to position 0 and then back to position 2, all
messages will be deleted from the message
memory.
Settings menu
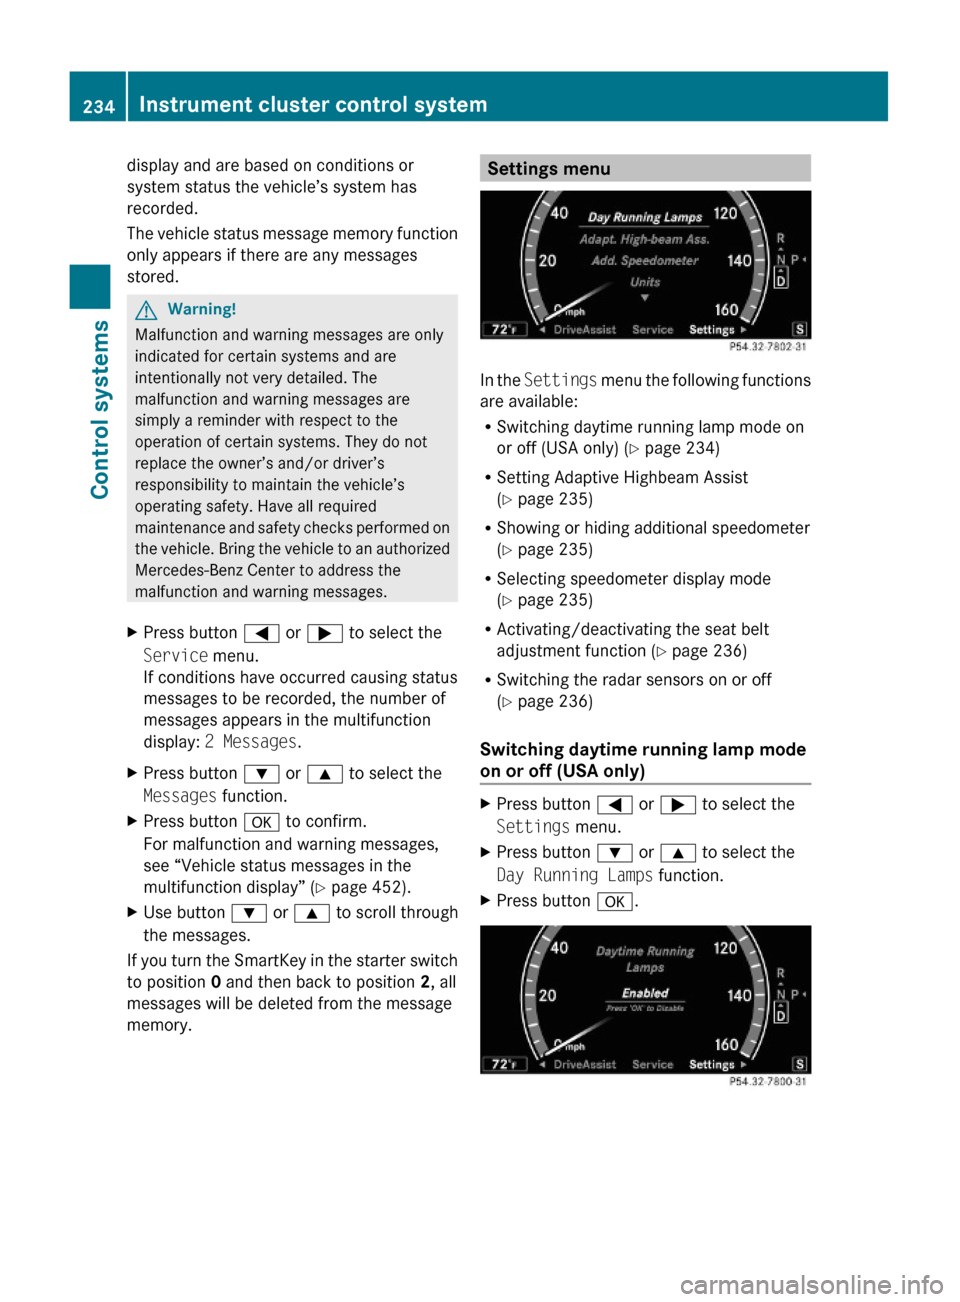
In the Settings menu the following functions
are available:
RSwitching daytime running lamp mode on
or off (USA only) (Y page 234)
RSetting Adaptive Highbeam Assist
(Y page 235)
RShowing or hiding additional speedometer
(Y page 235)
RSelecting speedometer display mode
(Y page 235)
RActivating/deactivating the seat belt
adjustment function (Y page 236)
RSwitching the radar sensors on or off
(Y page 236)
Switching daytime running lamp mode
on or off (USA only)
XPress button = or ; to select the
Settings menu.
XPress button : or 9 to select the
Day Running Lamps function.
XPress button a.234Instrument cluster control systemControl systems
221_AKB; 6; 20, en-USd2ugruen,Version: 2.11.8.12009-09-24T13:28:17+02:00 - Seite 234
Page 237 of 548
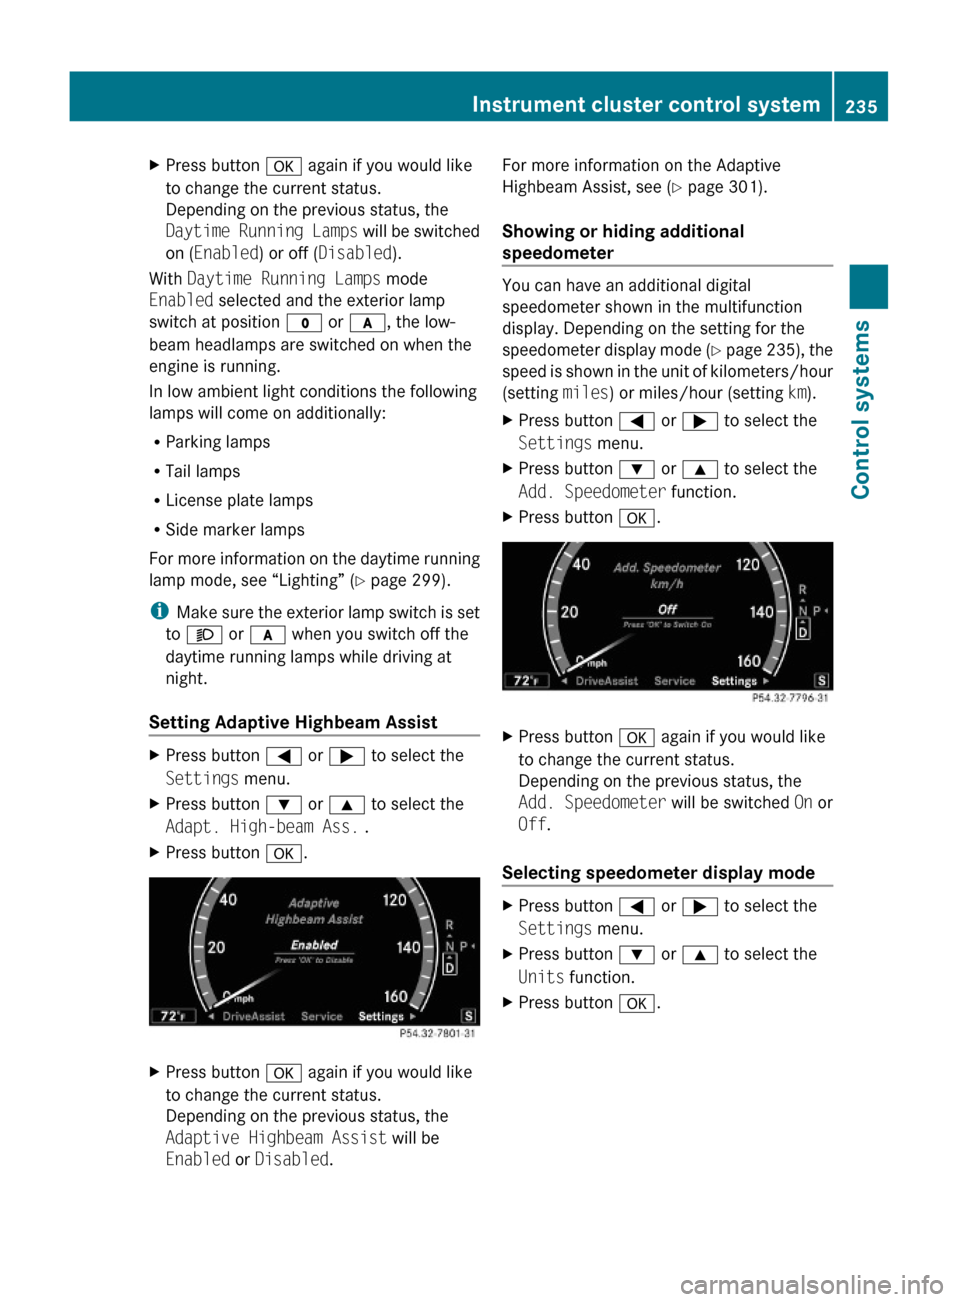
XPress button a again if you would like
to change the current status.
Depending on the previous status, the
Daytime Running Lamps will be switched
on (Enabled) or off (Disabled).
With Daytime Running Lamps mode
Enabled selected and the exterior lamp
switch at position $ or c, the low-
beam headlamps are switched on when the
engine is running.
In low ambient light conditions the following
lamps will come on additionally:
RParking lamps
RTail lamps
RLicense plate lamps
RSide marker lamps
For more information on the daytime running
lamp mode, see “Lighting” (Y page 299).
iMake sure the exterior lamp switch is set
to M or c when you switch off the
daytime running lamps while driving at
night.
Setting Adaptive Highbeam Assist
XPress button = or ; to select the
Settings menu.
XPress button : or 9 to select the
Adapt. High-beam Ass. .
XPress button a.XPress button a again if you would like
to change the current status.
Depending on the previous status, the
Adaptive Highbeam Assist will be
Enabled or Disabled.
For more information on the Adaptive
Highbeam Assist, see (Y page 301).
Showing or hiding additional
speedometer
You can have an additional digital
speedometer shown in the multifunction
display. Depending on the setting for the
speedometer display mode (Y page 235), the
speed is shown in the unit of kilometers/hour
(setting miles) or miles/hour (setting km).
XPress button = or ; to select the
Settings menu.
XPress button : or 9 to select the
Add. Speedometer function.
XPress button a.XPress button a again if you would like
to change the current status.
Depending on the previous status, the
Add. Speedometer will be switched On or
Off.
Selecting speedometer display mode
XPress button = or ; to select the
Settings menu.
XPress button : or 9 to select the
Units function.
XPress button a.Instrument cluster control system235Control systems221_AKB; 6; 20, en-USd2ugruen,Version: 2.11.8.12009-09-24T13:28:17+02:00 - Seite 235Z
Page 238 of 548
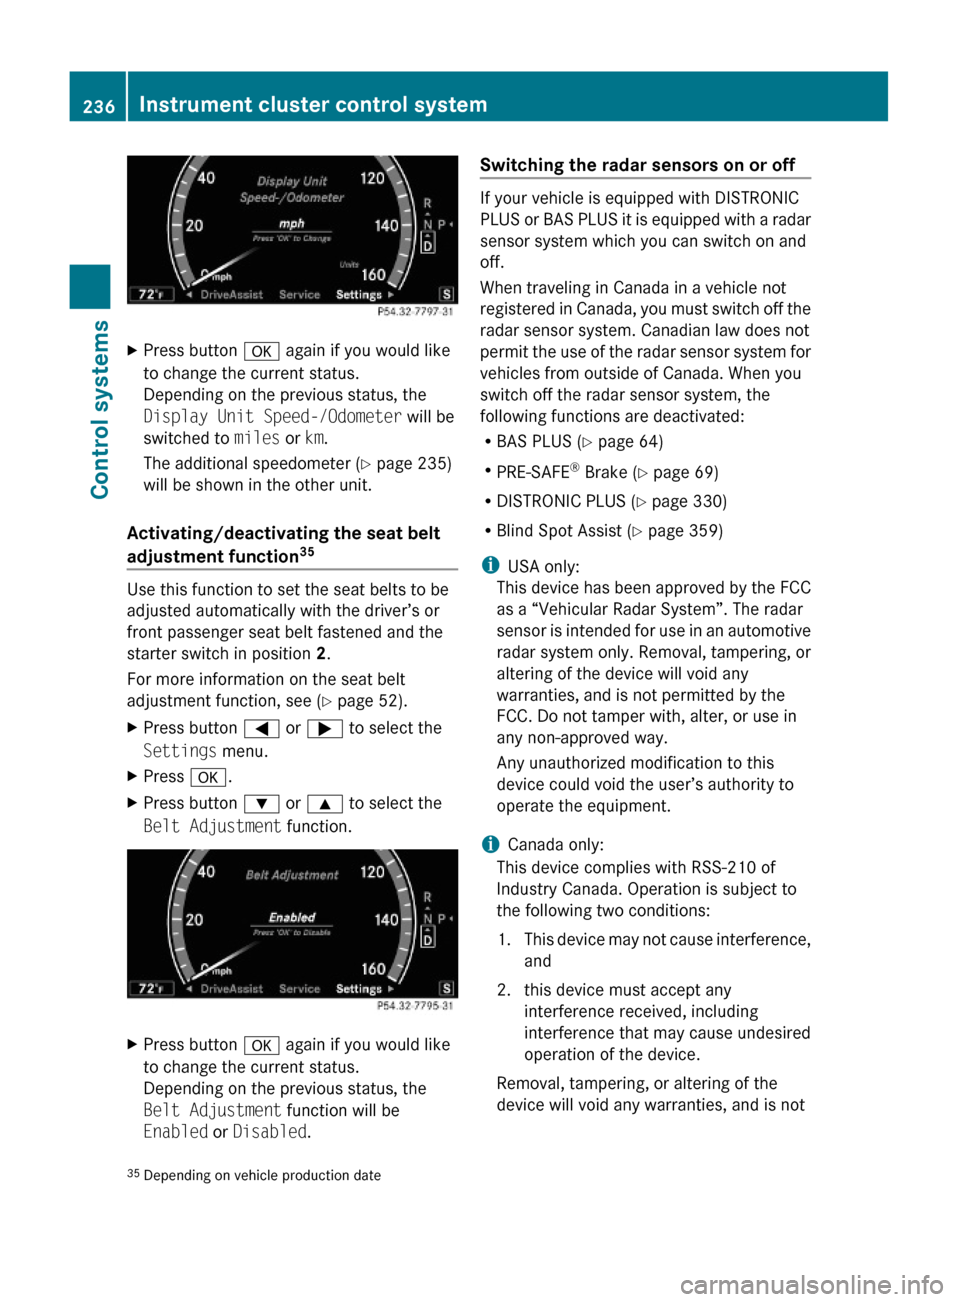
XPress button a again if you would like
to change the current status.
Depending on the previous status, the
Display Unit Speed-/Odometer will be
switched to miles or km.
The additional speedometer (Y page 235)
will be shown in the other unit.
Activating/deactivating the seat belt
adjustment function35
Use this function to set the seat belts to be
adjusted automatically with the driver’s or
front passenger seat belt fastened and the
starter switch in position 2.
For more information on the seat belt
adjustment function, see (Y page 52).
XPress button = or ; to select the
Settings menu.
XPress a.XPress button : or 9 to select the
Belt Adjustment function.
XPress button a again if you would like
to change the current status.
Depending on the previous status, the
Belt Adjustment function will be
Enabled or Disabled.
Switching the radar sensors on or off
If your vehicle is equipped with DISTRONIC
PLUS or BAS PLUS it is equipped with a radar
sensor system which you can switch on and
off.
When traveling in Canada in a vehicle not
registered in Canada, you must switch off the
radar sensor system. Canadian law does not
permit the use of the radar sensor system for
vehicles from outside of Canada. When you
switch off the radar sensor system, the
following functions are deactivated:
RBAS PLUS (Y page 64)
RPRE-SAFE® Brake (Y page 69)
RDISTRONIC PLUS (Y page 330)
RBlind Spot Assist (Y page 359)
iUSA only:
This device has been approved by the FCC
as a “Vehicular Radar System”. The radar
sensor is intended for use in an automotive
radar system only. Removal, tampering, or
altering of the device will void any
warranties, and is not permitted by the
FCC. Do not tamper with, alter, or use in
any non-approved way.
Any unauthorized modification to this
device could void the user’s authority to
operate the equipment.
iCanada only:
This device complies with RSS-210 of
Industry Canada. Operation is subject to
the following two conditions:
1.This device may not cause interference,
and
2. this device must accept any
interference received, including
interference that may cause undesired
operation of the device.
Removal, tampering, or altering of the
device will void any warranties, and is not
35Depending on vehicle production date236Instrument cluster control systemControl systems
221_AKB; 6; 20, en-USd2ugruen,Version: 2.11.8.12009-09-24T13:28:17+02:00 - Seite 236