Page 355 of 543

Maintenance and care4
353
ES350_U
4-1. Maintenance and careCleaning and protecting the vehicle exterior............. 354
Cleaning and protecting the vehicle interior .............. 357
4-2. Maintenance Maintenance requirements ........................ 360
General maintenance .......... 362
Emission inspection and maintenance (I/M)
programs................................ 365 4-3. Do-it-yourself
maintenance
Do-it-yourself service precautions ........................... 366
Hood .......................................... 370
Positioning a floor jack .......... 371
Engine compartment ........... 373
Tires............................................ 387
Tire inflation pressure........... 396
Wheels ...................................... 400
Air conditioning filter ........... 402
Electronic key battery.......... 404
Checking and replacing fuses ........................................ 406
Headlight aim .......................... 415
Light bulbs.................................. 417
Page 356 of 543
354
ES350_U
4-1. Maintenance and care
Cleaning and protecting the vehicle exterior
■Automatic car washes
●Fold the mirrors back before washing the vehicle.
●Brushes used in automatic car washes may scratch the vehicle surface and
harm your vehicle’s paint.
■High pressure car washes
●Do not allow the nozzles of the car wash to come within close proximity of the
windows.
●Before car wash, check that the fuel filler door on your vehicle is closed prop-
e r l y.
■Touch-up paint (if equipped)
Touch-up paint may be used to cover small chips or scratches.
Apply the paint soon after the damage occurs or corrosion may set in. To apply the
touch-up paint so it is hardly noticeable the trick is to apply it only to the bare spots.
Apply only the smallest amount possible and do not paint the surface around the
scratch or chip.
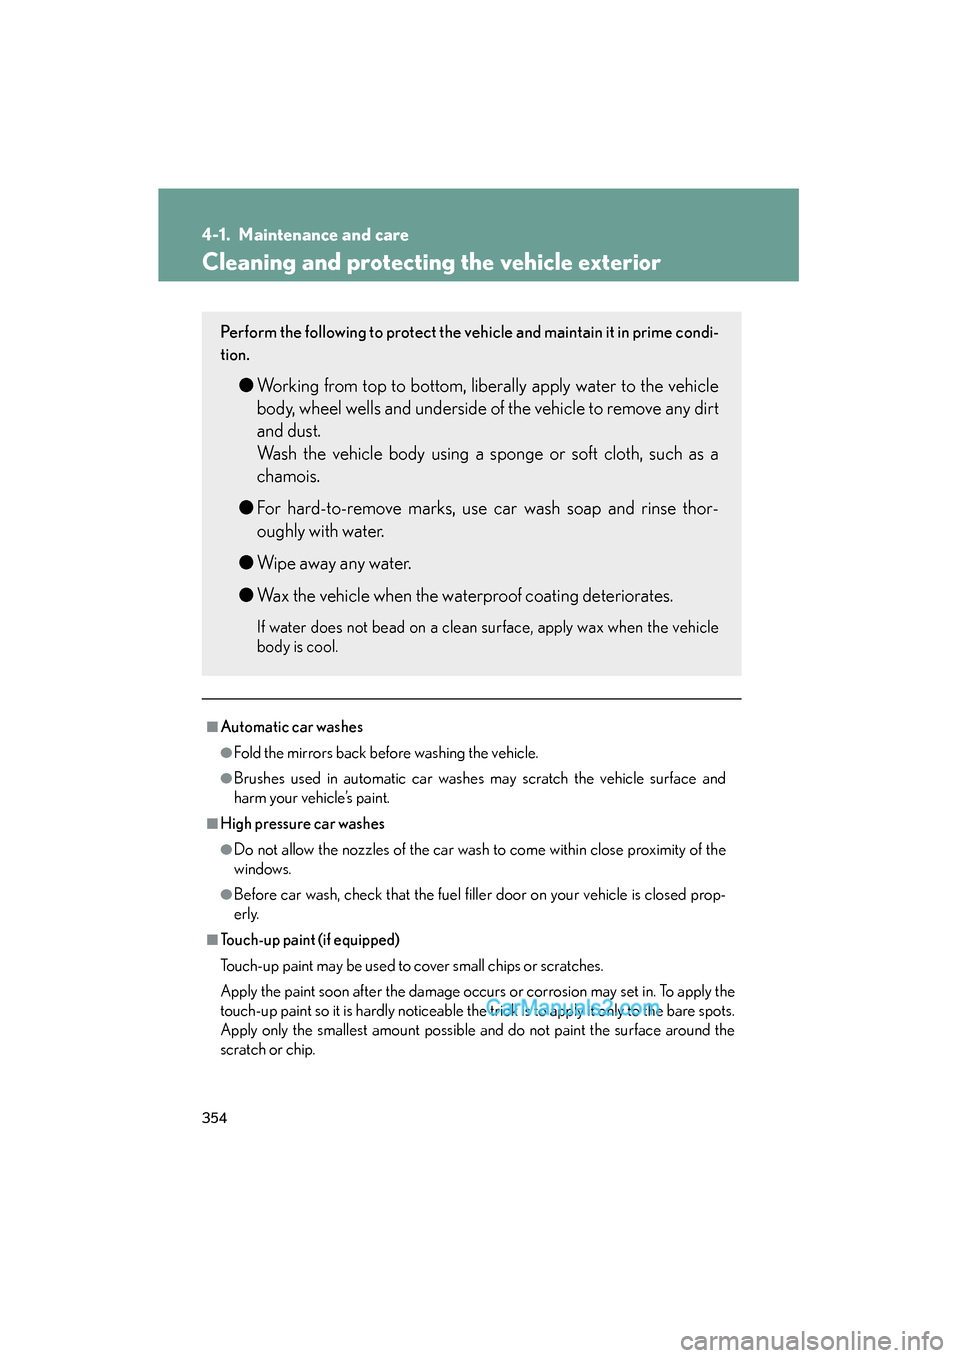
Perform the following to protect the vehicle and maintain it in prime condi-
tion.
● Working from top to bottom, liberally apply water to the vehicle
body, wheel wells and underside of the vehicle to remove any dirt
and dust.
Wash the vehicle body using a sponge or soft cloth, such as a
chamois.
● For hard-to-remove marks, use car wash soap and rinse thor-
oughly with water.
● Wipe away any water.
● Wax the vehicle when the waterproof coating deteriorates.
If water does not bead on a clean surface, apply wax when the vehicle
body is cool.
Page 357 of 543

355
4-1. Maintenance and care
4
Maintenance and care
ES350_U
■Aluminum wheels
Remove any dirt immediately by using a neutral detergent. Do not use hard brushes
or abrasive cleaners. Do not use strong or harsh chemical cleaners. Use the same
mild detergent and wax as used on the paint.
■Bumpers and side moldings
Do not scrub with abrasive cleaners.
■To prevent deterioration and body corrosion
●Wash the vehicle immediately in the following cases:
• After driving near the sea coast
• After driving on salted roads
• If you see coal tar or tree sap on the paint surface
• If you see dead insects or insect droppings on the paint
• After driving in an area contaminated with soot, oily smoke, mine dust, ironpowder or chemical substances
• If the vehicle becomes heavily soiled in dust or mud
• If liquids such as benzene and gasoline are spilled on the paint surface
●If the paint is chipped or scratched, have it repaired immediately.
CAUTION
■Caution about the exhaust pipe
Exhaust gasses cause the exhaust pipe to become quite hot.
When washing the vehicle, be careful not to touch the pipe until it has cooled suffi-
ciently, as touching a hot exhaust pipe can cause burns.
Page 366 of 543
364
4-2. Maintenance
ES350_U
Vehicle exterior
ItemsCheck points
Steering wheel
• Moves smoothly?
• Has correct free play?
• No strange noises?
ItemsCheck points
Door/trunk• Operate smoothly?
Engine hood• The lock system works properly?
Fluid leaks• Is there any leakage after parking?
Ti r e
• Inflation pressure is correct?
• Tire surfaces not worn or dam-aged?
• Tires rotated according to the maintenance schedule?
• Wheel nuts are not loose?
CAUTION
■If the engine is running
Turn the engine off and ensure that there is adequate ventilation before performing
maintenance checks.
Page 390 of 543

388
4-3. Do-it-yourself maintenance
ES350_U
Installing tire pressure warning valves and transmittersWhen replacing tires or wheels, tire pressure warning valves and trans-
mitters must also be installed.
When new tire pressure warning valves and transmitters are installed,
new tire pressure warning valve and transmitter ID codes must be regis-
tered in the tire pressure warning computer and tire pressure warning
system must be initialized. Have tire pressure warning valve and transmit-
ter ID codes registered by your Lexus dealer. ( oP. 390)
If equipped with compact spare tire
Rotate the tires in the order
shown.
To equalize tire wear and extend
tire life, Lexus recommends that
tire rotation is carried out at the
same interval as tire inspection.
■The tire pressure warning system
Your Lexus is equipped with a tire pressure warning system that uses
tire pressure warning valve and transmitters to detect low tire infla-
tion pressure before serious problems arise. ( oP. 441)
Vehicles with compact spare tire: The compact spare tire is not
equipped with the tire pressure warning valve and transmitters.
Front
Page 393 of 543

391
4-3. Do-it-yourself maintenance
4
Maintenance and care
ES350_U
■When to replace your vehicle’s tires
Tires should be replaced if:
●You have tire damage such as cuts, splits, cracks deep enough to expose the
fabric or bulges indicating internal damage
●A tire goes flat repeatedly or cannot be properly repaired due to the size or
location of a cut or other damage
If you are not sure, consult with your Lexus dealer.
■Replacing tires and wheels
If the ID code of the tire pressure warning valve and transmitter is not registered,
the tire pressure warning system will not work properly. After driving for about 20
minutes, the tire pressure warning light comes on after blinking for 1 minute to indi-
cate a system malfunction.
■Tire life
Any tire over 6 years old must be checked by a qualified technician even if they
have seldom or never been us ed or damage is not obvious.
■If the tread wears down below 0. 16 in. (4 mm) on snow tires
The effectiveness of snow tires is lost.
■Maximum load of tire
Check that the maximum load of the replacement tire is greater than 1 /2 of the
Gross Axle Weight Ratings (GAWR) of either the front axle or the rear axle, which-
ever is greater.
For the GAWR, see the Certification Label.
For the maximum load of the tire, see the load
limit at maximum cold tire inflation pressure
mentioned on the sidewall of the tire.
(
oP. 499).
Page 394 of 543

392
4-3. Do-it-yourself maintenance
ES350_U
■Tire types
1 Summer tiresSummer tires are high-speed performance tires best suited to highway driving
under dry conditions. Since summer tires do not have the same traction perfor-
mance as snow tires, summer tires are inadequate for driving on snow-covered
or icy roads. For driving on snow-covered roads or icy roads, the use of snow tires
is recommended. When installing snow tires, be sure to replace all four tires.
2 All season tires All season tires are designed to provide better traction in snow and to be ade-
quate for driving in most winter conditions, as well as for use year round. All sea-
son tires, however, do not have adequate traction performance compared with
snow tires in heavy or loose snow. Also, al l season tires fall short in acceleration
and handling performance compared with summer tires in highway driving.
3 Snow tires For driving on snow-covered roads or icy roads, we recommend using snow tires.
If you need snow tires, select tires of the same size, construction and load capac-
ity as the originally installed tires. Since your vehicle has radial tires as original
equipment, make sure your snow tires also have radial construction. Do not install
studded tires without first checking local regulations for possible restriction.
Snow tires should be installed on all wheels. ( oP. 1 8 4 )
■Initializing the tire pressure warning system
Initialize the tire pressure warning system with the tire inflation pressure adjusted to
the specified level.
■If you push the tire pressure reset switch accidentally
If initialization is performed, adjust the tire inflation pressure to the specified level
and initialize the tire pressure warning system again.
■When the initialization of the tire pressure warning system has failed
Initialization can be completed in a few minutes. However, in the following cases,
the settings have not been recorded and the system will not operate properly. If
repeated attempts to record tire inflation pressure settings are unsuccessful, have
the vehicle inspected by your Lexus dealer.
●When operating the tire pressure warning reset switch, the tire pressure warning
light does not flash 3 times.
●After carrying out the initialization procedure, the tire pressure warning light
blinks for 1 minute then stays on after driving for about 20 minutes.
Page 397 of 543
395
4-3. Do-it-yourself maintenance
4
Maintenance and care
ES350_U
NOTICE
■Repairing or replacing tires, wheels and tire pressure warning valves and trans-
mitters
When removing or fitting the wheels, tires or the tire pressure warning valve and
transmitter, contact your Lexus dealer as the tire pressure warning valve and trans-
mitter may be damaged if not handled correctly.
■To avoid damaging the tire pressu re warning valves and transmitters
Do not use liquid sealants on flat tires.
■Driving on rough roads
Take particular care when driving on roads with loose surfaces or potholes.
These conditions may cause losses in tire inflation pressure, reducing the cushion-
ing ability of the tires. In addition driving on rough roads may cause damage to the
tires themselves, as well as the vehicle’s wheels and body.
■If tire inflation pressures become low while driving
Do not continue driving, or your tires and/or wheels may be ruined.

