Page 195 of 496

The light also will turn on when the parking brake is
applied with the ignition switch in the ON position.
NOTE:This light shows only that the parking brake is
applied. It does not show the degree of brake application.
15. Transmission Temperature Warning Light During sustained high speed driving or trailer
towing up long grades on hot days, the auto-
matic transmission oil may become too hot.
When the transmission overheat warning light
turns on, you will experience reduced vehicle perfor-
mance until the automatic transmission cools down.
Once the transmission has cooled down and the light
turns off, you may continue to drive normally. If the high
speed is maintained, the overheating will continue to
occur.
If the overheating continues, it may become necessary to
stop the vehicle and run the engine at idle with the
transmission in NEUTRAL until the light turns off.CAUTION!
Continuous driving with the Transmission Tempera-
ture Warning Light illuminated will eventually cause
severe transmission damage or transmission failure.
WARNING!
Continued operation with the Transmission Tem-
perature Warning Light illuminated could cause the
fluid to boil over, come in contact with hot engine or
exhaust components causing a fire that may result in
personal injury.
16. Vehicle Security Light — If Equipped This light will flash at a fast rate for approxi-
mately 16 seconds, when the vehicle security
alarm is arming, and then will flash slowly
until the vehicle is disarmed.
194 UNDERSTANDING YOUR INSTRUMENT PANEL
Page 298 of 496
Gear Ranges
DO NOT race the engine when shifting from PARK or
NEUTRAL positions into another gear range.
PARK
This range supplements the parking brake by locking the
transmission. The engine can be started in this range.
Never use PARK while the vehicle is in motion. Apply
the parking brake when leaving the vehicle in this range.
Always apply the parking brake first, and then place the
shift lever in the PARK position.
WARNING!
•Unintended movement of a vehicle could injure
those in and near the vehicle. As with all vehicles,
you should never exit a vehicle while the engine is
running. Before exiting a vehicle, you should
always shift the vehicle into PARK, remove the
key from the ignition, and apply the parking
brake. Once the key is removed from the ignition,
the shift lever is locked in the PARK position,
securing the vehicle against unwanted movement.
Furthermore, you should never leave unattended
children inside a vehicle.(Continued)
5
STARTING AND OPERATING 297
Page 307 of 496
CAUTION!
Never park your vehicle over dry grass or other
combustible materials. The heat from your vehicle
exhaust system could cause a fire.
WARNING!
Always wear your seat belt and firmly tie down
cargo. Unsecured cargo can become projectiles in an
off-road situation.
When To Use Low (L Off-Road) with the 4WD
Lock Lever Engaged
When driving off-road, shift into low (L Off-Road) and
activate the 4WD LOCK. This will provide additional
traction and activates the numerous off-road features to
improve handling and control on slippery or difficult
terrain. Due to the sustained lower gearing, low (LOff-Road) with 4WD LOCK engaged will allow the
engine to operate in a higher power range. This will
allow you to cross over obstacles and descend hills, with
improved control and less effort.
NOTE:
For maximum off-road performance, premium
fuel is recommended. While the vehicle will operate on
regular fuel when in L Off-Road mode, the engine has
been calibrated for maximum performance using pre-
mium fuel.
Driving in Snow, Mud and Sand
There is a drastic reduction in traction when driving in
snow, mud or sand. The vehicle will be less responsive to
steering, acceleration and braking inputs. Therefore, you
should accelerate slowly, leave greater stopping distances
and avoid abrupt vehicle maneuvers. You want to keep a
slow constant steady pace. The key is to maintain the
vehicle’s momentum.
306 STARTING AND OPERATING
Page 370 of 496
Overloading can cause potential safety hazards and
shorten useful service life. Heavier suspension compo-
nents do not necessarily increase the vehicle’s GVWR.
Loading
To load your vehicle properly, first figure out its empty
weight. Store heavier items down low and be sure you
distribute their weight as evenly as possible. Stow all
loose items securely before driving. Improper weight
distribution can have an adverse effect on the way your
vehicle steers and handles, and the way the brakes
operate.
CAUTION!
Do not load your vehicle any heavier than the
GVWR. If you do, parts on your vehicle can break, or
it can change the way your vehicle handles. This
could cause you to lose control. Also, overloading can
shorten the life of your vehicle.
TRAILER TOWING
In this section you will find safety tips and information
on limits to the type of towing you can reasonably do
with your vehicle. Before towing a trailer, carefully
review this information to tow your load as efficiently
and safely as possible.
To maintain warranty coverage, follow the requirements
and recommendations in this manual concerning ve-
hicles used for trailer towing.
Common Towing Definitions
The following trailer towing related definitions will assist
you in understanding the information:
Gross Vehicle Weight Rating (GVWR)
The GVWR is the total allowable weight of your vehicle.
This includes driver, passengers, cargo and tongue
weight. The total load must be limited so that you do not
5
STARTING AND OPERATING 369
Page 376 of 496
CAUTION!
•Do not tow a trailer at all during the first 500 miles
(805 km) the new vehicle is driven. The engine,
axle or other parts could be damaged.
•Then, during the first 500 miles (805 km) that a
trailer is towed, do not drive over 50 mph
(80 km/h) and do not make starts at full throttle.
This helps the engine and other parts of the
vehicle wear in at the heavier loads.
Perform the maintenance listed in the “Maintenance
Schedule.” Refer to “Maintenance Schedule” for the
proper maintenance intervals. When towing a trailer,
never exceed the GAWR, or GCWR, ratings.
WARNING!
Improper towing can lead to an injury accident.
Follow these guidelines to make your trailer towing
as safe as possible:
•Make certain that the load is secured in the trailer
and will not shift during travel. When trailering
cargo that is not fully secured, dynamic load shifts
can occur that may be difficult for the driver to
control. You could lose control of your vehicle and
have an accident.
•When hauling cargo or towing a trailer, do not
overload your vehicle or trailer. Overloading can
cause a loss of control, poor performance or dam-
age to brakes, axle, engine, transmission, steering,
suspension, chassis structure or tires. (Continued)
5
STARTING AND OPERATING 375
Page 389 of 496
WARNING! (Continued)
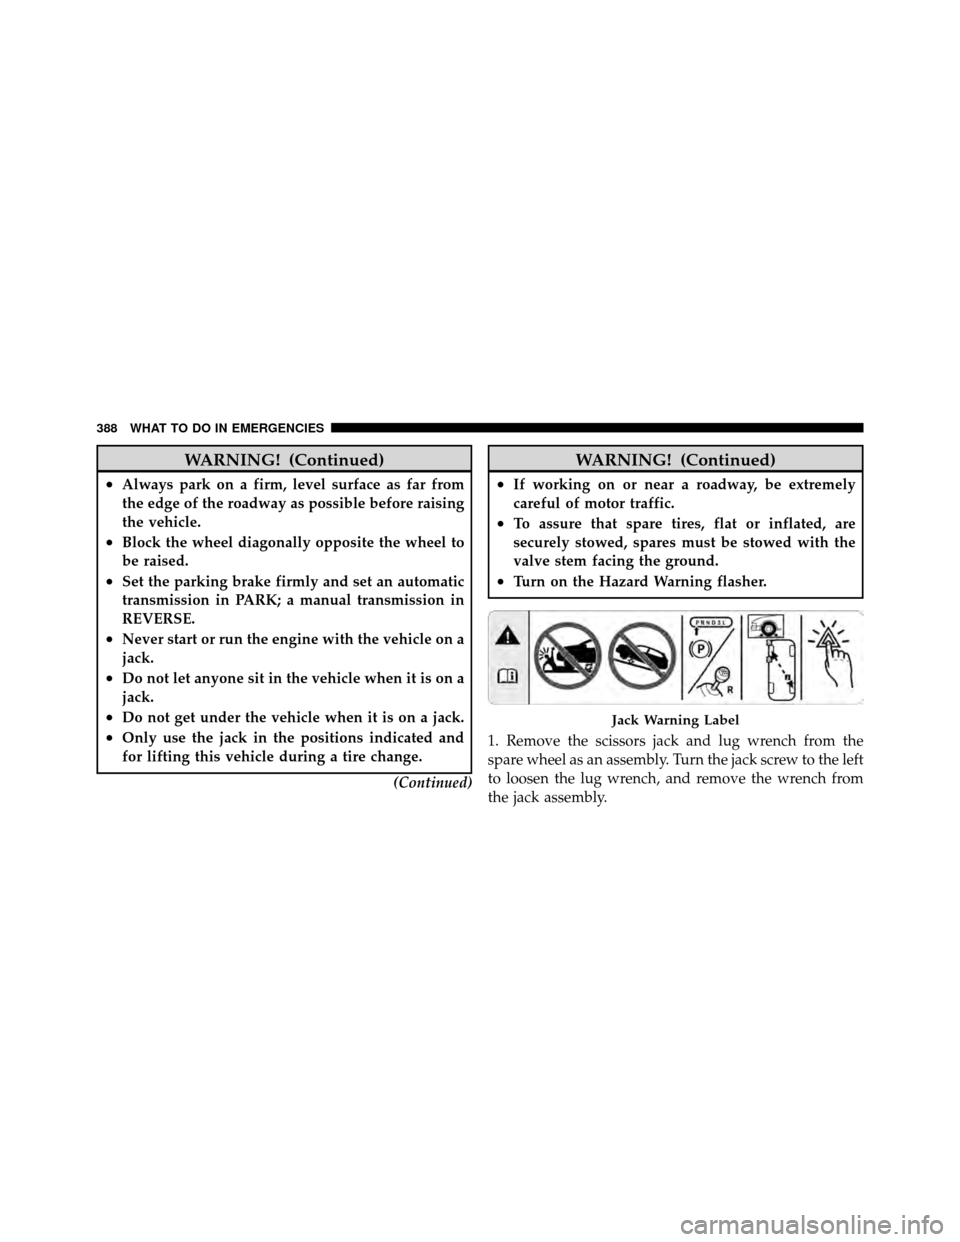
•Always park on a firm, level surface as far from
the edge of the roadway as possible before raising
the vehicle.
•Block the wheel diagonally opposite the wheel to
be raised.
•Set the parking brake firmly and set an automatic
transmission in PARK; a manual transmission in
REVERSE.
•Never start or run the engine with the vehicle on a
jack.
•Do not let anyone sit in the vehicle when it is on a
jack.
•Do not get under the vehicle when it is on a jack.
•Only use the jack in the positions indicated and
for lifting this vehicle during a tire change.(Continued)
WARNING! (Continued)
•If working on or near a roadway, be extremely
careful of motor traffic.
•To assure that spare tires, flat or inflated, are
securely stowed, spares must be stowed with the
valve stem facing the ground.
•Turn on the Hazard Warning flasher.
1. Remove the scissors jack and lug wrench from the
spare wheel as an assembly. Turn the jack screw to the left
to loosen the lug wrench, and remove the wrench from
the jack assembly.
Jack Warning Label
388 WHAT TO DO IN EMERGENCIES
Page 390 of 496
2. Loosen, but do not remove, the wheel nuts by turning
them to the left one turn while the wheel is still on the
ground.CAUTION!
Do not attempt to raise the vehicle by jacking on
locations other than those indicated in Step 3.
3. There are two front jacking locations and two rear
jacking locations on each side of the body. The front
locations are outlined by two triangular cutouts, the rear
ones by two rectangular cutouts. For vehicles equipped
with plastic trim, the plastic has been cut away to expose
the jacking locations in the body.
Do not raise the vehicle until you are sure the jack is
securely engaged.
4. Turn the jack screw to the left until the jack can be
placed under the jacking location. Once the jack is
positioned, turn the jack screw to the right until the jack
Jacking Locations
6
WHAT TO DO IN EMERGENCIES 389
Page 391 of 496
head is properly engaged with the lift area closest to the
wheel to be changed. Do not raise the vehicle until you
are sure the jack is securely engaged.
WARNING!
Raising the vehicle higher than necessary can make
the vehicle less stable. It could slip off the jack and
hurt someone near it. Raise the vehicle only enough
to remove the tire.
5. Raise the vehicle by turning the jack screw to the right,
using the swivel wrench. Raise the vehicle only until the
tire just clears the surface and enough clearance is
obtained to install the spare tire. Minimum tire lift
provides maximum stability.
6. Remove the wheel nuts and pull the wheel (and
bolt-on center cap if equipped) off the hub. Install the
spare wheel and wheel nuts with the cone shaped end of the nuts toward the wheel. Lightly tighten the nuts. To
avoid the risk of forcing the vehicle off the jack, do not
tighten the nuts fully until the vehicle has been lowered.
7. Lower the vehicle by turning the jack screw to the left.
8. Finish tightening the nuts. Push down on the wrench
while tightening the wheel nuts. Alternate nuts until each
nut has been tightened twice. The correct wheel nut
torque is 100 ft lbs (135 N·m). If you doubt that you have
tightened the nuts correctly, have them checked with a
torque wrench by your authorized dealer or at a service
station.
9. Remove the wheel blocks and lower the jack until it is
free. Reassemble the lug wrench to the jack assembly and
stow it in the spare tire area. Secure the assembly using
the means provided.
390 WHAT TO DO IN EMERGENCIES