Page 78 of 496
from the buckle and twist the short buckle end of the
belt several times to shorten it. Insert the latch plate
into the buckle with the release button facing out.
•If the belt still can’t be tightened, or if pulling and
pushing on the restraint loosens the belt, disconnect
the latch plate from the buckle, turn the latch plate
around, and insert the latch plate into the buckle
again. If you still can’t make the child restraint secure,
try a different seating position.
Children too Large for Booster Seats
Children who are large enough to wear the shoulder belt
comfortably and whose legs are long enough to bend
over the front of the seat when their back is against the
seatback should use the lap/shoulder belt in a rear seat.
•Make sure that the child is upright in the seat.
•The lap portion should be low on the hips and as snug
as possible.
•Check belt fit periodically. A child’s squirming or
slouching can move the belt out of position.
•If the shoulder belt contacts the face or neck, move the
child closer to the center of the vehicle. Never allow a
child to put the shoulder belt under an arm or behind
their back.
Lower Anchors and Tether for CHildren (LATCH)
Your vehicle is equipped with the child restraint anchor-
age system called LATCH, which stands for Lower
Anchors and Tether for CHildren. The LATCH system
provides for the installation of the child restraint without
using the vehicle seat belt. All three rear seating positions
have lower anchorages that are capable of accommodat-
ing LATCH-compatible child seats having flexible,
webbing-mounted lower attachments. Child seats with
fixed lower attachments must be installed in the out-
board positions only. Regardless of the specific type of
lower attachment,NEVERinstall LATCH-compatible
2
THINGS TO KNOW BEFORE STARTING YOUR VEHICLE 77
Page 81 of 496
In general, you will first loosen the adjusters on the lower
and tether straps so that you can attach the hook or
connector to the lower and tether anchorages more easily.
The tether strap should be routed over the center of the
head restraint and attached to the tether anchor on the rear
of the seatback. Then tighten all three straps as you push
the child restraint rearward and downward into the seat.Not all child restraint systems will be installed as we
have described here. Again, carefully follow the instruc-
tions that come with the child restraint system.
NOTE:If your child restraint seat is not LATCH-
compatible, install the restraint using the vehicle seat
belts.
WARNING!
An incorrectly anchored tether strap could lead to
increased head motion and possible injury to the
child. Use only the anchor position directly behind
the child seat to secure a child restraint top tether
strap.
Rear Seat Tether Anchors
80 THINGS TO KNOW BEFORE STARTING YOUR VEHICLE
Page 82 of 496
Transporting Pets
Airbags deploying in the front seat could harm your pet.
An unrestrained pet will be thrown about and possibly
injured, or injure a passenger during panic braking or in
a collision.
Pets should be restrained in the rear seat in pet harnesses
or pet carriers that are secured by seat belts.
ENGINE BREAK-IN RECOMMENDATIONS
A long break-in period is not required for the engine and
drivetrain (transmission and axle) in your vehicle.
Drive moderately during the first 300 miles (500 km).
After the initial 60 miles (100 km), speeds up to 50 or
55 mph (80 or 90 km/h) are desirable.
While cruising, brief full-throttle acceleration within the
limits of local traffic laws, contributes to a good break-in.
Wide-open throttle acceleration in low gear can be detri-
mental and should be avoided.The engine oil installed in the engine at the factory is a
high-quality energy conserving type lubricant. Oil
changes should be consistent with anticipated climate
conditions under which vehicle operations will occur. For
the recommended viscosity and quality grades refer to
“Maintenance Procedures” in “Maintaining Your Ve-
hicle”. NON-DETERGENT OR STRAIGHT MINERAL
OILS MUST NEVER BE USED.
A new engine may consume some oil during its first few
thousand miles (kilometers) of operation. This should be
considered a normal part of the break-in and not inter-
preted as an indication of difficulty.
SAFETY TIPS
Transporting Passengers
NEVER TRANSPORT PASSENGERS IN THE CARGO
AREA.
2
THINGS TO KNOW BEFORE STARTING YOUR VEHICLE 81
Page 85 of 496
Defroster
Check operation by selecting the defrost mode and place
the blower control on high speed. You should be able to
feel the air directed against the windshield. See your
authorized dealer for service if your defroster is
inoperable.
Floor Mat Safety Information
Always use floor mats designed to fit the foot well of
your vehicle. Use only floor mats that leave the pedal
area unobstructed and that are firmly secured so that
they cannot slip out of position and interfere with the
pedals or impair safe operation of your vehicle in other
ways.
WARNING!
Pedals that cannot move freely can cause loss of
vehicle control and increase the risk of serious per-
sonal injury.
•Always make sure that floor mats are properly
attached to the floor mat fasteners.
•Never place or install floor mats or other floor
coverings in the vehicle that cannot be properly
secured to prevent them from moving and inter-
fering with the pedals or the ability to control the
vehicle.
•Never put floor mats or other floor coverings on
top of already installed floor mats. Additional
floor mats and other coverings will reduce the size
of the pedal area and interfere with the pedals.(Continued)
84 THINGS TO KNOW BEFORE STARTING YOUR VEHICLE
Page 86 of 496
WARNING! (Continued)
•Check mounting of mats on a regular basis. Al-
ways properly reinstall and secure floor mats that
have been removed for cleaning.
•Always make sure that objects cannot fall into the
driver foot well while the vehicle is moving.
Objects can become trapped under the brake pedal
and accelerator pedal causing a loss of vehicle
control.
•If required, mounting posts must be properly
installed, if not equipped from the factory.
Failure to properly follow floor mat installation or
mounting can cause interference with the brake
pedal and accelerator pedal operation causing loss
of control of the vehicle.
Periodic Safety Checks You Should Make Outside
the Vehicle
Tires
Examine tires for excessive tread wear and uneven wear
patterns. Check for stones, nails, glass, or other objects
lodged in the tread. Inspect the tread and sidewall for
cuts and cracks. Check the wheel nuts for tightness.
Check the tires (including spare) for proper pressure.
Lights
Have someone observe the operation of exterior lights
while you work the controls. Check turn signal and high
beam indicator lights on the instrument panel.
Door Latches
Check for positive closing, latching, and locking.
2
THINGS TO KNOW BEFORE STARTING YOUR VEHICLE 85
Page 90 of 496
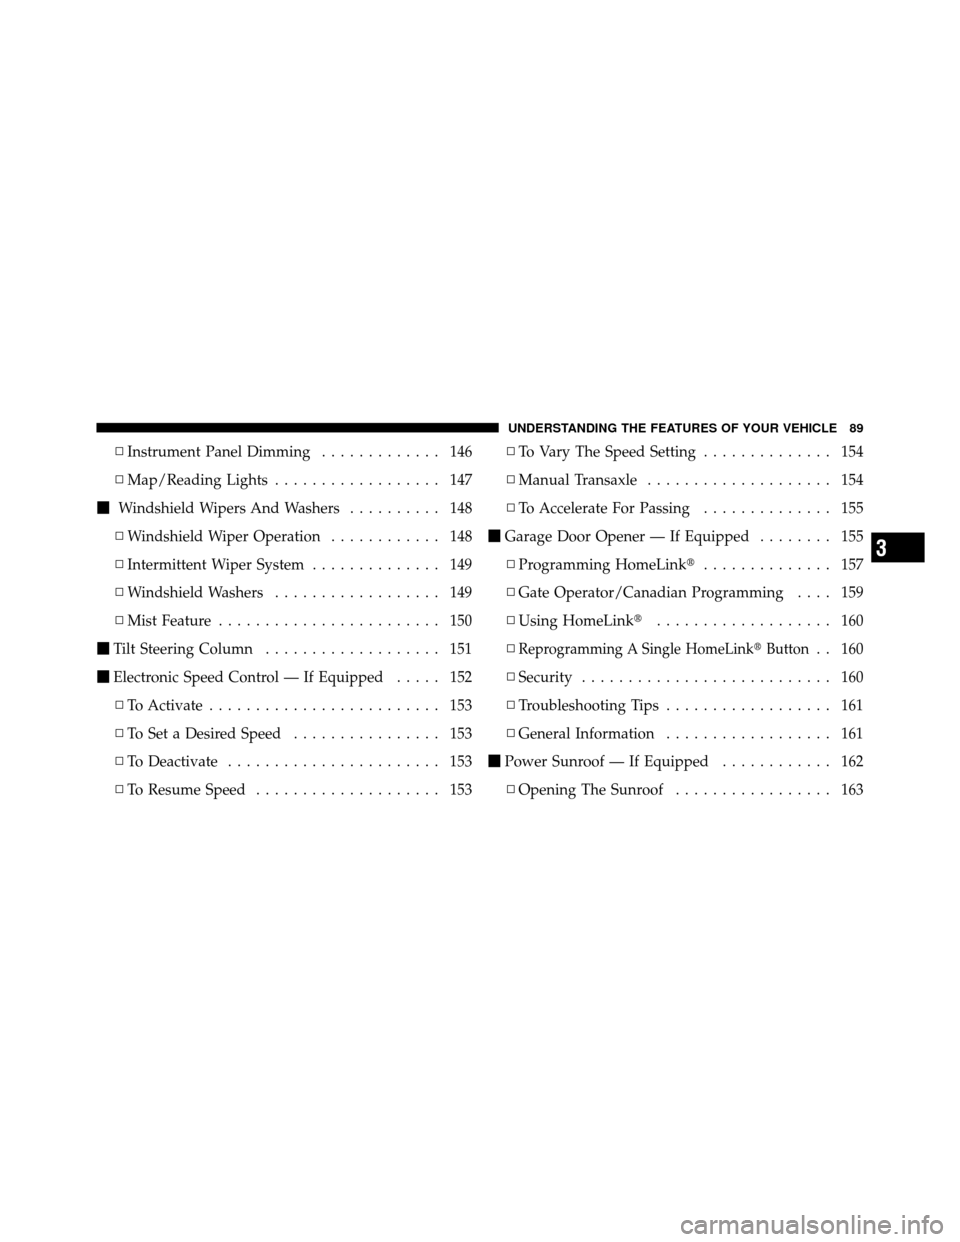
▫Instrument Panel Dimming ............. 146
▫ Map/Reading Lights .................. 147
� Windshield Wipers And Washers .......... 148
▫ Windshield Wiper Operation ............ 148
▫ Intermittent Wiper System .............. 149
▫ Windshield Washers .................. 149
▫ Mist Feature ........................ 150
� Tilt Steering Column ................... 151
� Electronic Speed Control — If Equipped ..... 152
▫ To Activate ......................... 153
▫ To Set a Desired Speed ................ 153
▫ To Deactivate ....................... 153
▫ To Resume Speed .................... 153 ▫
To Vary The Speed Setting .............. 154
▫ Manual Transaxle .................... 154
▫ To Accelerate For Passing .............. 155
� Garage Door Opener — If Equipped ........ 155
▫ Programming HomeLink� .............. 157
▫ Gate Operator/Canadian Programming .... 159
▫ Using HomeLink� ................... 160
▫
Reprogramming A Single HomeLink� Button. . 160
▫ Security ........................... 160
▫ Troubleshooting Tips .................. 161
▫ General Information .................. 161
� Power Sunroof — If Equipped ............ 162
▫ Opening The Sunroof ................. 163
3
UNDERSTANDING THE FEATURES OF YOUR VEHICLE 89
Page 141 of 496
To raise the seatback, pull the strap forward and lift the
seatback into its upright position.
WARNING!
Be certain that the seatback is securely locked into
position. If the seatback is not securely locked into
position the seat will not provide the proper stability
for child seats and/or passengers. An improperly
latched seat could cause serious injury.
Reclining Rear Seat — If Equipped
For additional comfort, pull the strap forward just
enough to release the seatback latch. Then push the
seatback to a reclined position, approximately 35 degrees
maximum, and release the strap.
Rear Seats Folded Flat
140 UNDERSTANDING THE FEATURES OF YOUR VEHICLE
Page 143 of 496
Lift the hood prop rod, clipped to the right side (left side
facing hood) of the engine compartment, to secure the
hood in the open position. Place the hood prop at the
location stamped into the inner hood surface.
CAUTION!
To prevent possible damage, do not slam the hood to
close it. Lower the hood until it is open approxi-
mately 8 in (20 cm) and then drop it. This should
secure both latches. Never drive your vehicle unless
the hood is fully closed, with both latches engaged.
WARNING!
Be sure the hood is fully latched before driving your
vehicle. If the hood is not fully latched, it could open
when the vehicle is in motion and block your vision.
Failure to follow this warning could result in serious
injury or death.
Safety Catch
142 UNDERSTANDING THE FEATURES OF YOUR VEHICLE