Page 80 of 522
Here are some tips on getting the most out of your child
restraint:
•Before buying any restraint system, make sure that it
has a label certifying that it meets all applicable Safety
Standards. The manufacturer also recommends that
you try a child restraint in the vehicle seats where you
will use it before you buy it.
•The restraint must be appropriate for your child’s
weight and height. Check the label on the restraint for
weight and height limits.
•Carefully follow the instructions that come with the
restraint. If you install the restraint improperly, it may
not work when you need it.
•Buckle the child into the restraint exactly as the
manufacturer’s instructions tell you.
•When your child restraint is not in use, secure it in the
vehicle with the seat belt or remove it from the vehicle.Do not leave it loose in the vehicle. In a sudden stop or
collision, it could strike the occupants or seat backs
and cause serious personal injury.
LATCH — Child Seat Anchorage System (Lower
Anchors and Tether for CHildren)
Your vehicle’s rear seat is equipped with the child
restraint anchorage system called LATCH. The LATCH
system provides for the installation of the child restraint
without using the vehicle’s seat belts, instead securing
the child restraint using lower anchorages and upper
tether straps from the child restraint to the vehicle
structure.
LATCH-compatible child restraint systems are now avail-
able. However, because the lower anchorages are to be
introduced over a period of years, child restraint systems
having attachments for those anchorages will continue to
have features for installation using the vehicle’s seat
belts. Child restraints having tether straps and hooks for
2
THINGS TO KNOW BEFORE STARTING YOUR VEHICLE 79
Page 84 of 522
Installing Child Restraints Using the Vehicle Seat
Belt
The passenger seat belts are equipped with either cinch-
ing latch plates or automatic locking retractors, which are
designed to keep the lap portion tight around the child
restraint so that it is not necessary to use a locking clip. If
the seat belt has a cinching latch plate, pulling up on the
shoulder portion of the lap/shoulder belt will tighten the
belt. However, any seat belt system may loosen with
time, so check the belt occasionally, and pull it tight if
necessary.
If the seat belt has an automatic locking retractor, pull the
belt from the retractor until there is enough slack to allow
you to pass the belt through the child restraint and slide
the latch plate into the buckle. Then, pull the belt until it
is all extracted from the retractor. Allow the belt to return
to the retractor, pulling on the excess webbing to tightenthe lap portion around the child restraint. Refer to
“Automatic Locking Mode” earlier in this section.
In the rear seat, you may have trouble tightening the
lap/shoulder belt on the child restraint because the
buckle or latch plate is too close to the belt path opening
on the restraint. Disconnect the latch plate from the
buckle and twist the short buckle-end belt several times
to shorten it. Insert the latch plate into the buckle with the
RELEASE button facing out.
If the belt still can’t be tightened, or if pulling and
pushing on the restraint loosens the belt, you may need
to do something more. Disconnect the latch plate from
the buckle, turn the buckle around, and insert the latch
plate into the buckle again. If you still can’t make the
child restraint secure, try a different seating position.
2
THINGS TO KNOW BEFORE STARTING YOUR VEHICLE 83
Page 85 of 522
To attach a child restraint tether strap:
Route the tether strap over the seatback and attach the
hook to the tether anchor located on the back of the seat.
For the outboard seating positions, route the tether
underneath the headrest and attach the hook to the tether
anchor located on the back of the seat.WARNING!
An incorrectly anchored tether strap could lead to
increased head motion and possible injury to the
child. Use only the anchor positions directly behind
the child seat to secure a child restraint top tether
strap.
Transporting Pets
Airbags deploying in the front seat could harm your pet.
An unrestrained pet will be thrown about and possibly
injured, or injure a passenger during panic braking or in
a collision.
Pets should be restrained in the rear seat in pet harnesses
or pet carriers that are secured by seat belts.
Tether Strap Mounting
84 THINGS TO KNOW BEFORE STARTING YOUR VEHICLE
Page 93 of 522
▫To Resume Speed .................... 162
▫ To Vary The Speed Setting .............. 162
▫ To Accelerate For Passing .............. 163
� Parksense� Rear Park Assist — If Equipped . . . 163
▫ Parksense� Sensors................... 164
▫ Parksense� Warning Display ............ 164
▫ Parksense� Display................... 165
▫ Enabling And Disabling Parksense� ....... 169
▫ Service The Parksense� Rear Park Assist
System ............................ 169
▫ Cleaning The Parksense� System......... 170
▫ Parksense� System Usage Precautions ...... 170
� Garage Door Opener — If Equipped ........ 173▫
Programming HomeLink� .............. 174
▫ Gate Operator/Canadian Programming .... 177
▫ Using HomeLink� ................... 178
▫
Reprogramming A Single HomeLink� Button. . 178
▫ Security ........................... 178
▫ Troubleshooting Tips .................. 179
▫ General Information .................. 179
� Power Sunroof — If Equipped ............ 180
▫ Opening Sunroof — Express ............ 181
▫ Opening Sunroof — Manual Mode ........ 181
▫ Closing Sunroof — Express ............. 181
▫ Closing Sunroof — Manual Mode ........ 181
▫ Pinch Protect Feature ................. 181
92 UNDERSTANDING THE FEATURES OF YOUR VEHICLE
Page 142 of 522
To Raise the Rear Seat
NOTE:If interference from the cargo area prevents the
seatback from fully locking, you will have difficulty
returning the seat to its proper position.
1. If locked in the folded position, pull the release strap
(toward the front of the vehicle).
2. Raise the seatback and lock it into place.
WARNING!
Be certain that the seatback is securely locked into
position. If the seatback in not securely locked into
position the seat will not provide the proper stability
for child seats and/or passengers. An improperly
latched seat could cause serious injury.
Recliner Adjustment
The rear seatback also reclines for additional passenger
comfort. Pull the release strap while sitting in the rear
seat to recline the seatback.
Rear Seatback Release Strap
3
UNDERSTANDING THE FEATURES OF YOUR VEHICLE 141
Page 148 of 522
Use the hood prop rod to secure the hood in the open
position. Place the upper end of the prop rod in the hole
on the underside of the hood.CAUTION!
To prevent possible damage:
•Before closing hood, make sure the hood prop rod
is fully seated into its storage retaining clips.(Continued)
Underhood Safety LatchHood Prop Rod Hole Location
3
UNDERSTANDING THE FEATURES OF YOUR VEHICLE 147
Page 174 of 522
WARNING! (Continued)
•Before using the ParkSense�Rear Park Assist
System, it is strongly recommended that the ball
mount and hitch ball assembly is disconnected
from the vehicle when the vehicle is not used for
towing. Failure to do so can result in injury or
damage to vehicles or obstacles because the hitch
ball will be much closer to the obstacle than the
rear fascia when the warning display turns on the
single flashing arc and sounds the continuous
tone. Also, the sensors could detect the ball mount
and hitch ball assembly, depending on its size and
shape, giving a false indication that an obstacle is
behind the vehicle.
GARAGE DOOR OPENER — IF EQUIPPED
HomeLink� replaces up to three remote controls (hand-
held transmitters) that operate devices such as garage door openers, motorized gates, lighting or home security
systems. The HomeLink�
unit operates off your vehicle’s
battery.
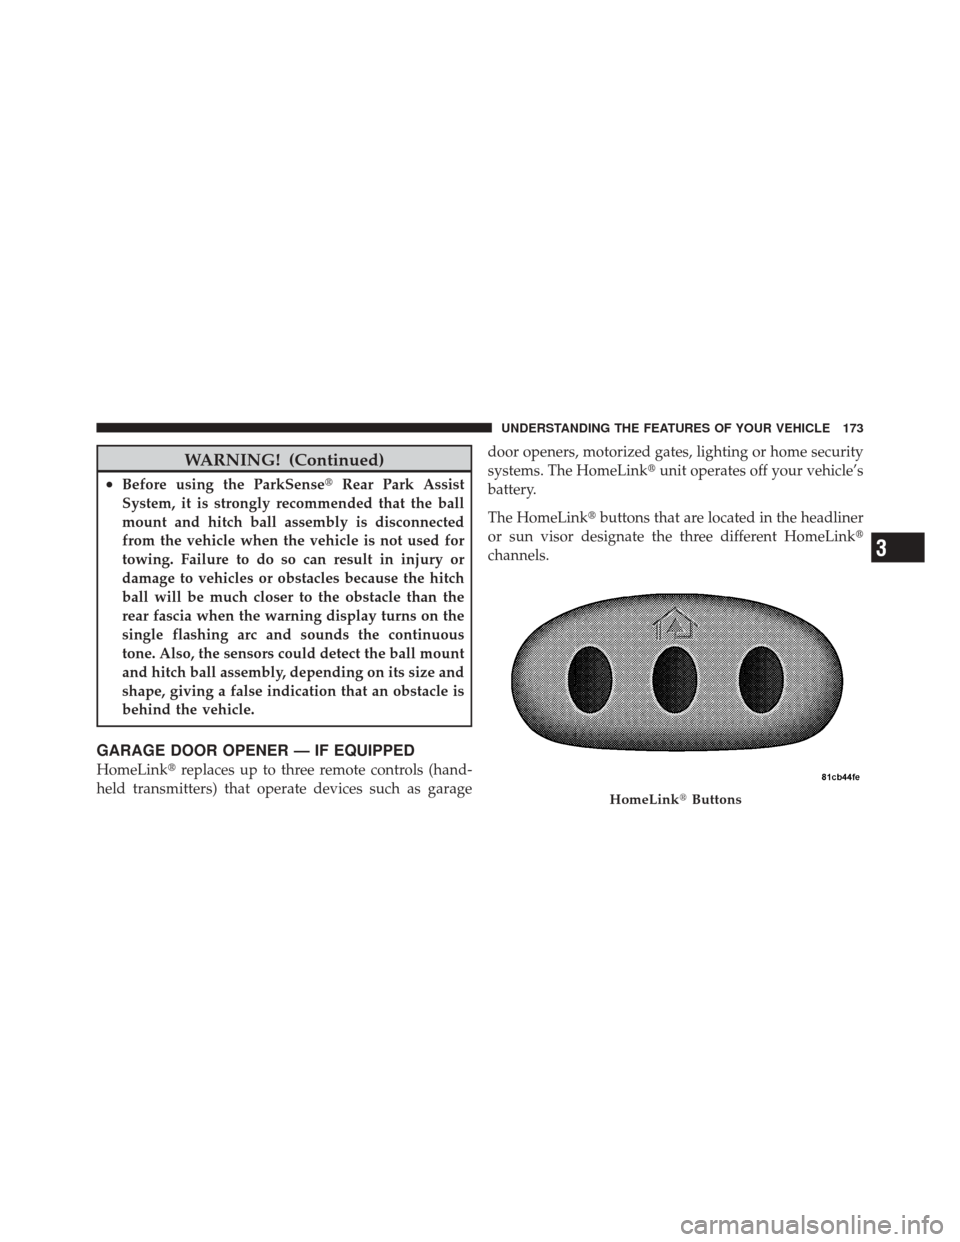
The HomeLink� buttons that are located in the headliner
or sun visor designate the three different HomeLink �
channels.
HomeLink� Buttons
3
UNDERSTANDING THE FEATURES OF YOUR VEHICLE 173
Page 175 of 522
NOTE:HomeLink� is disabled when the Vehicle Secu-
rity Alarm is active.
WARNING!
•Your motorized door or gate will open and close
while you are training the Universal Transceiver.
Do not train the transceiver if people, pets or other
objects are in the path of the door or gate. Only use
this transceiver with a garage door opener that has
a “stop and reverse” feature as required by Federal
safety standards. This includes most garage door
opener models manufactured after 1982. Do not
use a garage door opener without these safety
features. Call toll-free 1–800–355–3515 or, on the
Internet at www.HomeLink.com for safety infor-
mation or assistance.
(Continued)
WARNING! (Continued)
•Vehicle exhaust contains carbon monoxide, a dan-
gerous gas. Do not run your vehicle in the garage
while training the transceiver. Exhaust gas can
cause serious injury or death.
Programming HomeLink�
Before You Begin
If you have not trained any of the HomeLink �buttons,
erase all channels before you begin training.
To do this, press and hold the two outside buttons for
20 seconds until the red indicator flashes.
It is recommended that a new battery be placed in the
handheld transmitter of the device that is being copied to
HomeLink� for more efficient training and accurate
transmission of the radio-frequency signal.
174 UNDERSTANDING THE FEATURES OF YOUR VEHICLE