Page 2944 of 3039
Interior Trim and Ornamentation, Removal and Installation).
14.
15. Remove the spare wheel and tire (if equipped).
Remove the subwoofer speaker (if equipped).
16.
Release and position the back panel and loadspace wiring harness to
one side.
17. Remove the luggage compartment latch striker.
18. Remove the right-hand and left-hand forced air extraction grilles.
19. Remove the right-hand and left-hand muffler and tailpipe.
For additional information, refer to: Muffler and Tailpipe (309-00A,
Removal and Installation) /
Muffler and Tailpipe (309-00B, Removal and Installation) /
Muffler and Tailpipe (309-00C, Removal and Installation).
20. Remove the right-hand and left-hand muffler and tailpipe heatshield. www.JagDocs.com
Page 2949 of 3039

Removal and Installation).
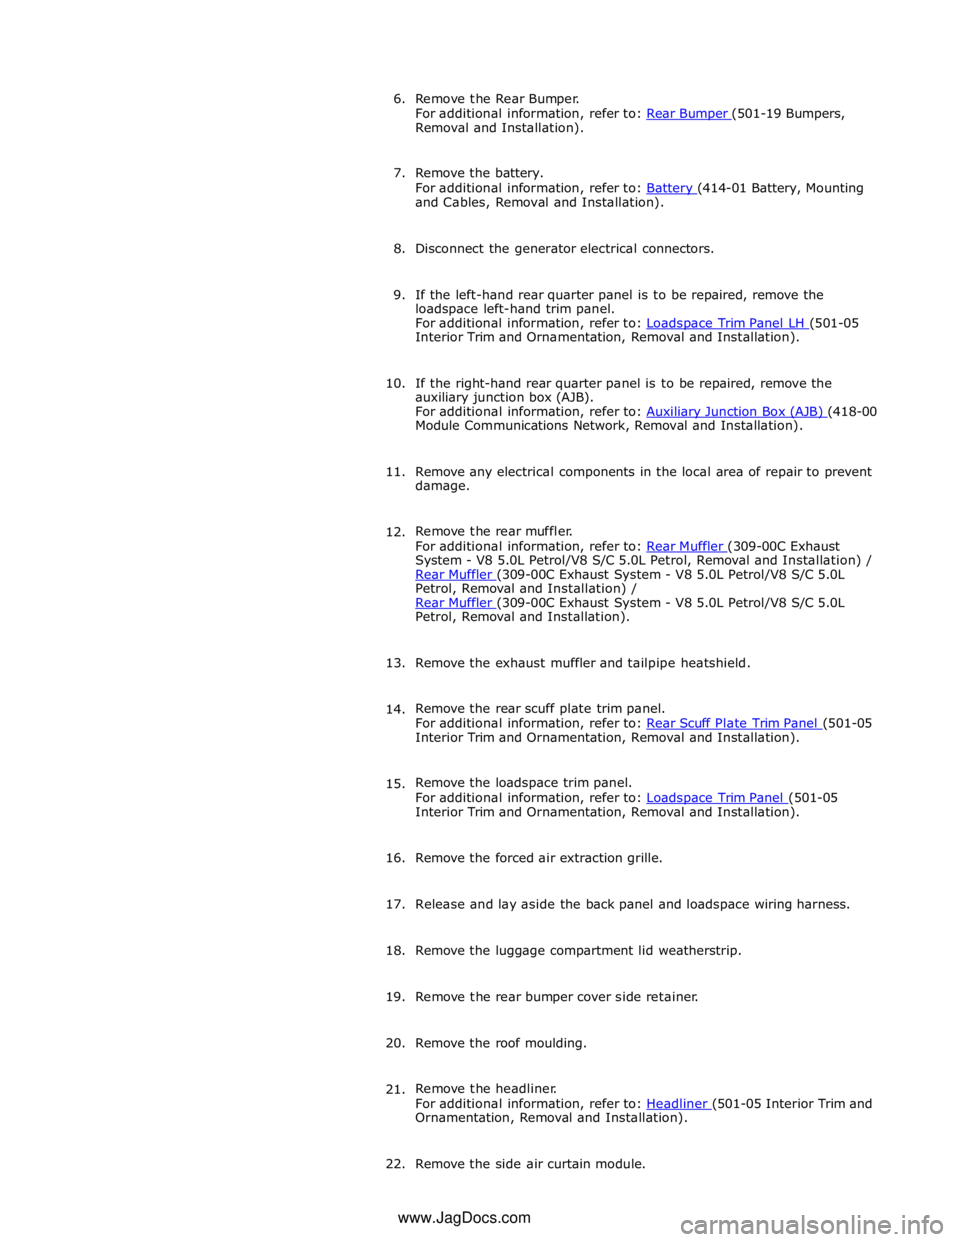
7. Remove the battery.
For additional information, refer to: Battery (414-01 Battery, Mounting and Cables, Removal and Installation).
8. Disconnect the generator electrical connectors.
9. If the left-hand rear quarter panel is to be repaired, remove the
loadspace left-hand trim panel.
For additional information, refer to: Loadspace Trim Panel LH (501-05 Interior Trim and Ornamentation, Removal and Installation).
10. If the right-hand rear quarter panel is to be repaired, remove the
auxiliary junction box (AJB).
For additional information, refer to: Auxiliary Junction Box (AJB) (418-00 Module Communications Network, Removal and Installation).
11. Remove any electrical components in the local area of repair to prevent
damage.
12. Remove the rear muffler.
For additional information, refer to: Rear Muffler (309-00C Exhaust System - V8 5.0L Petrol/V8 S/C 5.0L Petrol, Removal and Installation) /
Rear Muffler (309-00C Exhaust System - V8 5.0L Petrol/V8 S/C 5.0L Petrol, Removal and Installation) /
Rear Muffler (309-00C Exhaust System - V8 5.0L Petrol/V8 S/C 5.0L Petrol, Removal and Installation).
13. Remove the exhaust muffler and tailpipe heatshield.
14. Remove the rear scuff plate trim panel.
For additional information, refer to: Rear Scuff Plate Trim Panel (501-05 Interior Trim and Ornamentation, Removal and Installation).
15. Remove the loadspace trim panel.
For additional information, refer to: Loadspace Trim Panel (501-05 Interior Trim and Ornamentation, Removal and Installation).
16. Remove the forced air extraction grille.
17. Release and lay aside the back panel and loadspace wiring harness.
18. Remove the luggage compartment lid weatherstrip.
19. Remove the rear bumper cover side retainer.
20. Remove the roof moulding.
21. Remove the headliner.
For additional information, refer to: Headliner (501-05 Interior Trim and Ornamentation, Removal and Installation).
22. Remove the side air curtain module.
www.JagDocs.com
Page 2961 of 3039
11. Release and lay aside the back panel and loadspace wiring harness.
12. Remove the rear bumper cover side retainer.
13. Remove the rear wheel and tire.
For additional information, refer to: Wheel and Tire (204-04 Wheels and Tires, Removal and Installation).
14.
15. Remove the rear fender splash shield.
NOTE: Where applicable spot welds must be drilled
from the inside, this will enable the new panel to be spot
welded on installation. Use a belt sander where there is no
access to drill.
Drill out the spot welds.
Page 2981 of 3039
Section (501-29 Side Panel Sheet Metal Repairs, Removal and Installation).
6. Disconnect the generator electrical connectors.
7. Remove the rear safety belt retractor.
For additional information, refer to: Rear Safety Belt Retractor (501-20A Safety Belt System, Removal and Installation).
8. Disconnect, release the inner quarter panel wiring harness and position
it to one side.
9. If the right-hand rear wheelhouse outer is being repaired, release the
battery positive cable and position it to one side.
10. Release the inner quarter panel insulating material and position it to
one side.
11. Drill out the spot welds from the striker reinforcement
panel.
Page 2993 of 3039
5. Disconnect the generator electrical connectors.
6. Disconnect the battery positive cable and position it to one side.
7. Remove the rear subframe and rear suspension, as an assembly.
For additional information, refer to: Rear Subframe - V6 3.0L Petrol (502-00 Uni-Body, Subframe and Mounting System, Removal and
Installation).
8. Remove the fuel tank filler pipe.
For additional information, refer to: Fuel Tank Filler Pipe (310-01B,
Removal and Installation).
9. Release the left-hand and right-hand luggage floor wiring harnesses and
position them to one side.
10. Make sure that the rear seats are covered to prevent any damage during
this repair procedure.
11. NOTE: If undamaged, the left-hand and right-hand rear bumper
retaining brackets should be reinstalled.
Remove the left-hand and right-hand rear bumper retaining brackets.