2010 GMC SIERRA clock
[x] Cancel search: clockPage 324 of 630
Drivers are encouraged to set up any auxiliary device
while the vehicle is in P (Park). SeeDefensive Driving
on page 5‑2for more information on driver distraction.
To use a portable audio player, connect a 3.5 mm
(1/8 in) cable to the radio's front auxiliary input jack.
When a device is connected, press the radio CD/AUX
button to begin playing audio from the device over the
vehicle speakers.
For optimal sound quality, increase the portable audio
device's volume to the loudest level.
It is always best to power the portable audio device
through its own battery while playing.
O(Power/Volume): Turn clockwise or
counterclockwise to increase or decrease the
volume of the portable player. Additional volume
adjustments might have to be made from the portable
device if the volume is not loud or soft enough.
BAND : Press to listen to the radio when a portable
audio device is playing. The portable audio device
continues playing.
CD/AUX (CD/Auxiliary) : Press to play a CD when a
portable audio device is playing. Press again and the
system begins playing audio from the connected
portable audio player. If a portable audio player is not
connected, “No Input Device Found” displays.DVD/CD AUX (CD/Auxiliary) :
Press to cycle thro
ugh DVD, CD, or Auxiliary when listening to the radio.
The DVD/CD text tab and a message showing track or
chapter number displays when a disc is in either slot.
Press again and the system automatically searches for
an auxiliary input device, such as a portable audio
player. If a portable audio player is not connected,
“No Aux Input Device” displays. If a disc is in both the
DVD slot and the CD slot the DVD/CD AUX button
cycles between the two sources and not indicate
“No Aux Input Device”. If a front auxiliary device is
connected, the DVD/CD AUX button cycles through
all available options, such as: DVD slot, CD slot,
Front Auxiliary, and Rear Auxiliary (if available).
See “Using the Auxiliary Input Jack(s)” later in this
section, or “Audio/Video (A/V) Jacks” under,Rear Seat
Entertainment (RSE) System
on page 4‑134for more
information.
Using the USB Port
Radios with a USB port can control a USB storage
device or an iPod®using the radio buttons and knobs.
See Using an MP3 (Radios with CD)on page 4‑107or
Using an MP3 (Radios with CD and DVD)on
page 4‑114for information about how to connect and
control a USB storage device or an iPod.
4-106
Page 374 of 630
StabiliTrak®System
The vehicle may have a vehicle stability enhancement
system called StabiliTrak. It is an advanced computer
controlled system that assists the driver with directional
control of the vehicle in difficult driving conditions.
StabiliTrak activates when the computer senses a
discrepancy between the intended path and the
direction the vehicle is actually traveling. StabiliTrak
selectively applies braking pressure at any one of the
vehicle's brakes to assist the driver with keeping the
vehicle on the intended path.
When the vehicle is started and begins to move, the
system performs several diagnostic checks to insure
there are no problems. The system may be heard or felt
while it is working. This is normal and does not mean
there is a problem with the vehicle. The system should
initialize before the vehicle reaches 20 mph (32 km/h).
In some cases, it may take approximately two miles of
driving before the system initializes.
If cruise control is being used when StabiliTrak
activates, the cruise control automatically disengages.
The cruise control can be re-engaged when road
conditions allow. SeeCruise Control
on page 4‑7for
more information. If the system fails to turn on or activate, the StabiliTrak
light along with one of the following messages will be
displayed on the Driver Information Center (DIC):
TRACTION CONTROL OFF, SERVICE TRACTION
CONTROL, STABILITRAK OFF, SERVICE
STABILITRAK. If these DIC messages appear, make
sure the StabiliTrak system has not been turned off
using the StabiliTrak on/off button. Then turn the
steering wheel clockwise from the nine o'clock position
to the three o'clock position. If this clears the
message(s), the vehicle does not need servicing. If this
does not clear the message(s), then turn the vehicle off,
wait 15 seconds, and then turn it back on again to reset
the system. If any of these messages still appear on the
DIC, the vehicle should be taken in for service. For
more information on the DIC messages, see
DIC
Warnings and Messages on page 4‑65.
The StabiliTrak light will
flash on the instrument
panel cluster when the
system is both on and
activated.
The system may be heard or felt while it is working; this
is normal.
5-6
Page 377 of 630
Try to adjust the speed so you can drive through the
curve. Maintain a reasonable, steady speed. Wait to
accelerate until out of the curve, and then accelerate
gently into the straightaway.
Steering in Emergencies
There are times when steering can be more effective
than braking. For example, you come over a hill and
find a truck stopped in your lane, or a car suddenly
pulls out from nowhere, or a child darts out from
between parked cars and stops right in front of you.
These problems can be avoided by braking—if you can
stop in time. But sometimes you cannot stop in time
because there is no room. That is the time for evasive
action —steering around the problem.
The vehicle can perform very well in emergencies
like these. First, apply the brakes. See Braking
on
page 5‑3. It is better to remove as much speed as
possible from a collision. Then steer around the
problem, to the left or right depending on the
space available.
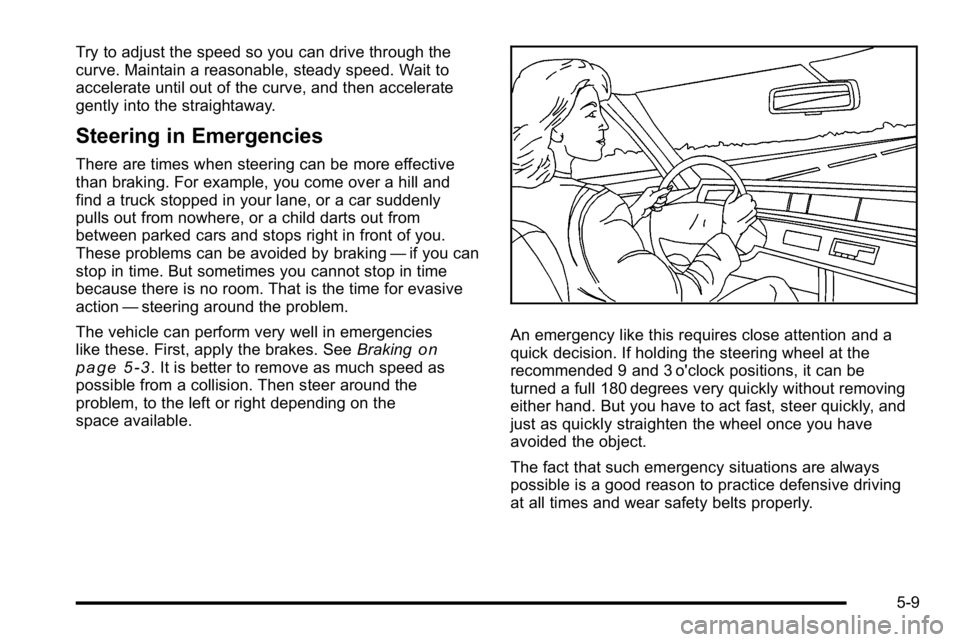
An emergency like this requires close attention and a
quick decision. If holding the steering wheel at the
recommended 9 and 3 o'clock positions, it can be
turned a full 180 degrees very quickly without removing
either hand. But you have to act fast, steer quickly, and
just as quickly straighten the wheel once you have
avoided the object.
The fact that such emergency situations are always
possible is a good reason to practice defensive driving
at all times and wear safety belts properly.
5-9
Page 385 of 630
.Sound the horn as you approach the top of the hill
to let opposing traffic know you are there.
.Use headlamps even during the day to make the
vehicle more visible to oncoming traffic.
{WARNING:
Driving to the top (crest) of a hill at full speed can
cause an accident. There could be a drop-off,
embankment, cliff, or even another vehicle. You
could be seriously injured or killed. As you near
the top of a hill, slow down and stay alert.
If the vehicle stalls, or is about to stall, and you cannot
make it up the hill:
.Push the brake pedal to stop the vehicle and
keep it from rolling backwards and apply the
parking brake.
.If the engine is still running, shift the transmission
to R (Reverse), release the parking brake, and
slowly back down the hill in R (Reverse).
.If the engine has stopped running, you need to
restart it. With the brake pedal pressed and the
parking brake still applied, shift the transmission to
P (Park) and restart the engine. Then, shift to
R (Reverse), release the parking brake, and slowly
back down the hill as straight as possible in
R (Reverse).
.While backing down the hill, put your left hand
on the steering wheel at the 12 o'clock position
so you can tell if the wheels are straight and can
maneuver as you back down. It is best to back
down the hill with the wheels straight rather than
in the left or right direction. Turning the wheel too
far to the left or right will increase the possibility
of a rollover.
Things not to do if the vehicle stalls, or is about to stall,
when going up a hill:
.Never attempt to prevent a stall by shifting into
N (Neutral) to rev-up the engine and regain forward
momentum. This will not work. The vehicle can roll
backward very quickly and could go out of control.
.Never try to turn around if about to stall when
going up a hill. If the hill is steep enough to stall
the vehicle, it is steep enough to cause it to roll
over. If you cannot make it up the hill, back straight
down the hill.
5-17
Page 458 of 630
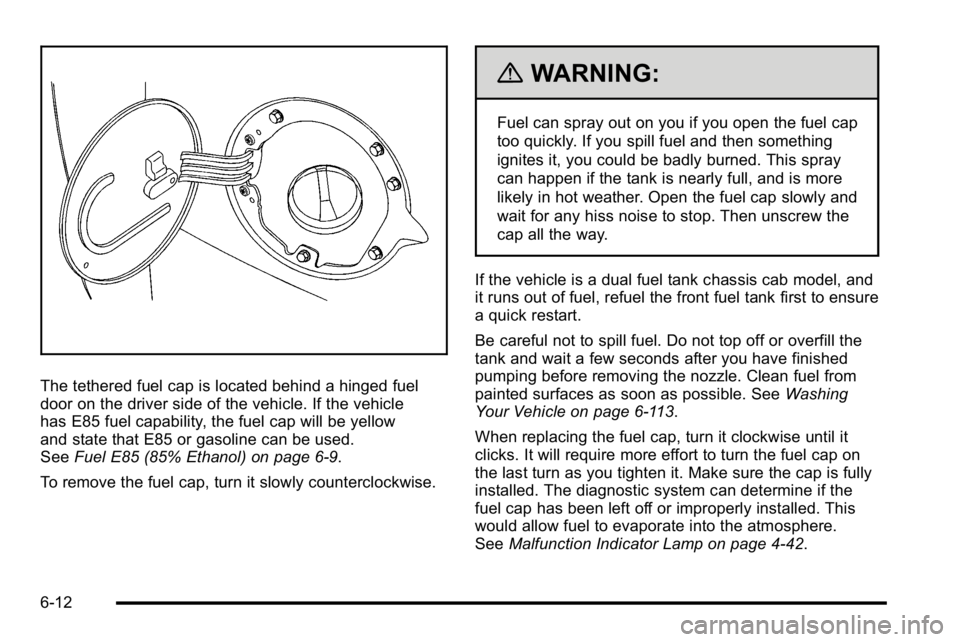
The tethered fuel cap is located behind a hinged fuel
door on the driver side of the vehicle. If the vehicle
has E85 fuel capability, the fuel cap will be yellow
and state that E85 or gasoline can be used.
SeeFuel E85 (85% Ethanol) on page 6‑9.
To remove the fuel cap, turn it slowly counterclockwise.
{WARNING:
Fuel can spray out on you if you open the fuel cap
too quickly. If you spill fuel and then something
ignites it, you could be badly burned. This spray
can happen if the tank is nearly full, and is more
likely in hot weather. Open the fuel cap slowly and
wait for any hiss noise to stop. Then unscrew the
cap all the way.
If the vehicle is a dual fuel tank chassis cab model, and
it runs out of fuel, refuel the front fuel tank first to ensure
a quick restart.
Be careful not to spill fuel. Do not top off or overfill the
tank and wait a few seconds after you have finished
pumping before removing the nozzle. Clean fuel from
painted surfaces as soon as possible. See Washing
Your Vehicle on page 6‑113.
When replacing the fuel cap, turn it clockwise until it
clicks. It will require more effort to turn the fuel cap on
the last turn as you tighten it. Make sure the cap is fully
installed. The diagnostic system can determine if the
fuel cap has been left off or improperly installed. This
would allow fuel to evaporate into the atmosphere.
See Malfunction Indicator Lamp on page 4‑42.
6-12
Page 480 of 630

Turn the pressure cap slowly counterclockwise
about one full turn. If you hear a hiss, wait for that
to stop. A hiss means there is still some
pressure left.
2. Keep turning the pressure cap slowly, and remove it.
3. Fill the coolant surge tank with the proper mixtureto the FULL COLD mark.
4. With the coolant surge tank pressure cap off, start the engine and let it run until the engine coolant
temperature gage indicates approximately
195°F (90°C). By this time, the coolant level inside the coolant
surge tank may be lower. If the level is lower, add
more of the proper mixture to the coolant surge
tank until the level reaches the FULL COLD mark.
5. Replace the pressure cap. Be sure the pressure cap is hand-tight and fully seated.
6. Verify coolant level after engine is shut off and the coolant is cold. If necessary, repeat coolant fill
procedure Steps 1 through 6.
Notice: If the pressure cap is not tightly installed,
coolant loss and possible engine damage may
occur. Be sure the cap is properly and tightly
secured.
Engine Overheating
If the vehicle has the DURAMAX®Diesel engine, see
the DURAMAX®Diesel manual for more information.
The vehicle has several indicators to warn of engine
overheating.
You will find a coolant temperature gage on the
vehicle's instrument panel. See Engine Coolant
Temperature Gage on page 4‑41.
In addition, you will find ENGINE OVERHEATED STOP
ENGINE, ENGINE OVERHEATED IDLE ENGINE, and
ENGINE POWER IS REDUCED messages in the Driver
Information Center (DIC) on the instrument panel.
See DIC Warnings and Messages on page 4‑65.
6-34
Page 502 of 630

4. At a wall, measure from the ground upward (A) tothe recorded distance from Step 3 and mark it.
5. Draw or tape a horizontal line (B) on the wall the width of the vehicle at the height of the mark
in Step 4.
Notice: Do not cover a headlamp to improve beam
cut-off when aiming. Covering a headlamp may
cause excessive heat build-up which may cause
damage to the headlamp.
6. Turn on the low-beam headlamps and place a piece of cardboard or equivalent in front of the
headlamp not being adjusted. This allows only the
beam of light from the headlamp being adjusted to
be seen on the flat surface.
7. Locate the vertical headlamp aiming screws, whichare under the hood near each headlamp assembly.
The adjustment screw can be turned with an
E8 Torx
®socket.
8. Turn the vertical aiming screw until the headlamp beam is aimed to the horizontal tape line. Turn it
clockwise or counterclockwise to raise or lower
the angle of the beam.
6-56
Page 504 of 630

4. Turn the bulb socket counterclockwise to remove itfrom the headlamp assembly and pull it
straight out.
5. Unplug the electrical connector from the old bulb by releasing the clips on the bulb socket.
6. Replace it with a new bulb socket.
7. Plug in the electrical connector to the new bulb socket.
8. Reinstall the new bulb socket into the headlamp assembly and turn it clockwise to secure.
9. Close the hood.
Center High-Mounted Stoplamp
(CHMSL) and Cargo Lamp
To replace one of these bulbs:
1. Remove the screws and lift off the lamp assembly.
6-58