2010 FORD F250 SUPER DUTY tow
[x] Cancel search: towPage 261 of 408

equipped. Refer to Maintenance product specifications and
capacities in the Maintenance and Specifications chapter for the
proper axle lubricant. Remember that regardless of the rear axle
lubricant used, do not tow a trailer for the first 500 miles (800 km) of
a new vehicle, and that the first 500 miles (800 km) of towing be done
at no faster than 70 mph (113 km/h) with no full-throttle starts.
Loading
• Trailer loads should be evenly distributed front to back and left to
right.
• The load distribution within the trailer should be such that 10–15% of
the trailer weight is on the hitch (15–25% for fifth-wheel or gooseneck
towing).
• Never exceed truck, trailer, receiver, ball, tongue, tire or coupler
loading recommendations.
• Keep the center-of-gravity low for best handling.
Braking
• Anticipate the need to stop; allow much more distance and time to
stop than normal.
• Do not apply the trailer brakes for extended periods of time as they
can overheat and lose effectiveness.
• The trailer brakes must be inspected and serviced at intervals
specified by the manufacturer. This includes the shoes, drum and
trailer brake magnets.
• Electric brakes also require periodic adjustment to keep the shoes
properly spaced. If the brakes get hot when driving or if they will not
hold, chances are that they need adjustment.
Backing-up
• Practice backing-up, particularly if you are a novice. Turn the steering
wheel to the right to move the trailer’s rear end to the right.
• Sharp steering movements may cause the trailer to jackknife or go out
of control.
Tires
• Select tires that meet the trailer loading requirements.
• All trailer tires should be of the same size, and construction.
• Always check tow vehicle and trailer tire pressure before towing. Tires, Wheels and Loading
261
2010 F-250/350/450/550 (f23)
Owners Guide, 2nd Printing
USA (fus)
Page 262 of 408
Launching or retrieving a boat
Disconnect the wiring to the trailer before backing the trailer
into the water. Reconnect the wiring to the trailer after the
trailer is removed from the water.
When backing down a ramp during boat launching or retrieval:
• do not allow the static water level to rise above the bottom edge of
the rear bumper.
• do not allow waves to break higher than 6 inches (15 cm) above the
bottom edge of the rear bumper.
Exceeding these limits may allow water to enter vehicle components:
• causing internal damage to the components.
• affecting driveability, emissions and reliability.
Replace the rear axle lubricant any time the axle has been submerged in
water. Rear axle lubricant quantities are not to be checked or changed
unless a leak is suspected or repair required.
RECREATIONAL TOWING
Follow these guidelines if you have a need for recreational (RV) towing.
An example of recreational towing would be towing your vehicle behind
a motorhome. These guidelines are designed to ensure that your
transmission is not damaged.
Note: Put your climate control system in recirculated air mode to
prevent exhaust fumes from entering the vehicle. Refer to the Climate
Controls chapter for more information.Tires, Wheels and Loading
262
2010 F-250/350/450/550 (f23)
Owners Guide, 2nd Printing
USA (fus)
Page 263 of 408
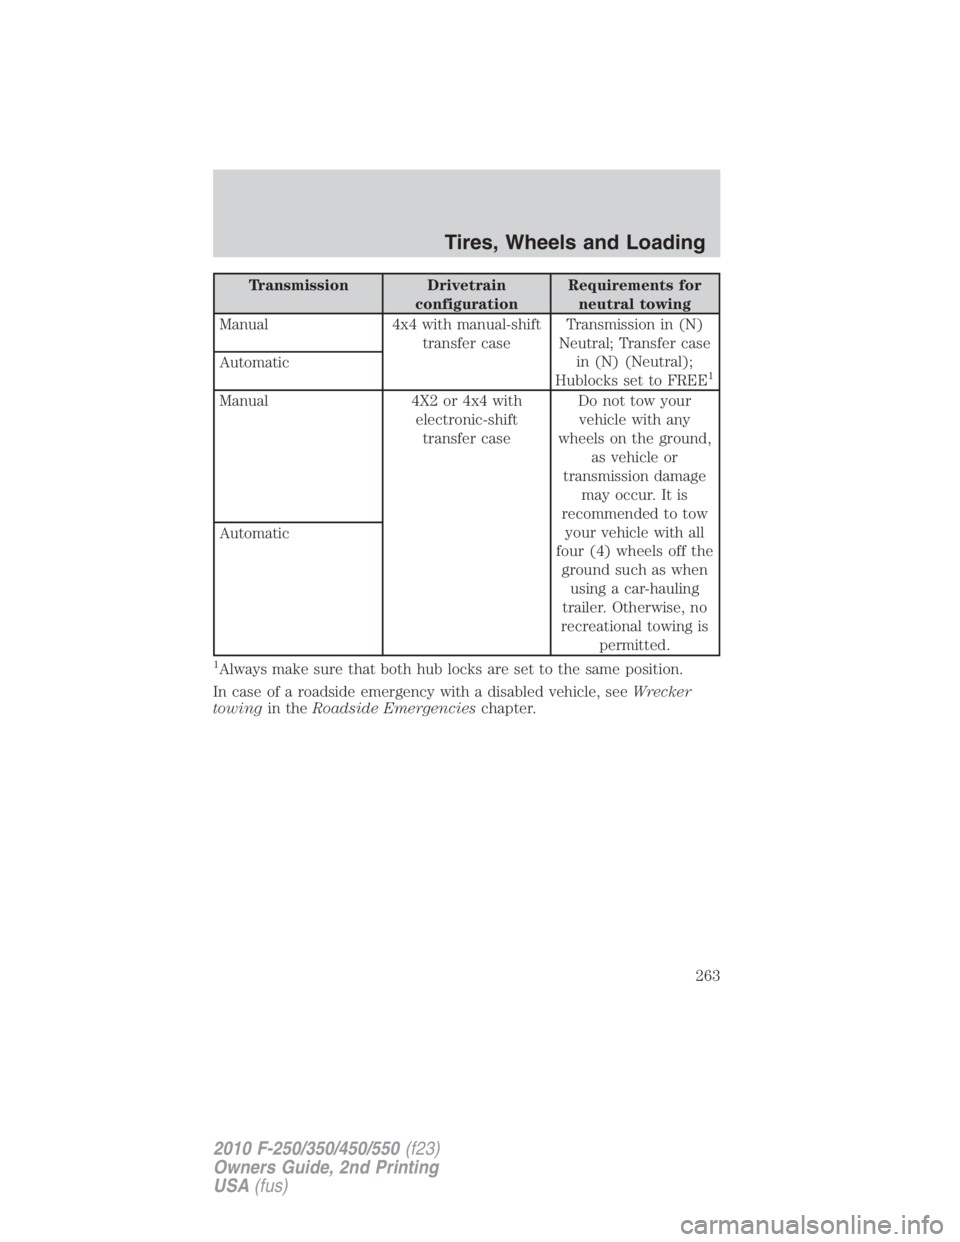
Transmission Drivetrain
configuration Requirements for
neutral towing
Manual 4x4 with manual-shift
transfer case Transmission in (N)
Neutral; Transfer case
in (N) (Neutral);
Hublocks set to FREE 1
Automatic
Manual 4X2 or 4x4 with
electronic-shift
transfer case Do not tow your
vehicle with any
wheels on the ground,
as vehicle or
transmission damage
may occur. It is
recommended to tow
your vehicle with all
four (4) wheels off the
ground such as when
using a car-hauling
trailer. Otherwise, no
recreational towing is
permitted.Automatic 1
Always make sure that both hub locks are set to the same position.
In case of a roadside emergency with a disabled vehicle, see Wrecker
towing in the Roadside Emergencies chapter.Tires, Wheels and Loading
263
2010 F-250/350/450/550 (f23)
Owners Guide, 2nd Printing
USA (fus)
Page 269 of 408

How to Use the Engine Block Heater
Ensure the receptacle terminals are clean and dry prior to use. To clean
them, use a dry cloth.
Depending on the type of factory installed equipment, your engine block
heater system may consume anywhere between 400 watts or 1000 watts
of power per hour. Your factory installed block heater system does not
have a thermostat; however, maximum temperature is attained after
approximately three hours of operation. Block heater operation longer
than three hours will not improve system performance and will
unnecessarily use additional electricity.
Make sure system is unplugged and properly stowed before driving the
vehicle. While not in use, make sure the protective cover seals the
prongs of the engine block heater cord plug.
BRAKES
Occasional brake noise is normal. If a metal-to-metal, continuous grinding
or continuous squeal sound is present, the brake linings may be worn-out
and should be inspected by an authorized dealer. If the vehicle has
continuous vibration or shudder in the steering wheel while braking, the
vehicle should be inspected by an authorized dealer.
Refer to Warning lights and
chimes in the Instrument Cluster
chapter for information on the brake
system warning light.
Four-wheel anti-lock brake system (ABS) (if equipped)
Your vehicle may be equipped with an anti-lock braking system (ABS).
This system helps you maintain steering control during emergency stops
by keeping the brakes from locking. The ABS operates by detecting the
onset of wheel lockup during brake application and compensates for this
tendency. Noise from the ABS pump motor and brake pedal pulsation
may be observed during ABS braking; any pulsation or mechanical noise
you may feel or hear is normal. In addition, the ABS performs a
self-check after you start the engine and begin to drive away. A brief
mechanical noise may be heard during this test. This is normal. P!
BRAKE Driving
269
2010 F-250/350/450/550 (f23)
Owners Guide, 2nd Printing
USA (fus)
Page 274 of 408
WARNING: Loaded vehicles, with a higher center of gravity,
may handle differently than unloaded vehicles. Do not overload
your vehicle and use extra precautions, such as driving at slower
speeds, avoiding abrupt steering changes and allowing for increased
stopping distance, when driving a heavily loaded vehicle. Over-loading
or loading the vehicle improperly can deteriorate handling capability
and contribute to loss of vehicle control and vehicle rollover.
BRAKE-SHIFT INTERLOCK
This vehicle is equipped with a brake-shift interlock feature that prevents
the gearshift lever from being moved from P (Park) when the ignition is
in the 3 (on) position and the brake pedal is not pressed.
If you cannot move the gearshift lever out of P (Park) with ignition in
the on position and the brake pedal pressed, it is possible that a fuse has
blown or the vehicle’s brakelamps are not operating properly. Refer to
Fuses and relays in the Roadside Emergencies chapter.
If the fuse is not blown and the brakelamps are working properly, the
following procedure will allow you to move the gearshift lever from P
(Park):
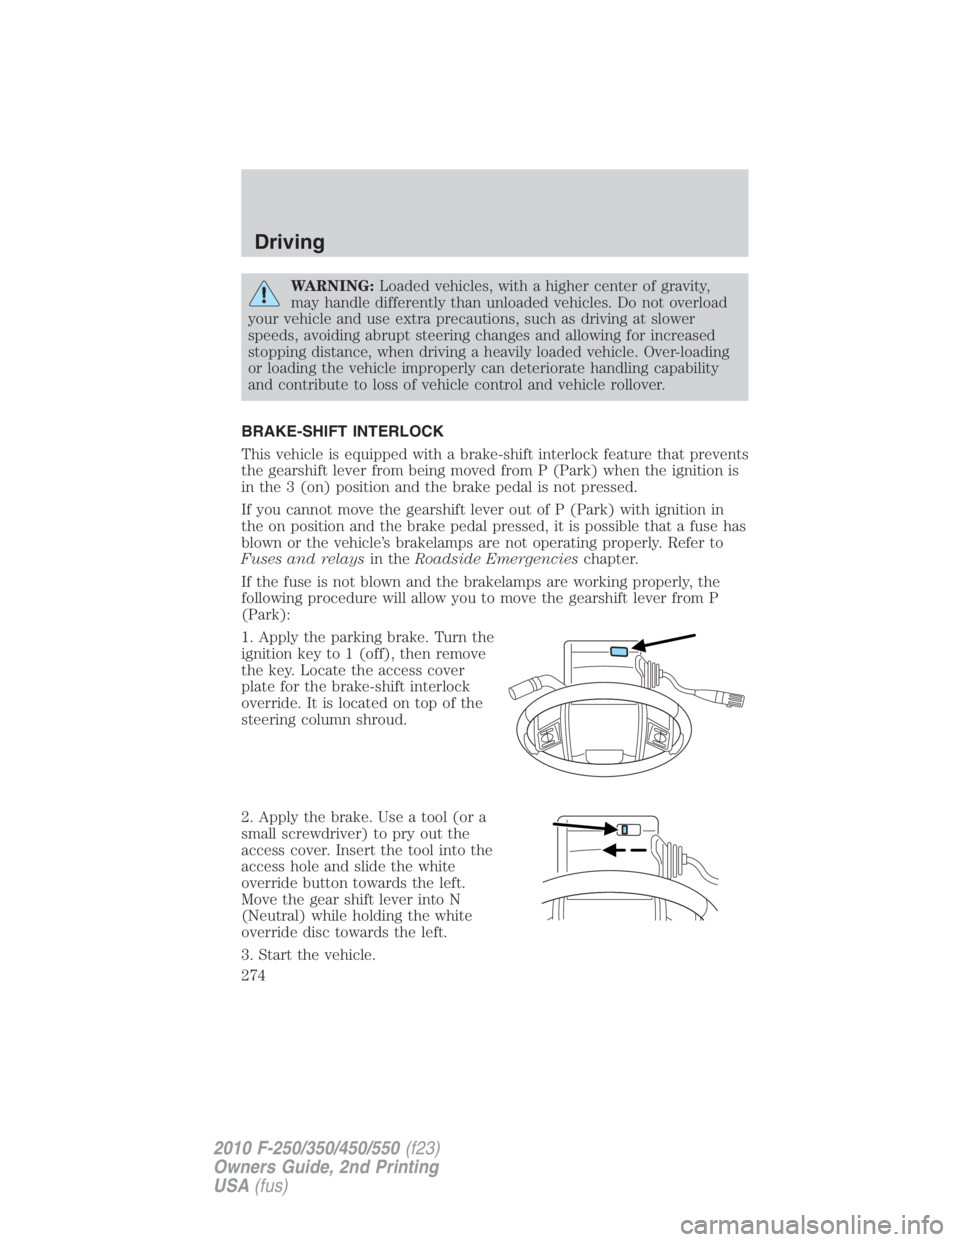
1. Apply the parking brake. Turn the
ignition key to 1 (off), then remove
the key. Locate the access cover
plate for the brake-shift interlock
override. It is located on top of the
steering column shroud.
2. Apply the brake. Use a tool (or a
small screwdriver) to pry out the
access cover. Insert the tool into the
access hole and slide the white
override button towards the left.
Move the gear shift lever into N
(Neutral) while holding the white
override disc towards the left.
3. Start the vehicle.Driving
274
2010 F-250/350/450/550 (f23)
Owners Guide, 2nd Printing
USA (fus)
Page 276 of 408
To put your vehicle in P (Park):
• Come to a complete stop
• Move the gearshift lever and securely latch it in P (Park)
WARNING: Always set the parking brake fully and make sure
the gearshift is latched in P (Park). Turn the ignition to the off
position and remove the key whenever you leave your vehicle.
R (Reverse)
With the gearshift lever in R (Reverse), the vehicle will move backward.
Always come to a complete stop before shifting into and out of R
(Reverse).
N (Neutral)
With the gearshift lever in N (Neutral), the vehicle can be started and is
free to roll. Hold the brake pedal down while in this position.
D (Overdrive) with Tow/Haul Off
D (Overdrive) with tow/haul off is the normal driving position for the
best fuel economy. The overdrive function allows automatic upshifts and
downshifts through gears one through five.
D (Overdrive) with Tow/Haul On
The tow/haul feature improves transmission operation when towing a
trailer or a heavy load. All transmission gear ranges are available when
using tow/haul.
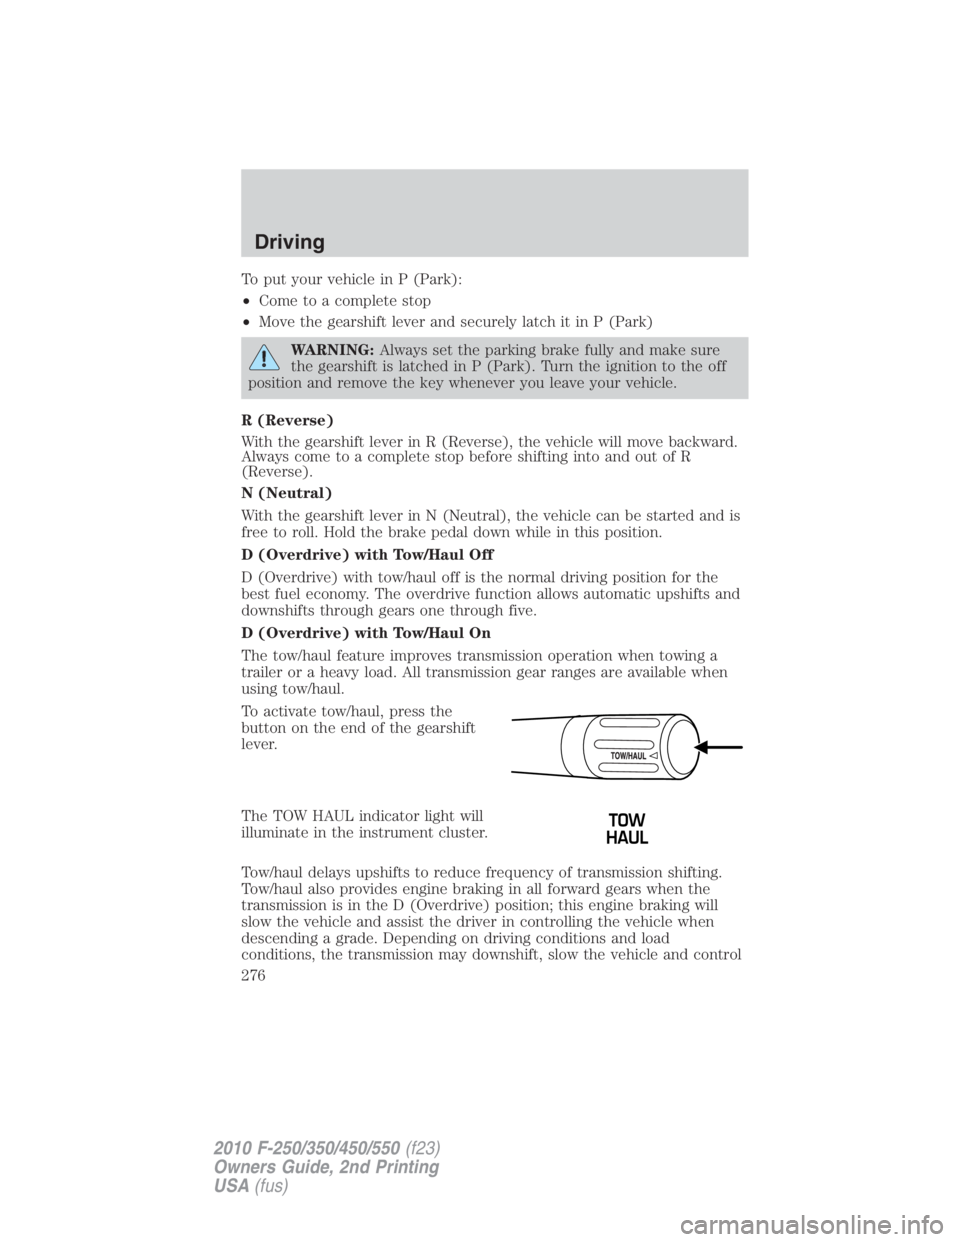
To activate tow/haul, press the
button on the end of the gearshift
lever.
The TOW HAUL indicator light will
illuminate in the instrument cluster.
Tow/haul delays upshifts to reduce frequency of transmission shifting.
Tow/haul also provides engine braking in all forward gears when the
transmission is in the D (Overdrive) position; this engine braking will
slow the vehicle and assist the driver in controlling the vehicle when
descending a grade. Depending on driving conditions and load
conditions, the transmission may downshift, slow the vehicle and controlDriving
276
2010 F-250/350/450/550 (f23)
Owners Guide, 2nd Printing
USA (fus)
Page 277 of 408
the vehicle speed when descending a hill, without the accelerator pedal
being pressed. The amount of downshift braking provided will vary based
upon the amount the brake pedal is depressed.
To deactivate the tow/haul feature and return to normal driving mode,
press the button on the end of the gearshift lever. The TOW HAUL light
will no longer be illuminated.
When you shut-off and restart the engine, the transmission will
automatically return to normal D (Overdrive) mode (Tow/Haul OFF).
WARNING: Do not use the tow/haul feature when driving in icy
or slippery conditions as the increased engine braking can cause
the rear wheels to slide and the vehicle to swing around with the
possible loss of vehicle control.
3 (Third)
Transmission starts and operates in third gear only.
Used for improved traction on slippery roads. Selecting 3 (Third)
provides engine braking.
2 (Second)
Use 2 (Second) to start-up on slippery roads or to provide additional
engine braking on downgrades.
1 (First)
• Provides maximum engine braking.
• Allows upshifts by moving gearshift lever.
• The transmission will not downshift into 1 (First) at high speeds; it
will downshift to a lower gear and then shift into 1 (First) when the
vehicle reaches slower speeds.
Forced downshifts
• Allowed in D (Overdrive) or D (Drive).
• Press the accelerator to the floor.
• Allows transmission to select an appropriate gear.
If your vehicle gets stuck in mud or snow
If your vehicle gets stuck in mud or snow, it may be rocked out by
shifting between forward and reverse gears, stopping between shifts in a
steady pattern. Press lightly on the accelerator in each gear.
Do not rock the vehicle if the engine is not at normal operating
temperature or damage to the transmission may occur. Driving
277
2010 F-250/350/450/550 (f23)
Owners Guide, 2nd Printing
USA (fus)
Page 283 of 408
When shifting out of R (Reverse) and into any other gear, the image will
remain on for a few seconds before it shuts off to assist in parking or
trailer hookup.
If equipped with the navigation system, after shifting out of R (Reverse)
and into any gear other than P (Park), the image will remain until the
vehicle speed reaches 5 mph (8 km/h), only if the rear camera delay
feature is on, or until any navigation radio button is pressed.
Note: The default setting for the rear camera delay is off. Press the
“Settings” button found on the navigation screen (if equipped) to set the
rear camera delay feature to on or off.
When towing, the camera system will only see what is being towed
behind the vehicle; this might not provide adequate coverage as it
usually provides in normal operation and some objects might not be
seen.
The camera lens for the camera is located on the tailgate, near the
tailgate handle. Keep the lens clean so the video image remains clear and
undistorted. Clean the lens with a soft, lint-free cloth and non-abrasive
cleaner.
Note: If the camera system image is not clear or seems distorted, it may
be covered with water droplets, snow, mud or any other substance. If
this occurs, clean the camera lens before using the camera system.
WARNING: The camera system is a reverse aid supplement
device that still requires the driver to use it in conjunction with
the rearview mirror and the side mirrors for maximum coverage.
WARNING: Objects that are close to either corner of the
bumper or under the bumper, might not be seen on the screen
due to the limited coverage of the camera system.
WARNING: Backup as slow as possible since higher speeds
might limit your reaction time to stop the vehicle.
WARNING: Do not use the camera system with the tailgate
open.
If the back end of the vehicle is hit or damaged, then check with your
authorized dealer to have your rear video system checked for proper
coverage and operation. Driving
283
2010 F-250/350/450/550 (f23)
Owners Guide, 2nd Printing
USA (fus)