Page 120 of 408
MULTI-FUNCTION LEVER
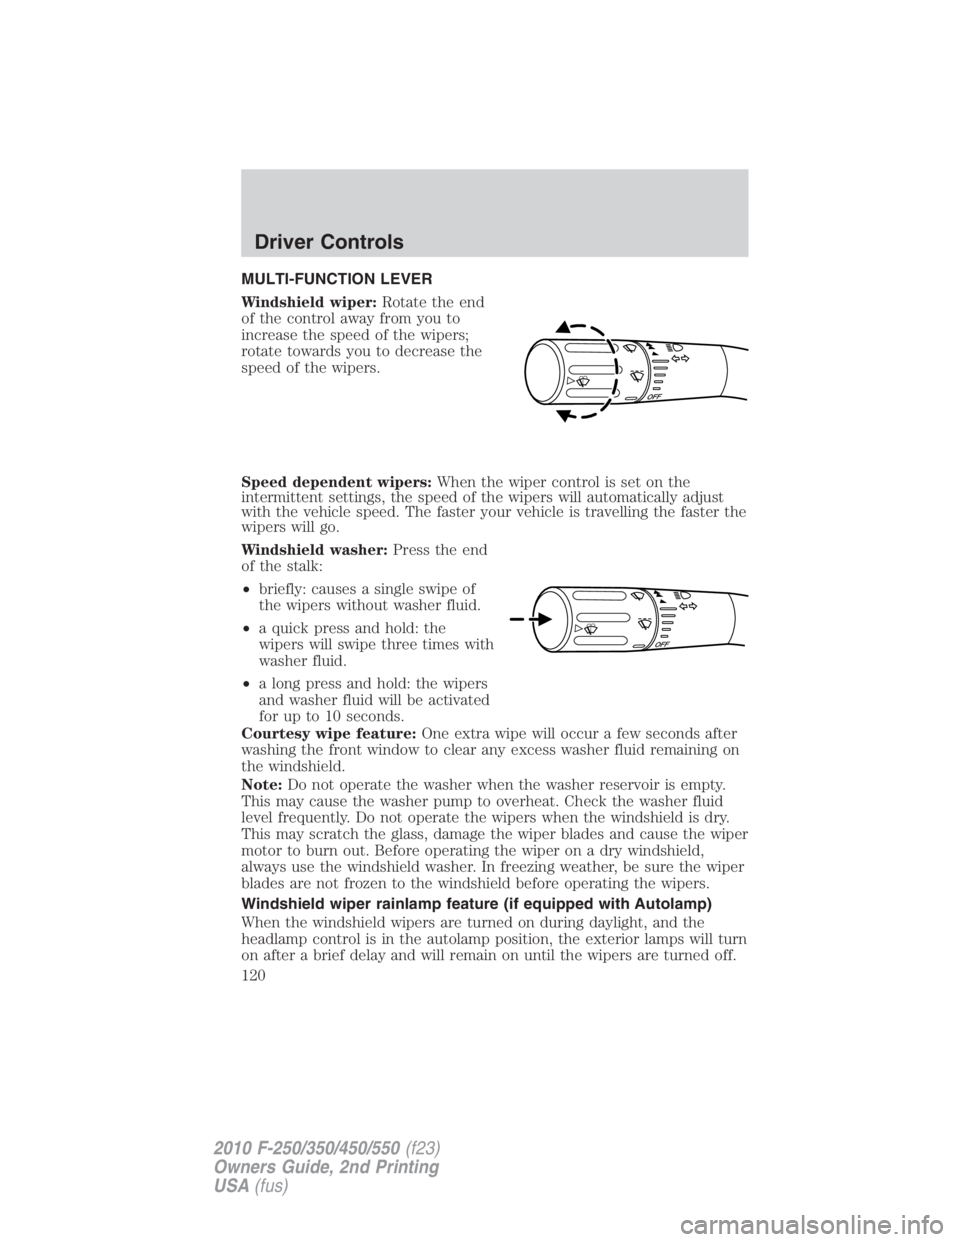
Windshield wiper: Rotate the end
of the control away from you to
increase the speed of the wipers;
rotate towards you to decrease the
speed of the wipers.
Speed dependent wipers: When the wiper control is set on the
intermittent settings, the speed of the wipers will automatically adjust
with the vehicle speed. The faster your vehicle is travelling the faster the
wipers will go.
Windshield washer: Press the end
of the stalk:
• briefly: causes a single swipe of
the wipers without washer fluid.
• a quick press and hold: the
wipers will swipe three times with
washer fluid.
• a long press and hold: the wipers
and washer fluid will be activated
for up to 10 seconds.
Courtesy wipe feature: One extra wipe will occur a few seconds after
washing the front window to clear any excess washer fluid remaining on
the windshield.
Note: Do not operate the washer when the washer reservoir is empty.
This may cause the washer pump to overheat. Check the washer fluid
level frequently. Do not operate the wipers when the windshield is dry.
This may scratch the glass, damage the wiper blades and cause the wiper
motor to burn out. Before operating the wiper on a dry windshield,
always use the windshield washer. In freezing weather, be sure the wiper
blades are not frozen to the windshield before operating the wipers.
Windshield wiper rainlamp feature (if equipped with Autolamp)
When the windshield wipers are turned on during daylight, and the
headlamp control is in the autolamp position, the exterior lamps will turn
on after a brief delay and will remain on until the wipers are turned off.Driver Controls
120
2010 F-250/350/450/550 (f23)
Owners Guide, 2nd Printing
USA (fus)
Page 121 of 408
TILT STEERING WHEEL
1. Pull and hold the steering wheel
release control toward you.
2. Move the steering up or down
until you find the desired location.
3. Release the steering wheel
release control. This will lock the
steering wheel in position.
WARNING: Never adjust the steering column when the vehicle
is moving.
ILLUMINATED VISOR MIRROR (IF EQUIPPED)
Lift the mirror cover to turn on the
visor mirror lamp.
OVERHEAD CONSOLE (IF EQUIPPED)
The appearance of your vehicle’s overhead console will vary according to
your option package. If your vehicle is equipped with a moon roof, refer
to Moon roof later in this chapter for information on its operation. Driver Controls
121
2010 F-250/350/450/550 (f23)
Owners Guide, 2nd Printing
USA (fus)
Page 129 of 408
protect the motors from overheating. Should this occur, wait
approximately 3 1
� 2
minutes for the system to reset and function to return
to normal.
Note: The powerfold mirrors are designed to operate while the vehicle is
stationary or traveling at moderate speeds. If you attempt to powerfold
the mirrors at high speeds, they may not fully fold forward/rearward -
slow down and powerfold or manually fold the mirrors in order to
complete the fold operation.
Note: If the power fold/telescope mirror glass appears loose or vibrates
when driving, it is possible that the mirrors have been manually folded or
telescoped. To minimize the vibration, ensure that the mirrors are
electronically folded and telescoped in/out with the switches on the door
trim panel. If the power fold mirrors are out of sync, electronically
powerfold the mirrors to re-sync the motors. This will cause a loud
“click” and the mirrors will jerk during re-synchronization. This is
normal.
Telescoping mirrors (if equipped)
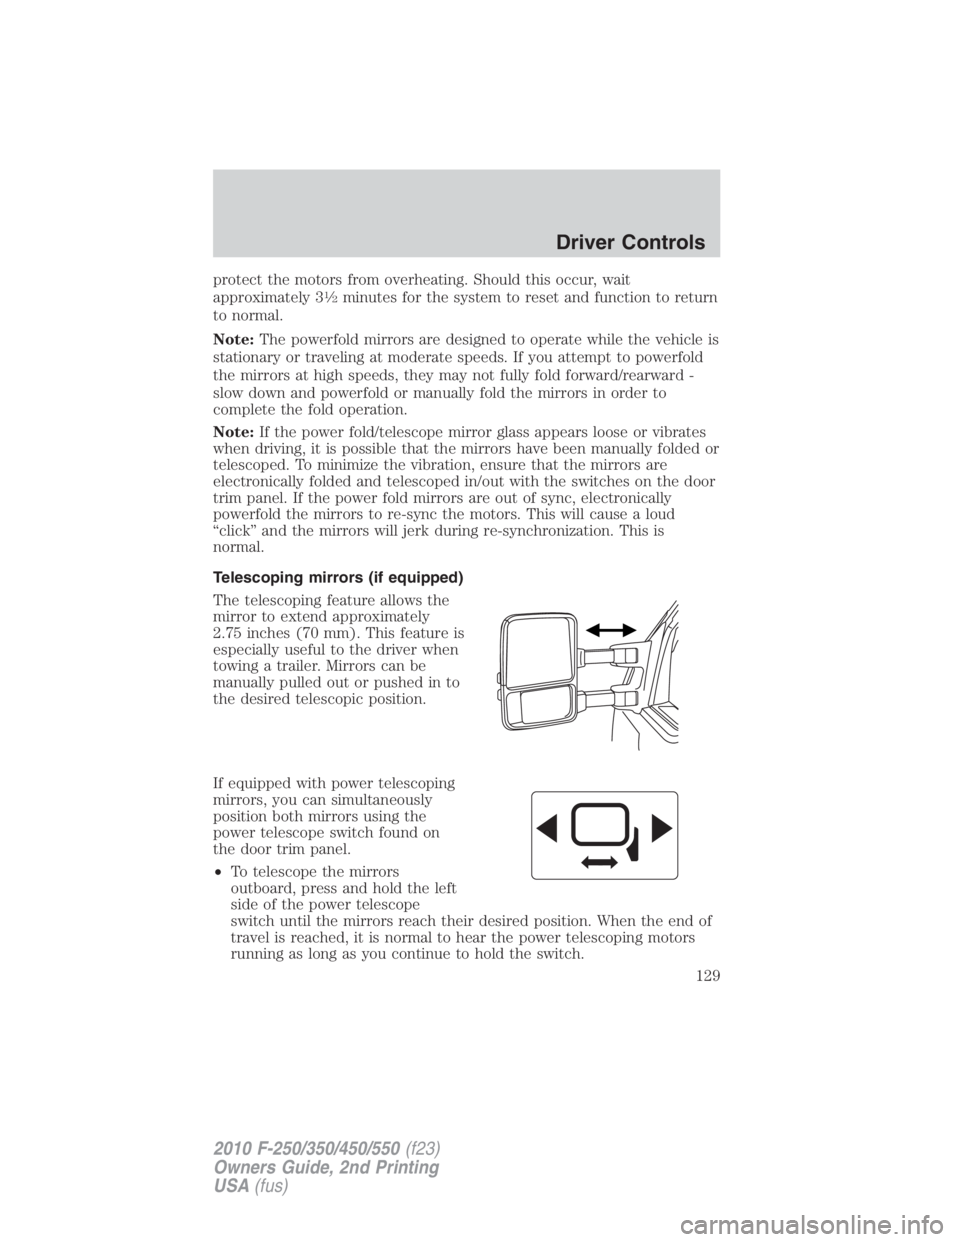
The telescoping feature allows the
mirror to extend approximately
2.75 inches (70 mm). This feature is
especially useful to the driver when
towing a trailer. Mirrors can be
manually pulled out or pushed in to
the desired telescopic position.
If equipped with power telescoping
mirrors, you can simultaneously
position both mirrors using the
power telescope switch found on
the door trim panel.
• To telescope the mirrors
outboard, press and hold the left
side of the power telescope
switch until the mirrors reach their desired position. When the end of
travel is reached, it is normal to hear the power telescoping motors
running as long as you continue to hold the switch. Driver Controls
129
2010 F-250/350/450/550 (f23)
Owners Guide, 2nd Printing
USA (fus)
Page 131 of 408
POWER ADJUSTABLE FOOT PEDALS (IF EQUIPPED)
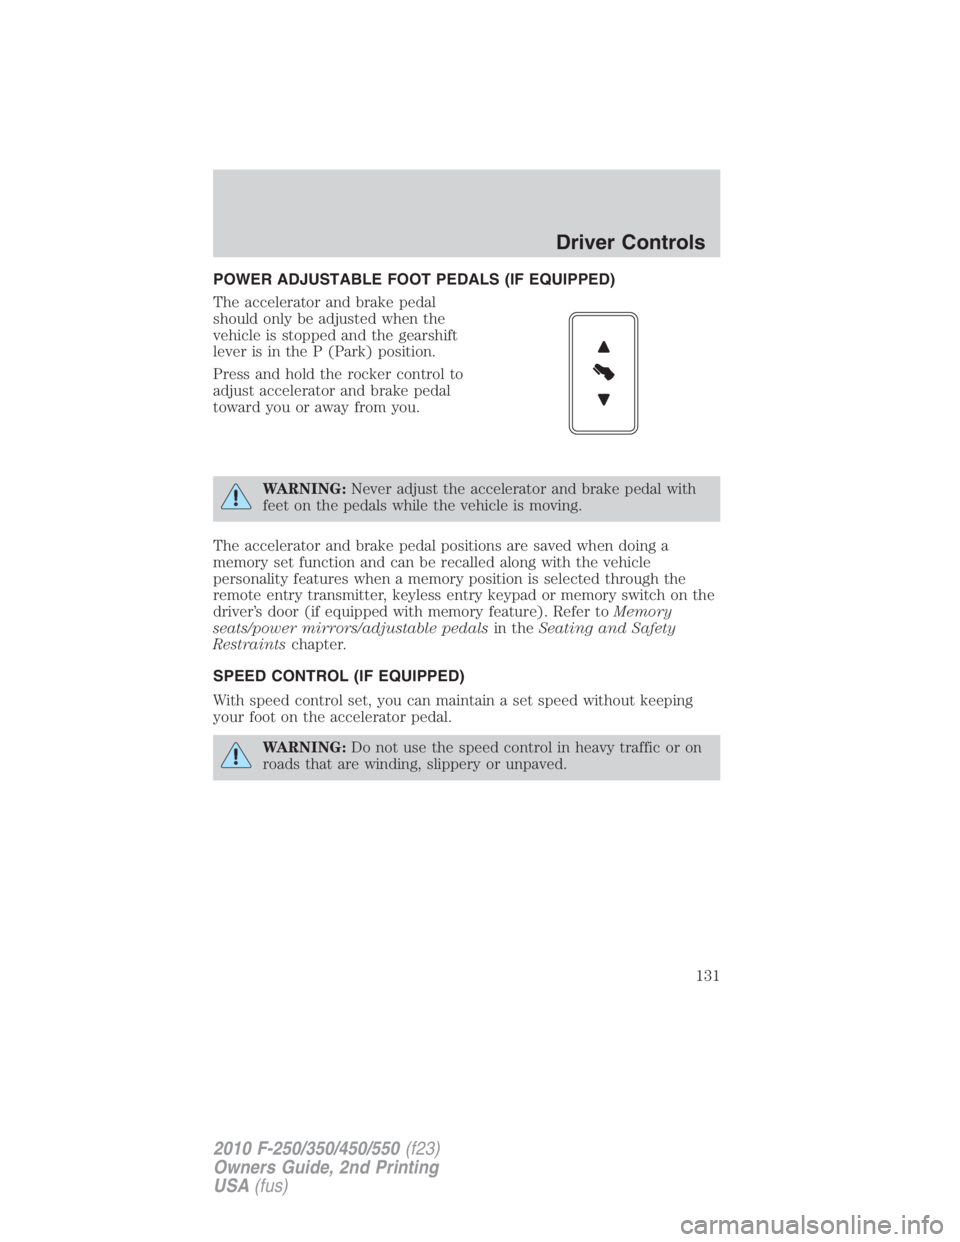
The accelerator and brake pedal
should only be adjusted when the
vehicle is stopped and the gearshift
lever is in the P (Park) position.
Press and hold the rocker control to
adjust accelerator and brake pedal
toward you or away from you.
WARNING: Never adjust the accelerator and brake pedal with
feet on the pedals while the vehicle is moving.
The accelerator and brake pedal positions are saved when doing a
memory set function and can be recalled along with the vehicle
personality features when a memory position is selected through the
remote entry transmitter, keyless entry keypad or memory switch on the
driver’s door (if equipped with memory feature). Refer to Memory
seats/power mirrors/adjustable pedals in the Seating and Safety
Restraints chapter.
SPEED CONTROL (IF EQUIPPED)
With speed control set, you can maintain a set speed without keeping
your foot on the accelerator pedal.
WARNING: Do not use the speed control in heavy traffic or on
roads that are winding, slippery or unpaved. Driver Controls
131
2010 F-250/350/450/550 (f23)
Owners Guide, 2nd Printing
USA (fus)
Page 139 of 408
and release the control again to fully open. To stop the one-touch open
feature, press either the or control again.
WARNING: When closing the moon roof, you should verify that
it is free of obstructions and ensure that children and/or pets are
not in the proximity of the moon roof opening.
To close the moon roof: Press and hold the control until the glass
panel stops moving. When fully closed, the rear portion of the glass panel
will appear higher than the front portion.
To vent the moon roof: Press and hold the control. The moon
roof must be in the closed position in order to move it into the
vent position. To close, press and hold the control until the glass
panel stops moving.
The moon roof has a built-in sliding shade that can be manually opened
or closed when the glass panel is shut. To close the shade, pull it toward
the front of the vehicle.
HOMELINK � WIRELESS CONTROL SYSTEM (IF EQUIPPED)
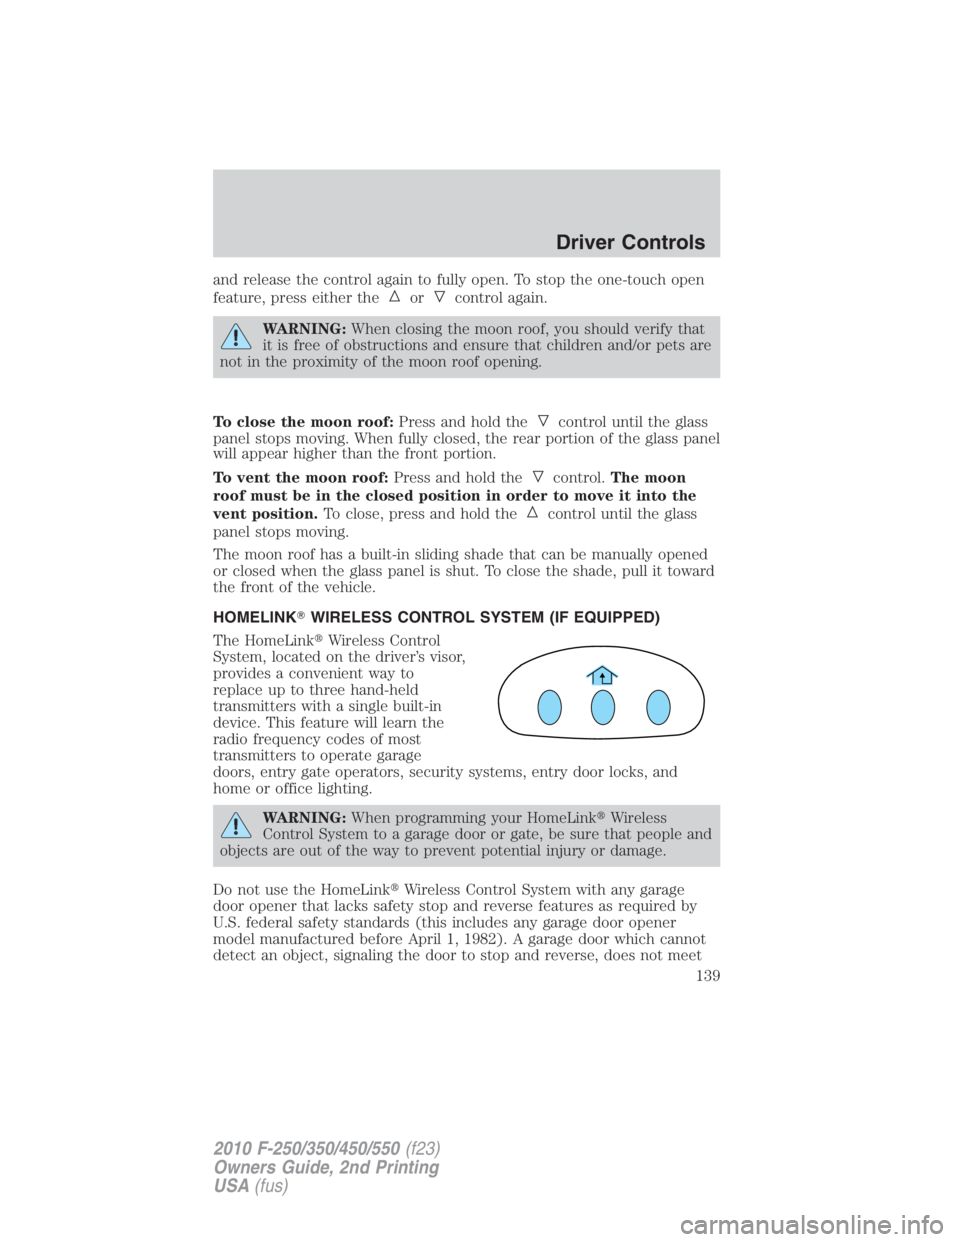
The HomeLink � Wireless Control
System, located on the driver’s visor,
provides a convenient way to
replace up to three hand-held
transmitters with a single built-in
device. This feature will learn the
radio frequency codes of most
transmitters to operate garage
doors, entry gate operators, security systems, entry door locks, and
home or office lighting.
WARNING: When programming your HomeLink � Wireless
Control System to a garage door or gate, be sure that people and
objects are out of the way to prevent potential injury or damage.
Do not use the HomeLink � Wireless Control System with any garage
door opener that lacks safety stop and reverse features as required by
U.S. federal safety standards (this includes any garage door opener
model manufactured before April 1, 1982). A garage door which cannot
detect an object, signaling the door to stop and reverse, does not meet Driver Controls
139
2010 F-250/350/450/550 (f23)
Owners Guide, 2nd Printing
USA (fus)
Page 144 of 408
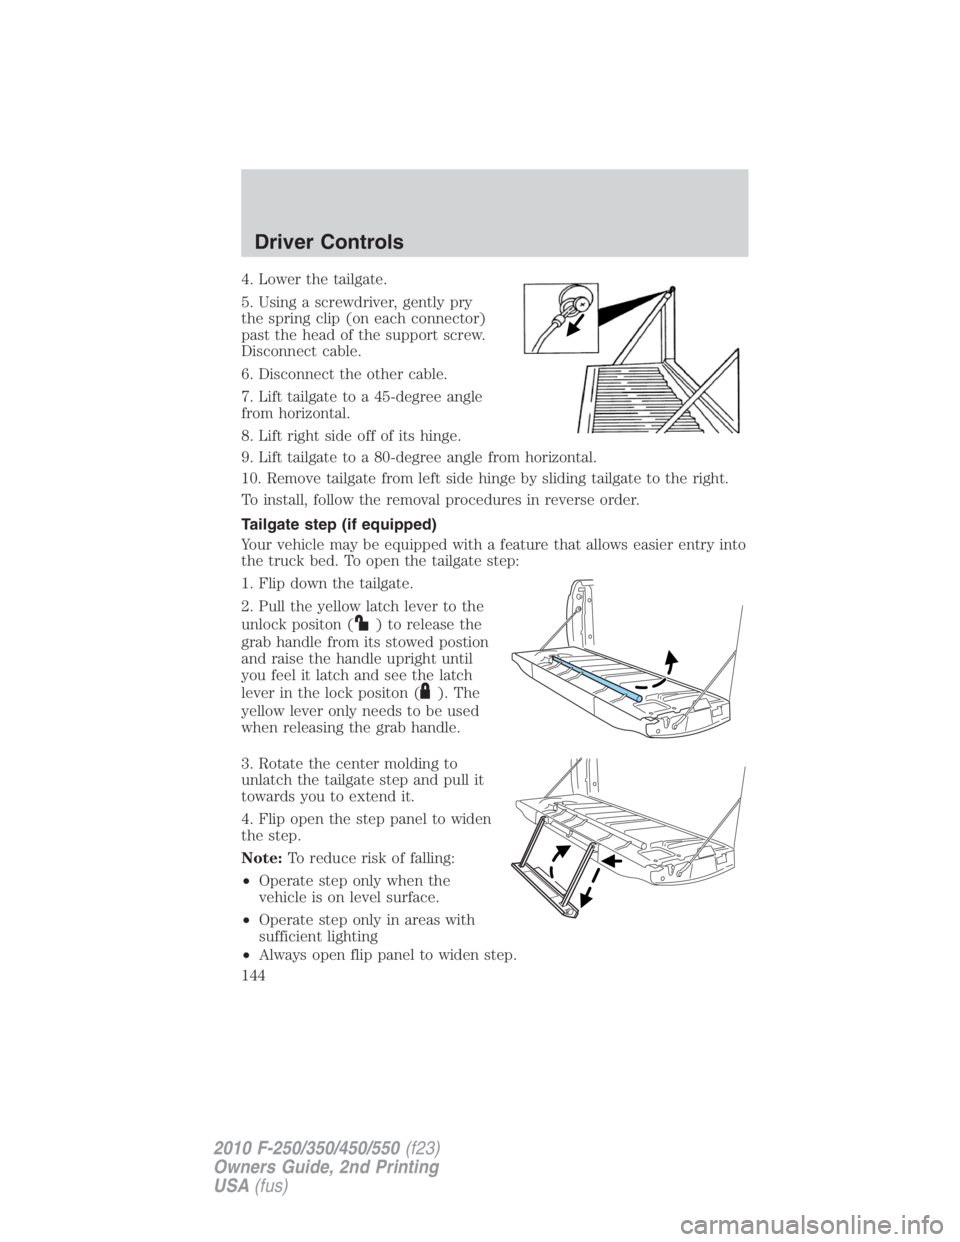
4. Lower the tailgate.
5. Using a screwdriver, gently pry
the spring clip (on each connector)
past the head of the support screw.
Disconnect cable.
6. Disconnect the other cable.
7. Lift tailgate to a 45-degree angle
from horizontal.
8. Lift right side off of its hinge.
9. Lift tailgate to a 80-degree angle from horizontal.
10. Remove tailgate from left side hinge by sliding tailgate to the right.
To install, follow the removal procedures in reverse order.
Tailgate step (if equipped)
Your vehicle may be equipped with a feature that allows easier entry into
the truck bed. To open the tailgate step:
1. Flip down the tailgate.
2. Pull the yellow latch lever to the
unlock positon ( ) to release the
grab handle from its stowed postion
and raise the handle upright until
you feel it latch and see the latch
lever in the lock positon ( ). The
yellow lever only needs to be used
when releasing the grab handle.
3. Rotate the center molding to
unlatch the tailgate step and pull it
towards you to extend it.
4. Flip open the step panel to widen
the step.
Note: To reduce risk of falling:
• Operate step only when the
vehicle is on level surface.
• Operate step only in areas with
sufficient lighting
• Always open flip panel to widen step.Driver Controls
144
2010 F-250/350/450/550 (f23)
Owners Guide, 2nd Printing
USA (fus)
Page 145 of 408
• Always use grab handle when stepping up and down.
• Step not intended for bare-footed use.
• Keep step clean from contamination before use (e.g. snow, mud)
• Keep the step load (you + load) below 350 lb (159 kg).
• Never drive with step deployed.
To close the tailgate step:
1. Close the step panel, then lift and fully close the tailgate step into the
tailgate.
2. Slide the latch at the bottom of the handle, then lower the handle.
Note:
• Fully close and latch the tailgate step before moving the vehicle.
• Never drive with the step or grab handle deployed.
• Replace slip resistance tape (serviceable item) if worn out.
• Replace handle molding (serviceable item) if damaged.
• Do not tow with grab handle or step frame.
Bed extender (if equipped)
Your vehicle may be equipped with a cargo management feature in the
truck bed.
Note: This feature is not intended for off-road usage.
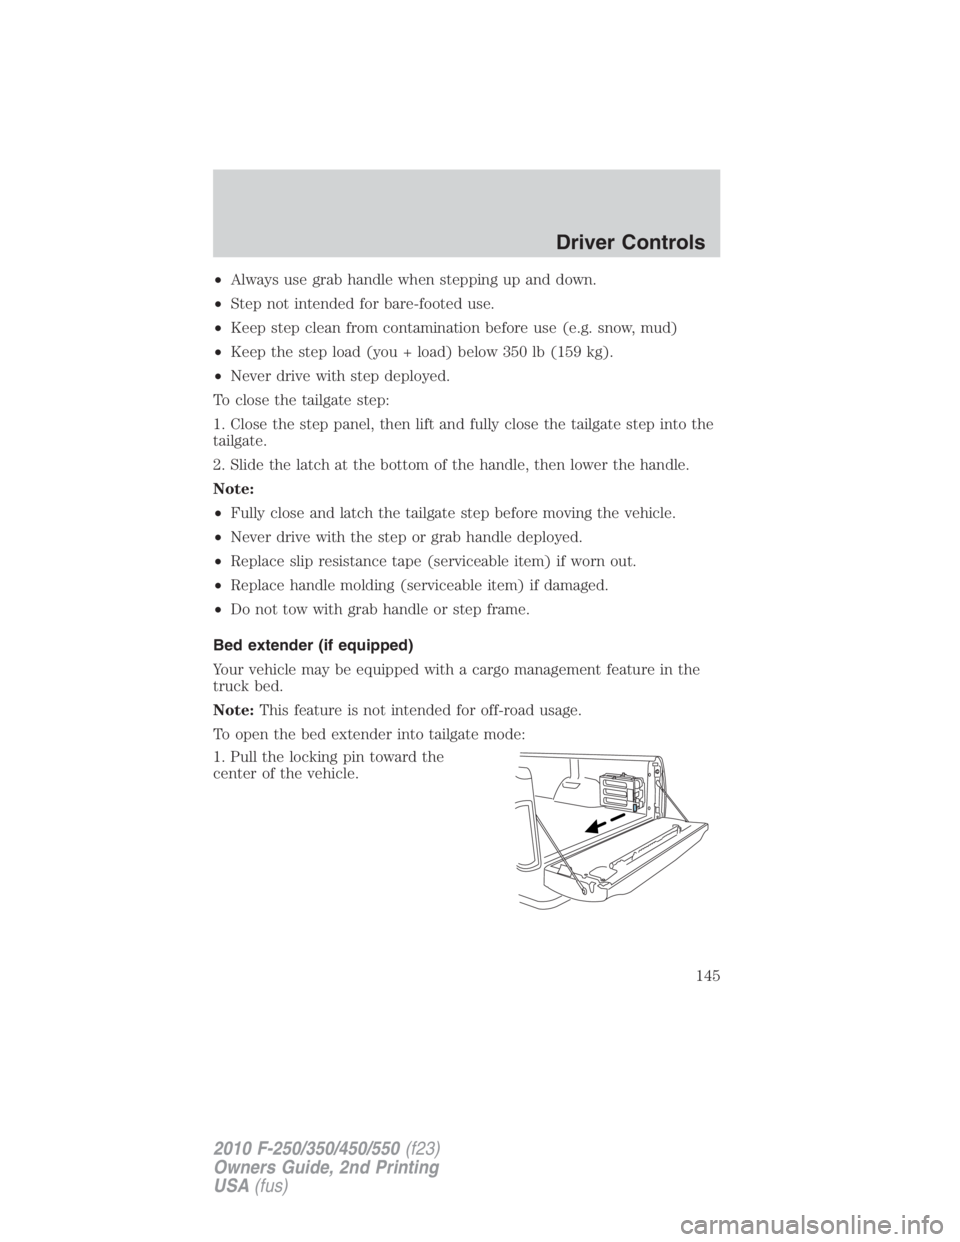
To open the bed extender into tailgate mode:
1. Pull the locking pin toward the
center of the vehicle. Driver Controls
145
2010 F-250/350/450/550 (f23)
Owners Guide, 2nd Printing
USA (fus)
Page 146 of 408
2. Open the latches to release the
panels.
3. Rotate the panels toward the
tailgate.
Repeat Steps 1–3 for the other side of the bed extender.
4. Connect the two panels, then rotate both knobs a quarter-turn
clockwise to secure the panels.Driver Controls
146
2010 F-250/350/450/550 (f23)
Owners Guide, 2nd Printing
USA (fus)