Page 288 of 530
the track detail on the radio display. Once the track
to be played is highlighted on the radio display,
press theTUNEcontrol knob to select and start
playing the track. Turning the TUNEcontrol knob
fast will scroll through the list faster. During fast
scroll, a slight delay in updating the information on
the radio display may be noticed.
•During all List modes, the iPod� displays all lists in
“wrap-around” mode. So if the track is at the
bottom of the list, just turn the wheel backwards
(counter-clockwise) to get to the track faster.
•In List mode, the radio PRESETbuttons are used as
shortcuts to the following lists on the iPod�.
•Preset 1 – Playlists
•Preset 2 – Artists
•Preset 3 – Albums
•Preset 4 – Genres
•Preset 5 – Audiobooks
•Preset 6 – Podcasts
•Pressing a PRESET button will display the current
list on the top line and the first item in that list on
the second line.
•To Exit List mode without selecting a track, press the
same PRESET button again to go back to Play
mode.
•LIST button: The LISTbutton will display the top
level menu of the iPod�. Turn the TUNEcontrol knob
to list the top-menu item to be selected and press the
TUNE control knob. This will display the next sub-
menu list item on the iPod� then follow the same steps
to go to the desired track in that list. Not all iPod�
sub-menu levels are available on this system.
4
UNDERSTANDING YOUR INSTRUMENT PANEL 287
Page 298 of 530
2. If the disc is stained, clean the surface with a soft cloth,
wiping from center to edge.
3. Do not apply paper or tape to the disc; avoid scratch-
ing the disc.
4. Do not use solvents such as benzene, thinner, cleaners,
or anti-static sprays.
5. Store the disc in its case after playing.
6. Do not expose the disc to direct sunlight.
7. Do not store the disc where temperatures may become
too high.
NOTE:If you experience difficulty in playing a particu-
lar disc, it may be damaged (i.e., scratched, reflective
coating removed, a hair, moisture or dew on the disc)
oversized, or have protection encoding. Try a known
good disc before considering disc player service.RADIO OPERATION AND CELLULAR PHONES
Under certain conditions, the cellular phone being on in
your vehicle can cause erratic or noisy performance from
your radio. This condition may be lessened or eliminated
by relocating the cellular phone antenna. This condition
is not harmful to the radio. If your radio performance
does not satisfactorily “clear” by the repositioning of the
antenna, it is recommended that the radio volume be
turned down or off during cellular phone operation.
CLIMATE CONTROLS
The Climate Control System allows you to regulate the
temperature, amount, and direction of air circulating
throughout the vehicle. The controls are located on the
instrument panel, below the radio.
4
UNDERSTANDING YOUR INSTRUMENT PANEL 297
Page 302 of 530
NOTE:
•If the RECIRCULATION button is pressed when the
system is in MIX, DEFROST, or FLOOR mode the
RECIRCULATION LED indicator will flash 3 times to
indicate RECIRCULATION mode is not allowed.
•Continuous use of the RECIRCULATION mode may
make the inside air stuffy and window fogging may
occur. Extended use of this mode is not recommended.
•In cold or damp weather, the use of the RECIRCULA-
TION mode will cause windows to fog on the inside
because of moisture buildup inside the vehicle. For
maximum defogging, select the outside air position.
•In order to prevent fogging, when the RECIRCULA-
TION button is pressed and the mode control is set to
PANEL, the A/C will engage automatically.
•The A/C can be deselected manually without disturb-
ing the mode control selection.
Economy Mode
If ECONOMY mode is desired, press the A/C button to
turn off the indicator light and the A/C compressor.
Rotate the temperature control knob to the desired
temperature.
Air Conditioning Operation
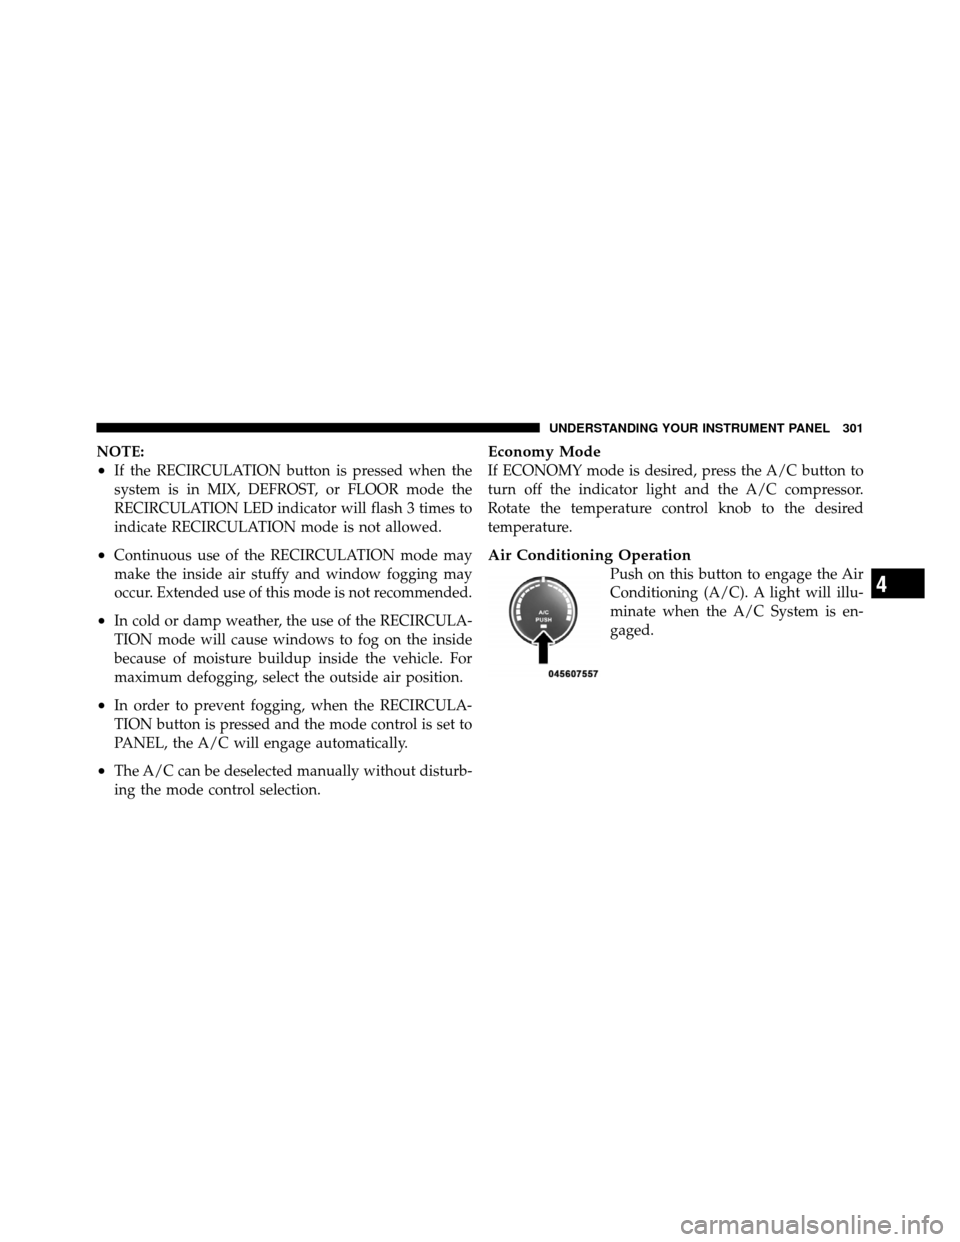
Push on this button to engage the Air
Conditioning (A/C). A light will illu-
minate when the A/C System is en-
gaged.4
UNDERSTANDING YOUR INSTRUMENT PANEL 301
Page 310 of 530
Manual Operation
This system offers a full complement of manual override
features. The AUTO symbol in the front ATC display will
be turned off when the system is being used in the
manual mode.
NOTE:Each of these features operate independently
from each other. If any one feature is controlled manually,
the temperature doors will continue to operate automati-
cally.
The blower fan speed can be set to any fixed speed by
pressing the Front Upper ATC Panel blower rocker
button. The fan will now operate at a fixed speed until
additional speeds are selected. This allows the front
occupants to control the volume of air circulated in the
vehicle and cancel the AUTO mode.
The operator can also select the direction of the airflow
by selecting one of the following positions. Panel Mode
Air is directed through the outlets in the instrument
panel. These outlets can be adjusted for direction,
and turned on or off to control airflow.
NOTE: For maximum airflow to the rear, the center
instrument panel outlets can be directed toward the rear
seat passengers.
Bi-Level Mode Air comes from the instrument panel outlets, floor
outlets and defrost outlets. A slight amount of air is
also directed through the side window demister outlets.
NOTE: In many temperature positions, the BI-LEVEL
mode is designed to provide cooler air out of the panel
outlets and warmer air from the floor outlets.
4
UNDERSTANDING YOUR INSTRUMENT PANEL 309
Page 311 of 530
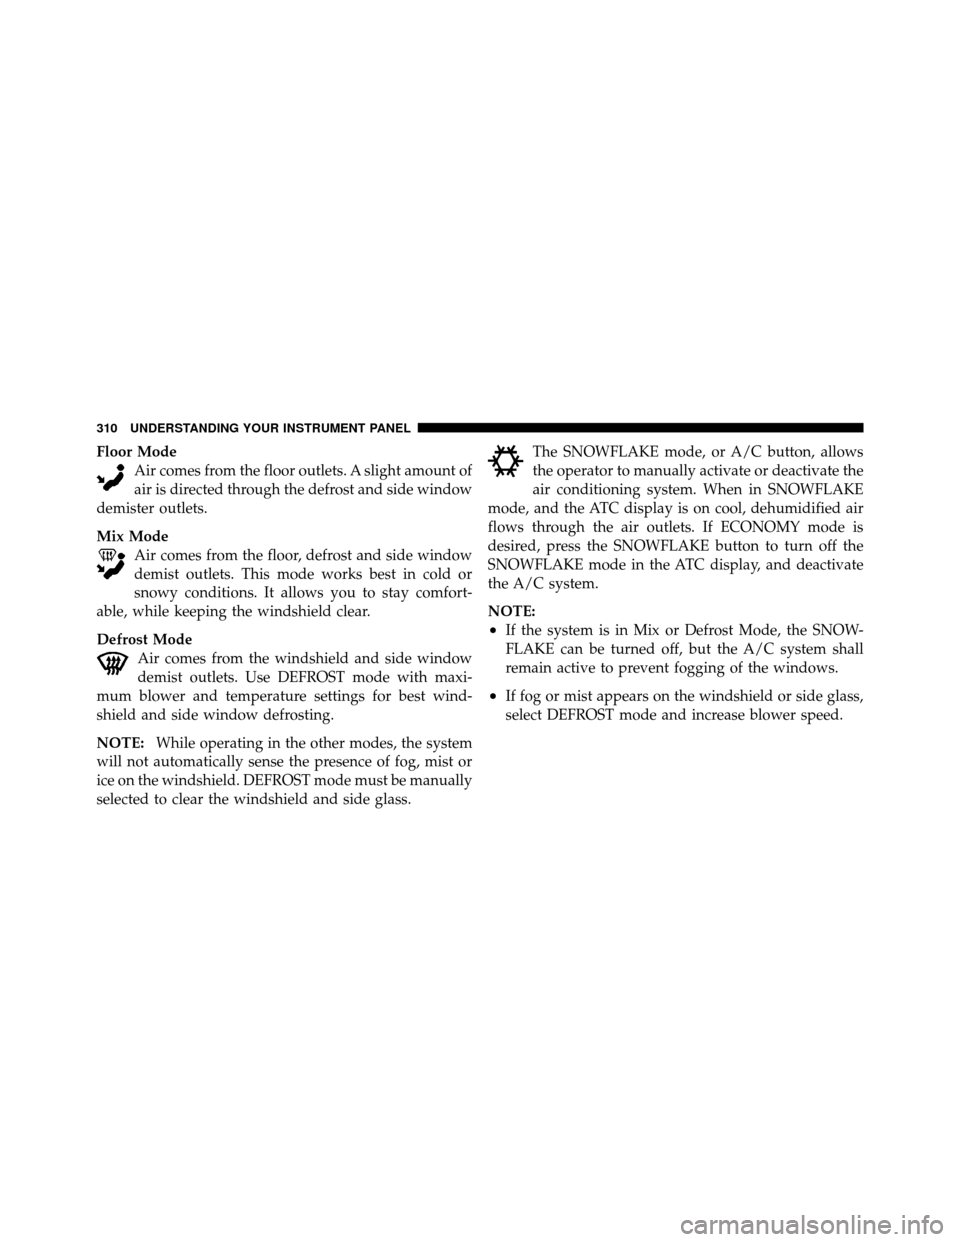
Floor ModeAir comes from the floor outlets. A slight amount of
air is directed through the defrost and side window
demister outlets.
Mix Mode Air comes from the floor, defrost and side window
demist outlets. This mode works best in cold or
snowy conditions. It allows you to stay comfort-
able, while keeping the windshield clear.
Defrost Mode Air comes from the windshield and side window
demist outlets. Use DEFROST mode with maxi-
mum blower and temperature settings for best wind-
shield and side window defrosting.
NOTE: While operating in the other modes, the system
will not automatically sense the presence of fog, mist or
ice on the windshield. DEFROST mode must be manually
selected to clear the windshield and side glass. The SNOWFLAKE mode, or A/C button, allows
the operator to manually activate or deactivate the
air conditioning system. When in SNOWFLAKE
mode, and the ATC display is on cool, dehumidified air
flows through the air outlets. If ECONOMY mode is
desired, press the SNOWFLAKE button to turn off the
SNOWFLAKE mode in the ATC display, and deactivate
the A/C system.
NOTE:
•If the system is in Mix or Defrost Mode, the SNOW-
FLAKE can be turned off, but the A/C system shall
remain active to prevent fogging of the windows.
•If fog or mist appears on the windshield or side glass,
select DEFROST mode and increase blower speed.
310 UNDERSTANDING YOUR INSTRUMENT PANEL
Page 319 of 530
�Driving Through Water ................. 333
▫ Flowing/Rising Water ................. 333
▫ Shallow Standing Water ............... 333
� Power Steering ....................... 335
▫ Power Steering Fluid Check ............. 335
� Parking Brake ........................ 336
� Anti-Lock Brake System (ABS) ............ 338
▫ Anti-Lock Brake Warning Light .......... 340
� Electronic Brake Control System ........... 341
▫ Traction Control System (TCS) ........... 341
▫ Brake Assist System (BAS) .............. 342
▫ Electronic Stability Program (ESP) ........ 343
▫ ESP/BAS Warning Light ............... 344 �
Tire Safety Information ................. 345
▫ Tire Markings ....................... 345
▫ Tire Identification Number (TIN) ......... 349
▫ Tire Terminology And Definitions ......... 350
▫ Tire Loading And Tire Pressure .......... 351
� Tires — General Information ............. 355
▫ Tire Pressure ....................... 355
▫ Tire Inflation Pressures ................ 356
▫ Tire Pressures For High-Speed Operation . . . 357
▫ Radial-Ply Tires ..................... 358
▫ Compact Spare Tire ................... 358
▫ Tire Spinning ....................... 359
▫ Tread Wear Indicators ................. 360
318 STARTING AND OPERATING
Page 335 of 530
CAUTION! (Continued)
•Driving through standing water may cause dam-
age to your vehicle’s drivetrain components. Al-
ways inspect your vehicle’s fluids (i.e., engine oil,
transmission, axle, etc.) for signs of contamination
(i.e., fluid that is milky or foamy in appearance)
after driving through standing water. Do not con-
tinue to operate the vehicle if any fluid appears
contaminated, as this may result in further dam-
age. Such damage is not covered by the New
Vehicle Limited Warranty.
•Getting water inside your vehicle’s engine can
cause it to lock up and stall out, and cause serious
internal damage to the engine. Such damage is not
covered by the New Vehicle Limited Warranty.
WARNING!
•Driving through standing water limits your vehi-
cle’s traction capabilities. Do not exceed 5 mph
(8 km/h) when driving through standing water.
•Driving through standing water limits your vehi-
cle’s braking capabilities, which increases stop-
ping distances. Therefore, after driving through
standing water, drive slowly and lightly press on
the brake pedal several times to dry the brakes.
•Getting water inside your vehicle’s engine can
cause it to lock up and stall out, and leave you
stranded.
•Failure to follow these warnings may result in
injuries that are serious or fatal to you, your
passengers, and others around you.
334 STARTING AND OPERATING
Page 338 of 530
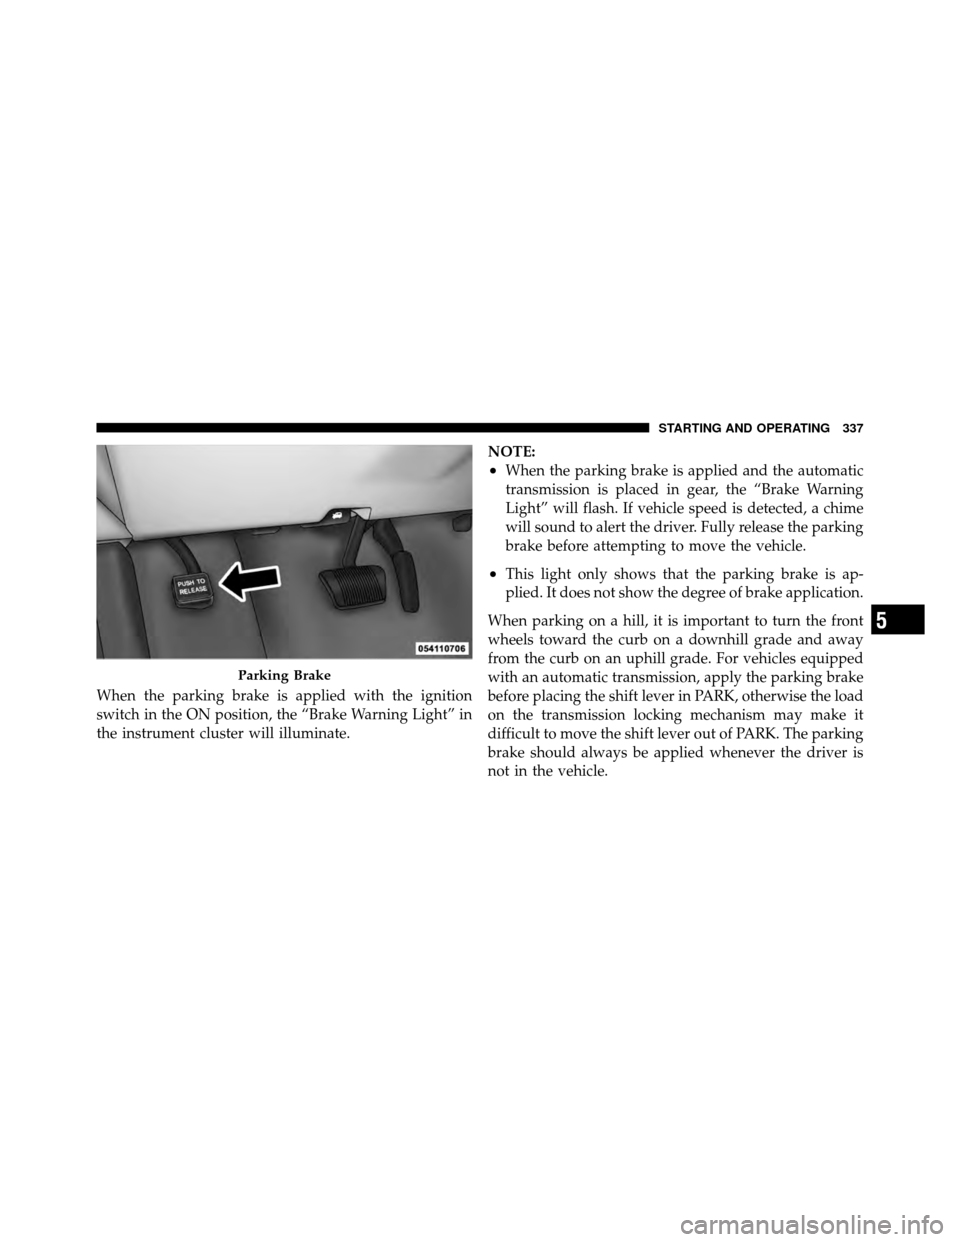
When the parking brake is applied with the ignition
switch in the ON position, the “Brake Warning Light” in
the instrument cluster will illuminate.NOTE:
•When the parking brake is applied and the automatic
transmission is placed in gear, the “Brake Warning
Light” will flash. If vehicle speed is detected, a chime
will sound to alert the driver. Fully release the parking
brake before attempting to move the vehicle.
•This light only shows that the parking brake is ap-
plied. It does not show the degree of brake application.
When parking on a hill, it is important to turn the front
wheels toward the curb on a downhill grade and away
from the curb on an uphill grade. For vehicles equipped
with an automatic transmission, apply the parking brake
before placing the shift lever in PARK, otherwise the load
on the transmission locking mechanism may make it
difficult to move the shift lever out of PARK. The parking
brake should always be applied whenever the driver is
not in the vehicle.
Parking Brake
5
STARTING AND OPERATING 337