Page 60 of 450

located on the inside of the fuse block cover for the
proper airbag fuses. See your authorized dealer if the
fuse is good.
Event Data Recorder (EDR)
In the event of an accident, your vehicle is designed to
record up to five seconds of specific vehicle data param-
eters (see list below) in an event data recorder prior to the
moment of airbag deployment, or near deployment (if
applicable), and up to a quarter second of either high-
speed deceleration data or change in velocity during
and/or after airbag deployment or near-deployment.
EDR data is ONLY recorded if an airbag deploys, or
nearly deploys, and is otherwise unavailable.
NOTE:
1. A near-deployment event occurs when the airbag
sensor detects severe vehicle deceleration usually indica-
tive of a crash, but not severe enough to warrant airbag
deployment.2. Under certain circumstances, EDR data may not be
recorded (e.g., loss of battery power).
In conjunction with other data gathered during a com-
plete accident investigation, the electronic data may be
used by Chrysler Group LLC and others to learn more
about the possible causes of crashes and associated
injuries in order to assess and improve vehicle perfor-
mance. In addition to crash investigations initiated by
Chrysler Group LLC, such investigations may be re-
quested by customers, insurance carriers, government
officials, and professional crash researchers, such as those
associated with universities, and with hospital and insur-
ance organizations.
In the event that an investigation is undertaken by
Chrysler Group LLC (regardless of initiative), the com-
pany or its designated representative will first obtain
permission of the appropriate custodial entity for the
vehicle (usually the vehicle owner or lessee) before
2
THINGS TO KNOW BEFORE STARTING YOUR VEHICLE 59
Page 65 of 450

Here are some tips for getting the most out of your child
restraint:
•Before buying any restraint system, make sure that it
has a label certifying that it meets all applicable Safety
Standards. The manufacturer recommends that you
try a child restraint in the vehicle seats where you will
use it before you buy it.
•The restraint must be appropriate for your child’s
weight and height. Check the label on the restraint for
weight and height limits.
•Carefully follow the instructions that come with the
restraint. If you install the restraint improperly, it may
not work when you need it.
•The Extended Cab first, and Crew Cab second row
outside seating positions, have cinching latch plates.
These are designed to keep the lap portion tight
around the child restraint so that it is not necessary touse a locking clip. If the seat belt has a cinching latch
plate, pulling up on the shoulder portion of the
lap/shoulder belt will tighten the belt. The cinching
latch plate will keep the belt tight; however, any seat
belt system will loosen with time, so check the belt
occasionally and pull it tight, if necessary.
•Buckle the child into the restraint exactly as the
manufacturer’s instructions tell you.
•When your child restraint is not in use, secure it in the
vehicle with the seat belt or remove it from the vehicle.
Do not leave it loose in the vehicle. In a sudden stop or
collision, it could strike the occupants or seatbacks and
cause serious personal injury.
LATCH - Child Seat Anchorage System (Lower
Anchors and Tether for CHildren) — if equipped
Each vehicle is equipped with the child restraint anchor-
age system called LATCH, which stands for Lower
Anchors and Tethers for CHildren. The LATCH system
64 THINGS TO KNOW BEFORE STARTING YOUR VEHICLE
Page 70 of 450

Installing Child Restraints Using the Vehicle Seat
Belt
The passenger seat belts are equipped with either cinch-
ing latch plates or automatic locking retractors, which are
designed to keep the lap portion tight around the child
restraint, so that it should not be necessary to use a
locking clip. If the seat belt has a cinching latch plate,
pulling up on the shoulder portion of the lap/shoulder
belt will tighten the belt. The cinching latch plate will
keep the belt tight; however, any seat belt system will
loosen with time, so check the belt occasionally and pull
it tight if necessary. Pull the belt from the retractor until
there is enough to allow you to pass through the child
restraint and slide the latch plate into the buckle. Then,
pull the belt until it is fully extended from the retractor.
Allow the belt to return to the retractor, pulling on the
excess webbing to tighten the lap portion around the
child restraint. For automatic locking retractor seat belts,
refer to�Automatic Locking Mode�. If you have trouble tightening the lap/shoulder belt on the child restraint
because, the buckle or latch plate is too close to the belt
path opening on the restraint, follow these steps. If the
buckle is webbing-mounted, disconnect the latch plate
from the buckle and twist the short buckle-end belt to
shorten it. Insert the latch plate into the buckle with the
release button facing out. If the belt still can’t be tight-
ened, the buckle is not webbing-mounted, or if pulling
and pushing on the restraint loosens the belt, you may
need to do something more. Disconnect the latch plate
from the buckle, turn the latch plate around, and insert
the latch plate into the buckle again. If you still can’t
make the child restraint secure, try a different seating
position or use the locking clip provided with your child
restraint. To complete the child seat installation, refer to
�Child Restraint Tether Anchor�.
2
THINGS TO KNOW BEFORE STARTING YOUR VEHICLE 69
Page 78 of 450
Periodic Safety Checks You Should Make Outside
the Vehicle
Tires
Examine tires for excessive tread wear and uneven wear
patterns. Check for stones, nails, glass, or other objects
lodged in the tread. Inspect the tread and sidewall for
cuts and cracks. Check the wheel nuts for tightness.
Check the tires (including spare) for proper pressure.
Lights
Have someone observe the operation of exterior lights
while you work the controls. Check turn signal and high
beam indicator lights on the instrument panel.
Door Latches
Check for positive closing, latching, and locking.
Fluid Leaks
Check area under vehicle after overnight parking for fuel,
engine coolant, oil, or other fluid leaks. Also, if gasoline
fumes are detected or if fuel, power steering fluid, or
brake fluid leaks are suspected, the cause should be
located and corrected immediately.2
THINGS TO KNOW BEFORE STARTING YOUR VEHICLE 77
Page 122 of 450

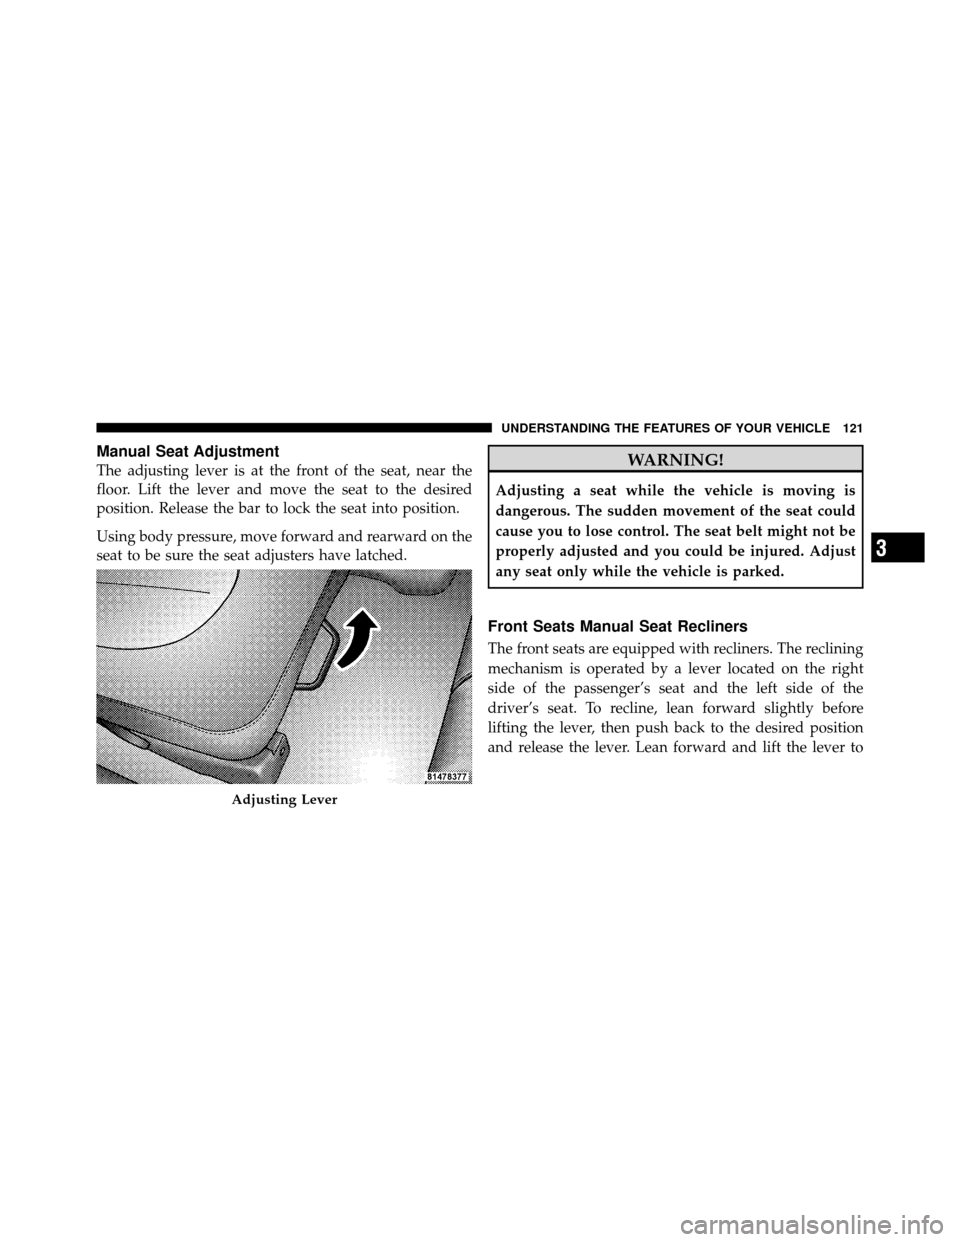
Manual Seat Adjustment
The adjusting lever is at the front of the seat, near the
floor. Lift the lever and move the seat to the desired
position. Release the bar to lock the seat into position.
Using body pressure, move forward and rearward on the
seat to be sure the seat adjusters have latched.WARNING!
Adjusting a seat while the vehicle is moving is
dangerous. The sudden movement of the seat could
cause you to lose control. The seat belt might not be
properly adjusted and you could be injured. Adjust
any seat only while the vehicle is parked.
Front Seats Manual Seat Recliners
The front seats are equipped with recliners. The reclining
mechanism is operated by a lever located on the right
side of the passenger’s seat and the left side of the
driver’s seat. To recline, lean forward slightly before
lifting the lever, then push back to the desired position
and release the lever. Lean forward and lift the lever to
Adjusting Lever
3
UNDERSTANDING THE FEATURES OF YOUR VEHICLE 121
Page 123 of 450
return the seatback to its normal position. Using body
pressure, lean forward and rearward on the seat to be
sure the seatback is locked.WARNING!
Do not ride with the seatback reclined so that the
shoulder belt is no longer resting against your chest.
In a collision you could slide under the seat belt and
be seriously or even fatally injured. Use the recliner
only when the vehicle is parked.
Manual Lumbar Support Adjustment — If
Equipped
The manual lumbar support rotary control adjustment is
located on the left side of the driver’s seat. Rotate the
knob to increase or decrease the amount of lumbar
support.
Recline Lever
122 UNDERSTANDING THE FEATURES OF YOUR VEHICLE
Page 129 of 450
2. Then push the safety latch lever up while lifting the
grille with your hand. It is located at the bottom center of
the grille.
Lift the hood, and the gas filled props will hold it open.CAUTION!
To prevent possible damage, do not slam the hood to
close it. Use a firm downward push at the center front
edge of the hood to ensure that both latches engage.
Never drive your vehicle unless the hood is fully
closed, with both latches engaged.
WARNING!
Be sure the hood is fully latched before driving your
vehicle. If the hood is not fully latched, it could open
when the vehicle is in motion and block your vision.
Failure to follow this warning could result in serious
injury or death.
Secondary Latch Location
128 UNDERSTANDING THE FEATURES OF YOUR VEHICLE
Page 130 of 450

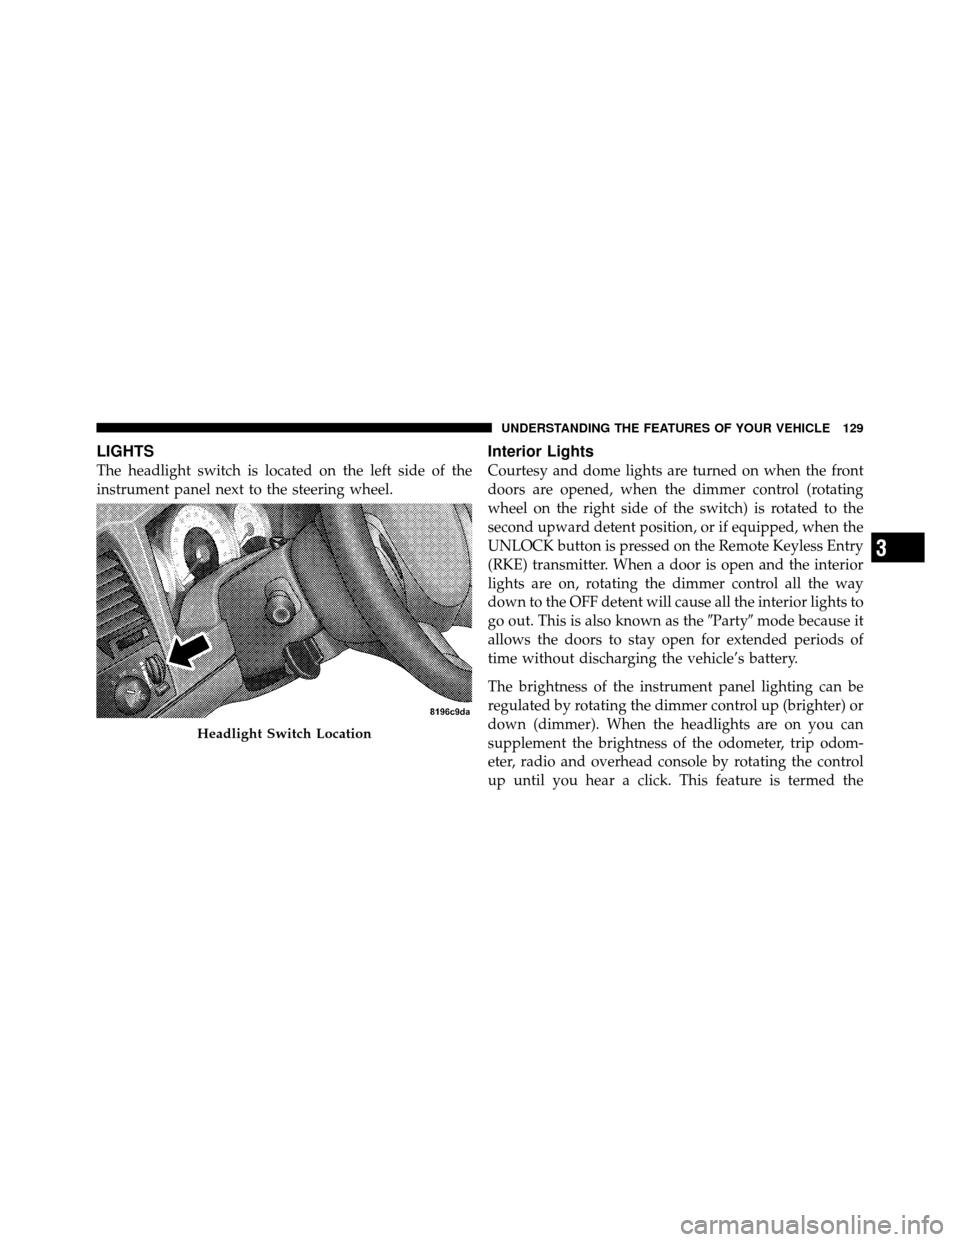
LIGHTS
The headlight switch is located on the left side of the
instrument panel next to the steering wheel.
Interior Lights
Courtesy and dome lights are turned on when the front
doors are opened, when the dimmer control (rotating
wheel on the right side of the switch) is rotated to the
second upward detent position, or if equipped, when the
UNLOCK button is pressed on the Remote Keyless Entry
(RKE) transmitter. When a door is open and the interior
lights are on, rotating the dimmer control all the way
down to the OFF detent will cause all the interior lights to
go out. This is also known as the�Party�mode because it
allows the doors to stay open for extended periods of
time without discharging the vehicle’s battery.
The brightness of the instrument panel lighting can be
regulated by rotating the dimmer control up (brighter) or
down (dimmer). When the headlights are on you can
supplement the brightness of the odometer, trip odom-
eter, radio and overhead console by rotating the control
up until you hear a click. This feature is termed the
Headlight Switch Location
3
UNDERSTANDING THE FEATURES OF YOUR VEHICLE 129