Page 186 of 465
▫Using This Feature ................... 248
▫ Controlling The iPod� Using Radio
Buttons ........................... 248
▫ Play Mode ......................... 249
▫ List Or Browse Mode ................. 250
� Uconnect™ Multimedia (Satellite Radio)
— If Equipped (REN/RER/RES Radios Only) . . 252
▫ System Activation .................... 252
▫ Electronic Serial Number/Sirius
Identification Number (ESN/SID) ......... 253
▫ Selecting Uconnect™ Multimedia (Satellite)
Mode ............................. 253
▫ Satellite Antenna ..................... 253
▫ Reception Quality .................... 254 ▫
Operating Instructions - Uconnect™
Multimedia (Satellite) Mode ............. 254
▫ Operating Instructions - Uconnect™ Phone
(If Equipped) ....................... 256
� Kicker� High Performance Sound System With
Driver-Selectable Surround (DSS)
– If Equipped ......................... 257
� Video Entertainment System (VES)™
— If Equipped ........................ 258
▫ Kicker� Mobile Surround (KMS1)�
– If Equipped ....................... 260
� Remote Sound System Controls
— If Equipped ........................ 260
� CD/DVD Disc Maintenance .............. 262
� Radio Operation And Cellular Phones ....... 263
4
UNDERSTANDING YOUR INSTRUMENT PANEL 185
Page 188 of 465
INSTRUMENT PANEL FEATURES
1 — Air Outlet7 — Radio13 — Ignition Switch
2 — Instrument Cluster 8 — Climate Control14 — Hood Release
3 — Hazard Switch 9 — Heated Seat Switch*15 — Trunk Release Button
4 — Analog Clock 10 — Power Outlet16 — Headlight Switch
5 — Electronic Stability Program Off Button* 11 — Ash Tray* * If Equipped
6 — Glove Compartment 12 — Storage Compartment*
4
UNDERSTANDING YOUR INSTRUMENT PANEL 187
Page 202 of 465
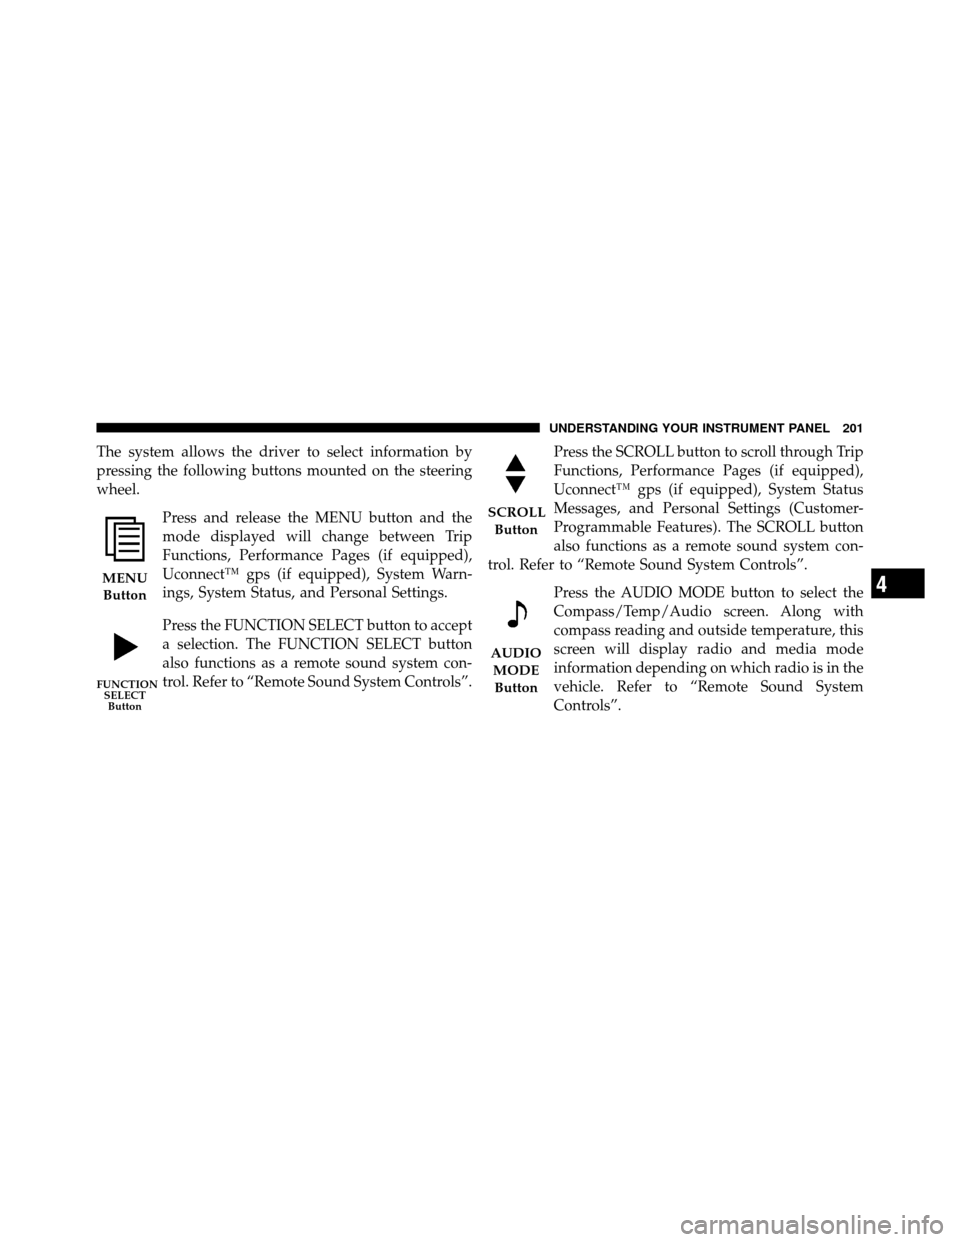
The system allows the driver to select information by
pressing the following buttons mounted on the steering
wheel.Press and release the MENU button and the
mode displayed will change between Trip
Functions, Performance Pages (if equipped),
Uconnect™ gps (if equipped), System Warn-
ings, System Status, and Personal Settings.
Press the FUNCTION SELECT button to accept
a selection. The FUNCTION SELECT button
also functions as a remote sound system con-
trol. Refer to “Remote Sound System Controls”. Press the SCROLL button to scroll through Trip
Functions, Performance Pages (if equipped),
Uconnect™ gps (if equipped), System Status
Messages, and Personal Settings (Customer-
Programmable Features). The SCROLL button
also functions as a remote sound system con-
trol. Refer to “Remote Sound System Controls”.
Press the AUDIO MODE button to select the
Compass/Temp/Audio screen. Along with
compass reading and outside temperature, this
screen will display radio and media mode
information depending on which radio is in the
vehicle. Refer to “Remote Sound System
Controls”.
MENUButton
FUNCTION SELECTButton
SCROLL
Button
AUDIOMODEButton
4
UNDERSTANDING YOUR INSTRUMENT PANEL 201
Page 214 of 465
•Video Surround
•Audio Surround
While in the Surround Sound menu, press the FUNC-
TION SELECT button to change surround modes. The
Video Surround Mode will only be available for video
media sources (DVDs, Video CDs, or other video media
supported by the radio).
Compass Display
The compass readings indicate the direction
the vehicle is facing. Press and release the
HOME button to display one of eight compass
readings and the outside temperature.
NOTE: The system will display the last known outside
temperature when starting the vehicle and may need to
be driven several minutes before the updated tempera-
ture is displayed. Engine temperature can also affect the displayed temperature, therefore temperature readings
are not updated when the vehicle is not moving.
Automatic Compass Calibration
This compass is self-calibrating, which eliminates the
need to set the compass manually. When the vehicle is
new, the compass may appear erratic and the EVIC will
display “CAL” until the compass is calibrated. You may
also calibrate the compass by completing one or more 360
degree turns (in an area free from large metal or metallic
objects) until the “CAL” message displayed in the EVIC
turns off. The compass will now function normally.
Manual Compass Calibration
If the compass appears erratic and the “CAL” message
does not appear in the EVIC display, you must put the
compass into the Calibration Mode manually as follows:
1. Turn the ignition switch ON.
2. Press and hold the HOME button for approximately
two seconds.HOME
Button
4
UNDERSTANDING YOUR INSTRUMENT PANEL 213
Page 219 of 465
Each memory profile contains desired position settings
for the driver seat, side mirror, adjustable pedals (if
equipped), and power tilt and telescopic steering column
(if equipped), and a set of desired radio station presets.
When OFF is selected, only the memory switch on the
driver’s door panel will recall memory profiles. To make
your selection, press and release the FUNCTION SE-
LECT button until “ON” or “OFF” appears. Refer to
“Driver Memory Seat” in “Understanding The Features
Of Your Vehicle”.
“Sound Horn with Remote Key Lock”
When ON is selected, a short horn sound will occur when
the RKE transmitter LOCK button is pressed. This feature
may be selected with or without the flash lights on
lock/unlock feature. To make your selection, press and
release the FUNCTION SELECT button until “ON” or
“OFF” appears.
“Rain Sensing Intermittent Wipers”
When ON is selected, the system will automatically
activate the windshield wipers if it senses moisture on
the windshield. To make your selection, press and release
the FUNCTION SELECT button until “ON” or “OFF”
appears. When OFF is selected, the system reverts to the
standard intermittent wiper operation.
“Automatically Move Seat Back on Exit” — If
Equipped
This feature provides automatic driver seat positioning to
enhance driver mobility when entering and exiting the
vehicle. To make your selection, press and release the
FUNCTION SELECT button until “ON” or “OFF” ap-
pears.
NOTE:The seat will return to the memorized seat
location (if Recall Memory with Remote Key Unlock is set
to ON) when the RKE transmitter is used to unlock the
218 UNDERSTANDING YOUR INSTRUMENT PANEL
Page 221 of 465

“Turn Headlights On with Remote Key Unlock”
When this feature is selected, the headlights will activate
and remain on for up to 90 seconds when the doors are
unlocked with the RKE transmitter. To make your selec-
tion, press and release the FUNCTION SELECT button
until “OFF,” “30 sec.,” “60 sec.,” or “90 sec.” appears.
“Delay Power Off to Accessories Until Exit”
When this feature is selected, the power WINDOW
switches, radio, Uconnect™ Phone (if equipped), DVD
video system (if equipped), power sunroof (if equipped),
and power outlets will remain active for up to 60 minutes
after the ignition switch is turned OFF. Opening a vehicle
door will cancel this feature. To make your selection,
press and release the FUNCTION SELECT button until
“Off,” “45 sec.,” “5 min.,” “10 min.,” “30 min.,” or “60
min.” appears.
“Confirmation of Voice Commands” — If
Equipped
When ON is selected, all voice commands from the
Uconnect™ system are confirmed. To make your selec-
tion, press and release the FUNCTION SELECT button
until “ON” or “OFF” appears.
“Park Assist System”
When ON is selected, the system will scan for objects
behind the vehicle when the transmission is in the
REVERSE or NEUTRAL position. To make your selec-
tion, press and release the FUNCTION SELECT button
until “ON” or “OFF” appears.
“Turn-by-Turn Navigation” — If Equipped
When ON is selected, the turn-by-turn directions will
appear in the display as the vehicle approaches a desig-
nated turn within a programmed route. To make your
selection, press and release the FUNCTION SELECT
button until “ON” or “OFF” appears.
220 UNDERSTANDING YOUR INSTRUMENT PANEL
Page 223 of 465

MEDIA CENTER 730N/430 (RER/REN/RBZ) —
AM/FM STEREO RADIO AND CD/DVD/HDD/NAV —
IF EQUIPPED
NOTE:The sales code is located on the lower right side
of the unit’s faceplate.
The REN, RER and RBZ radios contain a CD/DVD
player, USB port, and a 30-gigabyte hard drive (HDD).
Sirius Satellite Radio is optional. The 6.5 in (16.5 cm)
touch screen allows for easy menu selection.
The RER radio also contains a Global Positioning System
(GPS)-based Navigation system.
Refer to your Uconnect™ Multimedia REN, RER or RBZ
user’s manual for detailed operating instructions.
Operating Instructions — Voice Command
System — If Equipped
For the radio, refer to “Voice Command” in “Understand-
ing The Features Of Your Vehicle”.
Operating Instructions — Uconnect™ Phone —
If Equipped
Refer to “Uconnect™ Phone” in “Understanding The
Features Of Your Vehicle”.
Clock Setting Procedure — RBZ Radio
To Manually Set the Clock
1. Turn on the radio.
2. Touch the screen where the time is displayed, the clock
setting menu will appear on the screen.
3. To move the hour forward, touch the screen where the
word “Hour” with the arrow pointing upward is dis-
played. To move the hour backward, touch the screen
where the word “Hour” with the arrow pointing down-
ward is displayed.
4. To move the minute forward, touch the screen where
the word “Min” with the arrow pointing upward is
222 UNDERSTANDING YOUR INSTRUMENT PANEL
Page 224 of 465
displayed. To move the minute backward, touch the
screen where the word “Min” with the arrow pointing
downward is displayed.
5. To save the new time setting, touch the screen where
the word “Save” is displayed.
Changing Daylight Savings Time
When selected, this feature will display the time of day in
daylight savings time. Proceed as follows to change the
current setting:
1. Turn on the radio.
2. Touch the screen where the time is displayed. The
clock setting menu will appear on the screen.
3. When this feature is on, a check mark will appear in
the box next to the words “Daylight Savings.” Touch the
screen where the words “Daylight Savings” are dis-
played to change the current setting.
Show Time if Radio is Off
When selected, this feature will display the time of day
on the touch screen when the radio is turned off. Proceed
as follows to change the current setting:
1. Turn on the radio.
2. Touch the screen where the time is displayed. The
clock setting menu will appear on the screen.
3. When this feature is on, a check mark will appear in
the box next to the words “Show Time if Radio is Off.”
Touch the screen where the words “Show Time if Radio is
Off” are displayed to change the current setting.
Changing the Time Zone
1. Turn on the radio.
2. Touch the screen where the time is displayed. The
clock setting menu will appear on the screen.
4
UNDERSTANDING YOUR INSTRUMENT PANEL 223