Page 137 of 465

The Memory switch is located on the driver’s door trim
panel. The switch contains an S (SET) button to activate
the memory save function. It also contains a rocker
switch labeled with the number (1) and the number (2).
The rocker switch allows the driver to recall either of two
pre-programmed memory profiles by pressing the appro-
priate side of the switch.Programming the Memory Feature
To create a new memory profile, perform the following:
NOTE:Saving a new memory profile will erase an
existing profile from memory.
1. Adjust all memory profile settings to desired prefer-
ences (i.e., seat, side mirror, adjustable pedals, power tilt
and telescopic steering column, and radio station pre-
sets).
2. Press and release the SET button on the Memory
switch, then press the side of the rocker switch labeled (1)
within five seconds. The Electronic Vehicle Information
Center (EVIC) will display which memory position is
being set.
If desired, a second memory profile can be stored into
memory as follows:
Memory Switch
136 UNDERSTANDING THE FEATURES OF YOUR VEHICLE
Page 138 of 465
1. Adjust all memory profile settings to desired prefer-
ences (i.e., seat, side mirror, adjustable pedals, power tilt,
telescopic steering column, and radio station presets).
2. Press and release the SET button on the Memory
switch, then press the side of the rocker switch labeled (2)
within five seconds. The EVIC will display which
memory position is being set.
NOTE:
•Memory profiles can be set without the vehicle in
PARK, but the vehicle must be in PARK to recall a
memory profile.
•The Recall Memory with Remote Key Unlock feature
can be enabled or disabled. For details, refer to “Elec-
tronic Vehicle Information Center (EVIC)/Customer-
Programmable Features” in “Understanding Your In-
strument Panel” for further information.
Linking and Unlinking the Remote Keyless Entry
Transmitter to Memory
Your RKE transmitters can be programmed to recall one
of two pre-programmed memory profiles by pressing the
UNLOCK button on the RKE transmitter.
To program your RKE transmitters, perform the follow-
ing:
1. Remove the Key Fob from the ignition (or change the
ignition to OFF, for vehicles equipped with Keyless
Go™).
2. Select the desired memory profile 1 or 2.
3. Press and release the SET button on the Memory
switch, then press and release the side of the rocker
switch labeled 1 or 2 accordingly.�Memory Profile Set” (1
or 2) will display in the EVIC.
4. Press and release the LOCK button on the RKE
transmitter within 10 seconds.
3
UNDERSTANDING THE FEATURES OF YOUR VEHICLE 137
Page 149 of 465
Interior Light Defeat (OFF)
Rotate the dimmer control to the extreme bottom off
position. The interior lights will remain off when the
doors are open.
Parade Mode (Daytime Brightness Feature)
Rotate the dimmer control upward to the first detent.
This feature brightens all text displays such as the
odometer, EVIC, and radio when the parking lights or
headlights are on.
WINDSHIELD WIPERS AND WASHERS
The multifunction lever operates the windshield
wipers and washer when the ignition is placed in
the RUN position. The multifunction lever is
located on the left side of the steering column. Rotate the end of the multifunction lever to the first
detent past the intermittent settings for low-speed wiper
operation, or to the second detent past the intermittent
settings for high-speed wiper operation.Windshield Wiper/Washer Control
148 UNDERSTANDING THE FEATURES OF YOUR VEHICLE
Page 162 of 465
•When you turn ParkSense�off, the instrument cluster
will display “PARK ASSIST DISABLED.” Further-
more, once you turn ParkSense� off, it remains off
until you turn it on again, even if you cycle the ignition
key.
•When you move the shift lever to the REVERSE
position and ParkSense� is turned off, the instrument
cluster will display “PARK ASSIST DISABLED” mes-
sage for as long as the vehicle is in REVERSE.
•ParkSense�, when on, will MUTE the radio when it is
sounding a tone.
•If a ParkSense� system malfunction occurs, a single
chime will sound once per ignition cycle. In addition,
the Electronic Vehicle Information Center (EVIC) will
display “SERVICE PARK ASSIST SYSTEM” and the
LED in the ParkSense� switch will illuminate. If this
occurs after making sure the rear fascia/bumper is clean and clear of snow, ice, mud, dirt, or other
obstruction, see your authorized dealer for service.
•Clean the ParkSense�
sensors regularly, taking care
not to scratch or damage them. The sensors must not
be covered with ice, snow, slush, mud, dirt, or debris.
Failure to do so can result in ParkSense� not working
properly. The ParkSense� system might not detect an
obstacle behind the fascia/bumper, or it could provide
a false indication that an obstacle is behind the fascia/
bumper.
•Objects must not be within 12 in (30 cm) from the rear
fascia/bumper while driving the vehicle. Failure to do
so can result in the system misinterpreting a close
object as a sensor problem, causing the “SERVICE
PARK ASSIST SYSTEM” message to be displayed in
the instrument cluster.
3
UNDERSTANDING THE FEATURES OF YOUR VEHICLE 161
Page 167 of 465
Programming HomeLink�
Before You Begin
If you have not trained any of the HomeLink�buttons,
erase all channels before you begin training.
To do this, press and hold the two outside buttons for up
to 20 seconds. The EVIC will display “CLEARING
CHANNELS.” Release the buttons when the EVIC mes-
sage states “CHANNELS CLEARED.”
It is recommended that a new battery be placed in the
handheld transmitter of the device that is being copied to
HomeLink� for more efficient training and accurate
transmission of the radio-frequency signal.
Your vehicle should be parked outside of the garage
while training.
1. Place the ignition in the RUN position. 2. Place the handheld transmitter 1 to 3 in (3 to 8 cm)
from the HomeLink�
buttons while keeping the EVIC
display in view.
For optimal training, point the battery end of the hand-
held transmitter away from the HomeLink�.
3. Simultaneously, press and hold both the chosen
HomeLink� button and the handheld transmitter button
until the EVIC display changes from “CHANNEL #
TRAINING” to “CHANNEL # TRAINED.”
Then release both the HomeLink� and handheld trans-
mitter buttons.
If the EVIC display states “DID NOT TRAIN” repeat
Step 3. If the signal is too weak, replace the battery in the
handheld transmitter.
It may take up to 30 seconds or longer in rare cases. The
garage door may open and close while you train.
166 UNDERSTANDING THE FEATURES OF YOUR VEHICLE
Page 169 of 465
6. Firmly press and release the LEARN or TRAINING
button. The name and color of the button may vary by
manufacturer.
NOTE:You have 30 seconds in which to initiate the next
step after the LEARN button has been pressed.
7. Return to the vehicle and press the programmed
HomeLink� button twice (holding the button for two
seconds each time). If the device is plugged in and
activates, programming is complete.
If the device does not activate, press the button a third
time (for two seconds) to complete the training.
If you have any problems, or require assistance, please
call toll-free 1–800–355–3515 or, on the Internet at
www.HomeLink.com for information or assistance.
To program the remaining two HomeLink� buttons,
repeat each step for each remaining button. DO NOT
erase the channels.Gate Operator/Canadian Programming
Canadian radio-frequency laws require transmitter sig-
nals to “time-out” (or quit) after several seconds of
transmission – which may not be long enough for
HomeLink� to pick up the signal during programming.
Similar to this Canadian law, some U.S. gate operators are
designed to “time-out” in the same manner.
It may be helpful to unplug the device during the cycling
process to prevent possible overheating of the garage
door or gate motor.
If you are having difficulties programming a garage door
opener or a gate operator, replace “Programming
HomeLink” Step 3 with the following:
3. Continue to press and hold the HomeLink� button,
while you press and release (“cycle”), your handheld
transmitter every two seconds until HomeLink� has
168 UNDERSTANDING THE FEATURES OF YOUR VEHICLE
Page 179 of 465
STORAGE
Console Features
The center console contains two shift bezel cubby bins
with rubber mats for holding small items. For vehicles
not equipped with navigation radio, the console also
contains an extra storage bin located below the climate
control, which holds up to four CD jewel cases.
Two separate storage compartments are also located
underneath the armrest.
1 — Release button for bottom compartment
2 — Release button for top compartment
3 — Top Compartment
4 — Bottom Compartment. (You can access this compartment
directly, without first exposing the upper compartment, by oper-
ating the Release Button for the bottom compartment with the
armrest down.)
178 UNDERSTANDING THE FEATURES OF YOUR VEHICLE
Page 185 of 465
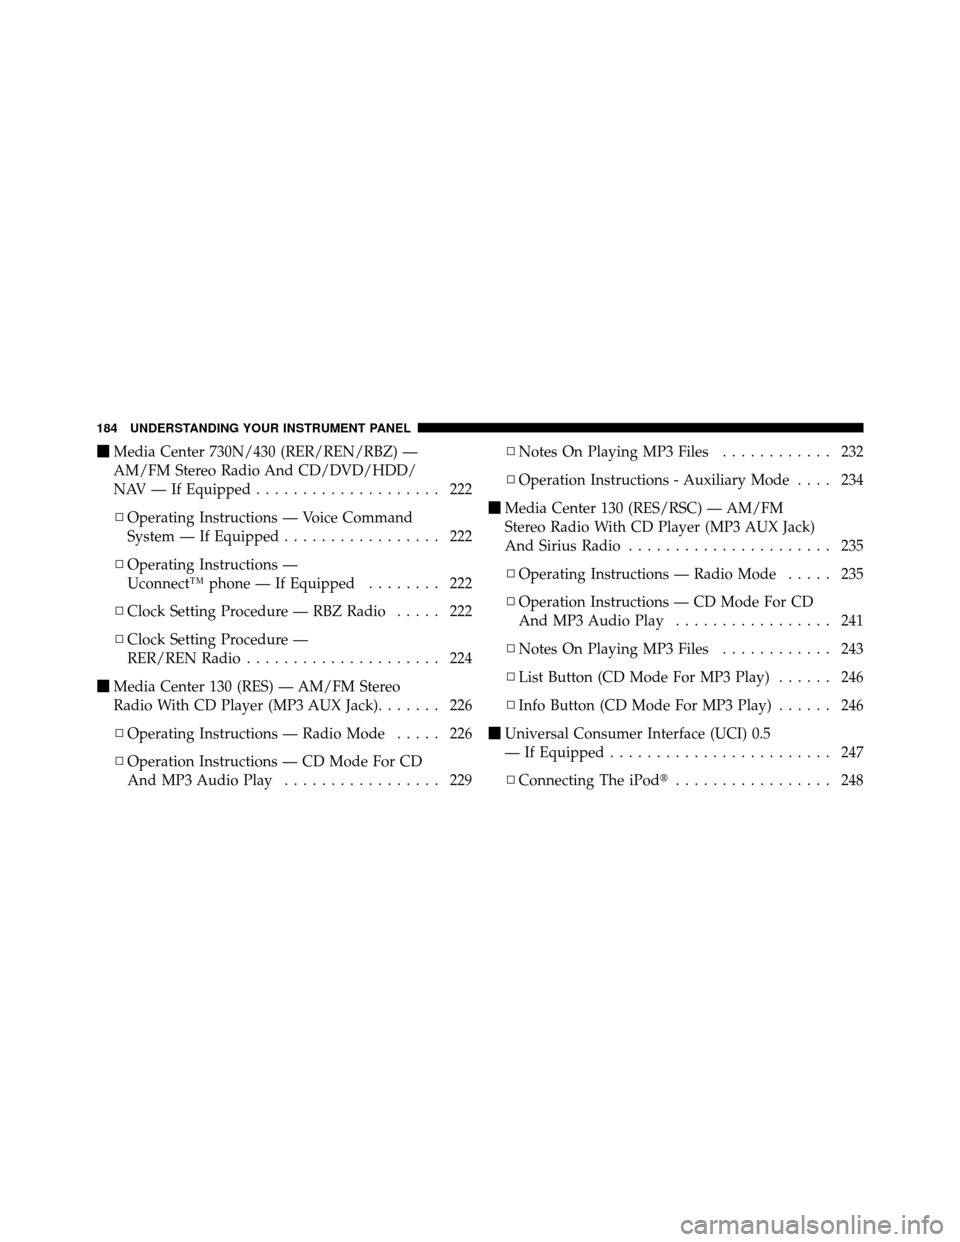
�Media Center 730N/430 (RER/REN/RBZ) —
AM/FM Stereo Radio And CD/DVD/HDD/
NAV — If Equipped .................... 222
▫ Operating Instructions — Voice Command
System — If Equipped ................. 222
▫ Operating Instructions —
Uconnect™ phone — If Equipped ........ 222
▫ Clock Setting Procedure — RBZ Radio ..... 222
▫ Clock Setting Procedure —
RER/REN Radio ..................... 224
� Media Center 130 (RES) — AM/FM Stereo
Radio With CD Player (MP3 AUX Jack) ....... 226
▫ Operating Instructions — Radio Mode ..... 226
▫ Operation Instructions — CD Mode For CD
And MP3 Audio Play ................. 229 ▫
Notes On Playing MP3 Files ............ 232
▫ Operation Instructions - Auxiliary Mode .... 234
� Media Center 130 (RES/RSC) — AM/FM
Stereo Radio With CD Player (MP3 AUX Jack)
And Sirius Radio ...................... 235
▫ Operating Instructions — Radio Mode ..... 235
▫ Operation Instructions — CD Mode For CD
And MP3 Audio Play ................. 241
▫ Notes On Playing MP3 Files ............ 243
▫ List Button (CD Mode For MP3 Play) ...... 246
▫ Info Button (CD Mode For MP3 Play) ...... 246
� Universal Consumer Interface (UCI) 0.5
— If Equipped ........................ 247
▫ Connecting The iPod� ................. 248
184 UNDERSTANDING YOUR INSTRUMENT PANEL