2010 CHEVROLET SUBURBAN light
[x] Cancel search: lightPage 423 of 608
Leaving After Parking on a Hill
1. Apply and hold the brake pedal.
2. Start the engine
3. Shift into a gear
4. Release the parking brake
5. Let up on the brake pedal.
6. Drive slowly until the trailer is clear of the chocks.
7. Stop and have someone pick up and store thechocks.
Maintenance When Trailer Towing
The vehicle needs service more often when pulling a
trailer. See this manual's Maintenance Schedule or
Index for more information. Things that are especially
important in trailer operation are automatic transmission
fluid, engine oil, axle lubricant, belts, cooling system
and brake system. It is a good idea to inspect these
before and during the trip.
Check periodically to see that all hitch nuts and bolts
are tight.
Trailer Wiring Harness
The vehicle is equipped with the following wiring
harnesses for towing a trailer.
Basic Trailer Wiring
The trailer wiring harness, with a seven-pin connector,
is located at the rear of the vehicle and is tied to the
vehicle's frame. The harness connector can be plugged
into a seven-pin universal heavy-duty trailer connector
available through your dealer.
The seven-wire harness contains the following trailer
circuits:
.Yellow: Left Stop/Turn Signal
.Dark Green: Right Stop/Turn Signal
.Brown: Taillamps
.White: Ground
.Light Green: Back-up Lamps
.Red: Battery Feed*
.Dark Blue: Trailer Brake*
*The fuses for these two circuits are installed in the
underhood electrical center, but the wires are not
connected. They should be connected by your dealer or
a qualified service center.
5-65
Page 424 of 608
Heavy-Duty Trailer Wiring Harness Package
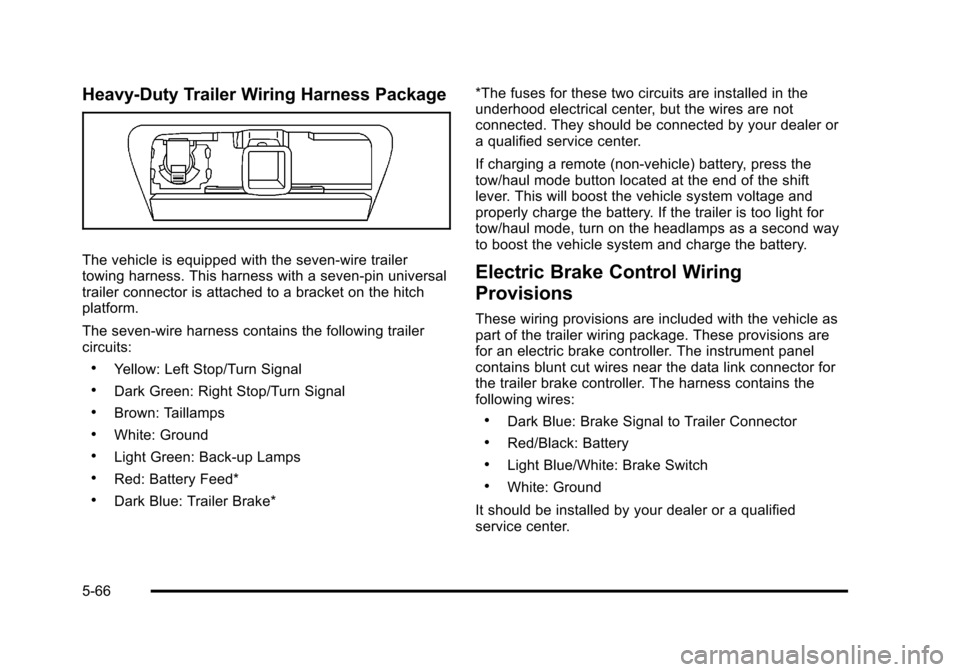
The vehicle is equipped with the seven-wire trailer
towing harness. This harness with a seven-pin universal
trailer connector is attached to a bracket on the hitch
platform.
The seven-wire harness contains the following trailer
circuits:
.Yellow: Left Stop/Turn Signal
.Dark Green: Right Stop/Turn Signal
.Brown: Taillamps
.White: Ground
.Light Green: Back-up Lamps
.Red: Battery Feed*
.Dark Blue: Trailer Brake**The fuses for these two circuits are installed in the
underhood electrical center, but the wires are not
connected. They should be connected by your dealer or
a qualified service center.
If charging a remote (non-vehicle) battery, press the
tow/haul mode button located at the end of the shift
lever. This will boost the vehicle system voltage and
properly charge the battery. If the trailer is too light for
tow/haul mode, turn on the headlamps as a second way
to boost the vehicle system and charge the battery.
Electric Brake Control Wiring
Provisions
These wiring provisions are included with the vehicle as
part of the trailer wiring package. These provisions are
for an electric brake controller. The instrument panel
contains blunt cut wires near the data link connector for
the trailer brake controller. The harness contains the
following wires:
.Dark Blue: Brake Signal to Trailer Connector
.Red/Black: Battery
.Light Blue/White: Brake Switch
.White: Ground
It should be installed by your dealer or a qualified
service center.
5-66
Page 433 of 608
If the vehicle has the 5.3L V8 engine (VIN Code 0),
the 5.3L V8 engine (VIN Code 3), the 6.0L V8 engine
(VIN Code J), or the 6.2L V8 engine (VIN Code 2), you
can use either unleaded gasoline or ethanol fuel
containing up to 85% ethanol (E85). SeeFuel E85
(85% Ethanol)
on page 6‑9. In all other engines, use
only unleaded gasoline. See Gasoline Octaneon
page 6‑7.
Gasoline Octane
For all vehicles except those with the 6.2L V8 engine
(VIN Code 2), use regular unleaded gasoline with a
posted octane rating of 87 or higher. If the octane rating
is less than 87, an audible knocking noise, commonly
referred to as spark knock, might be heard when
driving. If this occurs, use a gasoline rated at 87 octane
or higher as soon as possible. If heavy knocking is
heard when using gasoline rated at 87 octane or higher,
the engine needs service. If the vehicle has the 6.2L V8 engine (VIN Code 2), use
premium unleaded gasoline with a posted octane rating
of 91 or higher. You can also use regular unleaded
gasoline rated at 87 octane or higher, but the vehicle's
acceleration could be slightly reduced, and a slight
audible knocking noise, commonly referred to as spark
knock, might be heard. If the octane is less than 87, you
might notice a heavy knocking noise when you drive.
If this occurs, use a gasoline rated at 87 octane or
higher as soon as possible. Otherwise, you could
damage the engine. If heavy knocking is heard when
using gasoline rated at 87 octane or higher, the engine
needs service.
Gasoline Specifications
At a minimum, gasoline should meet ASTM
specification D 4814 in the United States or
CAN/CGSB‐3.5 or 3.511 in Canada. Some gasolines
contain an octane-enhancing additive called
methylcyclopentadienyl manganese tricarbonyl (MMT).
We recommend against the use of gasolines containing
MMT. See
Additives
on page 6‑8for additional
information.
6-7
Page 439 of 608
If the vehicle has a Driver Information Center (DIC), the
TIGHTEN GAS CAP message displays if the fuel cap is
not properly installed.
{WARNING:
If a fire starts while you are refueling, do not
remove the nozzle. Shut off the flow of fuel by
shutting off the pump or by notifying the station
attendant. Leave the area immediately.
Notice: If you need a new fuel cap, be sure to get
the right type. Your dealer can get one for you.
If you get the wrong type, it may not fit properly.
This may cause the malfunction indicator lamp to
light and may damage the fuel tank and emissions
system. See Malfunction Indicator Lamp
on
page 4‑39.
Filling a Portable Fuel Container
{WARNING:
Never fill a portable fuel container while it is in
the vehicle. Static electricity discharge from the
container can ignite the fuel vapor. You can be
badly burned and the vehicle damaged if this
occurs. To help avoid injury to you and others:
.Dispense fuel only into approved containers.
.Do not fill a container while it is inside a
vehicle, in a vehicle's trunk, pickup bed, or on
any surface other than the ground.
.Bring the fill nozzle in contact with the inside
of the fill opening before operating the nozzle.
Contact should be maintained until the filling is
complete.
.Do not smoke while pumping fuel.
.Do not use a cellular phone while
pumping fuel.
6-13
Page 447 of 608
On all vehicles, the Engine Oil Life System can be reset
as follows:1. Turn the ignition to ON/RUN with the engine off
2. Fully press the accelerator pedal slowly three times within five seconds.
3. Display the OIL LIFE REMAINING on the DIC. If the display shows 100%, the system is reset.
See DIC Operation and Displays (With DIC
Buttons)
on page 4‑47or DIC Operation and
Displays (Without DIC Buttons) on page 4‑55.
If the vehicle has a CHANGE ENGINE OIL SOON
message and it comes back on when the vehicle is
started and/or the OIL LIFE REMAINING is near 0%,
the Engine Oil Life System has not reset. Repeat the
procedure.
What to Do with Used Oil
Used engine oil contains certain elements that can be
unhealthy for your skin and could even cause cancer.
Do not let used oil stay on your skin for very long. Clean
your skin and nails with soap and water, or a good hand
cleaner. Wash or properly dispose of clothing or rags
containing used engine oil. See the manufacturer's
warnings about the use and disposal of oil products. Used oil can be a threat to the environment. If you
change your own oil, be sure to drain all the oil from the
filter before disposal. Never dispose of oil by putting it in
the trash, pouring it on the ground, into sewers, or into
streams or bodies of water. Recycle it by taking it to a
place that collects used oil.
Engine Air Cleaner/Filter
See
Engine Compartment Overviewon page 6‑16for
the location of the engine air cleaner/filter.
Inspect the air cleaner/filter at the Maintenance II
intervals and replace it at the first oil change after each
50,000 mile (80 000 km) interval. See Scheduled
Maintenance
on page 7‑3for more information.
If driving on dusty/dirty conditions, inspect the filter at
each engine oil change.
How to Inspect the Engine Air
Cleaner/Filter
To inspect the air cleaner/filter, remove the engine
air cleaner/filter from the vehicle by following
Steps 1 through 6. When the engine air cleaner/filter
is removed, lightly shake it to release loose dust and
dirt. If the engine air cleaner/filter remains caked with
dirt, a new filter is required.
6-21
Page 468 of 608
Brakes
Brake Fluid
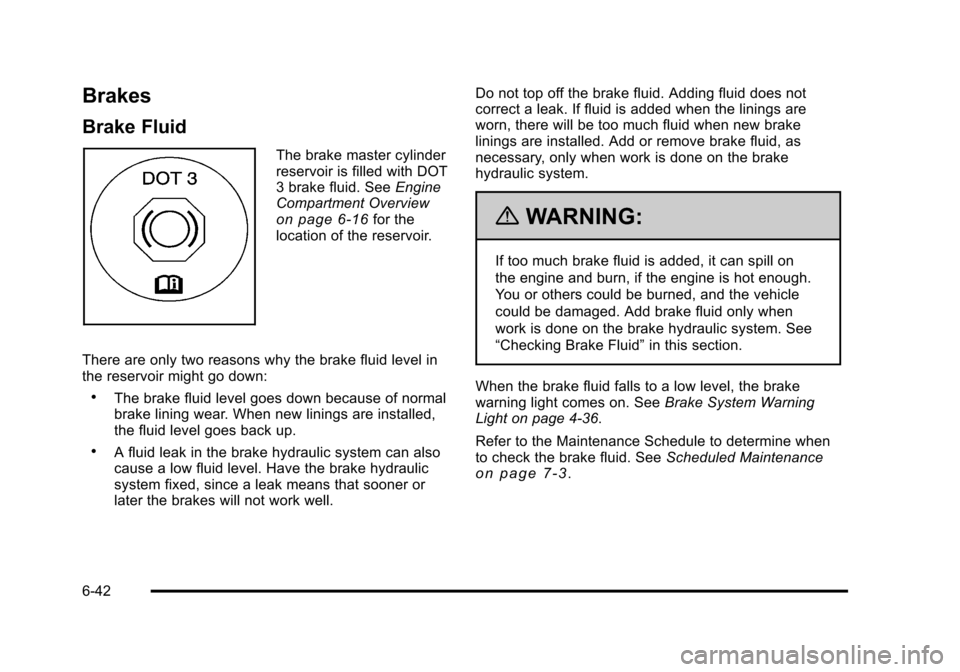
The brake master cylinder
reservoir is filled with DOT
3 brake fluid. SeeEngine
Compartment Overview
on page 6‑16for the
location of the reservoir.
There are only two reasons why the brake fluid level in
the reservoir might go down:
.The brake fluid level goes down because of normal
brake lining wear. When new linings are installed,
the fluid level goes back up.
.A fluid leak in the brake hydraulic system can also
cause a low fluid level. Have the brake hydraulic
system fixed, since a leak means that sooner or
later the brakes will not work well. Do not top off the brake fluid. Adding fluid does not
correct a leak. If fluid is added when the linings are
worn, there will be too much fluid when new brake
linings are installed. Add or remove brake fluid, as
necessary, only when work is done on the brake
hydraulic system.
{WARNING:
If too much brake fluid is added, it can spill on
the engine and burn, if the engine is hot enough.
You or others could be burned, and the vehicle
could be damaged. Add brake fluid only when
work is done on the brake hydraulic system. See
“Checking Brake Fluid”
in this section.
When the brake fluid falls to a low level, the brake
warning light comes on. See Brake System Warning
Light on page 4‑36.
Refer to the Maintenance Schedule to determine when
to check the brake fluid. See Scheduled Maintenance
on page 7‑3.
6-42
Page 470 of 608
Brake Wear
This vehicle has disc brakes. Disc brake pads have
built-in wear indicators that make a high-pitched
warning sound when the brake pads are worn and new
pads are needed. The sound can come and go or be
heard all the time the vehicle is moving, except when
applying the brake pedal firmly.
{WARNING:
The brake wear warning sound means that soon
the brakes will not work well. That could lead to
an accident. When the brake wear warning sound
is heard, have the vehicle serviced.
Notice: Continuing to drive with worn-out brake
pads could result in costly brake repair. Some driving conditions or climates can cause a brake
squeal when the brakes are first applied or lightly
applied. This does not mean something is wrong with
the brakes.
Properly torqued wheel nuts are necessary to help
prevent brake pulsation. When tires are rotated, inspect
brake pads for wear and evenly tighten wheel nuts in
the proper sequence to torque specifications in
Capacities and Specifications on page 6‑125.
Brake linings should always be replaced as complete
axle sets.Brake Pedal Travel
See your dealer if the brake pedal does not return to
normal height, or if there is a rapid increase in pedal
travel. This could be a sign that brake service might be
required.
Brake Adjustment
Every brake stop, the disc brakes adjust for wear.
6-44
Page 473 of 608
Notice:If you leave the radio or other accessories
on during the jump starting procedure, they could
be damaged. The repairs would not be covered by
the warranty. Always turn off the radio and other
accessories when jump starting the vehicle.
3. Turn off the ignition on both vehicles. Unplug unnecessary accessories plugged into the
cigarette lighter or the accessory power outlets.
Turn off the radio and all the lamps that are not
needed. This avoids sparks and helps save both
batteries. And it could save the radio!
4. Open the hood on the other vehicle and locate the positive (+) and negative (−) terminal locations on
that vehicle.
Your vehicle has a remote positive (+) jump starting
terminal and a remote negative (−) jump starting
terminal. You should always use these remote
terminals instead of the terminals on the battery.
If the vehicle has a remote positive (+) terminal, it
is located under a red plastic cover at the positive
battery post. To uncover the remote positive (+)
terminal, open the red plastic cover.
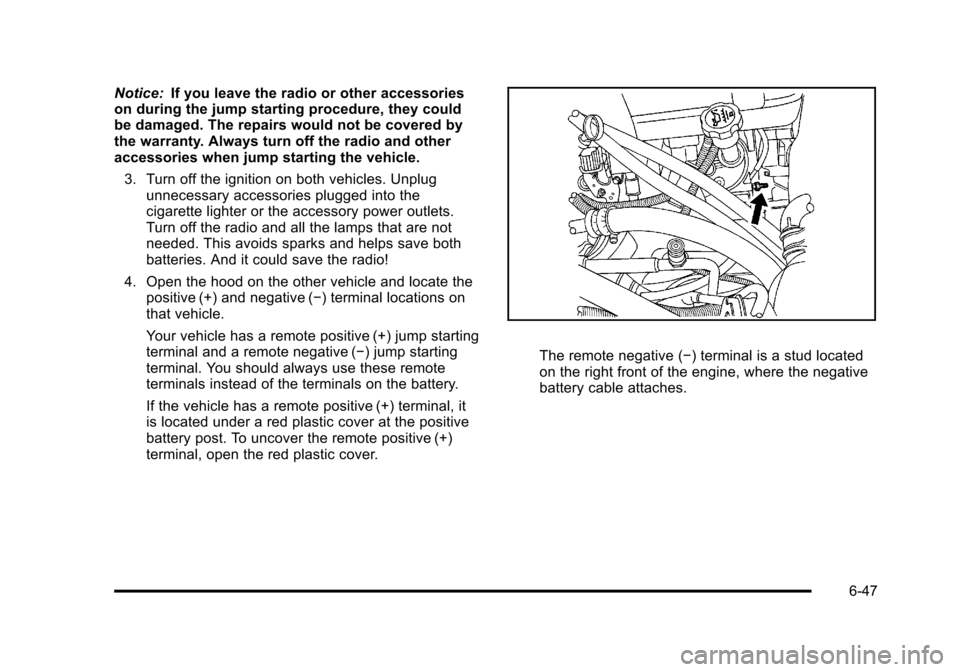
The remote negative (−) terminal is a stud located
on the right front of the engine, where the negative
battery cable attaches.
6-47