2010 CHEVROLET EQUINOX display
[x] Cancel search: displayPage 193 of 394
Infotainment System 6-63
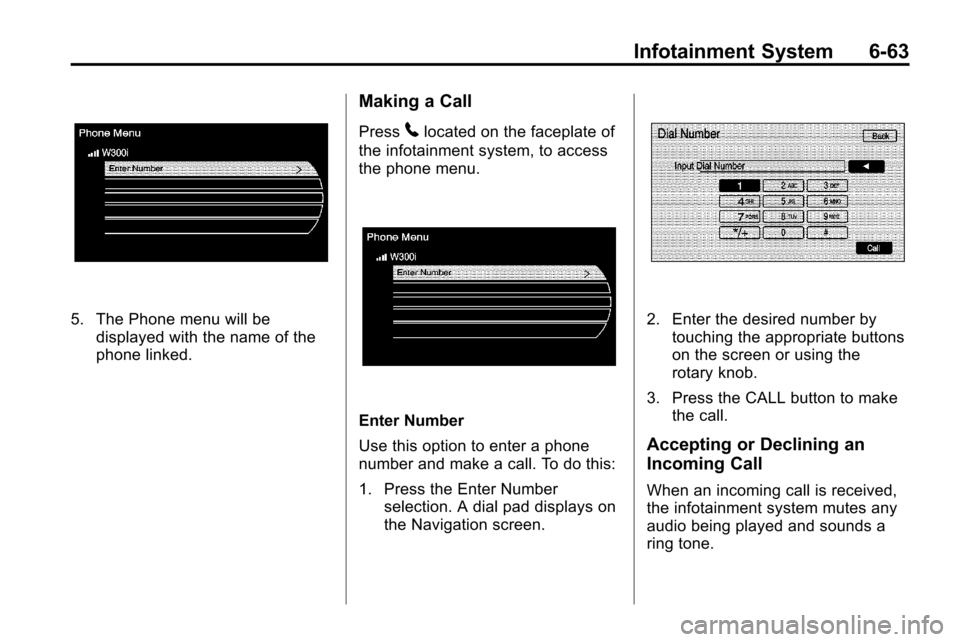
5. The Phone menu will bedisplayed with the name of the
phone linked.
Making a Call
Press5located on the faceplate of
the infotainment system, to access
the phone menu.
Enter Number
Use this option to enter a phone
number and make a call. To do this:
1. Press the Enter Number selection. A dial pad displays on
the Navigation screen.
2. Enter the desired number bytouching the appropriate buttons
on the screen or using the
rotary knob.
3. Press the CALL button to make the call.
Accepting or Declining an
Incoming Call
When an incoming call is received,
the infotainment system mutes any
audio being played and sounds a
ring tone.
Page 201 of 394
Climate Controls 7-5
H/G(Air Delivery Mode
Control): Press mode up or mode
down to cycle through the different
air delivery modes. The current
mode is shown on the display.
Select from the following:
F (Vent): Air is directed to the
instrument panel outlets.
* (Bi-Level): Air is directed to the
instrument panel outlets and the
floor outlets.
7 (Floor): Air is directed to the
floor outlets.
W(Defog): Clears the windows of
fog or moisture. Air is directed to the
windshield and floor outlets.
0(Defrost): Clears the
windshield of fog or frost more
quickly. Air is directed to the
windshield and side window outlets.
Selecting defrost disables the
automatic mode.
For best results, clear all snow and
ice from the windshield before
defrosting. Do not drive the vehicle until all the
windows are clear.
Air Conditioning
#(Air Conditioning):
Press to
turn the air conditioning on or off.
If the fan is turned off or the outside
temperature falls below freezing, the
air conditioning will not work. When
in AUTO, the air conditioning will
come on automatically as needed.
h(Recirculation): Press to turn
on the recirculation. Press to
alternate between recirculation and
outside air, if the vehicle does not
have a separate outside air button.
The indicator light turns on when
recirculation is selected. Air is
recirculated inside the vehicle.
It helps quickly cool the air inside
the vehicle or prevent outside air
and odors from entering.
%(Outside Air, If Equipped):
Press to turn on the outside air. An
indicator light comes on. Outside air
is circulated throughout the vehicle.
Rear Window Defogger
<(Rear Defogger): Press to turn
the rear window defogger on or off.
The rear window defogger turns off
after about 10 minutes. It can also
be turned off by turning the ignition
to ACC/ACCESSORY or LOCK/
OFF. If turned on again, it runs
for about five minutes before
turning off.
Do not drive the vehicle until all the
windows are clear.
Notice: Do not use a razor blade
or sharp object to clear the inside
rear window. Do not adhere
anything to the defogger grid
lines in the rear glass. These
actions may damage the rear
defogger. Repairs would not be
covered by your warranty.
L/M(Driver and Passenger
Heated Seats): For vehicles with
heated seats, see Heated Front
Seats on page 2‑7.
Page 233 of 394
Driving and Operating 8-29
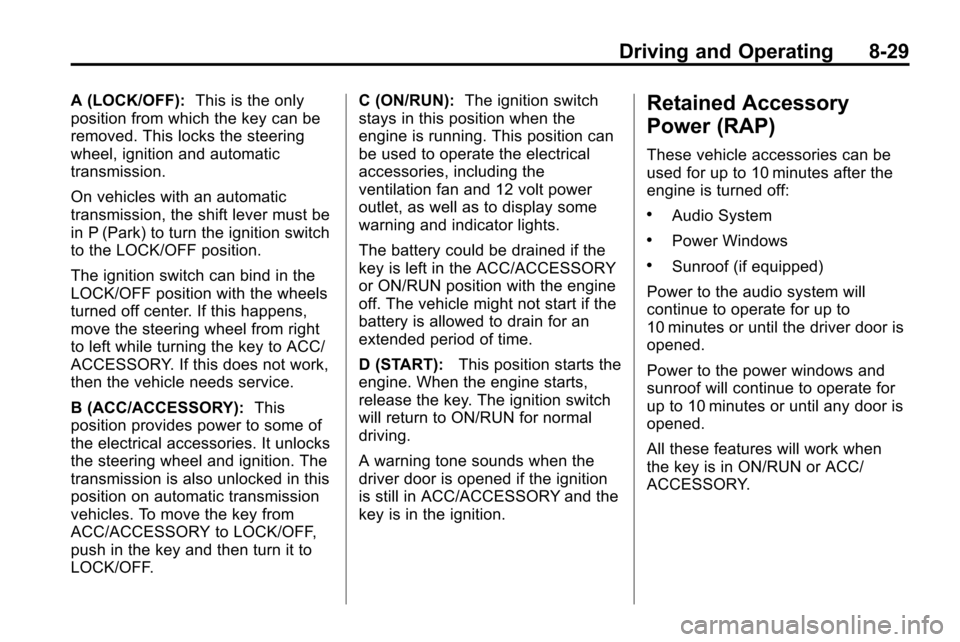
A (LOCK/OFF):This is the only
position from which the key can be
removed. This locks the steering
wheel, ignition and automatic
transmission.
On vehicles with an automatic
transmission, the shift lever must be
in P (Park) to turn the ignition switch
to the LOCK/OFF position.
The ignition switch can bind in the
LOCK/OFF position with the wheels
turned off center. If this happens,
move the steering wheel from right
to left while turning the key to ACC/
ACCESSORY. If this does not work,
then the vehicle needs service.
B (ACC/ACCESSORY): This
position provides power to some of
the electrical accessories. It unlocks
the steering wheel and ignition. The
transmission is also unlocked in this
position on automatic transmission
vehicles. To move the key from
ACC/ACCESSORY to LOCK/OFF,
push in the key and then turn it to
LOCK/OFF. C (ON/RUN):
The ignition switch
stays in this position when the
engine is running. This position can
be used to operate the electrical
accessories, including the
ventilation fan and 12 volt power
outlet, as well as to display some
warning and indicator lights.
The battery could be drained if the
key is left in the ACC/ACCESSORY
or ON/RUN position with the engine
off. The vehicle might not start if the
battery is allowed to drain for an
extended period of time.
D (START): This position starts the
engine. When the engine starts,
release the key. The ignition switch
will return to ON/RUN for normal
driving.
A warning tone sounds when the
driver door is opened if the ignition
is still in ACC/ACCESSORY and the
key is in the ignition.Retained Accessory
Power (RAP)
These vehicle accessories can be
used for up to 10 minutes after the
engine is turned off:
.Audio System
.Power Windows
.Sunroof (if equipped)
Power to the audio system will
continue to operate for up to
10 minutes or until the driver door is
opened.
Power to the power windows and
sunroof will continue to operate for
up to 10 minutes or until any door is
opened.
All these features will work when
the key is in ON/RUN or ACC/
ACCESSORY.
Page 241 of 394
Driving and Operating 8-37
Manual Mode
Electronic Range Select
(ERS) Mode
ERS or manual mode allows for the
selection of the range of gear
positions. Use this mode when
driving down hill or towing a trailer
to limit the top gear and vehicle
speed. The shift position indicator
within the Driver Information Center
(DIC) will display a number next to
the M indicating the highest
available gear under manual mode
and the driving conditions when
manual mode was selected.
To use this feature:
1. Move the shift lever toM (Manual Mode).
2. Press the plus/minus button on the shift lever, to increase or
decrease the gear range
available. When shifting to M (Manual Mode),
the transmission will shift to a preset
lower gear range. For this preset
range, the highest gear available is
displayed next to the M in the DIC.
See
Driver Information Center (DIC)
on page 4‑24for more information.
All gears below that number are
available to use. For example, when
4 (Fourth) is shown next to the M,
1 (First) through 4 (Fourth) gears are
shifted automatically. To shift to
5 (Fifth) gear, press the + (Plus)
button or shift into D (Drive).
M (Manual Mode) will prevent
shifting to a lower gear range if the
engine speed is too high. If vehicle
speed is not reduced within the time
allowed, the lower gear range shift
will not be completed. Slow the
vehicle, then press the −(Minus)
button to the desired lower gear
range.
While using the ERS, cruise control
can be used.
Fuel Economy Mode
The vehicle may have a Fuel
Economy Mode. When engaged,
fuel economy mode can improve the
vehicle's fuel economy.
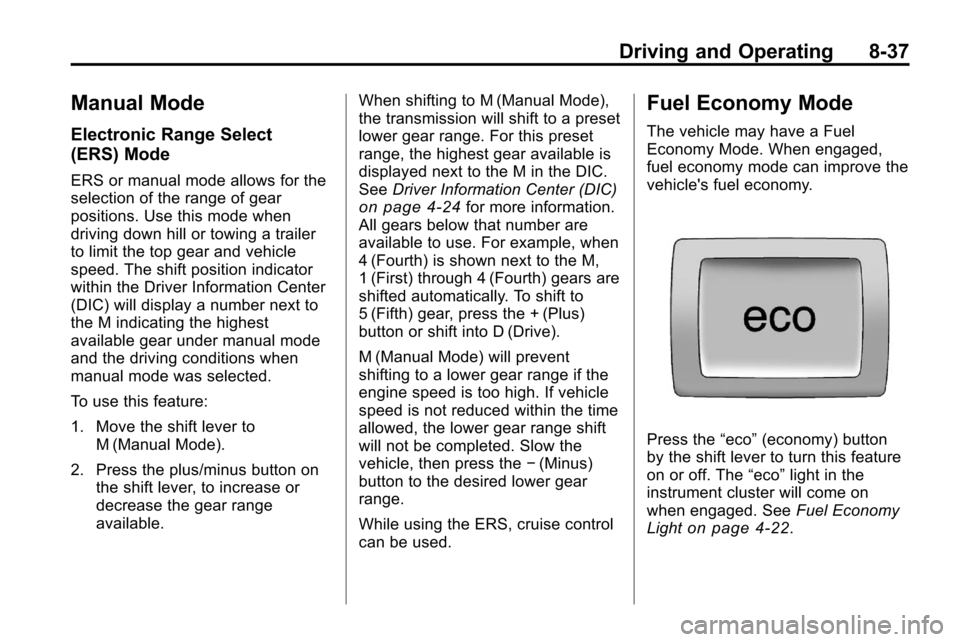
Press the “eco”(economy) button
by the shift lever to turn this feature
on or off. The “eco”light in the
instrument cluster will come on
when engaged. See Fuel Economy
Light
on page 4‑22.
Page 242 of 394
8-38 Driving and Operating
For vehicles with a Driver
Information Center (DIC) an
“ECO Mode On”message displays.
See Fuel System Messages
on
page 4‑30for more information.
When Fuel Economy Mode is on:
.The transmission will upshift
sooner and downshift later.
.The torque converter clutch will
apply sooner and stay on longer.
.The gas pedal will be less
sensitive.
.The vehicle's computer will more
aggressively shut off fuel to the
engine under deceleration.
.The engine idle speed will be
lower.
.Driving performance is more
conservative.
Drive Systems
All-Wheel Drive
With this feature, engine power is
always sent to all four wheels. It is
fully automatic, and adjusts itself as
needed for road conditions.
When using a compact spare tire on
an AWD vehicle, the system
automatically detects the compact
spare and disables AWD. To restore
AWD operation and prevent
excessive wear on system, replace
the compact spare with a full-size
tire as soon as possible. See
Compact Spare Tire
on page 9‑68for more information.
Brakes
Antilock Brake
System (ABS)
This vehicle has the Antilock Brake
System (ABS), an advanced
electronic braking system that helps
prevent a braking skid.
When the engine is started and the
vehicle begins to drive away, ABS
checks itself. A momentary motor or
clicking noise might be heard while
this test is going on, and it might
even be noticed that the brake
pedal moves a little. This is normal.
Page 246 of 394
8-42 Driving and Operating
TCS automatically comes on
whenever the vehicle is started. To
limit wheel spin, especially in
slippery road conditions, the system
should always be left on. But, TCS
can be turned off if needed.
Notice:Do not repeatedly brake
or accelerate heavily when TCS is
off. The vehicle's driveline could
be damaged.
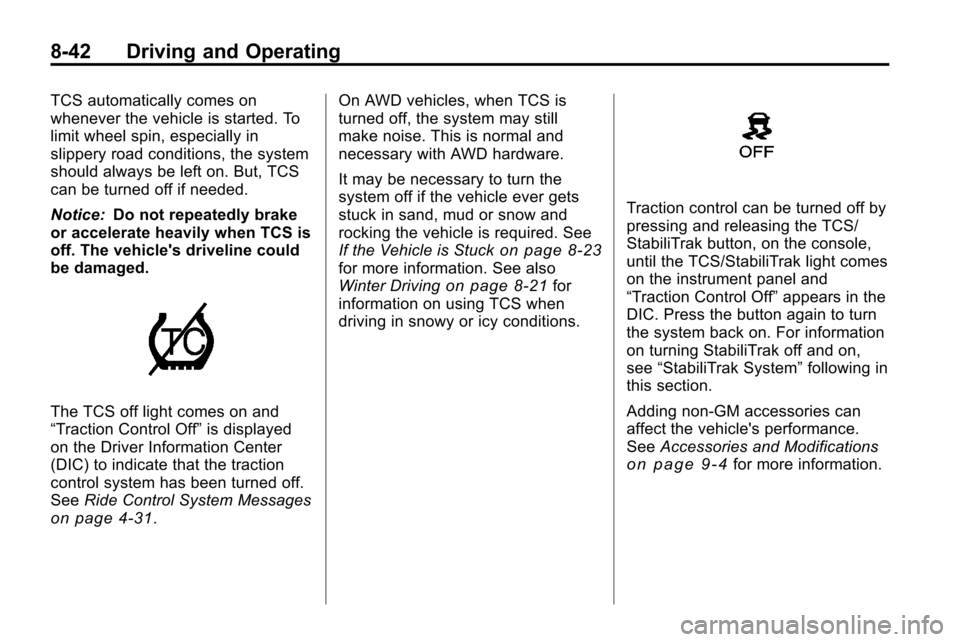
The TCS off light comes on and
“Traction Control Off” is displayed
on the Driver Information Center
(DIC) to indicate that the traction
control system has been turned off.
See Ride Control System Messages
on page 4‑31. On AWD vehicles, when TCS is
turned off, the system may still
make noise. This is normal and
necessary with AWD hardware.
It may be necessary to turn the
system off if the vehicle ever gets
stuck in sand, mud or snow and
rocking the vehicle is required. See
If the Vehicle is Stuck
on page 8‑23for more information. See also
Winter Drivingon page 8‑21for
information on using TCS when
driving in snowy or icy conditions.
Traction control can be turned off by
pressing and releasing the TCS/
StabiliTrak button, on the console,
until the TCS/StabiliTrak light comes
on the instrument panel and
“Traction Control Off” appears in the
DIC. Press the button again to turn
the system back on. For information
on turning StabiliTrak off and on,
see “StabiliTrak System” following in
this section.
Adding non‐GM accessories can
affect the vehicle's performance.
See Accessories and Modifications
on page 9‑4for more information.
Page 247 of 394
Driving and Operating 8-43
StabiliTrak System
The vehicle has a vehicle stability
enhancement system called
StabiliTrak. It is an advanced
computer controlled system that
assists with directional control of the
vehicle in difficult driving conditions.
StabiliTrak activates when the
computer senses a difference
between the intended path and the
direction the vehicle is actually
traveling. StabiliTrak selectively
applies braking pressure at any one
of the vehicle's brakes to help steer
the vehicle in the intended direction.
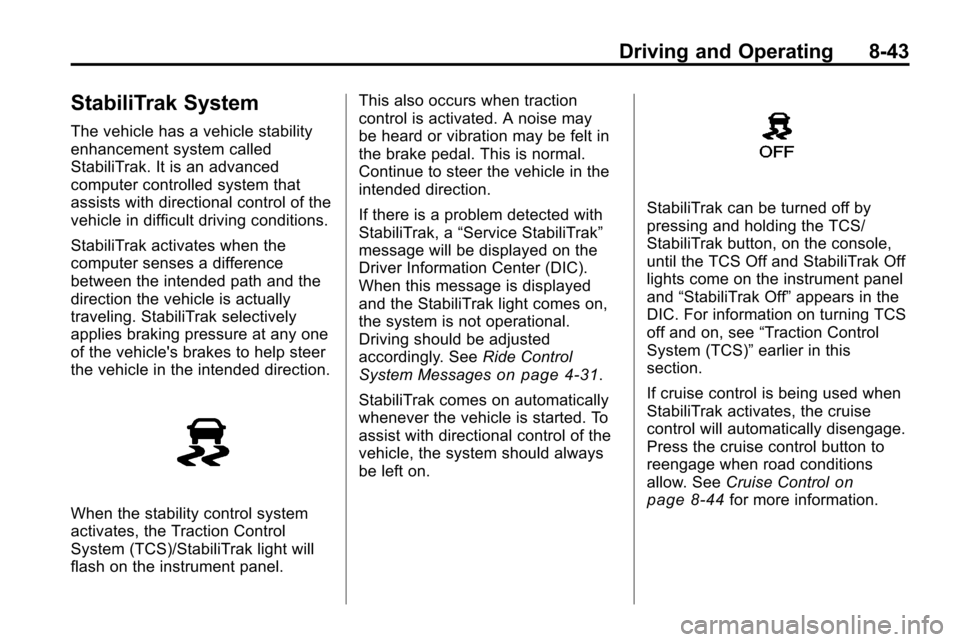
When the stability control system
activates, the Traction Control
System (TCS)/StabiliTrak light will
flash on the instrument panel.This also occurs when traction
control is activated. A noise may
be heard or vibration may be felt in
the brake pedal. This is normal.
Continue to steer the vehicle in the
intended direction.
If there is a problem detected with
StabiliTrak, a
“Service StabiliTrak”
message will be displayed on the
Driver Information Center (DIC).
When this message is displayed
and the StabiliTrak light comes on,
the system is not operational.
Driving should be adjusted
accordingly. See Ride Control
System Messages
on page 4‑31.
StabiliTrak comes on automatically
whenever the vehicle is started. To
assist with directional control of the
vehicle, the system should always
be left on.
StabiliTrak can be turned off by
pressing and holding the TCS/
StabiliTrak button, on the console,
until the TCS Off and StabiliTrak Off
lights come on the instrument panel
and “StabiliTrak Off” appears in the
DIC. For information on turning TCS
off and on, see “Traction Control
System (TCS)” earlier in this
section.
If cruise control is being used when
StabiliTrak activates, the cruise
control will automatically disengage.
Press the cruise control button to
reengage when road conditions
allow. See Cruise Control
on
page 8‑44for more information.
Page 251 of 394
Driving and Operating 8-47
{WARNING
The Ultrasonic Rear Parking
Assist (URPA) system does not
replace driver vision. It cannot
detect:
.Objects that are below the
bumper, underneath the
vehicle, or if they are too
close or far from the vehicle
.Children, pedestrians,
bicyclists, or pets.
If you do not use proper care
before and while backing; vehicle
damage, injury, or death could
occur. Even with URPA, always
check behind the vehicle before
backing up. While backing, be
sure to look for objects and check
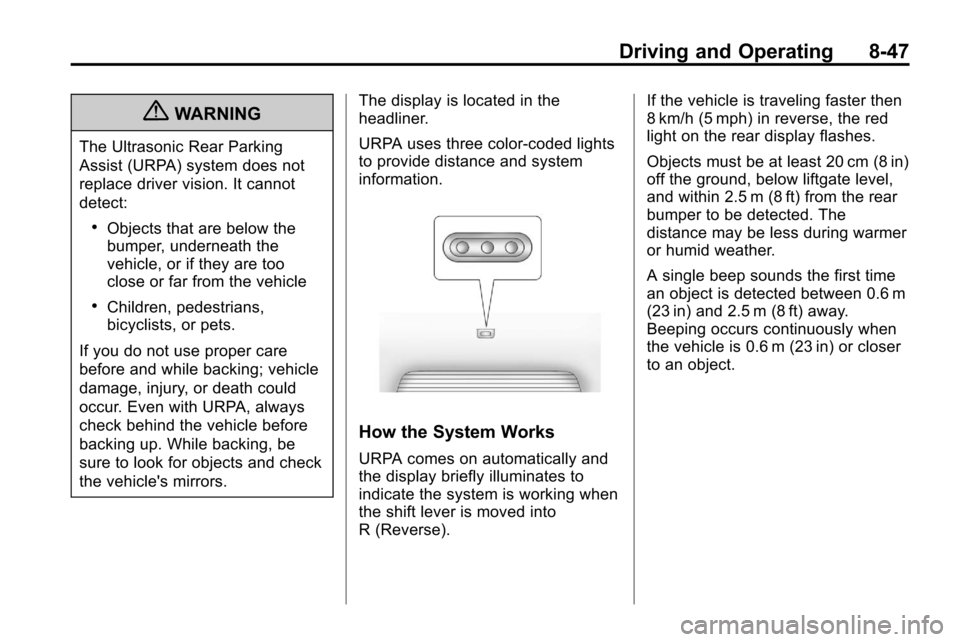
the vehicle's mirrors. The display is located in the
headliner.
URPA uses three color-coded lights
to provide distance and system
information.
How the System Works
URPA comes on automatically and
the display briefly illuminates to
indicate the system is working when
the shift lever is moved into
R (Reverse). If the vehicle is traveling faster then
8 km/h (5 mph) in reverse, the red
light on the rear display flashes.
Objects must be at least 20 cm (8 in)
off the ground, below liftgate level,
and within 2.5 m (8 ft) from the rear
bumper to be detected. The
distance may be less during warmer
or humid weather.
A single beep sounds the first time
an object is detected between 0.6 m
(23 in) and 2.5 m (8 ft) away.
Beeping occurs continuously when
the vehicle is 0.6 m (23 in) or closer
to an object.