Page 263 of 394
Driving and Operating 8-59
.Do not use the Fuel Saver Mode
when towing.
.Obey speed limit restrictions.
Do not drive faster than the
maximum posted speed for
trailers, or no more than 90 km/h
(55 mph), to reduce wear on the
vehicle.
.For vehicles with the Ultra Rear
Parking Assist (URPA) system,
turn the system off when towing
a trailer. If the tow bar is
installed while not towing a
trailer, change the URPA system
to the“Tow Bar” setting. See
Ultrasonic Parking Assist
on
page 8‑46for more information.
Driving with a Trailer
Towing a trailer requires experience.
Get familiar with handling and
braking with the added trailer
weight. The vehicle is now longer
and not as responsive as the
vehicle is by itself. Check all trailer hitch parts and
attachments, safety chains,
electrical connectors, lamps, tires
and mirror adjustments. If the trailer
has electric brakes, start the vehicle
and trailer moving and then apply
the trailer brake controller by hand
to be sure the brakes are working.
During the trip, check regularly to be
sure that the load is secure, and the
lamps and trailer brakes are working
properly.
Towing with a Stability Control
System
When towing, the sound of the
stability control system might be
heard. The system is reacting to the
vehicle movement caused by the
trailer, which mainly occurs during
cornering. This is normal when
towing heavier trailers.
Following Distance
Stay at least twice as far behind the
vehicle ahead as you would when
driving the vehicle without a trailer.
This can help to avoid situations
that require heavy braking and
sudden turns.
Passing
More passing distance is needed
when towing a trailer. Because the
rig is longer, it is necessary to go
farther beyond the passed vehicle
before returning to the lane.
Backing Up
Hold the bottom of the steering
wheel with one hand. To move the
trailer to the left, move that hand to
the left. To move the trailer to the
right, move your hand to the right.
Always back up slowly and,
if possible, have someone
guide you.
Page 286 of 394
9-18 Vehicle Care
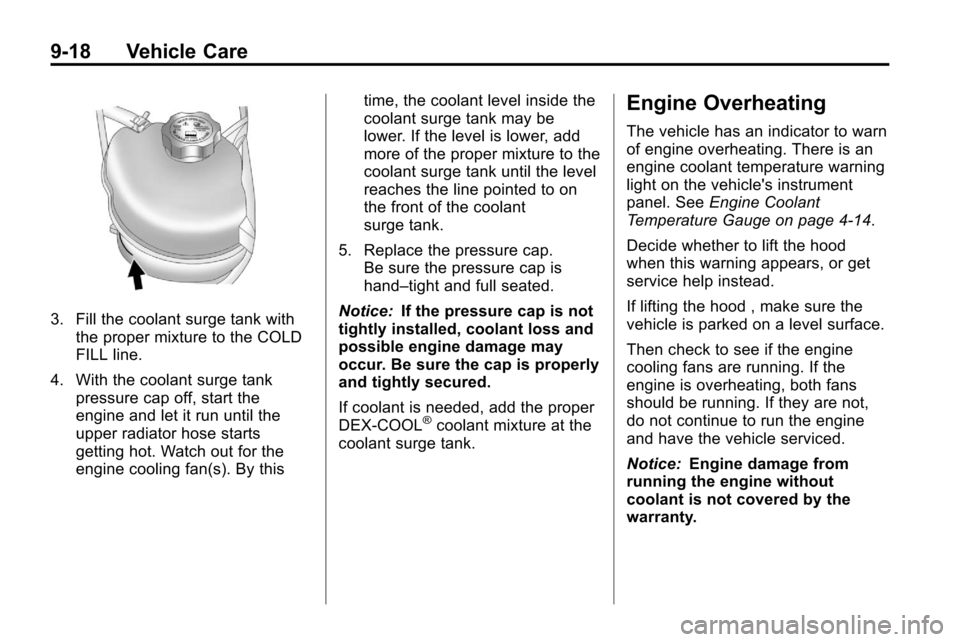
3. Fill the coolant surge tank withthe proper mixture to the COLD
FILL line.
4. With the coolant surge tank pressure cap off, start the
engine and let it run until the
upper radiator hose starts
getting hot. Watch out for the
engine cooling fan(s). By this time, the coolant level inside the
coolant surge tank may be
lower. If the level is lower, add
more of the proper mixture to the
coolant surge tank until the level
reaches the line pointed to on
the front of the coolant
surge tank.
5. Replace the pressure cap. Be sure the pressure cap is
hand–tight and full seated.
Notice: If the pressure cap is not
tightly installed, coolant loss and
possible engine damage may
occur. Be sure the cap is properly
and tightly secured.
If coolant is needed, add the proper
DEX-COOL
®coolant mixture at the
coolant surge tank.
Engine Overheating
The vehicle has an indicator to warn
of engine overheating. There is an
engine coolant temperature warning
light on the vehicle's instrument
panel. See Engine Coolant
Temperature Gauge on page 4‑14.
Decide whether to lift the hood
when this warning appears, or get
service help instead.
If lifting the hood , make sure the
vehicle is parked on a level surface.
Then check to see if the engine
cooling fans are running. If the
engine is overheating, both fans
should be running. If they are not,
do not continue to run the engine
and have the vehicle serviced.
Notice: Engine damage from
running the engine without
coolant is not covered by the
warranty.
Page 299 of 394
Vehicle Care 9-31
3. If replacing low/high headlampbulb, remove the dust cover cap
from the back of the headlamp
housing by turning the cap
counterclockwise.
4. Turn the bulb socket counterclockwise to remove from
lamp assembly.
5. Remove the bulb from the socket or disconnect bulb
assembly from harness
connector.
6. Install new bulb.
7. Reinstall the lamp socket to lamp assembly turning
clockwise.
8. Replace the dust cover cap on headlamps.
9. Reinstall the wheel well cover access port cap and secure by
installing screw.Fog Lamps
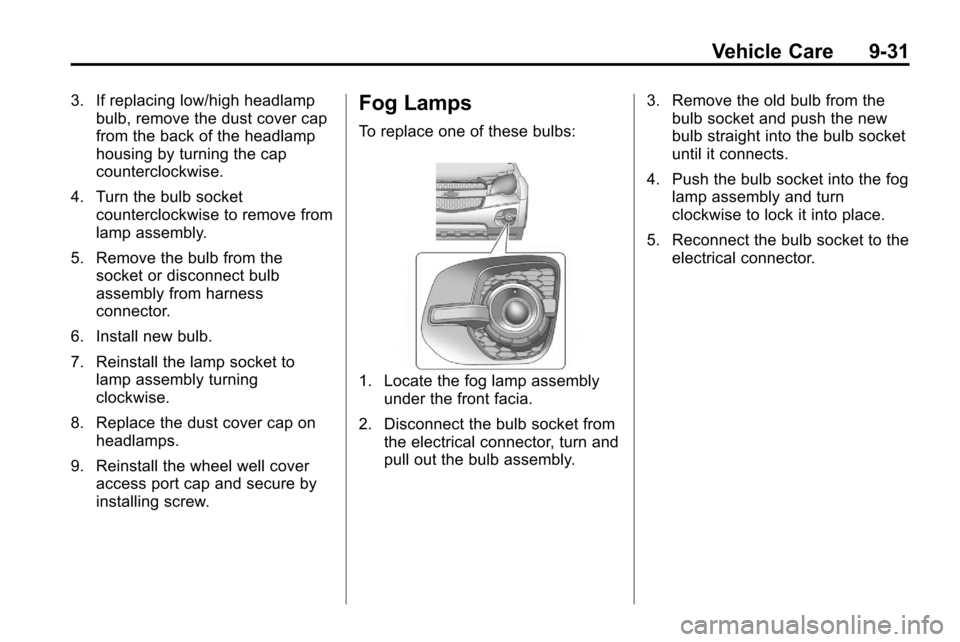
To replace one of these bulbs:
1. Locate the fog lamp assembly
under the front facia.
2. Disconnect the bulb socket from the electrical connector, turn and
pull out the bulb assembly. 3. Remove the old bulb from the
bulb socket and push the new
bulb straight into the bulb socket
until it connects.
4. Push the bulb socket into the fog lamp assembly and turn
clockwise to lock it into place.
5. Reconnect the bulb socket to the electrical connector.
Page 300 of 394
9-32 Vehicle Care
Taillamps, Turn Signal,
Sidemarker, Stoplamps,
and Back-Up Lamps
A. Sidemarker
B. Stoplamp/Turn Signal Lamp/Taillamp
C. Back-up Lamp To replace one of these lamps:
1. Open the liftgate. See
Liftgate
(Manual)
on page 1‑8or
Liftgate (Power) on page 1‑8.
A. Screw
B. Screw Cover
2. Remove the two screw covers (B) from the taillamp
assembly.
3. Remove the two screws (A) securing the taillamp assembly.
4. Pull taillamp assembly out of vehicle body. 5. Disconnect the lamp wiring
harness.
6. Turn the bulb socketcounterclockwise and pull it out.
7. Pull the bulb straight out of the socket.
8. Install the new bulb.
9. Push the bulb socket in and turn it clockwise.
10. Reverse steps 2 through 5 to reinstall lamp assembly.
Page 335 of 394
Vehicle Care 9-67
To store the flat tire:
1. Remove the cable package. Thecable is stored in a plastic bag
under the compact spare tire.
2. Remove the small center cap by tapping the back of the cap with
the extension of the shaft, if the
vehicle has aluminum wheels.
3. Put the flat tire in the rear storage area with the valve stem
pointing toward the rear of the
vehicle.
4. Pull the cable (A) through thedoor striker (D) then the center
of the wheel (C).5. Hook the cable onto the outsideportion of the liftgate hinges (B).
6. Hook the other end of the cable onto the outside portion of the
liftgate hinge on the other side of
the vehicle.
7. Pull on the cable to make sure it is secure.
Page 339 of 394
Vehicle Care 9-71
8. Do not let the other end touchmetal. Connect it to the
positive (+) terminal of the good
battery. Use a remote
positive (+) terminal if the vehicle
has one.
9. Connect the black negative (−) cable to the negative (−) terminal
of the good battery. Use a
remote negative (−) terminal if
the vehicle has one.
Do not let the other end touch
anything until the next step. The
other end of the negative (−)
cable does not go to the dead
battery. It goes to a heavy,
unpainted metal engine part or
to a remote negative (−) terminal
on the vehicle with the dead
battery.
10. Connect the other end of the negative (−) cable away from
the dead battery, but not near
engine parts that move. 11. Start the vehicle with the good
battery and run the engine.
12. Press the unlock symbol on the remote keyless entry
transmitter to disarm the
security system, if equipped.
13. Try to start the vehicle that had the dead battery. If it will not
start after a few tries, it needs
service.
Notice: If the jumper cables are
connected or removed in the
wrong order, electrical shorting
may occur and damage the
vehicle. The repairs would not be
covered by the vehicle warranty.
Always connect and remove the
jumper cables in the correct
order, making sure that the
cables do not touch each other or
other metal.
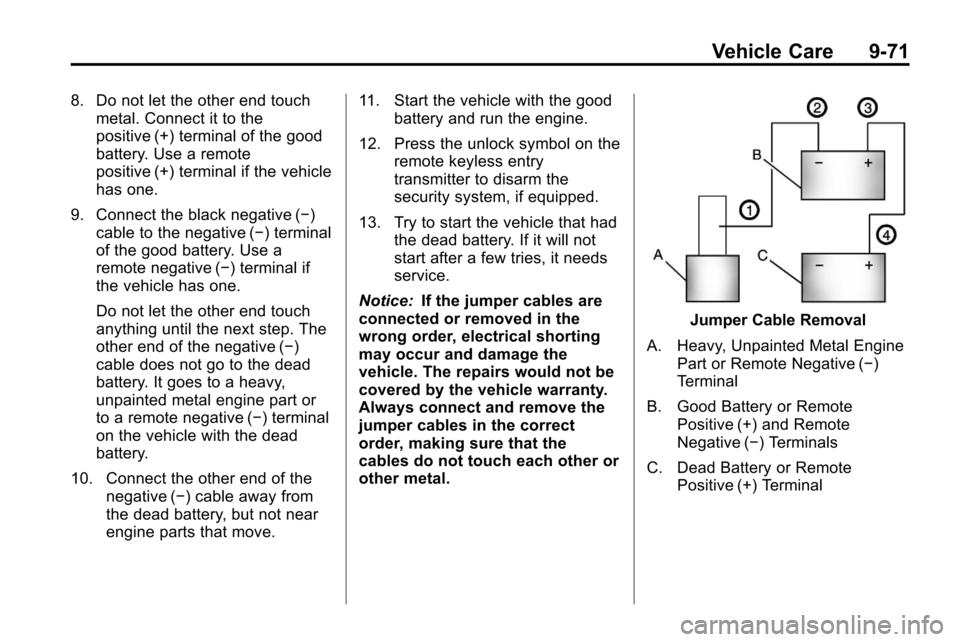
Jumper Cable Removal
A. Heavy, Unpainted Metal Engine Part or Remote Negative (−)
Terminal
B. Good Battery or Remote Positive (+) and Remote
Negative (−) Terminals
C. Dead Battery or Remote Positive (+) Terminal
Page 341 of 394
Vehicle Care 9-73
.Is the vehicle ready to be
towed? Just as preparing the
vehicle for a long trip, make sure
the vehicle is prepared to be
towed.
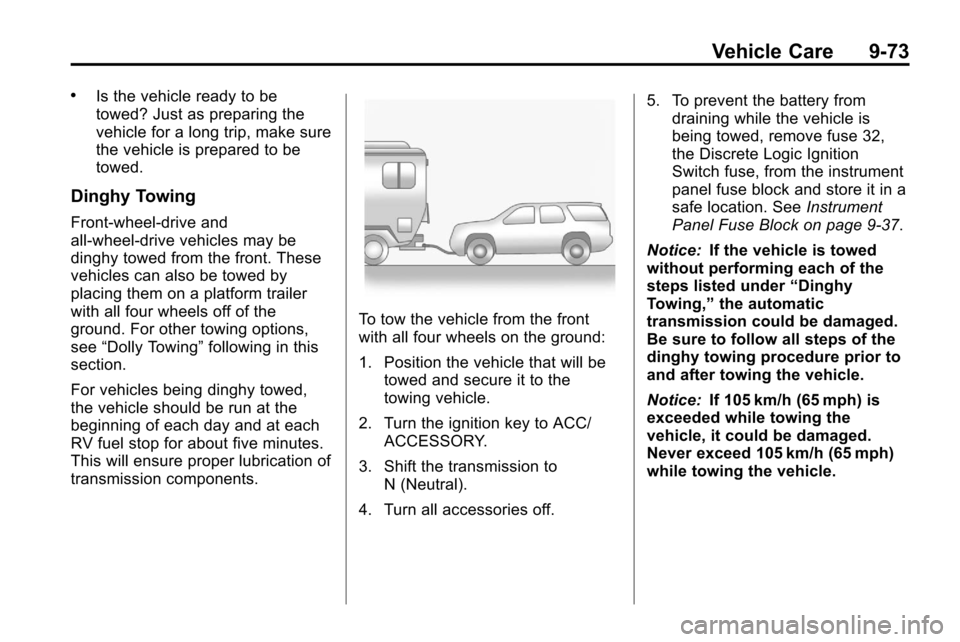
Dinghy Towing
Front-wheel‐drive and
all-wheel-drive vehicles may be
dinghy towed from the front. These
vehicles can also be towed by
placing them on a platform trailer
with all four wheels off of the
ground. For other towing options,
see“Dolly Towing” following in this
section.
For vehicles being dinghy towed,
the vehicle should be run at the
beginning of each day and at each
RV fuel stop for about five minutes.
This will ensure proper lubrication of
transmission components.
To tow the vehicle from the front
with all four wheels on the ground:
1. Position the vehicle that will be towed and secure it to the
towing vehicle.
2. Turn the ignition key to ACC/ ACCESSORY.
3. Shift the transmission to N (Neutral).
4. Turn all accessories off. 5. To prevent the battery from
draining while the vehicle is
being towed, remove fuse 32,
the Discrete Logic Ignition
Switch fuse, from the instrument
panel fuse block and store it in a
safe location. See Instrument
Panel Fuse Block on page 9‑37.
Notice: If the vehicle is towed
without performing each of the
steps listed under “Dinghy
Towing,” the automatic
transmission could be damaged.
Be sure to follow all steps of the
dinghy towing procedure prior to
and after towing the vehicle.
Notice: If 105 km/h (65 mph) is
exceeded while towing the
vehicle, it could be damaged.
Never exceed 105 km/h (65 mph)
while towing the vehicle.
Page 343 of 394
Vehicle Care 9-75
4. Secure the vehicle to the dolly.
5. Follow the dolly manufacturer'sinstructions for preparing the
vehicle and dolly for towing.
6. Release the parking brake.
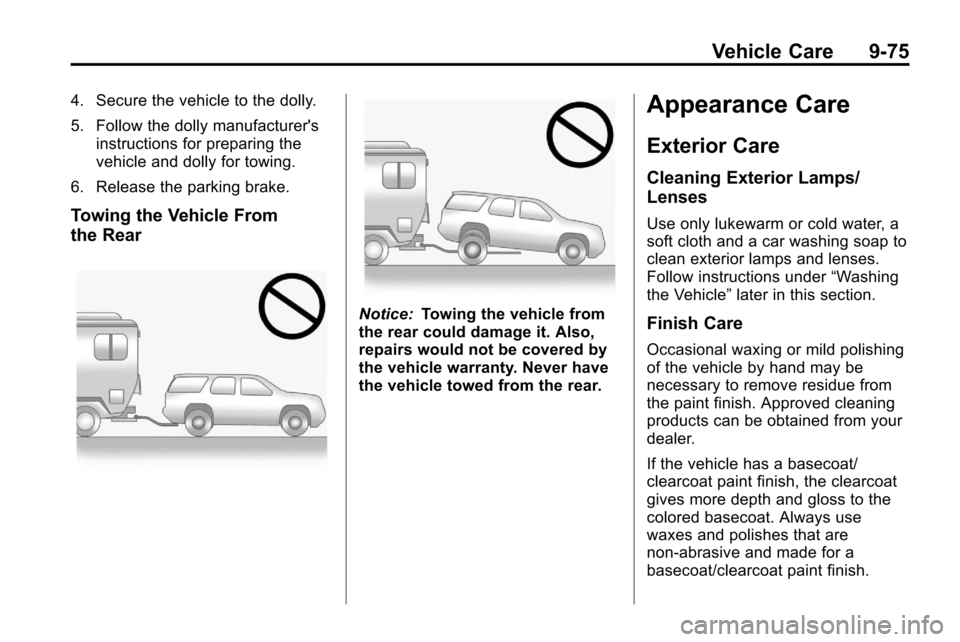
Towing the Vehicle From
the Rear
Notice: Towing the vehicle from
the rear could damage it. Also,
repairs would not be covered by
the vehicle warranty. Never have
the vehicle towed from the rear.
Appearance Care
Exterior Care
Cleaning Exterior Lamps/
Lenses
Use only lukewarm or cold water, a
soft cloth and a car washing soap to
clean exterior lamps and lenses.
Follow instructions under “Washing
the Vehicle” later in this section.
Finish Care
Occasional waxing or mild polishing
of the vehicle by hand may be
necessary to remove residue from
the paint finish. Approved cleaning
products can be obtained from your
dealer.
If the vehicle has a basecoat/
clearcoat paint finish, the clearcoat
gives more depth and gloss to the
colored basecoat. Always use
waxes and polishes that are
non-abrasive and made for a
basecoat/clearcoat paint finish.