2010 CHEVROLET EQUINOX sensor
[x] Cancel search: sensorPage 202 of 394
7-6 Climate Controls
Sensors
The solar sensor, located on top of
the instrument panel near the
windshield, monitors the solar heat.
The climate control system uses the
information to adjust the
temperature, fan speed,
recirculation, and air delivery mode.
Do not cover the solar sensor or the
system will not work properly.
Air Vents
Use the air outlets, located in the
center and on the side of the
instrument panel, to direct the
airflow. Use the thumbwheels
located near the center air outlets,
to open or close off the airflow.
Operation Tips
.Clear away any ice, snow,
or leaves from air inlets at the
base of the windshield that could
block the flow of air into the
vehicle.
.Keep the path under the front
seats clear of objects to help
circulate the air inside of the
vehicle more effectively.
.Use of non‐GM approved hood
deflectors can adversely affect
the performance of the system.
Check with your dealer before
adding equipment to the outside
of the vehicle.
Maintenance
Passenger Compartment
Air Filter
The filter removes dust, pollen, and
other airborne irritants from outside
air that is pulled into the vehicle.
The filter should be replaced as part
of routine scheduled maintenance.
SeeScheduled Maintenance
on
page 10‑2for replacement
intervals. To find out what type of
filter to use, see Maintenance
Replacement Parts on page 10‑9.
Page 250 of 394
8-46 Driving and Operating
Passing Another Vehicle While
Using Cruise Control
Use the accelerator pedal to
increase the vehicle's speed.
When you take your foot off the
pedal, the vehicle will slow down to
the previous set cruise speed.
Using Cruise Control on Hills
How well the cruise control works
on hills depends upon the vehicle
speed, load, and the steepness of
the hills. When going up steep hills,
you might have to step on the
accelerator pedal to maintain the
vehicle speed. When going
downhill, you might have to brake or
shift to a lower gear to maintain the
vehicle's speed. When the brakes
are applied the cruise control
shuts off.Ending Cruise Control
There are three ways to end cruise
control:
.Step lightly on the brake pedal
or clutch; when cruise control
disengages, the indicator light
will go off.
.Press\.
.Press5to turn the cruise
control system off completely.
The cruise control cannot be
resumed.
Erasing Speed Memory
The cruise control set speed is
erased from memory by pressing
the
5button or if the ignition is
turned off.
Object Detection
Systems
Ultrasonic Parking Assist
For vehicles with the Ultrasonic
Rear Parking Assist (URPA) system,
it assists the driver with parking
and avoiding objects while in
R (Reverse). URPA operates at
speeds less than 8 km/h (5 mph),
and the sensors on the rear bumper
detect objects up to 2.5 m (8 ft)
behind the vehicle, and at least
20 cm (8 in) off the ground.
Page 252 of 394
8-48 Driving and Operating
The following describes how the URPA display lights appear as the vehicle
gets closer to a detected object:Description Metric Englishamber light 2.5 m 8 ft
amber/amber lights 1.0 m 40 in
amber/amber/red lights and continuous beeping for five seconds 0.6 m 23 in
amber/amber/red lights flashing and continuous beeping for five seconds 0.3 m 1 ft
Park Assist Off displays on the
Driver Information Center (DIC) to
indicate that URPA is off, see Driver
Information Center (DIC)
on
page 4‑24for more information.
System Settings
Each time the vehicle is started
URPA defaults to the On setting.
Use the Vehicle Personalization
on
page 4‑34menu to
configure URPA. The settings are:
.On: Turns URPA on
.Off: Turns URPA off
.Tow Bar: Use when a tow bar is
attached to the vehicle
Tow Bar
When the tow bar setting is used,
an area of 16 cm (6 in) around the
hitch is not detected by the system.
When the System Does Not
Seem to Work Properly
If the URPA system does not
activate due to a temporary
condition, the message Park Assist
Off displays on the DIC and a red
light is shown on the rear URPA
display when the shift lever is
moved into R (Reverse). This can
occur under the following
conditions:
.The ultrasonic sensors are not
clean. Keep the vehicle's rear
bumper free of mud, dirt, snow,
ice and slush. For cleaning
instructions, see Exterior Care
on page 9‑75.
.A trailer was attached to the
vehicle, or an object was
hanging out of the liftgate during
the last drive cycle, a red light
may come on in the rear display.
Once the attached object is
removed, URPA will return to
normal operation.
Page 304 of 394
9-36 Vehicle Care
Mini Fuses Usage16 Transmission
Control Module
Battery
17 Trailer Parking Light
18 Engine Control
Module Battery
19 Heated Mirror
20 Trailer Left
21 Lift Gate Module
22 Power Lumbar
23 Trailer Right
24 Canister Vent
25 Memory Mirror
Module
26 Regulated Voltage
Control Battery
Sensor
27 Rear Accessory
Power Outlet Mini Fuses Usage
28 Wiper
29 Rear Wiper
30 Air Conditioning
Compressor
31 Rear Latch
32 Horn
33 Right High‐Beam
Headlamp
34 Left High‐Beam
Headlamp
35 Ignition Even Coil
36 Ignition Odd Coil
37 Windshield Washer
38 Front Fog Lamps
39 Post Catalytic
Converter Oxygen
Sensor
40 Engine Control
Module Mini Fuses Usage
41 Pre–Catalytic
Converter Oxygen
Sensor
42 Transmission
Control Module
43 Mirror
44 Chassis Control
Module Ignition
45 Spare
46 Rear Drive Module
47 Lift Gate Module
Logic
48 Instrument Panel
Fuse Block Ignition
49 Heated Seat –Front
50 Chassis Control
Module
51 Engine Control
Module
52 Rear Vision Camera
Page 315 of 394
Vehicle Care 9-47
For additional information
regarding how much weight your
vehicle can carry, and an
example of the Tire and Loading
Information label, seeVehicle
Load Limits
on page 8‑24. How
you load your vehicle affects
vehicle handling and ride
comfort. Never load your vehicle
with more weight than it was
designed to carry.
When to Check
Check your tires once a month
or more. Do not forget to check
the compact spare tire, if the
vehicle has one. The compact
spare should be at 60 psi
(420 kPa). For additional
information regarding the
compact spare tire, see
Compact Spare Tire
on
page 9‑68
. How to Check
Use a good quality pocket-type
gauge to check tire pressure.
You cannot tell if your tires are
properly inflated simply by
looking at them. Radial tires may
look properly inflated even when
they are under‐inflated. Check
the tire's inflation pressure when
the tires are cold. Cold means
your vehicle has been sitting for
at least three hours or driven no
more than 1.6 km (1 mile).
Remove the valve cap from the
tire valve stem. Press the tire
gauge firmly onto the valve to
get a pressure measurement.
If the cold tire inflation pressure
matches the recommended
pressure on the Tire and
Loading Information label, no
further adjustment is necessary.
If the inflation pressure is low,
add air until you reach the
recommended amount. If you overfill the tire, release air
by pushing on the metal stem in
the center of the tire valve.
Re‐check the tire pressure with
the tire gauge.
Be sure to put the valve caps
back on the valve stems. They
help prevent leaks by keeping
out dirt and moisture.
Tire Pressure Monitor
System
The Tire Pressure Monitor System
(TPMS) uses radio and sensor
technology to check tire pressure
levels. The TPMS sensors monitor
the air pressure in your vehicle's
tires and transmit tire pressure
readings to a receiver located in the
vehicle.
Each tire, including the spare (if
provided), should be checked
monthly when cold and inflated to
the inflation pressure recommended
by the vehicle manufacturer on the
vehicle placard or tire inflation
Page 317 of 394
Vehicle Care 9-49
Tire Pressure Monitor
Operation
This vehicle may have a Tire
Pressure Monitor System (TPMS).
The TPMS is designed to warn the
driver when a low tire pressure
condition exists. TPMS sensors are
mounted onto each tire and wheel
assembly, excluding the spare tire
and wheel assembly. The TPMS
sensors monitor the air pressure in
the vehicle's tires and transmits the
tire pressure readings to a receiver
located in the vehicle.
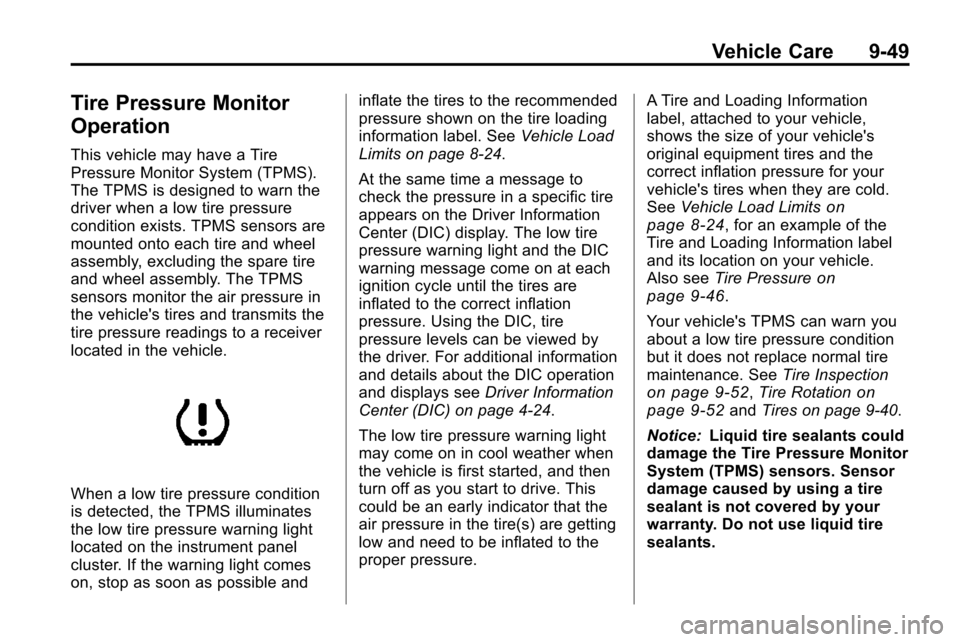
When a low tire pressure condition
is detected, the TPMS illuminates
the low tire pressure warning light
located on the instrument panel
cluster. If the warning light comes
on, stop as soon as possible andinflate the tires to the recommended
pressure shown on the tire loading
information label. See
Vehicle Load
Limits on page 8‑24.
At the same time a message to
check the pressure in a specific tire
appears on the Driver Information
Center (DIC) display. The low tire
pressure warning light and the DIC
warning message come on at each
ignition cycle until the tires are
inflated to the correct inflation
pressure. Using the DIC, tire
pressure levels can be viewed by
the driver. For additional information
and details about the DIC operation
and displays see Driver Information
Center (DIC) on page 4‑24.
The low tire pressure warning light
may come on in cool weather when
the vehicle is first started, and then
turn off as you start to drive. This
could be an early indicator that the
air pressure in the tire(s) are getting
low and need to be inflated to the
proper pressure. A Tire and Loading Information
label, attached to your vehicle,
shows the size of your vehicle's
original equipment tires and the
correct inflation pressure for your
vehicle's tires when they are cold.
See
Vehicle Load Limits
on
page 8‑24, for an example of the
Tire and Loading Information label
and its location on your vehicle.
Also see Tire Pressure
on
page 9‑46.
Your vehicle's TPMS can warn you
about a low tire pressure condition
but it does not replace normal tire
maintenance. See Tire Inspection
on page 9‑52,Tire Rotationon
page 9‑52and Tires on page 9‑40.
Notice: Liquid tire sealants could
damage the Tire Pressure Monitor
System (TPMS) sensors. Sensor
damage caused by using a tire
sealant is not covered by your
warranty. Do not use liquid tire
sealants.
Page 318 of 394
9-50 Vehicle Care
TPMS Malfunction Light and
Message
The TPMS will not function properly
if one or more of the TPMS sensors
are missing or inoperable. When the
system detects a malfunction, the
low tire warning light flashes for
about one minute and then stays on
for the remainder of the ignition
cycle. A DIC warning message is
also displayed. The low tire warning
light and DIC warning message
come on at each ignition cycle until
the problem is corrected. Some of
the conditions that can cause the
malfunction light and DIC message
to come on are:
.One of the road tires has been
replaced with the spare tire. The
spare tire does not have a
TPMS sensor. The TPMS
malfunction light and DIC
message should go off once you
re‐install the road tire containing
the TPMS sensor.
.The TPMS sensor matching
process was started but not
completed or not completed
successfully after rotating the
vehicle's tires. The DIC message
and TPMS malfunction light
should go off once the TPMS
sensor matching process is
performed successfully. See
“TPMS Sensor Matching
Process”later in this section.
.One or more TPMS sensors are
missing or damaged. The DIC
message and the TPMS
malfunction light should go off
when the TPMS sensors are
installed and the sensor
matching process is performed
successfully. See your dealer for
service.
.Replacement tires or wheels do
not match your vehicle's original
equipment tires or wheels. Tires
and wheels other than those
recommended for your vehicle
could prevent the TPMS from
functioning properly. See Buying
New Tires on page 9‑54.
.Operating electronic devices or
being near facilities using radio
wave frequencies similar to the
TPMS could cause the TPMS
sensors to malfunction.
If the TPMS is not functioning it
cannot detect or signal a low tire
condition. See your dealer for
service if the TPMS malfunction
light and DIC message comes on
and stays on.
TPMS Sensor Matching
Process
Each TPMS sensor has a unique
identification code. Any time you
rotate your vehicle's tires or replace
one or more of the TPMS sensors,
the identification codes will need to
be matched to the new tire/wheel
position. The sensors are matched
to the tire/wheel positions in the
following order: driver side front tire,
passenger side front tire, passenger
side rear tire, and driver side rear
tire using a TPMS diagnostic tool.
See your dealer for service.
Page 319 of 394
Vehicle Care 9-51
The TPMS sensors can also be
matched to each tire/wheel position
by increasing or decreasing the
tire's air pressure. If increasing the
tire's air pressure, do not exceed
the maximum inflation pressure
indicated on the tire's sidewall.
To decrease air-pressure out of a
tire you can use the pointed end of
the valve cap, a pencil-style air
pressure gage, or a key.
You have two minutes to match the
first tire/wheel position, and
five minutes overall to match all four
tire/wheel positions. If it takes longer
than two minutes, to match the first
tire and wheel, or more than
five minutes to match all four tire
and wheel positions the matching
process stops and you need to
start over.The TPMS sensor matching process
is outlined below:
1. Set the parking brake.
2. Turn the ignition to ON/RUN with
the engine off.
3. Use the MENU button to select the Vehicle Information Menu in
the Driver Information Center
(DIC). Use the arrow keys to
scroll to the Tire Pressure
screen.
4. Press the SET/CLR button to begin the sensor matching
process.
A message asking if you are
sure you want to begin this
process should appear.
5. Press the SET/CLR button again to confirm the selection.
The horn sounds twice to signal
the receiver is in relearn mode
and the Tire Learning Active
message displays on the DIC
screen. 6. Start with the driver side
front tire.
7. Remove the valve cap from the valve cap stem. Activate the
TPMS sensor by increasing or
decreasing the tire's air pressure
for five seconds, or until a horn
chirp sounds. The horn chirp,
which may take up to
30 seconds to sound, confirms
that the sensor identification
code has been matched to this
tire and wheel position.
8. Proceed to the passenger side front tire, and repeat the
procedure in Step 7.
9. Proceed to the passenger side rear tire, and repeat the
procedure in Step 7.