Page 191 of 551

To close:Insert the built-in key in the driver’s
door lock.
If the windows and the
moonroof stop bef ore the desired
position, repeat steps 2 and 3. Turn the key counterclockwise
again, and hold it. All four
windows and the moonroof start to
close. To stop the windows and
the moonroof , release the key. Turn the key counterclockwise,
then release it.
Turn the ignition switch to the ON
(II) position bef ore operating the
moonroof switch on the ceiling
console. To open the moonroof , pull
back the moonroof switch. To close
the moonroof , push the moonroof
switch f orward. Release the switch
to stop the moonroof .
To open the moonroof f ully, pull
back the moonroof switch f irmly.
The moonroof opens all the way. To
stop the moonroof f rom opening
f ully, push the switch brief ly.
To close the windows and
moonroof f urther, turn and hold
the key again (within 10 seconds).
1.
2.
3.
4.
Opening/Closing the Moonroof
with the Ceiling Console Switch
Power Windows, Moonroof
188
NOTE:
MOONROOF SWITCH
�����—�����—�����y�
�������������y���
�(�����������y���
�����y
2010 RL
Page 196 of 551
Your vehicle has an owner’s manual
tray inside the glove box. To open
the tray, push the release button up.
Open the glove box by pulling the
handle. Close it with a f irm push.
Lock or unlock the glove box with
the built-in key.
To close the tray, push it up.
The glove box light comes on only
when the parking lights are on. Glove Box
Interior Convenience Items
Inst rument s and Cont rols
193
RELEASE BUTTON
An open glove box can cause
serious injury to your passenger
inacrash,evenifthe
passenger is wearing the seat
belt.
Always keep the glove box
closed while driving.
�����—�����—�����y�
�������������y���
�(�����������y���
�����y
2010 RL
Page 203 of 551
Af ter pushing the DOOR button, all
the lights come on when you open
any door, unlock the doors with the
remote or built-in key, or turn the
ignition switch f rom the ON (II) or
the ACCESSORY (I) position to the
LOCK (0) position. The indicator in
the button comes on as a reminder.
The f ront and rear of the ceiling
have ceiling lights. To change the ‘‘INTERIOR LIGHT
DIMMING TIME’’ setting, see page.
Push each ceiling light button to turn
its light on and of f .
Push the ON button to turn on all the
ceiling lights. Push the OFF button
to turn them off. 116
Ceiling L ights
Interior Lights
200
FRONT
REAR
CEILING LIGHT
BUTTONS
CEILING LIGHT
BUTTONS
OFF BUTTON
DOOR BUTTON
ON BUTTON
�����—�����—�����y�
�������������y���
�(�����������y���������y
2010 RL
Page 206 of 551

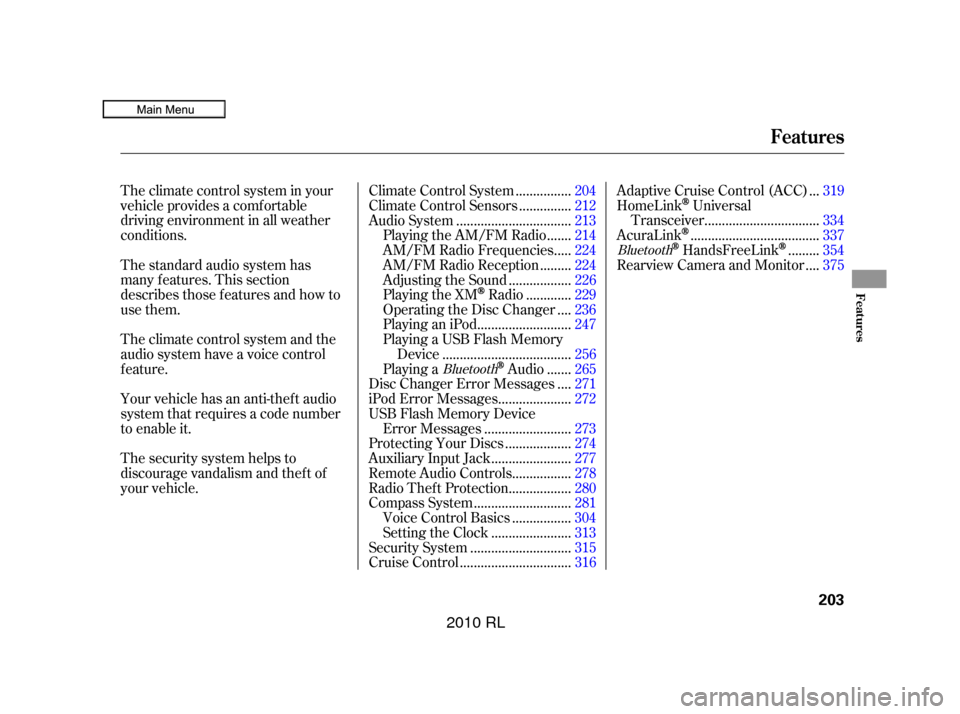
The climate control system in your
vehicle provides a comfortable
driving environment in all weather
conditions.
The standard audio system has
many f eatures. This section
describes those f eatures and how to
use them.
Theclimatecontrolsystemandthe
audio system have a voice control
feature.
Your vehicle has an anti-theft audio
system that requires a code number
to enable it.
The security system helps to
discourage vandalism and thef t of
your vehicle................
Climate Control System . 204
..............
Climate Control Sensors . 212
................................
Audio System .213
......
Playing the AM/FM Radio . 214
....
AM/FM Radio Frequencies . 224
........
AM/FM Radio Reception . 224
.................
Adjusting the Sound . 226
............
Playing the XM
Radio . 229
...
Operating the Disc Changer . 236
..........................
PlayinganiPod .247
Playing a USB Flash Memory ....................................
Device .256
......
Playing a
Audio . 265
...
Disc Changer Error Messages . 271
....................
iPod Error Messages . 272
USB Flash Memory Device ........................
Error Messages .273
..................
Protecting Your Discs . 274
......................
Auxiliary Input Jack .277
................
Remote Audio Controls . 278
.................
Radio Thef t Protection . 280
...........................
Compass System .281
................
Voice Control Basics . 304
......................
Setting the Clock .313
............................
Security System .315
...............................
Cruise Control .316 ..
Adaptive Cruise Control (ACC) . 319
HomeLink
Universal ................................
Transceiver .334
....................................
AcuraLink
. 337
........
HandsFreeLink. 354
...
Rearview Camera and Monitor . 375
BluetoothBluetooth
Features
Features
203
�����—�����—�����y�
�������������y���
�(�����������y���������y
2010 RL
Page 208 of 551

Many climate control f unctions can
still be controlled by standard
buttons, dials, and knobs, but some
f unctions can only be accessed using
the interf ace dial. The interf ace dial
has two parts, a knob and a selector.
The knob turns lef t and right. Use it
to make selections or adjustments to
a list or menu on the screen.The selector can be pushed lef t,
right, up, down, and in. Use the
selector to scroll through lists, to
select menus, and to highlight menu
items. When you make a selection,
push the center of the selector
(ENTER)togotothatselection.
When you unlock the doors with
your remote, the driver’s ID (Driver
1orDriver2)isdetected,andthe
climate control settings are turned to
therespectivemodeautomatically
when the ignition is turned to the
ON (II) position.
The climate control system can also
be operated by voice control.
See the Navigation System manual
f or complete details.
Ref er to Voice Control Basics f or
complete details (see page ).
304
On models with navigation system
On models without navigation system
Interf ace Dial Personalization Setting
Voice Control System
Climate Control System
Features
205
ENTER
SELECTOR
KNOB
�����—�����—�����y�
�������������y���
�(�����������y�����
���y
2010 RL
Page 216 of 551

Most audio system f unctions can still
be controlled by standard buttons,
dials, and knobs, but some f unctions
can only be accessed using the
interf ace dial. The interf ace dial has
two parts, a knob and a selector.The selector can be pushed lef t,
right, up, down, and in. Use the
selector to scroll through lists, to
select menus, and to highlight menu
items. When you make a selection,
push the center of the selector
(ENTER)togotothatselection. The knob turns lef t and right. Use it
to make selections or adjustments to
a list or menu on the screen.
When you unlock the doors with
your remote and turn the audio
system on, the driver’s ID (Driver 1
or Driver 2) is detected, and the
radio preset memory (see page ),
the auto select preset memory (see
page ), and the volume and
sound level settings (see page )
are turned to the respective
memorized mode automatically.
The audio system can also be
operated by voice control.
See the Navigation System manual
f or complete details.
Ref er to Voice Control Basics f or
complete details (see page ).216
226
217
304
On models with navigation systemOn models without navigation system
Interf ace Dial Personalization Setting
Voice Control System
Audio System
Features
213
KNOB ENTER
SELECTOR
�����—�����—�����y�
�������������y���
�(�����������y�����
���y
2010 RL
Page 237 of 551
TheXMsatellitesareinorbitover
the equator; therefore, objects south
of the vehicle may cause satellite
reception interruptions. To help
compensate f or this, ground-based
repeaters are placed in major
metropolitan areas.
Satellite signals are more likely to be
blocked by tall buildings and
mountains the f arther north you
travel from the equator.
Because XM is unavailable in Alaska,
the XM hardware equipped with
your vehicle cannot be operated.
Audio System
OperationinAlaska
234
Signal may be blocked by
mountains or large obstacles to
the south.Signal weaker in
these areas.
SATELLITE GROUND REPEATER
�����—�����—�����y�
�������������y���
�(�����������y���������y
2010 RL
Page 260 of 551

�Î
�Î
CONT INUED
This audio system can operate the
audio f iles f rom a USB f lash memory
device with the same controls used
f or the in-dash disc changer. To play
a USB f lash memory device, connect
it to the USB adapter cable in the
console compartment, then press the
DISC/AUX button. The ignition
switch must be in the ACCESSORY
(I) or ON (II) position.
The audio system reads and plays
the audio f iles on the USB f lash
memory device in MP3, WMA or
AAC f ormats. Depending on the
f ormat, the display shows MP3,
WMA or AAC when a USB flash
memory device is playing. The USB
f lash memory device limit is up to
700 f olders or up to 65535 f iles.Only AAC f ormat f iles recorded
with iTunes are playable on this
audio unit. Do not keep a USB f lash memory
device in the vehicle. Direct
sunlight and high heat will damage
it.
We recommend backing up your
data bef ore playing a USB f lash
memory device.
Depending on the type and
number of f iles, it may take some
time bef ore they begin to play.
Depending on the sof tware the
f iles were made with, it may not be
possible to play some f iles, or
displaysometextdata.
You can select the AUX mode by
using the navigation system voice
control buttons, but cannot operate
theplaymodefunctions.
The recommended USB f lash
memory devices are 256 MB or
higher. Some digital audio players
maybecompatibleaswell.
Some USB f lash memory devices
(such as devices with security lock-
out f eatures, etc.) will not work in
this audio unit.
Do not use a device such as a card
reader or hard drive as the device
or your f iles may be damaged.
Do not connect your USB f lash
memory device using a hub.
Do not use an extension cable to
the USB adapter cable equipped
with your vehicle.
:
Audio System
To Play a USB Flash Memory
Device
Voice Cont rol Syst em
Features
257
NOTE:
�����—�����—�����y�
����
��������y���
�(�����������y���������y
2010 RL