2009 SUBARU FORESTER battery
[x] Cancel search: batteryPage 144 of 384
The windshield wiper deicer operates only
when the ignition switch is in the“ON ”
position. The windshield wiper deicer is
activated by pushing the same button
used for the rear window defogger.
Before turning on the windshield wiper
deicer, remove any snow from the wind-
shield. To turn on the windshield wiper
deicer, push the button.
The windshield wiper deicer will automa-
tically shut off after approximately 15
minutes. If the windshield wiper blades
have been deiced completely before that
time, push the button to turn it off. It also
turns off when the ignition switch is turned
to the “Acc ”or “LOCK ”position. If deicing
is not complete when you restart your
vehicle, you have to push the button to
turn the deicer on again.
Your SUBARU dealer can set your wind-
shield wiper deicer for continuous opera-
tion. Contact your SUBARU dealer fordetails.
Once the windshield wiper deicer has
been set for continuous operation, press-
ing the button results in continuous opera-
tion. The windshield wiper deicer auto-
matically stops operating if any one of the
following conditions occurs during contin-
uous operation. .
The outside temperature becomes
41 8F(5 8C) or higher.
. The vehicle speed remains at 9 mph
(15 km/h) or lower for 15 minutes. . The battery voltage decreases below
the permissible level.
CAUTION
To prevent the battery from being
discharged, do not operate the
windshield wiper deicer continu-
ously for any longer than necessary.
NOTE
If your vehicle is equipped with the
outside mirror defogger, the outside
mirror defogger operates while the
windshield wiper deicer is operating. Mirrors
Always check that the inside and outside
mirrors are properly adjusted before you
start driving. &
Inside mirror
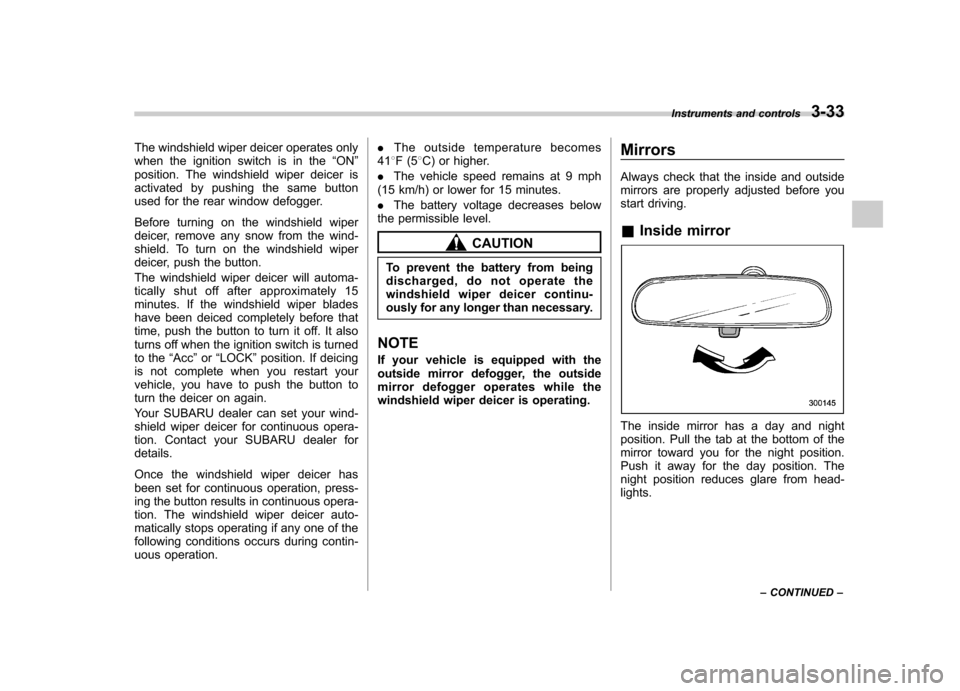
The inside mirror has a day and night
position. Pull the tab at the bottom of the
mirror toward you for the night position.
Push it away for the day position. The
night position reduces glare from head-lights. Instruments and controls
3-33
– CONTINUED –
Page 147 of 384
3-36Instruments and controls
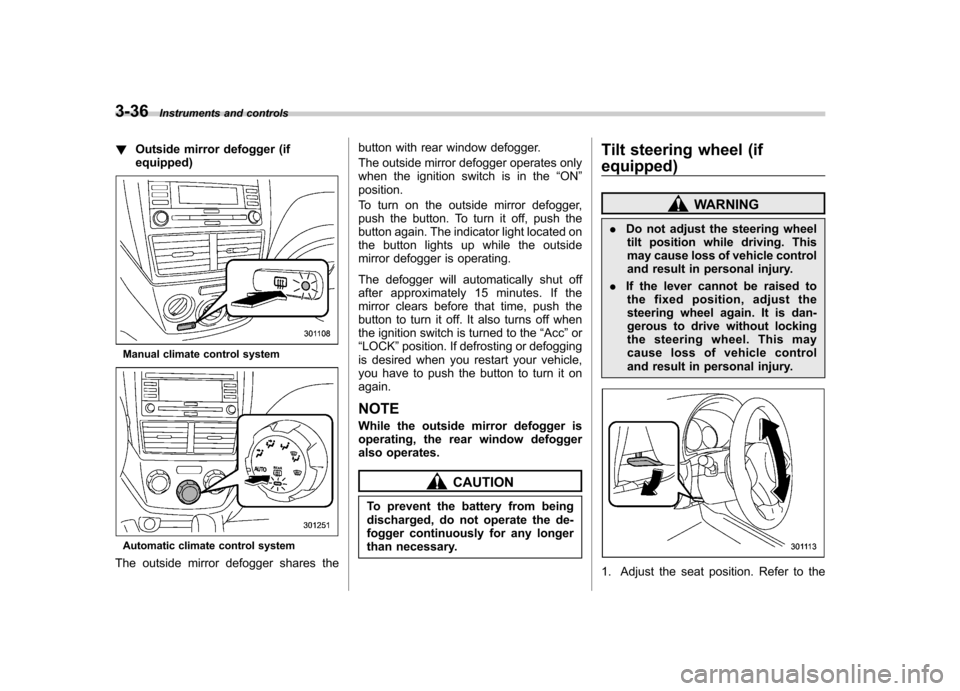
!Outside mirror defogger (if equipped)
Manual climate control system
Automatic climate control system
The outside mirror defogger shares the button with rear window defogger.
The outside mirror defogger operates only
when the ignition switch is in the
“ON ”
position.
To turn on the outside mirror defogger,
push the button. To turn it off, push the
button again. The indicator light located on
the button lights up while the outside
mirror defogger is operating.
The defogger will automatically shut off
after approximately 15 minutes. If the
mirror clears before that time, push the
button to turn it off. It also turns off when
the ignition switch is turned to the “Acc ”or
“ LOCK ”position. If defrosting or defogging
is desired when you restart your vehicle,
you have to push the button to turn it onagain.
NOTE
While the outside mirror defogger is
operating, the rear window defogger
also operates.
CAUTION
To prevent the battery from being
discharged, do not operate the de-
fogger continuously for any longer
than necessary. Tilt steering wheel (if
equipped)
WARNING
. Do not adjust the steering wheel
tilt position while driving. This
may cause loss of vehicle control
and result in personal injury.
. If the lever cannot be raised to
the fixed position, adjust the
steering wheel again. It is dan-
gerous to drive without locking
the steering wheel. This may
cause loss of vehicle control
and result in personal injury.
1. Adjust the seat position. Refer to the
Page 177 of 384
5-12Audio
! Seek in PTY (Program type) group
In the PTY selection mode, when the
desired PTY group has been selected,
pressing the “SEEK ”button “
”or “”
seeks within that PTY group. Pressing “
”seeks up. Pressing “”
seeks down.
The control function returns to the normal
mode after approximately 10 seconds. &
Displaying radio PS (Pro-
gram Service Name) and RT
(Radio Text)
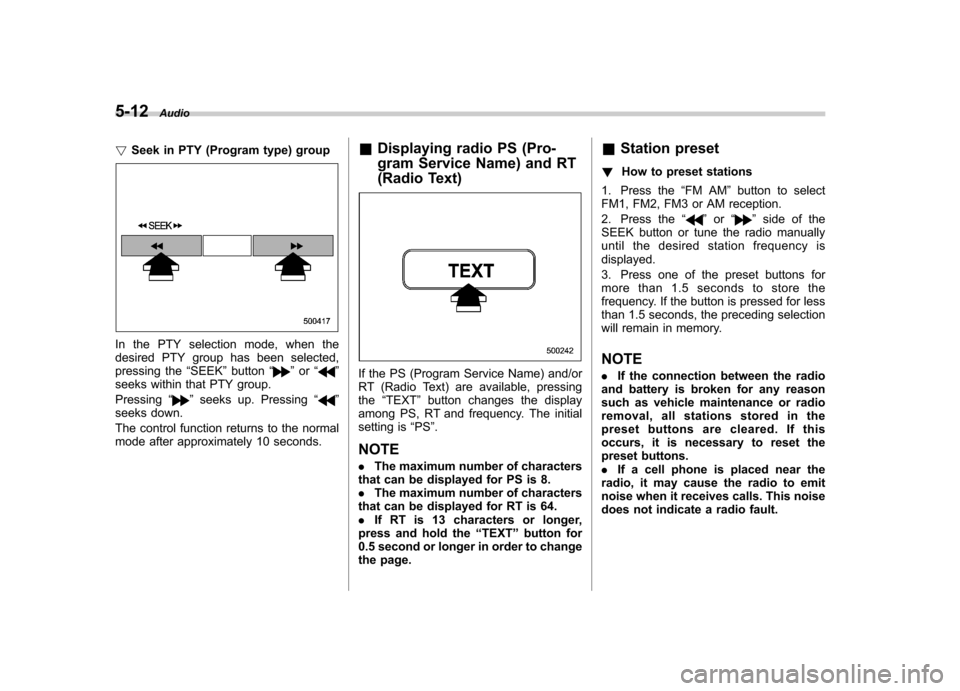
If the PS (Program Service Name) and/or
RT (Radio Text) are available, pressingthe “TEXT ”button changes the display
among PS, RT and frequency. The initial
setting is “PS ”.
NOTE . The maximum number of characters
that can be displayed for PS is 8. . The maximum number of characters
that can be displayed for RT is 64.. If RT is 13 characters or longer,
press and hold the “TEXT ”button for
0.5 second or longer in order to change
the page. &
Station preset
! How to preset stations
1. Press the “FM AM ”button to select
FM1, FM2, FM3 or AM reception.
2. Press the “
”or “”side of the
SEEK button or tune the radio manually
until the desired station frequency isdisplayed.
3. Press one of the preset buttons for
more than 1.5 seconds to store the
frequency. If the button is pressed for less
than 1.5 seconds, the preceding selection
will remain in memory. NOTE . If the connection between the radio
and battery is broken for any reason
such as vehicle maintenance or radio
removal, all stations stored in the
preset buttons are cleared. If this
occurs, it is necessary to reset the
preset buttons.. If a cell phone is placed near the
radio, it may cause the radio to emit
noise when it receives calls. This noise
does not indicate a radio fault.
Page 181 of 384
5-16Audio
& Channel preset
! How to preset channels
1. Press the “SAT ”button to select SAT1,
SAT2 and SAT3 reception.
2. Select the desired channel.
3. Press one of the preset buttons for
more than 1.5 seconds to store the
channel. If the button is pressed for less
than 1.5 seconds, the preceding selection
will remain in memory. NOTE
If the connection between the radio and
battery is broken for any reason such
as vehicle maintenance or radio re-
moval, all channels stored in the preset
buttons are cleared. If this occurs, it is
necessary to reset the preset buttons. !
Selecting preset channels
Presetting a channel with a preset button
allows you to select that channel in a
single operation. Up to six SAT1, SAT2
and SAT3 channels each may be preset. &
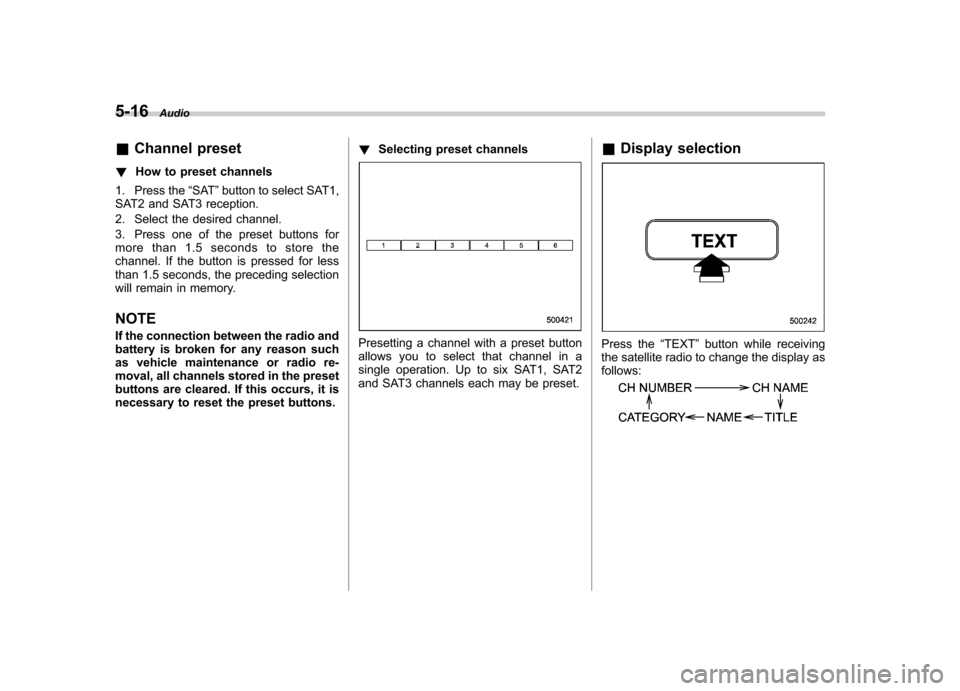
Display selectionPress the “TEXT ”button while receiving
the satellite radio to change the display as follows:
Page 197 of 384
6-2Interior equipment
Interior lights
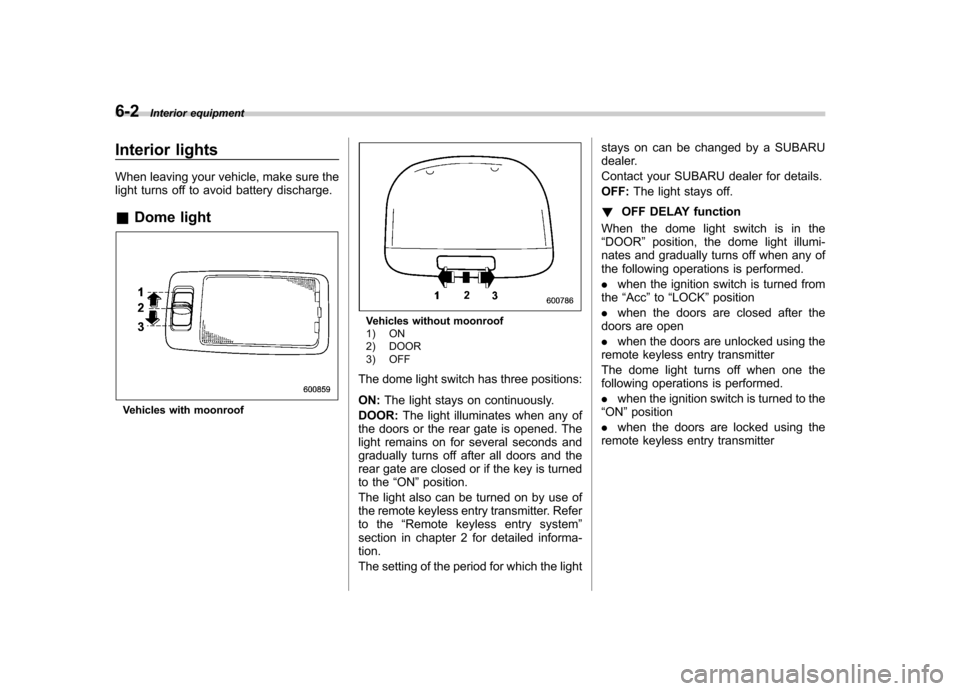
When leaving your vehicle, make sure the
light turns off to avoid battery discharge. &Dome light
Vehicles with moonroof
Vehicles without moonroof
1) ON
2) DOOR
3) OFF
The dome light switch has three positions: ON: The light stays on continuously.
DOOR: The light illuminates when any of
the doors or the rear gate is opened. The
light remains on for several seconds and
gradually turns off after all doors and the
rear gate are closed or if the key is turned
to the “ON ”position.
The light also can be turned on by use of
the remote keyless entry transmitter. Refer
to the “Remote keyless entry system ”
section in chapter 2 for detailed informa-tion.
The setting of the period for which the light stays on can be changed by a SUBARU
dealer.
Contact your SUBARU dealer for details.OFF:
The light stays off.
! OFF DELAY function
When the dome light switch is in the “ DOOR ”position, the dome light illumi-
nates and gradually turns off when any of
the following operations is performed. . when the ignition switch is turned from
the “Acc ”to “LOCK ”position
. when the doors are closed after the
doors are open. when the doors are unlocked using the
remote keyless entry transmitter
The dome light turns off when one the
following operations is performed. . when the ignition switch is turned to the
“ ON ”position
. when the doors are locked using the
remote keyless entry transmitter
Page 198 of 384
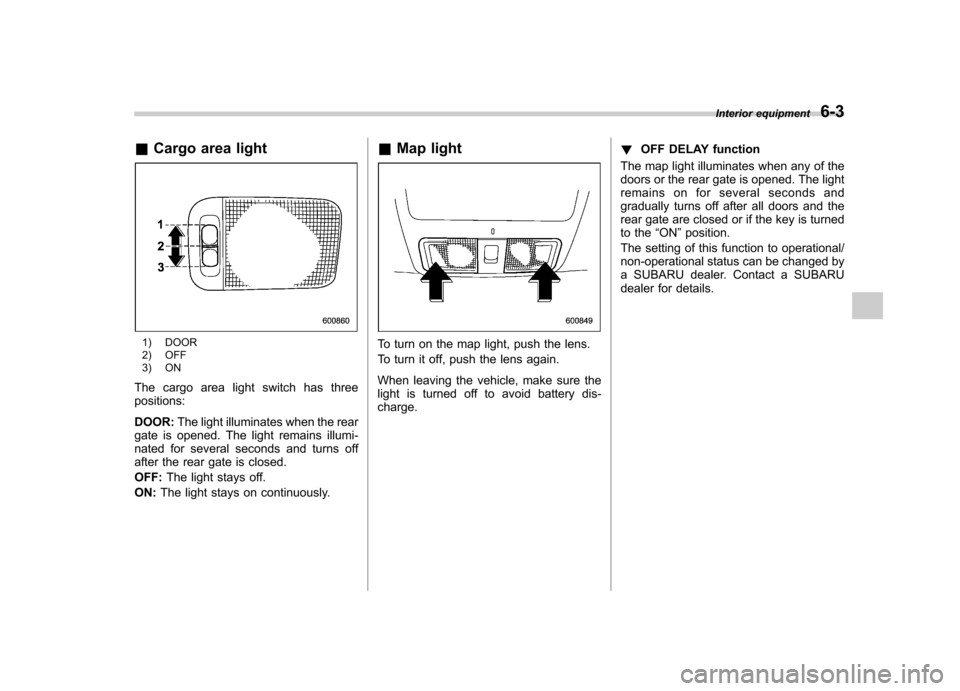
&Cargo area light
1) DOOR
2) OFF
3) ON
The cargo area light switch has three positions: DOOR: The light illuminates when the rear
gate is opened. The light remains illumi-
nated for several seconds and turns off
after the rear gate is closed. OFF: The light stays off.
ON: The light stays on continuously. &
Map lightTo turn on the map light, push the lens.
To turn it off, push the lens again.
When leaving the vehicle, make sure the
light is turned off to avoid battery dis-charge. !
OFF DELAY function
The map light illuminates when any of the
doors or the rear gate is opened. The light
remains on for several seconds and
gradually turns off after all doors and the
rear gate are closed or if the key is turned
to the “ON ”position.
The setting of this function to operational/
non-operational status can be changed by
a SUBARU dealer. Contact a SUBARU
dealer for details. Interior equipment
6-3
Page 204 of 384
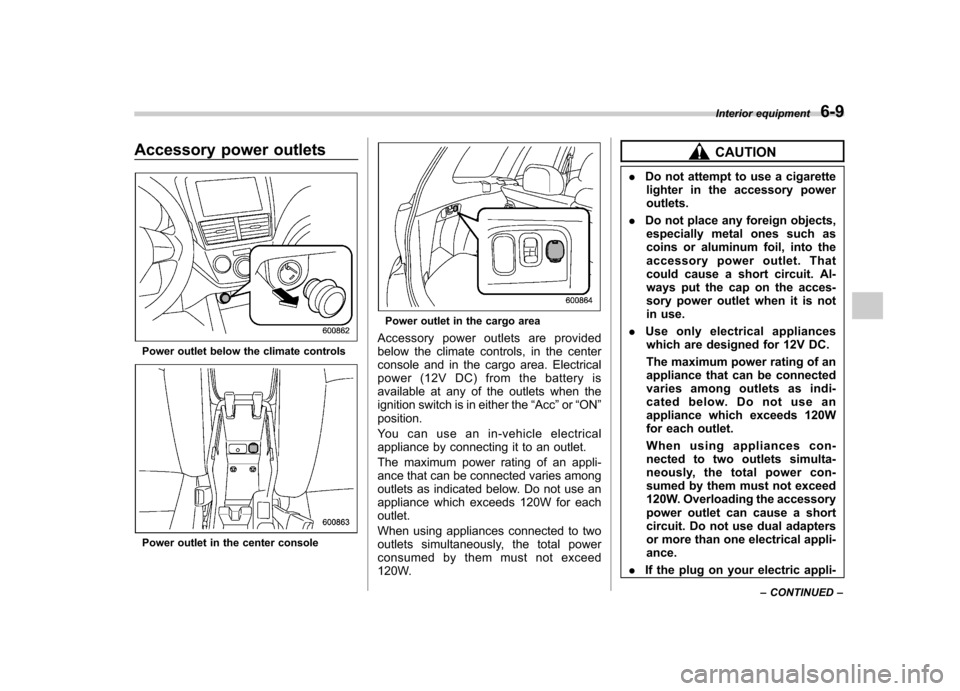
Accessory power outlets
Power outlet below the climate controls
Power outlet in the center console
Power outlet in the cargo area
Accessory power outlets are provided
below the climate controls, in the center
console and in the cargo area. Electrical
power (12V DC) from the battery is
available at any of the outlets when the
ignition switch is in either the “Acc ”or “ON ”
position.
You can use an in-vehicle electrical
appliance by connecting it to an outlet.
The maximum power rating of an appli-
ance that can be connected varies among
outlets as indicated below. Do not use an
appliance which exceeds 120W for eachoutlet.
When using appliances connected to two
outlets simultaneously, the total power
consumed by them must not exceed
120W.
CAUTION
. Do not attempt to use a cigarette
lighter in the accessory power outlets.
. Do not place any foreign objects,
especially metal ones such as
coins or aluminum foil, into the
accessory power outlet. That
could cause a short circuit. Al-
ways put the cap on the acces-
sory power outlet when it is not
in use.
. Use only electrical appliances
which are designed for 12V DC.
The maximum power rating of an
appliance that can be connected
varies among outlets as indi-
cated below. Do not use an
appliance which exceeds 120W
for each outlet.
When using appliances con-
nected to two outlets simulta-
neously, the total power con-
sumed by them must not exceed
120W. Overloading the accessory
power outlet can cause a short
circuit. Do not use dual adapters
or more than one electrical appli-ance.
. If the plug on your electric appli- Interior equipment
6-9
– CONTINUED –
Page 205 of 384
6-10Interior equipment
ance is either too loose or too
tight for the accessory power
outlet, this can result in a poor
contact or cause the plug to get
stuck. Only use plugs that fit
properly.
. Use of an electric appliance in the
accessory power outlet for a long
period of time while the engine is
not running can cause batterydischarge.
. Before driving your vehicle, make
sure that the plug and the cord
on your electrical appliance will
not interfere with your shifting
gears and operating the accel-
erator and brake pedals. If they
do, do not use the electrical
appliance while driving.
& Use with a cigarette lighter
(dealer option)
To use the accessory power outlet below
the climate controls as a cigarette lighter
socket, purchase the cigarette lighter plug,
which is an optional accessory.
A cigarette lighter plug is available from
your SUBARU dealer.
The cigarette lighter operates only when
the ignition switch is in the “ON ”or “Acc ” position.
To use the cigarette lighter, push in the
knob and wait a few moments. It will
automatically spring up when ready foruse.
WARNING
To avoid being burned, never grasp
the lighter by the end with the
heating element. Doing so could
result in injury and could also
damage the heating element.
CAUTION
. Do not hold the lighter pushed in,
because it will overheat.
. The electrical power socket lo-
cated below the climate controls
is originally designed to use a
genuine SUBARU cigarette light-
er plug. Do not use a non-genu-
ine cigarette lighter plug in the
socket. Doing so may cause a
short-circuit and overheating, re-
sulting in a fire.
. If the socket is ever used for a
plug-in accessory such as a cell
phone, that may damage the
portion of the socket ’s internal mechanism that causes a cigar-
ette lighter plug to
“pop out ”
after its lighter element is heated.
Therefore, do not place a cigar-
ette lighter plug in a socket that
has been used, even once, to
power a plug-in accessory. Doing
so may cause the plug to stick
and overheat, creating a potential
fire hazard.