2009 SUBARU FORESTER interior lights
[x] Cancel search: interior lightsPage 96 of 384

&Unlocking the rear gate
Pressing the “”button opens the rear
gate.
An electronic chirp will sound twice and
the turn signal lights will flash twice. & Illuminated entry
The interior (dome) light and the map light
will illuminate when the “
”button is
pressed. These lights stay illuminated for
approximately 30 seconds if any of the
doors or the rear gate is not opened.
If the “
”button is pressed before 30
seconds have elapsed, these lights will
turn off. The dome light must be set to the
DOOR position in order for this function
to operate.
A SUBARU dealer can change the illumi- nation period setting of the interior light in
accordance with your preference. Contact
the nearest SUBARU dealer for details.
& Vehicle finder function
Use this function to find your vehicle
parked among many vehicles in a large
parking lot. Provided you are within 30 feet
(10 meters) of the vehicle, pressing the “
”
button three times in a 5-second period
will cause your vehicle ’s horn to sound
once and its turn signal lights to flash threetimes. NOTE
If the interval between presses is too
short when you press the “
”button
three times, the system may not re-
spond to the signals from the remote
transmitter. &
Sounding a panic alarm
A“PANIC ”button is located on the back of
the transmitter.
To activate the alarm, press the “PANIC ”
button once.
The horn will sound and the turn signal
lights will flash.
To deactivate the panic alarm, press any
button on the remote transmitter. Unless a
button on the remote is pressed, the alarm
will be deactivated after approximately 30seconds. & Selecting audible signal op- eration
Using an electronic chirp, the system will
give you an audible signal when the doors
lock and unlock. If desired, you may turn Keys and doors
2-9
– CONTINUED –
Page 196 of 384

Interior lights....................................................... 6-2
Dome light .......................................................... 6-2
Cargo area light .................................................. 6-3
Map light ............................................................. 6-3
Sun visors ........................................................... 6-4
Vanity mirror ....................................................... 6-4
Storage compartment ......................................... 6-4
Glove box ........................................................... 6-5
Center console .................................................... 6-5
Overhead console ............................................... 6-6
Rear seat center table (if equipped) ..................... 6-6
Coin tray ............................................................. 6-7
Cup holders ......................................................... 6-7
Front passenger cup holder ................................. 6-7
Rear passenger cup holder (if equipped).. ............ 6-8Bottle holders
...................................................... 6-8
Accessory power outlets .................................... 6-9
Use with a cigarette lighter (dealer option)..... ..... 6-10
Floor mat ............................................................ 6-11
Shopping bag hook ........................................... 6-11
Coat hook ........................................................... 6-11
Cargo area cover (dealer option) ...................... 6-12
Using the cover ................................................. 6-12
To remove the cover .......................................... 6-12
To install the cover housing ............................... 6-13
Cargo tie-down hooks ....................................... 6-13
Under-floor storage compartment (if equipped) .................................................... 6-14Interior equipment
6
Page 197 of 384

6-2Interior equipment
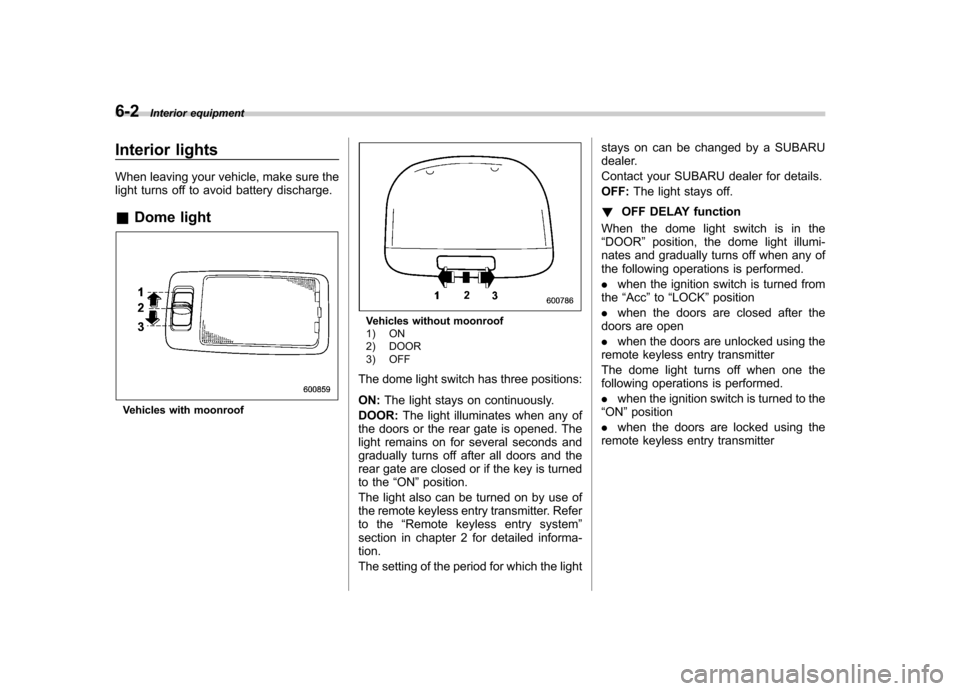
Interior lights
When leaving your vehicle, make sure the
light turns off to avoid battery discharge. &Dome light
Vehicles with moonroof
Vehicles without moonroof
1) ON
2) DOOR
3) OFF
The dome light switch has three positions: ON: The light stays on continuously.
DOOR: The light illuminates when any of
the doors or the rear gate is opened. The
light remains on for several seconds and
gradually turns off after all doors and the
rear gate are closed or if the key is turned
to the “ON ”position.
The light also can be turned on by use of
the remote keyless entry transmitter. Refer
to the “Remote keyless entry system ”
section in chapter 2 for detailed informa-tion.
The setting of the period for which the light stays on can be changed by a SUBARU
dealer.
Contact your SUBARU dealer for details.OFF:
The light stays off.
! OFF DELAY function
When the dome light switch is in the “ DOOR ”position, the dome light illumi-
nates and gradually turns off when any of
the following operations is performed. . when the ignition switch is turned from
the “Acc ”to “LOCK ”position
. when the doors are closed after the
doors are open. when the doors are unlocked using the
remote keyless entry transmitter
The dome light turns off when one the
following operations is performed. . when the ignition switch is turned to the
“ ON ”position
. when the doors are locked using the
remote keyless entry transmitter
Page 220 of 384

transmitter within a few seconds immedi-
ately following remote engine start shut-down. &Pre-heating or pre-cooling
the interior of the vehicle
Before exiting the vehicle, set the tem-
perature controls to the desired setting
and operation. After the system starts the
vehicle, the heater or air-conditioning will
activate and heat or cool the interior to
your setting. & Service mode
In service mode, the remote start function
is temporarily disabled to prevent the
system from unexpectedly starting the
engine while being serviced. ! To engage the service mode
Turn the ignition switch to the “ON ”
position, depress and hold the brake
pedal, then press and release the “
”
button on the remote control transmitter
three times. The system will pause for 1
second and then flash the turn signal
lights and honk the horn three times
indicating that the system is in service
mode. When attempting to activate the
remote start system while in service
mode, the turn signal lights will flash and
the horn will honk two times and will not start. !
To disengage the service mode
Turn the ignition switch to the “ON ”
position, depress and hold the brake
pedal, then press and release the “
”
button on the remote control transmitter
three times. The system will pause for 1
second and flash the turn signal lights 1
time indicating that the system has exited
service mode. NOTE
When taking your vehicle in for service,
it is recommended that you inform the
service personnel that your vehicle is
equipped with a remote control startsystem. & Remote transmitter program-
ming and programmable fea-
ture option
New transmitters can be programmed to
the engine starter system in the event that
remote transmitters are lost, stolen or
damaged. The remote engine start system
also has one programmable feature that
can be adjusted for user preference.
The remote engine starter system can be
programmed to either make an audible
horn chirp upon remote start activation or
not. Remote transmitter programming and feature programming can be adjusted
using the following procedure.
1. Open the driver
’s door (the driver ’s
door must remain opened throughout the
entire process).
2. Insert the key into the vehicle ’s ignition
switch and turn to the “ON ”position.
3. Locate the small black programming
button behind the fuse box cover, on the
driver ’s side left under the dashboard
panel.
4. Press and hold the black programming
button for 10 to 15 seconds. The horn will
honk and the turn signal lights will flash
three times to indicate that the system has
entered programming mode. At this point
you can proceed to either step 5 or step 6.
5. To program a remote transmitter:
press and release the “
”button on each
transmitter. The horn will honk and the
turn signal lights will flash one time to
indicate a successful transmitter learn
each time the “
”button is pressed. You
can program up to eight transmitters.
6. To toggle the Horn Confirmation chirps
ON/OFF: press and release the brake to
toggle the feature. The horn will chirp and
the turn signal lights will flash one time to
indicate Confirmation Horn Chirps are“ OFF ”. The horn will honk and the turn
signal lights will flash 2 times to indicate
Confirmation Horn Chirps are “ON ”.
Starting and operating
7-11
– CONTINUED –
Page 376 of 384

Fuel........................................................................... 7-2
Economy hints ......................................................... 8-2
Filler lid and cap ...................................................... 7-3
Gauge .................................................................... 3-8
Requirements .......................................................... 7-2
Fuses ...................................................................... 11-44
Fuses and circuits ...................................................... 12-6
G
GAWR (Gross Axle Weight Rating) .............................. 8-13
Glove box ................................................................... 6-5
GVWR (Gross Vehicle Weight Rating) .......................... 8-13
H
Hazard warning flasher ........................................... 3-5, 9-2
Head restraint adjustment
Front seat ............................................................... 1-5
Rearseat ................................................................. 1-7
Headlight
Beam lever ........................................................... 3-26
Flasher ................................................................. 3-25
Indicator light ......................................................... 3-21
Headlights ........................................................ 3-24, 11-47
Heater operation (manual climate control system) ............ 4-5
High beam indicator light ............................................ 3-20
High/low beam change (dimmer) .................................. 3-25
Hill start assist (MT vehicles) .............................. 7-33, 11-29
Hill start assist warning light ................................ 3-17, 7-34
Horn ......................................................................... 3-38
Hose and connections ............................................... 11-12 I
Ignition switch
............................................................. 3-3
Light ...................................................................... 3-5
Illuminated entry .......................................................... 2-9
Illumination brightness control ...................................... 3-26
Immobilizer ................................................................. 2-2
Indicator light (security indicator light) ................. 2-3, 3-19
Indicator light Coolant temperature low .......................................... 3-13
Cruise control ................................................ 3-20, 7-37
Cruise control set ........................................... 3-21, 7-38
Front fog light ......................................................... 3-21
Headlight ............................................................... 3-21
High beam ............................................................. 3-20
Immobilizer ............................................................. 2-3
Security .......................................................... 2-3, 3-19
Selector lever/Gear position ..................................... 3-20
SPORT mode ........................................................ 3-20
Traction control system OFF .................................... 3-18
Turn signal ............................................................ 3-20
Vehicle Dynamics Control OFF ......................... 3-19, 7-28
Vehicle Dynamics Control operation .................. 3-18, 7-27
Information display ...................................................... 3-22
Inside mirror .............................................................. 3-33
Interior lights ............................................................... 6-2
J
Jack handle ............................................................... 9-17
Jump starting .............................................................. 9-9 Index
14-5