Page 217 of 250
If and when
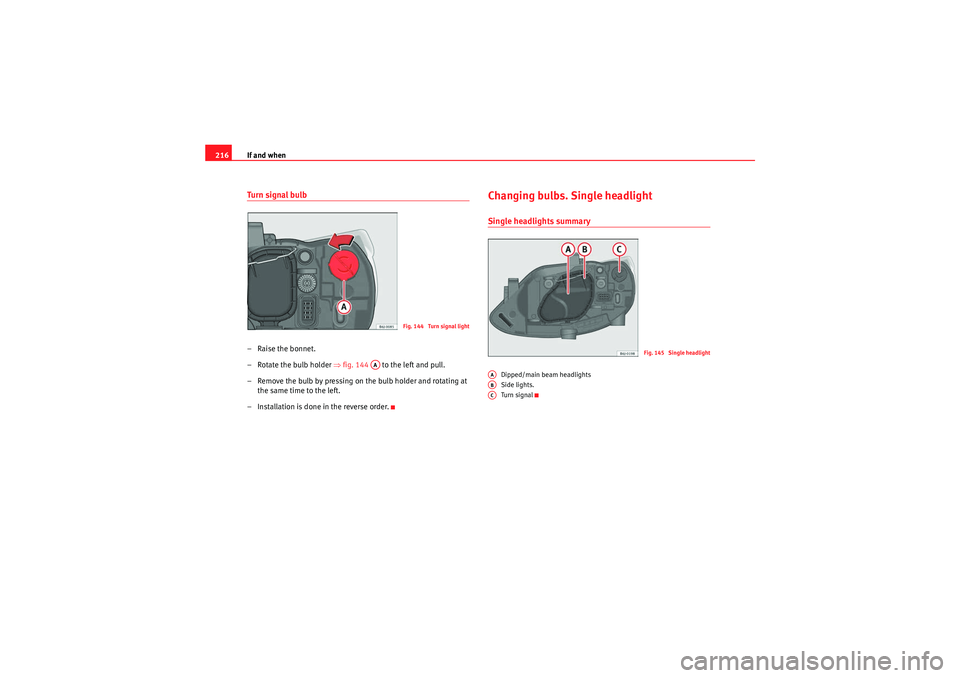
216Turn signal bulb– Raise the bonnet.
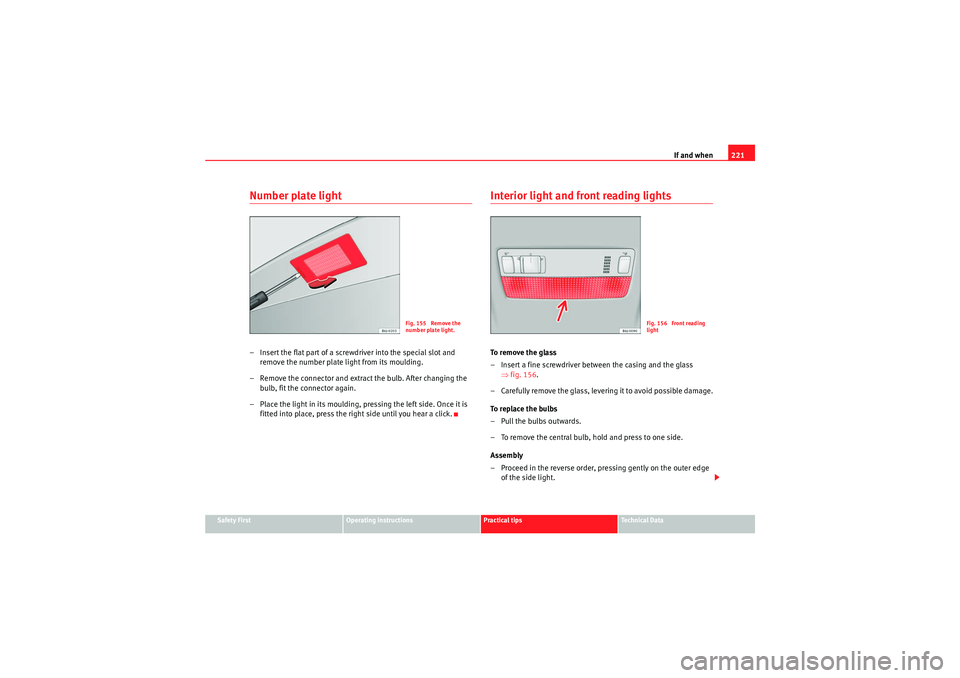
– Rotate the bulb holder ⇒fig. 144 to the left and pull.
– Remove the bulb by pressing on the bulb holder and rotating at the same time to the left.
– Installation is done in the reverse order.
Changing bulbs. Single headlightSingle headlights summary
Dipped/main beam headlights
Side lights.
Turn signal
Fig. 144 Turn signal light
AA
Fig. 145 Single headlight
AAABAC
Ibiza ST_EN.book Seite 216 Dienstag, 12. Januar 2010 4:03 16
Page 218 of 250
If and when217
Safety First
Operating instructions
Practical tips
Technical Data
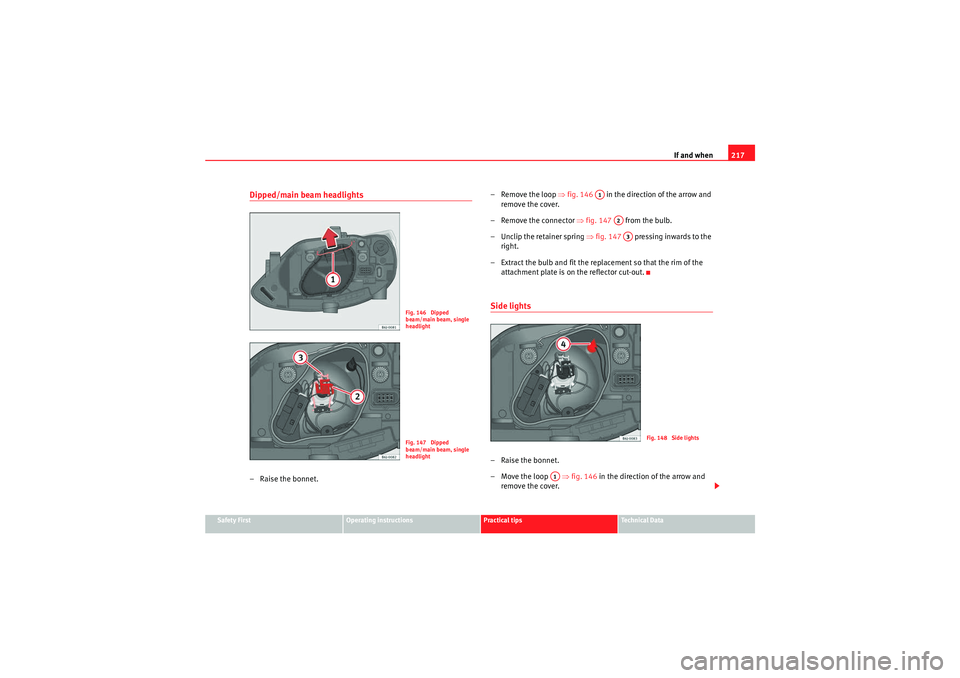
Dipped/main beam headlights – Raise the bonnet. – Remove the loop
⇒fig. 146 in the direction of the arrow and
remove the cover.
– Remove the connector ⇒fig. 147 from the bulb.
– Unclip the retainer spring ⇒fig. 147 pressing inwards to the
right.
– Extract the bulb and fit the replacement so that the rim of the attachment plate is on the reflector cut-out.
Side lights – Raise the bonnet.
– Move the loop ⇒fig. 146 in the direction of the arrow and
remove the cover.
Fig. 146 Dipped
beam/main beam, single
headlightFig. 147 Dipped
beam/main beam, single
headlight
A1
A2A3
Fig. 148 Side lights
A1
Ibiza ST_EN.book Seite 217 Dienstag, 12. Januar 2010 4:03 16
Page 219 of 250
If and when
218
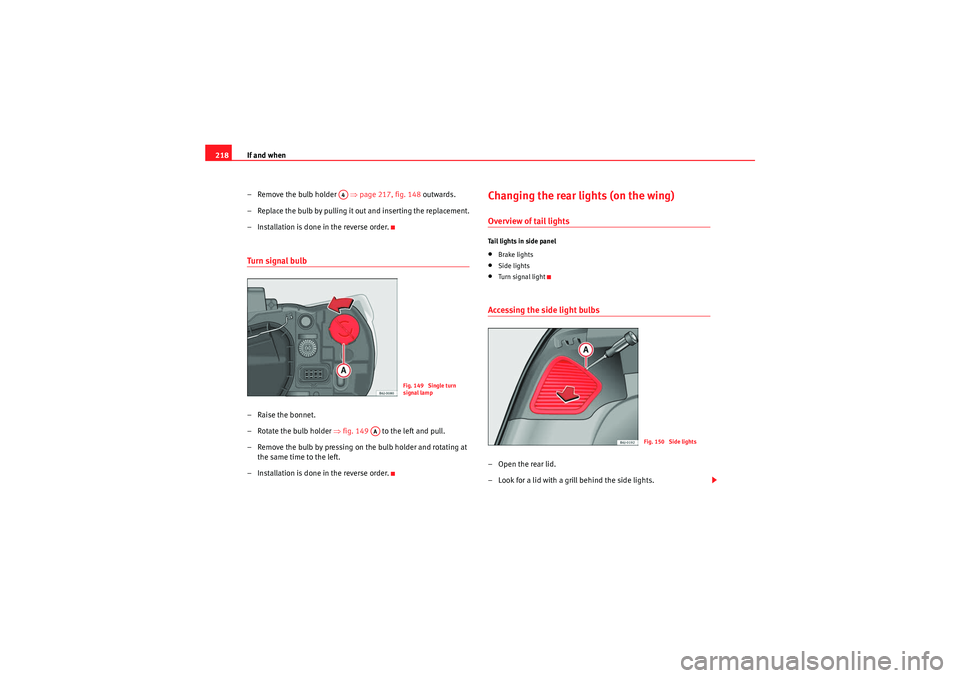
– Remove the bulb holder ⇒page 217, fig. 148 outwards.
– Replace the bulb by pulling it out and inserting the replacement.
– Installation is done in the reverse order.Turn signal bulb– Raise the bonnet.
– Rotate the bulb holder ⇒fig. 149 to the left and pull.
– Remove the bulb by pressing on the bulb holder and rotating at the same time to the left.
– Installation is done in the reverse order.
Changing the rear lights (on the wing)Overview of tail lightsTail lights in side panel•Brake lights•Side lights•Turn signal lightAccessing the side light bulbs–Open the rear lid.
– Look for a lid with a grill behind the side lights.
A4
Fig. 149 Single turn
signal lamp
AA
Fig. 150 Side lights
Ibiza ST_EN.book Seite 218 Dienstag, 12. Januar 2010 4:03 16
Page 220 of 250
If and when219
Safety First
Operating instructions
Practical tips
Technical Data
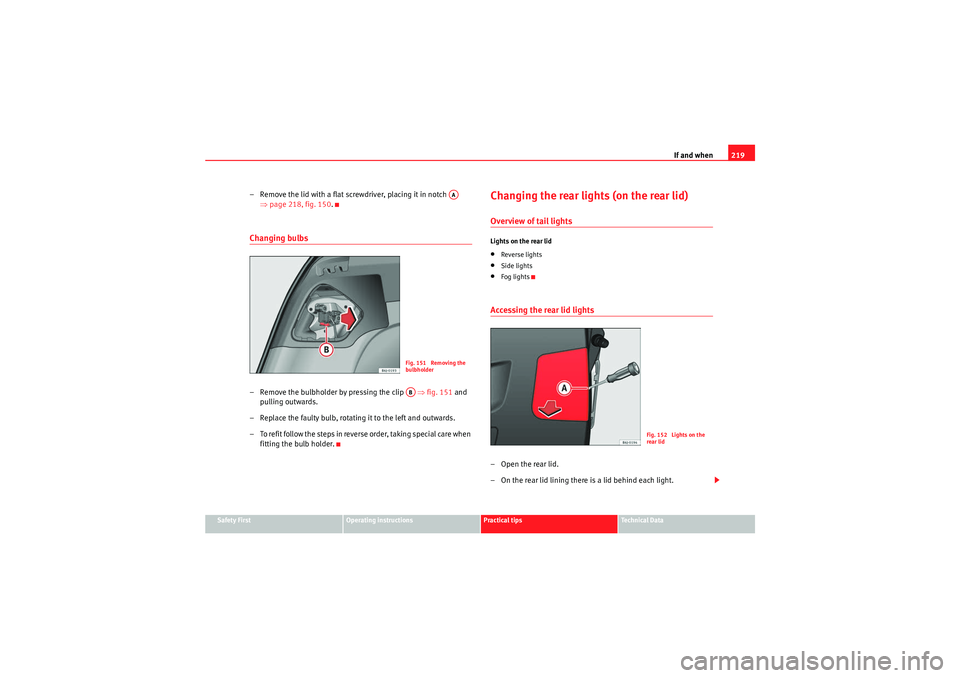
– Remove the lid with a flat screwdriver, placing it in notch
⇒page 218, fig. 150 .Changing bulbs– Remove the bulbholder by pressing the clip ⇒fig. 151 and
pulling outwards.
– Replace the faulty bulb, rotating it to the left and outwards.
– To refit follow the steps in reverse order, taking special care when fitting the bulb holder.
Changing the rear lights (on the rear lid)Overview of tail lightsLights on the rear lid•Reverse lights•Side lights•Fog lightsAccessing the rear lid lights–Open the rear lid.
– On the rear lid lining there is a lid behind each light.
AA
Fig. 151 Removing the
bulbholderAB
Fig. 152 Lights on the
rear lid
Ibiza ST_EN.book Seite 219 Dienstag, 12. Januar 2010 4:03 16
Page 221 of 250
If and when
220
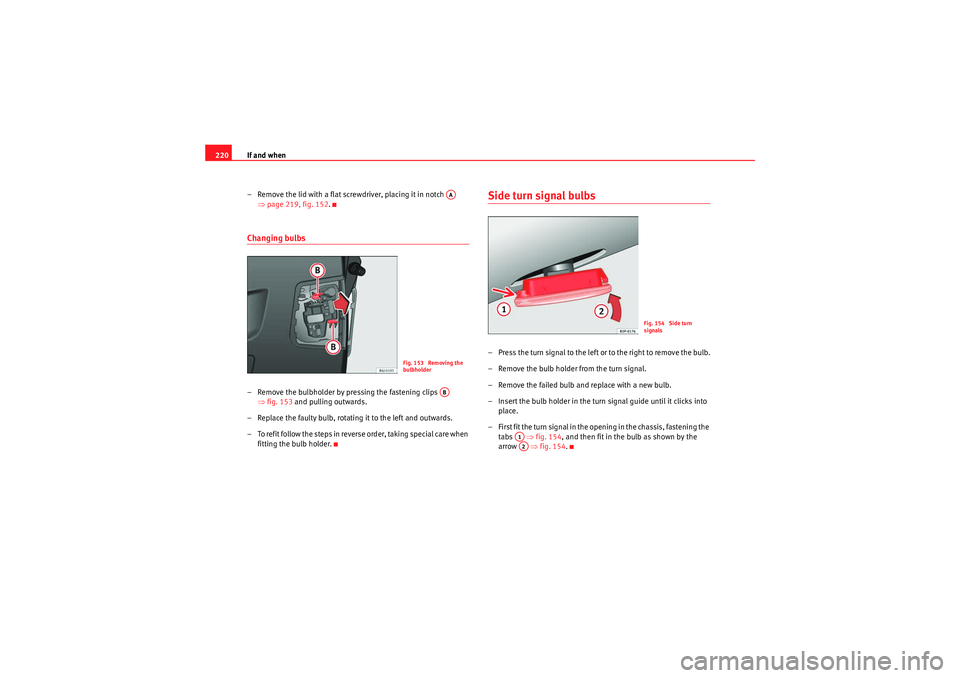
– Remove the lid with a flat screwdriver, placing it in notch ⇒page 219, fig. 152.Changing bulbs– Remove the bulbholder by pressing the fastening clips
⇒fig. 153 and pulling outwards.
– Replace the faulty bulb, rotating it to the left and outwards.
– To refit follow the steps in reverse order, taking special care when fitting the bulb holder.
Side turn signal bulbs– Press the turn signal to the left or to the right to remove the bulb.
– Remove the bulb holder from the turn signal.
– Remove the failed bulb and replace with a new bulb.
– Insert the bulb holder in the turn signal guide until it clicks into place.
– First fit the turn signal in the opening in the chassis, fastening the tabs ⇒fig. 154 , and then fit in the bulb as shown by the
arrow ⇒fig. 154 .
AA
Fig. 153 Removing the
bulbholder
AB
Fig. 154 Side turn
signals
A1A2
Ibiza ST_EN.book Seite 220 Dienstag, 12. Januar 2010 4:03 16
Page 222 of 250
If and when221
Safety First
Operating instructions
Practical tips
Technical Data
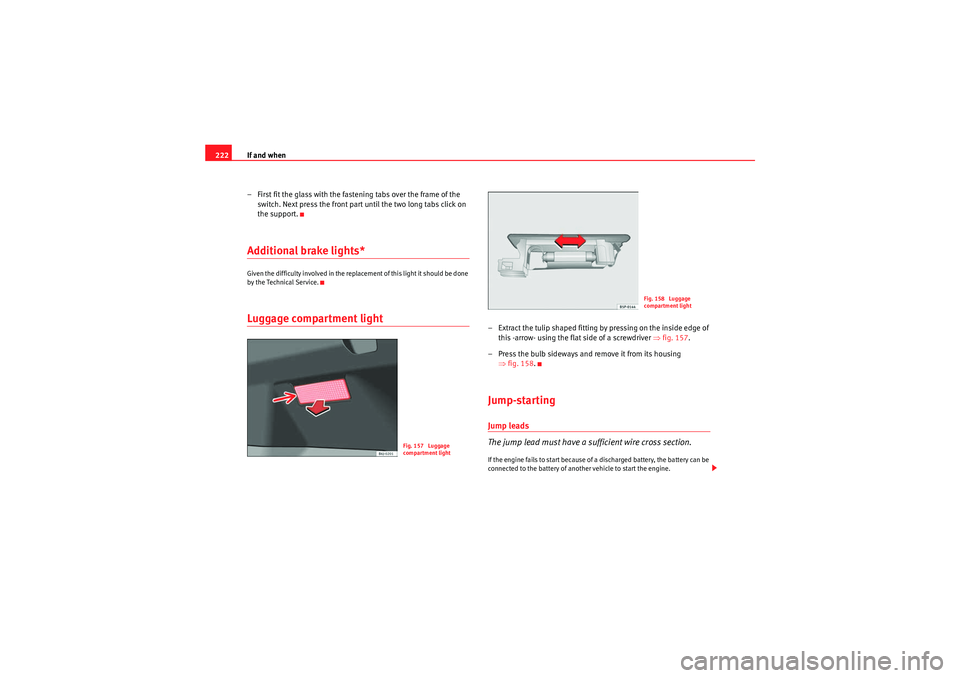
Number plate light– Insert the flat part of a screwdriver into the special slot and
remove the number plate light from its moulding.
– Remove the connector and extract the bulb. After changing the bulb, fit the connector again.
– Place the light in its moulding, pr essing the left side. Once it is
fitted into place, press the right side until you hear a click.
Interior light and front reading lightsTo r e m o v e t h e g l a s s
– Insert a fine screwdriver between the casing and the glass ⇒fig. 156 .
– Carefully remove the glass, levering it to avoid possible damage.
To replace the bulbs
– Pull the bulbs outwards.
– To remove the central bulb, hold and press to one side.
Assembly
– Proceed in the reverse order, pressing gently on the outer edge of the side light.
Fig. 155 Remove the
number plate light.
Fig. 156 Front reading
light
Ibiza ST_EN.book Seite 221 Dienstag, 12. Januar 2010 4:03 16
Page 223 of 250
If and when
222
– First fit the glass with the fastening tabs over the frame of the switch. Next press the front part until the two long tabs click on
the support.Additional brake lights*Given the difficulty involved in the replacement of this light it should be done
by the Technical Service.Luggage compartment light
– Extract the tulip shaped fitting by pressing on the inside edge of this -arrow- using the flat side of a screwdriver ⇒fig. 157 .
– Press the bulb sideways and remove it from its housing ⇒fig. 158 .Jump-startingJump leads
The jump lead must have a sufficient wire cross section.If the engine fails to start because of a discharged battery, the battery can be
connected to the battery of another vehicle to start the engine.
Fig. 157 Luggage
compartment light
Fig. 158 Luggage
compartment light
Ibiza ST_EN.book Seite 222 Dienstag, 12. Januar 2010 4:03 16
Page 224 of 250

If and when223
Safety First
Operating instructions
Practical tips
Technical Data
Jump leads
Jump leads must comply with the standard
DIN 72553 (see manufacturer's
documentation). The wire cross section must be at least 25 mm
2 for petrol
engines and at least 35 mm
2 for diesel engines.
Note
•The vehicles must not touch each other, otherwise electricity could flow as
soon as the positive terminals are connected.•The discharged battery must be properly connected to the vehicle elec-
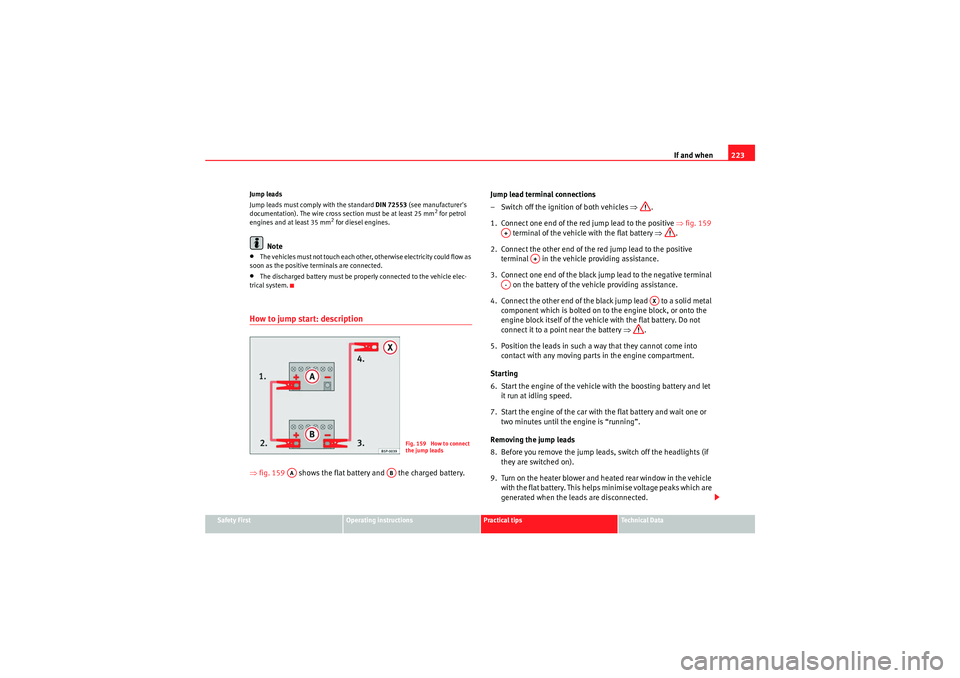
trical system.How to jump start: description⇒ fig. 159 shows the flat battery and the charged battery. Jump lead terminal connections
– Switch off the ignition of both vehicles
⇒.
1. Connect one end of the red jump lead to the positive ⇒fig. 159
terminal of the vehicle with the flat battery ⇒.
2. Connect the other end of the red jump lead to the positive terminal in the vehicle providing assistance.
3. Connect one end of the black jump lead to the negative terminal on the battery of the vehicle providing assistance.
4. Connect the other end of the black jump lead to a solid metal component which is bolted on to the engine block, or onto the
engine block itself of the vehicle with the flat battery. Do not
connect it to a point near the battery ⇒.
5. Position the leads in such a way that they cannot come into contact with any moving parts in the engine compartment.
Starting
6. Start the engine of the vehicle with the boosting battery and let it run at idling speed.
7. Start the engine of the car with the flat battery and wait one or two minutes until the engine is “running”.
Removing the jump leads
8. Before you remove the jump leads, switch off the headlights (if they are switched on).
9. Turn on the heater blower and heated rear window in the vehicle with the flat battery. This helps minimise voltage peaks which are
generated when the leads are disconnected.
Fig. 159 How to connect
the jump leads
AA
AB
A+
A+
A-
AX
Ibiza ST_EN.book Seite 223 Dienstag, 12. Januar 2010 4:03 16