2009 MITSUBISHI ASX warning
[x] Cancel search: warningPage 166 of 368

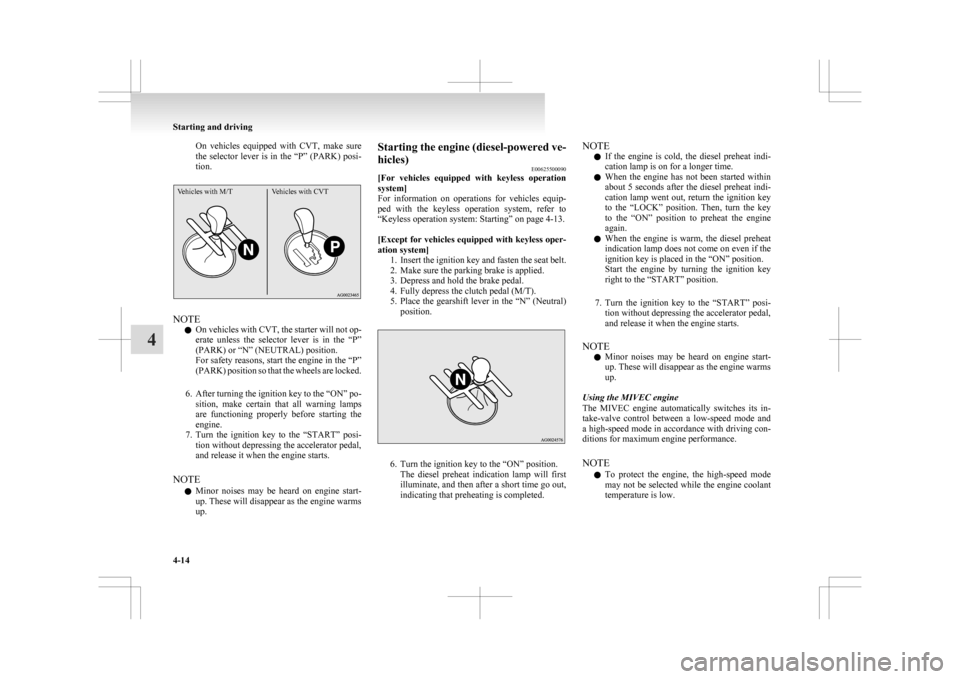
On vehicles equipped with CVT, make sure
the
selector lever is in the “P” (PARK) posi-
tion.
Vehicles with M/T Vehicles with CVTNOTE
l On
vehicles with CVT, the starter will not op-
erate unless the selector lever is in the “P”
(PARK) or “N” (NEUTRAL) position.
For safety reasons, start the engine in the “P”
(PARK) position so that the wheels are locked.
6. After turning the ignition key to the “ON” po- sition, make certain that all warning lamps
are functioning properly before starting the
engine.
7. Turn the ignition key to the “START” posi- tion without depressing the accelerator pedal,
and release it when the engine starts.
NOTE l Minor noises may be heard on engine start-
up. These will disappear as the engine warms
up. Starting the engine (diesel-powered ve-
hicles)
E00625500090
[For
vehicles equipped with keyless operation
system]
For information on operations for vehicles equip-
ped with the keyless operation system, refer to
“Keyless operation system: Starting” on page 4-13.
[Except for vehicles equipped with keyless oper-
ation system] 1. Insert the ignition key and fasten the seat belt.
2. Make sure the parking brake is applied.
3. Depress and hold the brake pedal.
4. Fully depress the clutch pedal (M/T).
5. Place the gearshift lever in the “N” (Neutral)position. 6. Turn the ignition key to the “ON” position.
The
diesel preheat indication lamp will first
illuminate, and then after a short time go out,
indicating that preheating is completed. NOTE
l If
the engine is cold, the diesel preheat indi-
cation lamp is on for a longer time.
l When the engine has not been started within
about 5 seconds after the diesel preheat indi-
cation lamp went out, return the ignition key
to the “LOCK” position. Then, turn the key
to the “ON” position to preheat the engine
again.
l When the engine is warm, the diesel preheat
indication lamp does not come on even if the
ignition key is placed in the “ON” position.
Start the engine by turning the ignition key
right to the “START” position.
7. Turn the ignition key to the “START” posi- tion without depressing the accelerator pedal,
and release it when the engine starts.
NOTE l Minor noises may be heard on engine start-
up. These will disappear as the engine warms
up.
Using the MIVEC engine
The MIVEC engine automatically switches its in-
take-valve control between a low-speed mode and
a high-speed mode in accordance with driving con-
ditions for maximum engine performance.
NOTE l To protect the engine, the high-speed mode
may not be selected while the engine coolant
temperature is low. Starting and driving
4-14
4
Page 167 of 368

Fuel injection amount learning proc-
ess (diesel-powered vehicles)
E00627900043
To
keep exhaust emissions and engine noise low,
the engine very occasionally performs a learning
process for the fuel injection amount.
The engine sounds slightly different from usual
while the learning process is taking place. The
change in the engine sound does not indicate a fault. Diesel particulate filter (DPF)*
E00619800199
The
diesel particulate filter (DPF) is a device that
captures most of the particulate matter (PM) in the
exhaust emissions of the diesel engine. The DPF au-
tomatically burns away trapped PM during vehicle
operation. Under certain driving conditions, howev-
er, the DPF is not able to burn away all of the trap-
ped PM and, as a result, an excessive amount of
PM accumulates inside it. WARNING
l The DPF reaches very high temperatures.
Do
not park your vehicle in areas where
combustible materials such as dry grass
or leaves can come in contact with a hot
exhaust system since a fire could occur. CAUTION
l
Do
not use any type of fuel or engine oil
that is not specified for your vehicle. Al-
so, do not use any moisture-removing
agent or other fuel additive. Such substan-
ces could have a detrimental effect on the
DPF.
Refer to “Fuel selection” on page 02 and
“Engine oil” on page 8-04.
NOTE l To
minimize the likelihood of excessive ac-
cumulation of PM, try to avoid driving for
long periods at low speeds and repeatedly
driving short distances. l
The
engine sounds slightly different than usu-
al while the DPF automatically burns away
trapped PM. The change in the engine sound
does not indicate a fault.
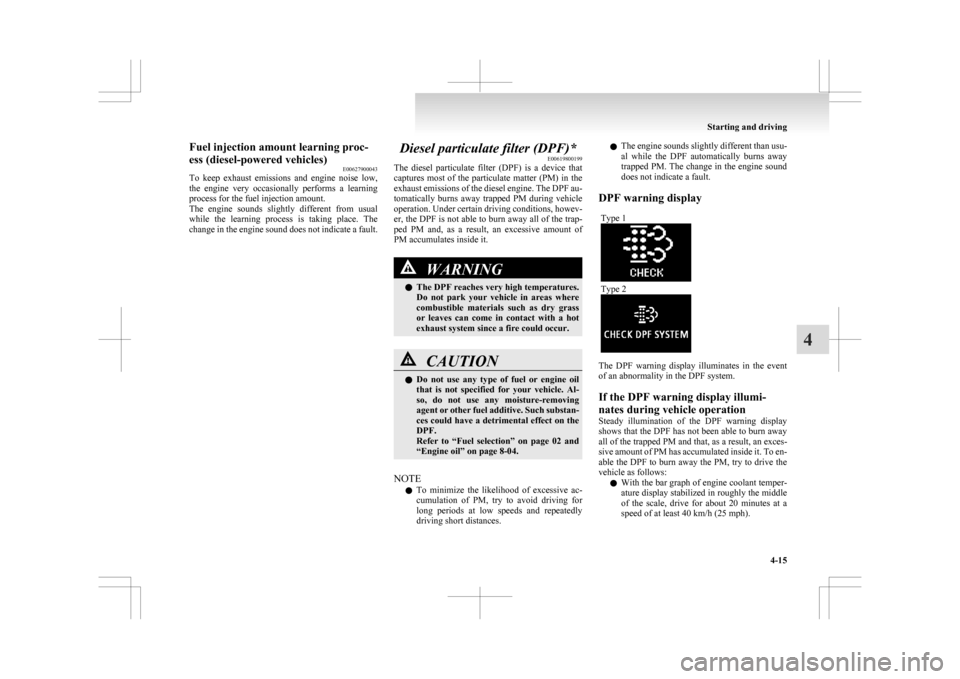
DPF warning display Type 1 Type 2
The DPF warning display illuminates in the event
of an abnormality in the DPF system.
If the DPF warning display illumi-
nates during vehicle operation
Steady
illumination of the DPF warning display
shows that the DPF has not been able to burn away
all of the trapped PM and that, as a result, an exces-
sive amount of PM has accumulated inside it. To en-
able the DPF to burn away the PM, try to drive the
vehicle as follows:
l With the bar graph of engine coolant temper-
ature display stabilized in roughly the middle
of the scale, drive for about 20 minutes at a
speed of at least 40 km/h (25 mph). Starting and driving
4-15 4
Page 168 of 368

If the DPF warning display subsequently stays on,
contact
a MITSUBISHI MOTORS Authorized Serv-
ice Point. CAUTION
l
You
do not have to continuously drive ex-
actly as indicated above. Always strive to
drive safely in accordance with road con-
ditions.
If the DPF warning display and check
engine warning lamp illuminate at the
same time during vehicle operation Warning lamp Warning display type 1
Warning display type 2
If an abnormal condition occurs in the DPF system,
the
DPF warning display and check engine warn-
ing lamp illuminate. Have the system inspected at a MITSUBISHI
MOTORS Authorized Service Point.
CAUTION
l
Continuing
to drive with the DPF warn-
ing display and check engine warning
lamp illuminating could result in engine
trouble and DPF damage. Turbocharger operation*
E00611200083 CAUTION
l
Do not run the engine at high speeds (for
example, by revving it or by accelerating
rapidly) immediately after starting it.
l Do not stop the engine immediately after
high-speed or uphill driving. First allow
the engine to idle to give the turbocharg-
er a chance to cool down. Starting and driving
4-16
4
Page 171 of 368

• Electric power consumption is high, such
as when the rear window demister or oth-
er electrical components are operating or
the blower speed is set to a high setting.
• Battery voltage or battery performance is low
• Check engine warning lamp is illumina-
ted or the “ ”
display/indicator is blinking
l If the Auto Stop & Go (AS&G) system oper-
ates while the air conditioning is operating,
both the engine and the air conditioning com-
pressor will stop. Therefore, only the blower
will operate.
l If the demisting function and the Auto Stop
& Go (AS&G) system are needed at the
same time, it is recommended to set the
mode selection dial to the Foot/demister posi-
tion.
Refer to “Mode selection dial” on page
5-02.
l If the air conditioning is operating, set the
temperature control dial higher to lengthen
the time that the engine is stopped automati-
cally. Automatically restarting the engine
E00627600037
Depress the clutch pedal while the gearshift lever is
in
the “N” (Neutral) position. The “ ” display/indi-
cator
in the meter turns off and the engine restarts
automatically. NOTE
l If the engine does not restart automatically or
if
the engine stalls, the oil pressure warning
lamp, charge warning lamp, and check en-
gine warning lamp will illuminate.
If this occurs, the engine will not restart even
if the clutch pedal is depressed again. While
depressing the brake pedal, fully depress the
clutch pedal and turn the ignition switch to
the “START” position to start the engine.
For details, refer to “Starting and stopping
the engine” on page 1-15 or “Starting” on
page 4-13. CAUTION
l
In
the following cases, the engine will re-
start automatically even if the engine was
stopped by the Auto Stop & Go (AS&G)
system. Pay attention, otherwise an unex-
pected accident might occur when the en-
gine restarts. • Vehicle speed is 3 km/h (2 mph) orhigher when coasting down a slope
• Brake booster vacuum pressure is low because the brake pedal is depressed
repeatedly or depressed harder than
usual
• Engine coolant temperature is low
• When the air conditioning is operated by pressing the air conditioning switch.
• When the preset temperature of the air conditioning is changed significant-
ly. Starting and driving
4-19 4
Page 176 of 368

Automatic transmission
INVECS-III Sports Mode 6CVT
(Intelligent & Innovative Vehicle Electronic Control System III)* E00602100031
The
INVECS-III uses optimization and adaptation
functions to optimally match the gear ratio to driv-
ing and road conditions.
The CVT is capable of changing the gear ratio auto-
matically and steplessly to suit driving conditions
in all phases of vehicle operation. It therefore real-
izes smooth, shock-free operation and excellent
fuel efficiency. CAUTION
l
Automatic
downshifts may not take place
while the CVT fluid is still cool immedi-
ately after you start driving. To cause a
downshift, depress the brake pedal, man-
ually shift down when necessary.
Always strive to drive safely in accord-
ance with road conditions.
Selector lever operation E00602200221
The CVT selects an optimum gear ratio automati-
cally,
depending on the speed of the vehicle and
the position of the accelerator pedal. The selector lever (A) has 2 gates; the main gate
(B) and the manual gate (C).
While depressing the brake pedal,
move
the selector lever through the gate. Move the selector lever through the gate. WARNING
l Always
depress the brake pedal when
shifting the selector lever into the other
position from the “P” (PARK) or “N”
(NEUTRAL) position.
Never put your foot on the accelerator ped-
al while shifting the selector lever from
the “P” (PARK) or “N” (NEUTRAL) po-
sition.
NOTE l To
avoid erroneous operation, move the se-
lector lever firmly into each position and brief-
ly hold it there. Always check the position
shown by the selector lever position display
after moving the selector lever.
l If the brake pedal is not depressed and held,
the shift-lock device activates to prevent the
selector lever from being moved from the
“P” (PARK) position.
When the selector lever cannot be shifted from
the “P” (PARK) position E00629000178
When the selector lever cannot be shifted from the
“P”
(PARK) position to another position while the
brake pedal is pressed and held down with the igni-
tion switch or the operation mode in ON, the bat-
tery may be flat or the shift-lock mechanism may
be malfunctioning. Immediately have your vehicle
checked by a MITSUBISHI MOTORS Authorized
Service Point.
If you need to move the vehicle, shift the selector
lever as follows. 1. Make sure the parking brake is applied.
2. Stop the engine if it is running. Starting and driving
4-24
4
Page 177 of 368

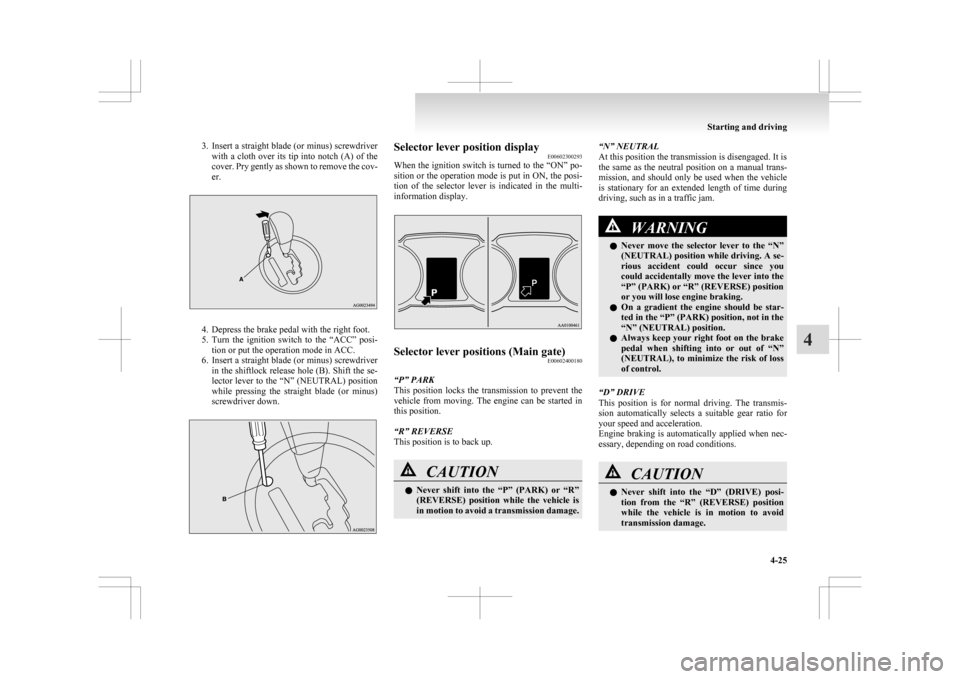
3. Insert a straight blade (or minus) screwdriver
with a cloth over its tip into notch (A) of the
cover. Pry gently as shown to remove the cov-
er. 4. Depress the brake pedal with the right foot.
5. Turn
the ignition switch to the “ACC” posi-
tion or put the operation mode in ACC.
6. Insert a straight blade (or minus) screwdriver in the shiftlock release hole (B). Shift the se-
lector lever to the “N” (NEUTRAL) position
while pressing the straight blade (or minus)
screwdriver down. Selector lever position display
E00602300293
When
the ignition switch is turned to the “ON” po-
sition or the operation mode is put in ON, the posi-
tion of the selector lever is indicated in the multi-
information display. Selector lever positions (Main gate)
E00602400180
“P” PARK
This
position locks the transmission to prevent the
vehicle from moving. The engine can be started in
this position.
“R” REVERSE
This position is to back up. CAUTION
l
Never
shift into the “P” (PARK) or “R”
(REVERSE) position while the vehicle is
in motion to avoid a transmission damage. “N” NEUTRAL
At this position the transmission is disengaged. It is
the
same as the neutral position on a manual trans-
mission, and should only be used when the vehicle
is stationary for an extended length of time during
driving, such as in a traffic jam. WARNING
l Never
move the selector lever to the “N”
(NEUTRAL) position while driving. A se-
rious accident could occur since you
could accidentally move the lever into the
“P” (PARK) or “R” (REVERSE) position
or you will lose engine braking.
l On a gradient the engine should be star-
ted in the “P” (PARK) position, not in the
“N” (NEUTRAL) position.
l Always keep your right foot on the brake
pedal when shifting into or out of “N”
(NEUTRAL), to minimize the risk of loss
of control.
“D” DRIVE
This
position is for normal driving. The transmis-
sion automatically selects a suitable gear ratio for
your speed and acceleration.
Engine braking is automatically applied when nec-
essary, depending on road conditions. CAUTION
l
Never
shift into the “D” (DRIVE) posi-
tion from the “R” (REVERSE) position
while the vehicle is in motion to avoid
transmission damage. Starting and driving
4-25 4
Page 179 of 368

Sports mode display
E00612200208
In
sports mode, the currently selected position is dis-
played on the multi-information display. When a malfunction occurs in the CVT
E00602300336
Type 1 or
Type 2
or
When the warning display appears
There
could be a system malfunction if the warn-
ing
display or the warning display is displayed
on
the information screen in the multi-information
display. CAUTION
l
If
malfunction occurs in the CVT while
driving, the warning display or the
warning display will appear on the infor-
mation
screen in the multi-information
display.
In this case, follow these procedures:
[When warning display is showing]
The
CVT fluid is overheating. The engine
control may activate to lower the CVT flu-
id temperature, causing the engine revolu-
tions and vehicle speed to decrease. In
this case, take one of the following meas-
ures. • Slow down your vehicle.
• Stop the vehicle in a safe place, placethe selector lever in the “P” (PARK)
position, and open the bonnet with the
engine running to allow the engine to
cool down.
After a while, confirm that the warn-
ing
display is no longer showing. It is safe
to continue driving if the display is no lon-
ger showing. If the warning display re-
mains or appears frequently, we recom-
mend you to have your vehicle inspected.
[When warning display is showing]
It
may be that there is something unusual
happening in the CVT, causing a safety de-
vice to activate. We recommend you to
have your vehicle inspected as soon as pos-
sible. Operation of the CVT
E00602600182 CAUTION
l
Before
selecting a position with the en-
gine running and the vehicle stationary,
fully depress the brake pedal to prevent
the vehicle from creeping.
The vehicle will begin to move as soon as
the CVT is engaged, especially when the
engine speed is high, at fast idle or with
the air conditioning operating, the brakes
should only be released when you are
ready to drive away.
l Depress the brake pedal with the right
foot at all times.
Using the left foot could cause driver move-
ment delay in case of an emergency.
l To prevent sudden acceleration, never
race the engine when shifting from the
“P” (PARK) or “N” (NEUTRAL) position.
l Operating the accelerator pedal while the
other foot is resting on the brake pedal
will affect braking efficiency and may
cause premature wear of brake pads.
l Use the selector lever in the correct shift
position in accordance with driving condi-
tions.
Never coast downhill backward with the
driving shift position {“D” (DRIVE) or
sports mode} or coast forward with the
“R” (REVERSE) position.
The engine stops and the brake pedal ef-
fort or the steering wheel handling weight
increasing could lead to an accident. Starting and driving
4-27 4
Page 182 of 368

Type 2
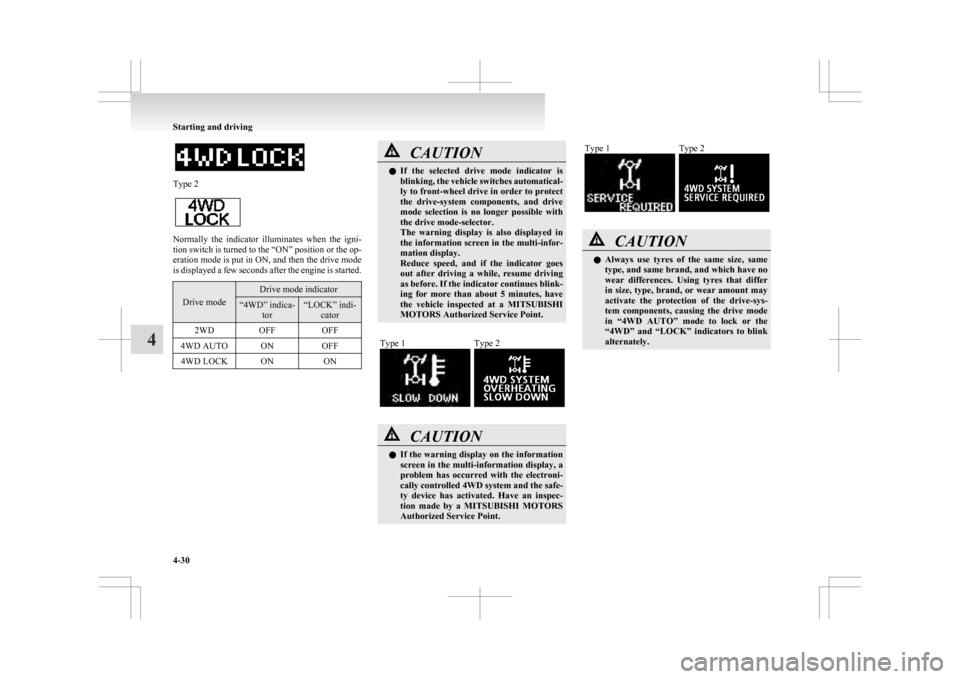
Normally the indicator illuminates when the igni-
tion
switch is turned to the “ON” position or the op-
eration mode is put in ON, and then the drive mode
is displayed a few seconds after the engine is started. Drive mode Drive mode indicator
“4WD” indica-
tor “LOCK” indi-
cator
2WD OFF OFF
4WD AUTO ON OFF
4WD LOCK ON ON CAUTION
l
If
the selected drive mode indicator is
blinking, the vehicle switches automatical-
ly to front-wheel drive in order to protect
the drive-system components, and drive
mode selection is no longer possible with
the drive mode-selector.
The warning display is also displayed in
the information screen in the multi-infor-
mation display.
Reduce speed, and if the indicator goes
out after driving a while, resume driving
as before. If the indicator continues blink-
ing for more than about 5 minutes, have
the vehicle inspected at a MITSUBISHI
MOTORS Authorized Service Point.
Type 1 Type 2
CAUTION
l
If
the warning display on the information
screen in the multi-information display, a
problem has occurred with the electroni-
cally controlled 4WD system and the safe-
ty device has activated. Have an inspec-
tion made by a MITSUBISHI MOTORS
Authorized Service Point. Type 1 Type 2
CAUTION
l
Always
use tyres of the same size, same
type, and same brand, and which have no
wear differences. Using tyres that differ
in size, type, brand, or wear amount may
activate the protection of the drive-sys-
tem components, causing the drive mode
in “4WD AUTO” mode to lock or the
“4WD” and “LOCK” indicators to blink
alternately. Starting and driving
4-30
4