2009 MERCEDES-BENZ GL SUV fog light
[x] Cancel search: fog lightPage 109 of 309

X
Press the WorX button to select the
Lighting submenu.
X Press the &button to select Head‐
lamps delayed switch-off.
X Press the WorX button to activate
or deactivate the Headlamps delayed
switch-off function.
X Press the &,VorU button to
select a different display.
Deactivating the delayed switch-off tempora-
rily:
X Before leaving the vehicle, turn the key to
position 0in the ignition lock.
X Turn the key to position 2in the ignition
lock and back to position 0.
Delayed switch-off is deactivated.
Delayed switch-off is deactivated the next
time you start the engine.
Activating/deactivating the interior light-
ing delayed switch-off
If you remove the key from the ignition lock
while the Interior lighting delayed
switch off function is activated, the interior
lighting remains on for 10 seconds if it is dark.
X Press VorU on the steering wheel
to select the Settings... menu.
X Press the &button to select submenus.
X Press the WorX button to select the
Lighting submenu.
X Press the &button to select Interior
lighting delayed switch-off.
X Press the WorX button to activate
or deactivate Interior lighting
delayed switch-off.
X Press the &,VorU button to
select a different display.
Activating/deactivating the Intelligent
Light System*
When you activate the Intelligent Light
System you activate the following functions: R
motorway mode
R active light function
R extended range foglamps
X Press VorU on the steering wheel
to select the Settings... menu.
X Press the &button to select submenus.
X Press WorX to select the Light‐
ing submenu.
X Press &to select Intelligent Light
System.
X Press the WorX button to activate
or deactivate the Intelligent Light
System.
X Press the &,VorU button to
select a different display.
Setting the ambient lighting*
X Press VorU on the steering wheel
to select the Settings... menu.
X Press the &button to select submenus.
X Press the WorX button to select the
Lighting submenu.
X Press the &button to select Ambient
light.
X Press WorX to adjust the bright-
ness to any level from Level 0(off) to
Level 5 (bright).
X Press &, VorU to select a dif-
ferent display.
Vehicle submenu In the
Vehicle submenu, you can call up the
following functions:
R compass* (Y page 166)
R display when the ignition is switched off
(Y page 107)
R permanent Speedtronic (Y page 126)
R automatic locking feature (Y page 107)106
On-board computerControls
* optional
X164_AKB; 2; 3, en-GB
wobuchh,
Version: 2.11.8.1 2009-03-31T14:14:58+02:00 - Seite 106
Dateiname: 6515431202_buchblock.pdf; erzeugt am 01. Apr 2009 00:17:17; WK
Page 139 of 309

the responsibility to pay attention. The cam-
era cannot show objects:
R very near to the rear bumper
R below the rear bumper
R that are located above the tailgate handle
recess
You are always responsible for safety and
must continue to pay attention to your imme-
diate surroundings when parking and
manoeuvring. This applies to the areas
behind, in front of and next to the vehicle. You
could otherwise endanger yourself and oth-
ers. G
Risk of accident
Under the following circumstances, the
reversing camera will not function, or function
in a limited manner:
R if the tailgate is open
R in heavy rain, snow or fog
R at night or in very dark places
R if the camera is exposed to very bright light R
if the area is lit by fluorescent light (the dis-
play may flicker)
R if there is a sudden change in temperature,
e.g. when driving into a heated garage in
winter
R if the camera lens is dirty or obstructed
R if the rear of your vehicle is damaged. In this
event have the camera position and setting
checked at a qualified specialist workshop.
Mercedes-Benz recommends that you use
a Mercedes-Benz Service Centre for this
purpose.
Do not use the reversing camera in these
types of situation. You could, otherwise,
injure others or damage objects and your
vehicle while you are parking.
Activating the reversing camera X
Make sure that the key is in position 2in
the ignition lock.
X Engage reverse gear.
The area behind the vehicle is shown in the
COMAND APS display. Air conditioning
Overview of air-conditioning systems
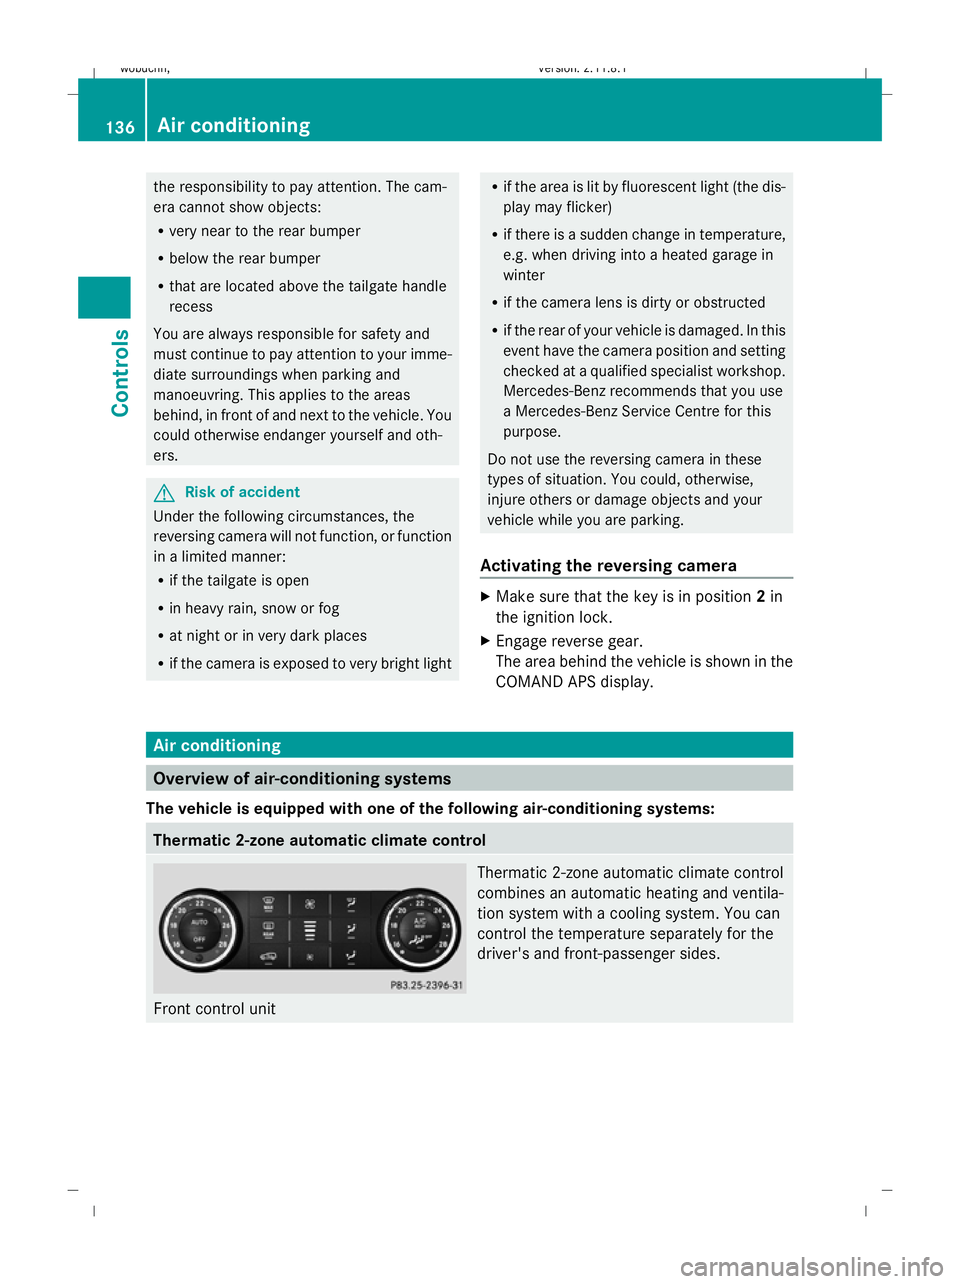
The vehicle is equipped with one of the following air-conditioning systems: Thermatic 2-zone automatic climate control
Front control unit Thermatic 2-zone automatic climate control
combines an automatic heating and ventila-
tion system with a cooling system. You can
control the temperature separately for the
driver's and front-passenger sides.136
Air conditioningControls
X164_AKB; 2; 3, en-GB
wobuchh
,V ersion: 2.11.8.1
2009-03-31T14:14:58+02:00 - Seite 136
Dateiname: 6515431202_buchblock.pdf; erzeugt am 01. Apr 2009 00:17:27; WK
Page 230 of 309

Display messages
Possible causes/consequences and
X
X Solutions b Main
beam, left
or
Main
beam,
right The left-hand or right-hand main beam headlamp is faulty.
X
Halogen headlamp: replace the bulb (Ypage 254).
X Bi-xenon headlamp*: visit a qualified specialist workshop. b Licence
plate
lamp, left
or
Licence
plate
lamp,
right The left-hand or right-hand licence plate lamp is faulty.
X
Change the bulb ( Ypage 254). b Switch
off lights The lights are still switched on when you leave the vehicle.
X
Turn the light switch to $orÃ.
or
X If the rear foglamp is switched on: press the light switch in
to the stop. b Front fog‐
lamp, left
or
Front fog‐
lamp,
right The front left-hand or right-hand foglamp is faulty.
X
Visit a qualified specialist workshop. b Rear left-
hand fog‐
lamp
or
Rear
right-
hand fog‐
lamp The left-hand or right-hand rear foglamp is faulty.
X
Change the bulb ( Ypage 259). b Parking
lamp,
front left
or
Parking
lamp,
front
right The front left-hand or right-hand parking lamp is faulty.
X
Change the bulb ( Ypage 254). Display
messages
227Practical advice
* optional
X164_AKB; 2; 3, en-GB
wobuchh
,V ersion: 2.11.8.1
2009-03-31T14:14:58+02:00 - Seite 227 Z
Dateiname: 6515431202_buchblock.pdf; erzeugt am 01. Apr 2009 00:18:00; WK
Page 242 of 309

Problem
Possible causes/consequences and
X
X Solutions The yellow reserve fuel
warning lamp lights up
while the engine is run-
ning. The fuel level has fallen below the reserve range. The operation of
the auxiliary heating* can no longer be guaranteed.
X
Refuel at the nearest filling station. Warning tones
Problem
Possible causes/consequences and
X
X Solutions The anti-theft warning
alarm* is triggered. You have opened the vehicle with the anti-theft alarm system still
activated*.
X
Switch off the alarm (Y page 54). You hear a warning
tone. A message appears in the multi-function display.
X
See the explanations for the display message (Y page 211). You are driving with the parking brake applied.
X
Release the parking brake. The lights are still switched on when you leave the vehicle.
X
Turn the light switch to $orÃ.
or
X If the rear foglamp is switched on: press the light switch in to
the stop. G
Risk of injury
The driver or front passenger has not fastened their seat belt.
X Fasten your seat belt (Y page 75). Troubleshooting
239Practical advice
* optional
X164_AKB; 2; 3, en-GB
wobuchh,
Version: 2.11.8.1 2009-03-31T14:14:58+02:00 - Seite 239 Z
Dateiname: 6515431202_buchblock.pdf; erzeugt am 01. Apr 2009 00:18:02; WK
Page 263 of 309

Tail lamps with LEDs
:
Rear foglamp
; Reversing lamp
X Switch off the lights.
X Open the luggage compartment.
X Open the side trim panel (Y page 259).
X Turn the corresponding bulb holder anti-
clockwise and remove it.
X Remove the bulb from the bulb holder.
X Insert the new bulb into the bulb holder.
X Insert the bulb holder and turn it clockwise.
X Close the side trim panel (Y page 259).
Tail lamp (exterior spare wheel
bracket*) On vehicles with an exterior spare wheel
bracket*, the following lamps are located in
the bumper:
R turn signal lamp
R tail lamp/parking lamp/brake lamp
R licence plate lamp X
Switch off the lights.
X Insert a plastic card into the gap between
the bumper and lamp cluster :.
X Push the plastic card in the direction of the
arrow.
Lamp cluster :pops out.
X Remove lamp cluster :. ;
Turn signal lamp
= Tail lamp/parking lamp/brake lamp
X Turn the corresponding bulb holder anti-
clockwise and remove it.
X Press the lamp slightly into the holder, turn
it anti-clockwise and pull it out.
X Insert the new bulb into the bulb holder and
turn it clockwise.
X Insert the corresponding bulb holder and
turn it clockwise.
X Insert lamp unit :and press in firmly.
Lamp unit :snaps into place.
Licence plate lamp 260
Changing bulbsPractical advice
* optional
X164_AKB; 2; 3, en-GB
wobuchh
,V ersion: 2.11.8.1
2009-03-31T14:14:58+02:00 - Seite 260
Dateiname: 6515431202_buchblock.pdf; erzeugt am 01. Apr 2009 00:18:08; WK