Page 303 of 371

619
In case of an emergency
1
2
3
4
5
6
7
8
9
IF YOU HAVE A FLAT TIRE The spare tire, jack, jack handle,
wheel lug nut wrench are stored in
the luggage compartment. Remove
the luggage under tray out of the way
to reach this equipment.
Removing the spare tire Turn the tire hold-down wing bolt
counterclockwise.
Store the tire in the reverse order of
removal.
To prevent the spare tire and tools
from “rattling” while the vehicle is in
motion, store them properly.
Important - use of compact
spare tireyour vehicle is equipped with a com-
pact spare tire. This compact spare
tire takes up less space than a regu-
lar-size tire. This tire is smaller than a
conventional tire and is designed for
temporary use only.
1KMN4012
1KMA4014
CAUTION
You should drive carefullywhen the compact spare is inuse. The compact spareshould be replaced by theproper conventional tire andrim at the first opportunity.
The operation of this vehicle is not recommended withmore than one compact sparetire in use at the same time.
Page 307 of 371
623
In case of an emergency
1
2
3
4
5
6
7
8
9
6. Loosen the wheel lug nuts coun-terclockwise one turn each, but do
not remove any nut until the tire
has been raised off the ground. 7. Place the jack at the front or rear
jacking position closest to the tire
you are changing. Place the jack
at the designated locations under
the frame. The jacking positions
are plates welded to the frame
with two tabs and a raised dot to
index with the jack.
WARNING
- Jack location
To reduce the possibility of
injury, be sure to use only the
jack provided with the vehicle
and in the correct jack position;
never use any other part of the
vehicle for jack support.
OKM069019
1KMA4018
Page 308 of 371

In case of an emergency24
6
1
2
3
4
5
6
7
8
9
8. Insert the jack handle into the jack
and turn it clockwise, raising the
vehicle until the tire just clears the
ground. This measurement is
approximately 30 mm (1.2 in).
Before removing the wheel lug
nuts, make sure the vehicle is sta-
ble and that there is no chance for
movement or slippage.
9. Remove the wheel lug nuts by turning them counterclockwise,
then remove the wheel.
10. Mount the spare tire into position and install the wheel lug nuts
with the beveled edge inward. 11. Once the wheel lug nuts have
been tightened, lower the vehicle
fully to the ground and continue to
tighten the lug nuts until they are
fully secured. Tighten the wheel
lug nuts firmly in a “star” pattern.
If you are unsure of the tightness
of the wheel lug nuts, have them
checked at the nearest service
station. The specified tightening
torque is 9~11 kg
88-107 N Improperly tight-
ened wheel lug nuts could cause
brake pedal vibration while brak-
ing.
1KMA4020
1KMA4021
CAUTION
Your vehicle has metric threads on the wheel studs and nuts.Make certain during wheelremoval that the same nutsremoved are reinstalled - or, ifreplaced, that nuts with metricthreads and the same chamferconfiguration are used.Installation of a non-metricthread nut on a metric stud orvice-versa will not secure thewheel to the hub properly andwill damage the stud so that itmust be replaced.
Note that most lug nuts do nothave metric threads. Be sure touse extreme care in checkingfor thread style before installingaftermarket lug nuts or wheels.If in doubt, consult anAuthorized Kia Dealer.
Page 328 of 371

719
Maintenance
1
2
3
4
5
6
7
8
9
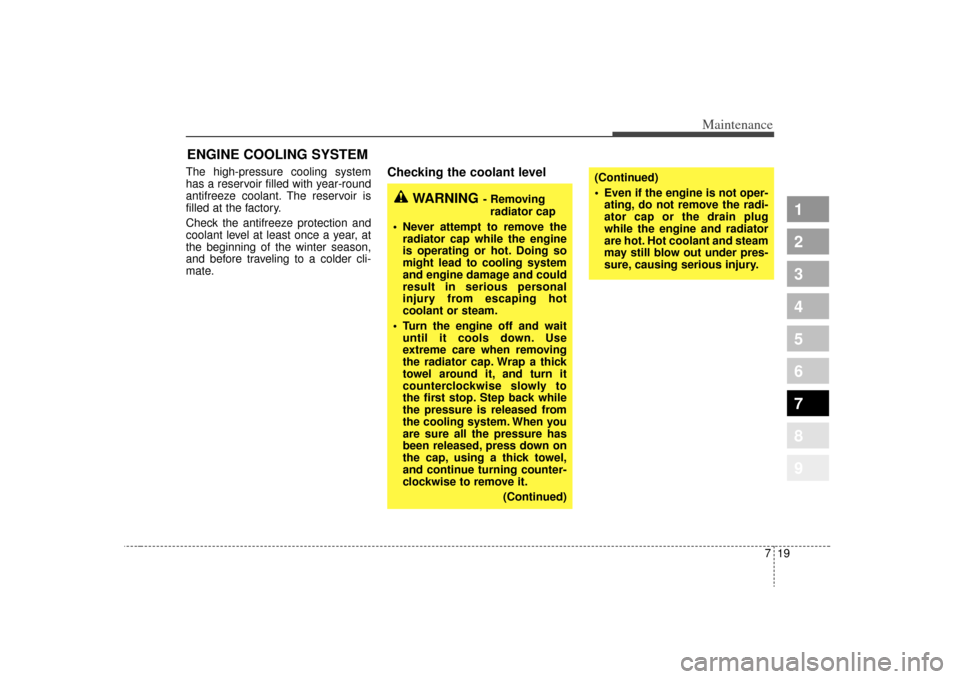
ENGINE COOLING SYSTEMThe high-pressure cooling system
has a reservoir filled with year-round
antifreeze coolant. The reservoir is
filled at the factory.
Check the antifreeze protection and
coolant level at least once a year, at
the beginning of the winter season,
and before traveling to a colder cli-
mate.
Checking the coolant level
WARNING
- Removingradiator cap
Never attempt to remove the radiator cap while the engine
is operating or hot. Doing so
might lead to cooling system
and engine damage and could
result in serious personal
injury from escaping hot
coolant or steam.
Turn the engine off and wait until it cools down. Use
extreme care when removing
the radiator cap. Wrap a thick
towel around it, and turn it
counterclockwise slowly to
the first stop. Step back while
the pressure is released from
the cooling system. When you
are sure all the pressure has
been released, press down on
the cap, using a thick towel,
and continue turning counter-
clockwise to remove it.
(Continued)
(Continued)
Even if the engine is not oper-ating, do not remove the radi-
ator cap or the drain plug
while the engine and radiator
are hot. Hot coolant and steam
may still blow out under pres-
sure, causing serious injury.
Page 343 of 371

Maintenance34
7
1
2
3
4
5
6
7
8
9
For best battery service : Keep the battery securely mount-
ed.
Keep the battery top clean and dry.
Keep the terminals and connec- tions clean, tight, and coated with
petroleum jelly or terminal grease.
Rinse any spilled electrolyte from the battery immediately with a
solution of water and baking soda.
If the vehicle is not going to be used for an extended time, discon-
nect the battery cables.
Battery recharging Your vehicle has a maintenance-free,
calcium-based battery.
If the battery becomes dischargedin a short time (because, for exam-
ple, the headlights or interior lights
were left on while the vehicle was
not in use), recharge it by slow
charging (trickle) for 10 hours.
If the battery gradually discharges because of high electric load while
the vehicle is being used, recharge
it at 20-30A for two hours.Items to be reset after the batteryhas been discharged or the bat-tery has been disconnected. Clock (See Chapter 3)
Sunroof (See Chapter 3)
Trip computer (See Chapter 4)
Compass (See Chapter 4)
Climate control system (See Chapter 4)
Audio (See Chapter 3)
1KMN5030
(Continued) An inappropriately dis-
posed battery can be
harmful to the environ-
ment and human health.
Dispose the battery
according to your local
law(s) or regulation.
When lifting a plastic-cased battery, excessive pressure on
the case may cause battery
acid to leak, resulting in per-
sonal injury. Lift with a battery
carrier or with your hands on
opposite corners.
Never attempt to recharge the battery when the battery
cables are connected.
The electrical ignition system works with high voltage.
Never touch these compo-
nents with the engine running
or the ignition switched on.
Failure to follow the above
warnings can result in serious
bodily injury or death.
Page:
< prev 1-8 9-16 17-24