2009 JAGUAR XF gear s
[x] Cancel search: gear sPage 13 of 391

13
Introduction
1.Steering wheel audio controls.
See AUDIO CONTROL (page 69).
2. External lamp controls. See LIGHTING
CONTROL (page 75).
3. Sequential gear change down paddle.
See AUTOMATIC TRANSMISSION
(page 137).
4. Speedometer. See INSTRUMENT PANEL
OVERVIEW (page 99).
5. Driver’s horn and airbag. See HORN
(page 68). See Supplementary
restraints system (page 53).
6. Message centre. See WARNING AND
INFORMATION MESSAGES (page 106).
7. Tachometer. See INSTRUMENT PANEL
OVERVIEW (page 99).
8. Sequential gear change up paddle.
See AUTOMATIC TRANSMISSION
(page 137).
9. Wiper and washer control. See Wipers
and washers (page 88).
10. Cruise control and Adaptive cruise
control steering wheel controls.
SeeCruise control (page 156).
See Adaptive cruise control (ACC)
(page 159).
11. Audio control panel. See Audio unit
overview (page 269).
12. Fascia lock/unlock buttons.
SeeLOCKING AND UNLOCKING
(page 26).
13. Touch-screen. See TOUCH-SCREEN
(page 109).
14. Hazard warning lamp switch.
SeeHAZARD WARNING FLASHERS
(page 77).
15. Climate contro l panel. SeeClimate
control (page 115). 16.
Glove box proximity sensor. See GLOVE
BOX (page 125).
17. Engine START/STOP switch.
SeeStarting the engine (page 132).
18. JaguarDrive gear selector.
SeeAUTOMATIC TRANSMISSION
(page
137).
19. JaguarDrive mode selectors. See Driving
dynamics (page 169).
20. Electric Parking Brake (EPB).
SeeELECTRIC PARKIN G BRAKE (EPB)
(page 146).
21. Steering wheel adju stment control.
See ADJUSTING THE STEERING WHEEL
(page 67).
22. Starter control docking unit for the
Jaguar Smart Key.
SeeDOCKING/UNDOCKING THE
JAGUAR SMART KEY (page 20).
23. Bonnet release lever. See OPENING AND
CLOSING THE BONNET (page 195).
24. Luggage compartment release switch.
SeeLOCKING AND UNLOCKING
(page 26).
25. Headlamp levelling control.
SeeHEADLAMP LEVELLING (page 79).
26. Instrument lighting dimmer control.
SeeINSTRUMENT LIGHTING DIMMER
(page 123).
27. Rear fog lamps switch. See REAR FOG
LAMPS (page 77).
28. Adaptive Cruise Control (ACC) Forward
Alert switch. See FORWARD ALERT
FUNCTION (page 164).
Page 21 of 391

21
Keys and remote controls
Undocking the Jaguar Smart Key
To remove the Jaguar Smart Key from the
starter control unit:
1.Ensure that the vehicle is at rest with the
gear selector in the P position and the
ignition switched off.
2. Press the Jaguar Smart Key and release.
The key will eject into its rest position.
3. Remove the Jaguar Smart Key from the
starter control unit.
Message centre in formation displays
PROGRAMMING THE REMOTE
CONTROL
The Jaguar Smart Key and various features of
the vehicle security system, can be
programmed to your individual requirements
by use of the touch-screen.
The programmable featur es are as follows:
• Drive-away locking (including variable
speed)
• Single or multi-point entry (2 stage
unlocking)
• Alarm trigger information (market
dependent)
• Window global open or close (passive
entry vehicles only)
• Valet key mode
• Passive arming
• Automatic relock and arm.CAUTION
Ensure the engine is switched off before
attempting to undock the Jaguar Smart
Key, otherwise damage to the Smart Key may
occur.
E92456
2
3
Message Meaning
SMART KEY NOT
FOUND, PLEASE
INSERT IN SLOT The Jaguar Smart Key
has not been detected,
insert into the starter
control unit.
CHECK SMART
KEY The Jaguar Smart Key
detected by the in-vehicle
systems is not the one
belonging to the vehicle.
REMOVE SMART
KEY Remove the Jaguar
Smart Key from the
starter control unit.
Page 76 of 391

Lighting
76
Daylight running lamps
In certain countries it is a legal requirement for
the lamps to be on during the hours of daylight.
With the rotary collar in the OFF position, low
beam headlamps, side lamps, tail, number
plate lamps and, where fitted, side marker
lamps will switch on automatically with the
following conditions:
• The ignition is on (market dependent).
• The vehicle gear selector out of park.
• The park brake is not applied (is released).
Condensation
In certain circumstances, misting may occur
on the inside of a lamp lens. This is caused by
natural changes in environmental conditions.
This misting is not detrimental to lamp
performance and will clear during normal
usage.
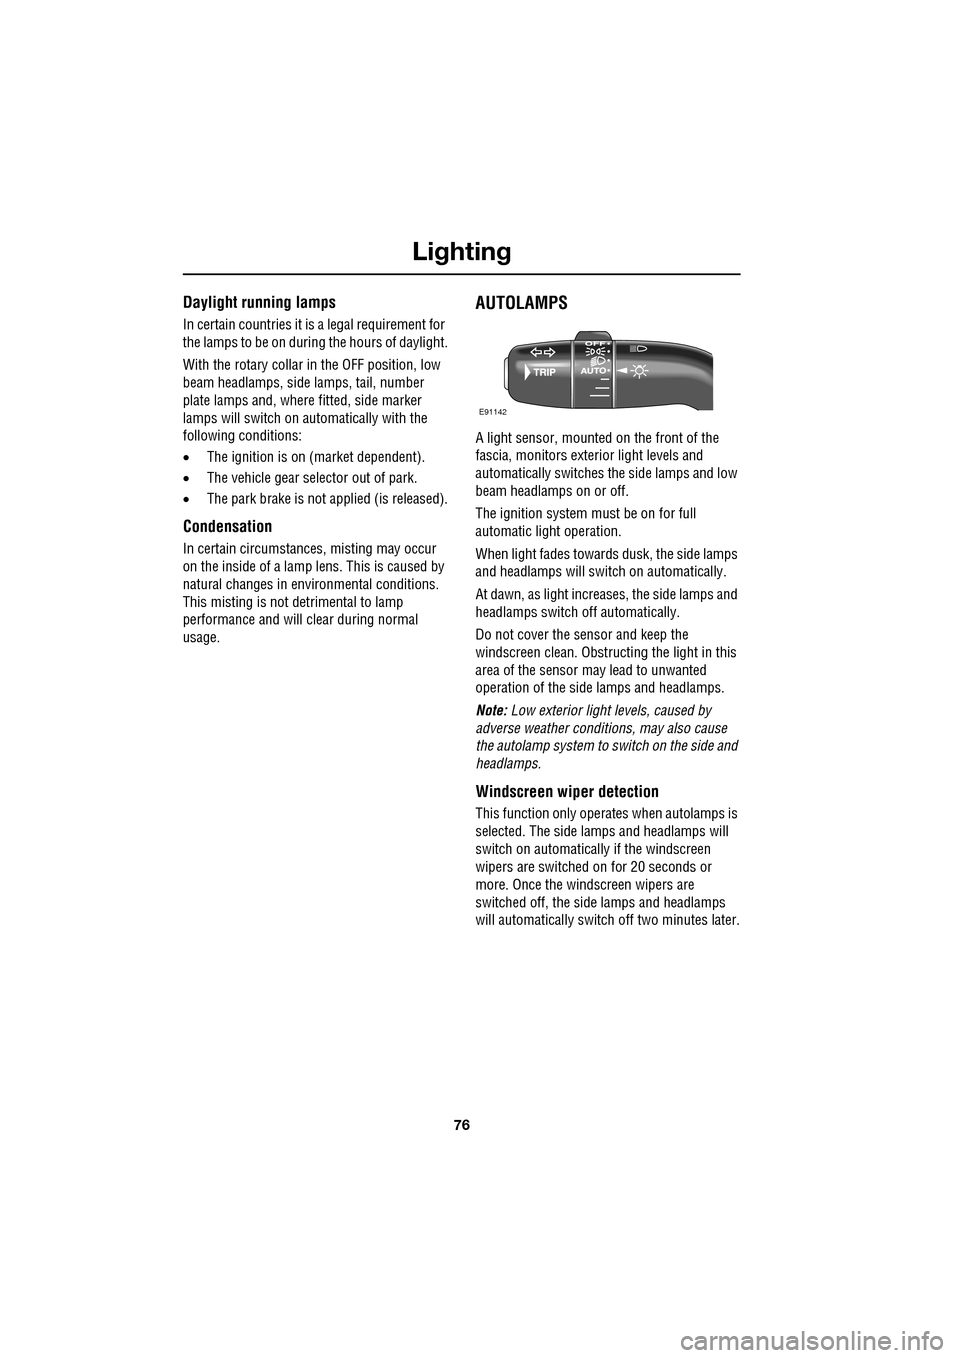
AUTOLAMPS
A light sensor, mounted on the front of the
fascia, monitors exteri or light levels and
automatically switches the side lamps and low
beam headlamps on or off.
The ignition system must be on for full
automatic light operation.
When light fades towards dusk, the side lamps
and headlamps will sw itch on automatically.
At dawn, as light increases, the side lamps and
headlamps switch off automatically.
Do not cover the sensor and keep the
windscreen clean. Obstruct ing the light in this
area of the sensor may lead to unwanted
operation of the side lamps and headlamps.
Note: Low exterior light levels, caused by
adverse weather conditi ons, may also cause
the autolamp system to switch on the side and
headlamps.
Windscreen wiper detection
This function only operat es when autolamps is
selected. The side lamps and headlamps will
switch on automatically if the windscreen
wipers are switched on for 20 seconds or
more. Once the windscreen wipers are
switched off, the side lamps and headlamps
will automatically switch off two minutes later.
E91142
Page 94 of 391

Windows and mirrors
94
Window isolator
To prevent operation of the rear windows,
press the inhibitor switch. To allow passengers
control of the windows, press the switch again.
INTERIOR MIRROR
Auto dimming
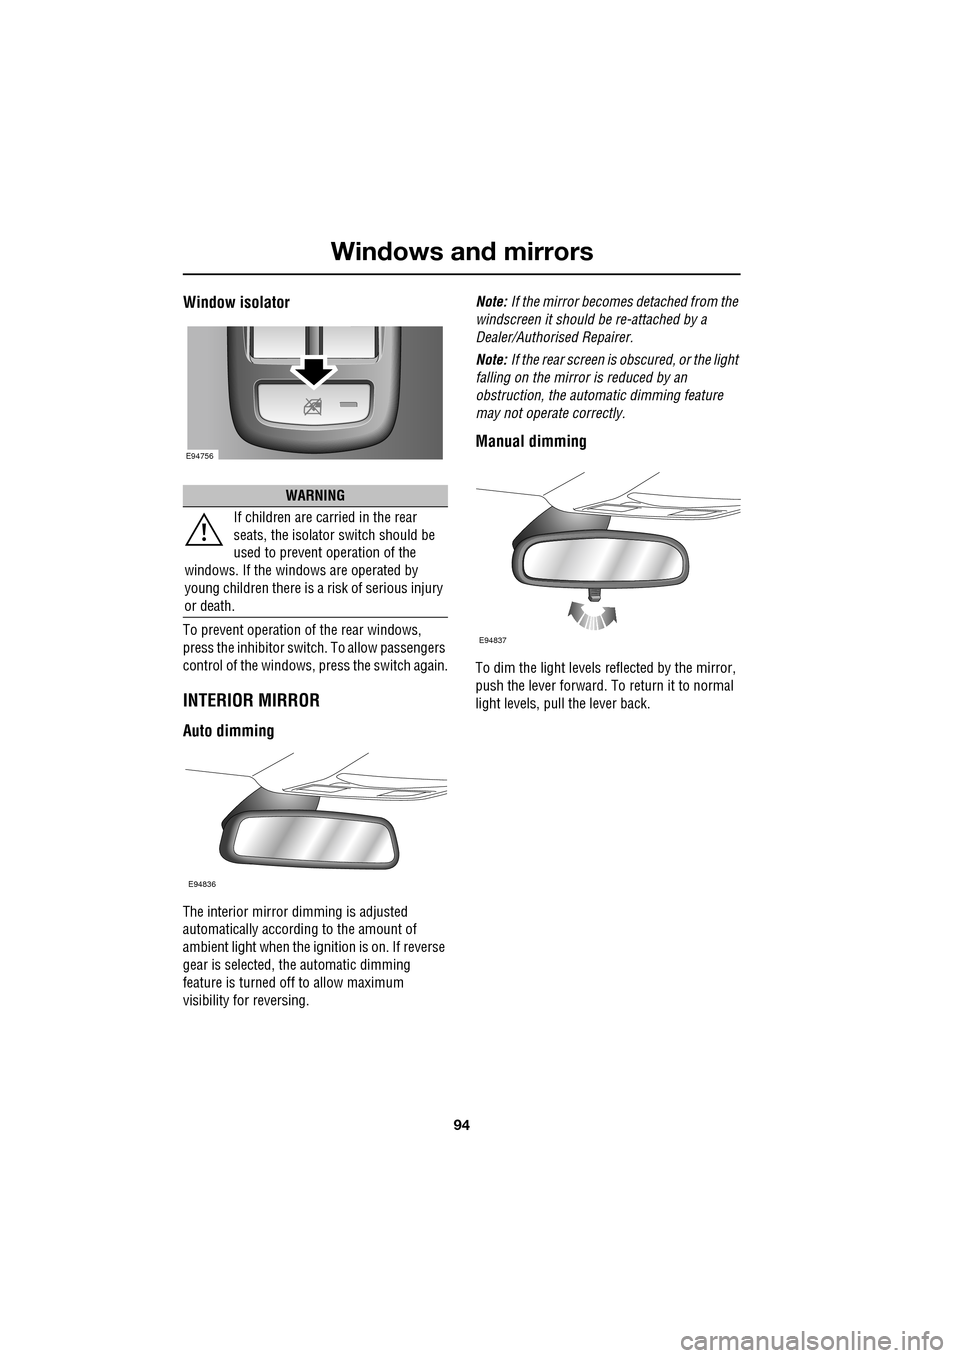
The interior mirror dimming is adjusted
automatically according to the amount of
ambient light when the i gnition is on. If reverse
gear is selected, the automatic dimming
feature is turned off to allow maximum
visibility for reversing. Note:
If the mirror becomes detached from the
windscreen it should be re-attached by a
Dealer/Authorised Repairer.
Note: If the rear screen is obscured, or the light
falling on the mirror is reduced by an
obstruction, the automa tic dimming feature
may not operate correctly.
Manual dimming
To dim the light levels re flected by the mirror,
push the lever forward. To return it to normal
light levels, pull the lever back.
WARNING
If children are carried in the rear
seats, the is olator switch should be
used to prevent operation of the
windows. If the windows are operated by
young children there is a risk of serious injury
or death.
E94756
E94836
E94837
Page 96 of 391

Windows and mirrors
96
Automatic folding
The mirrors can be configured to automatically
fold when the vehicle is locked and unfold
when unlocked.
Note: If the mirrors were folded using the
switches, they will not unfold when the vehicle
is unlocked.
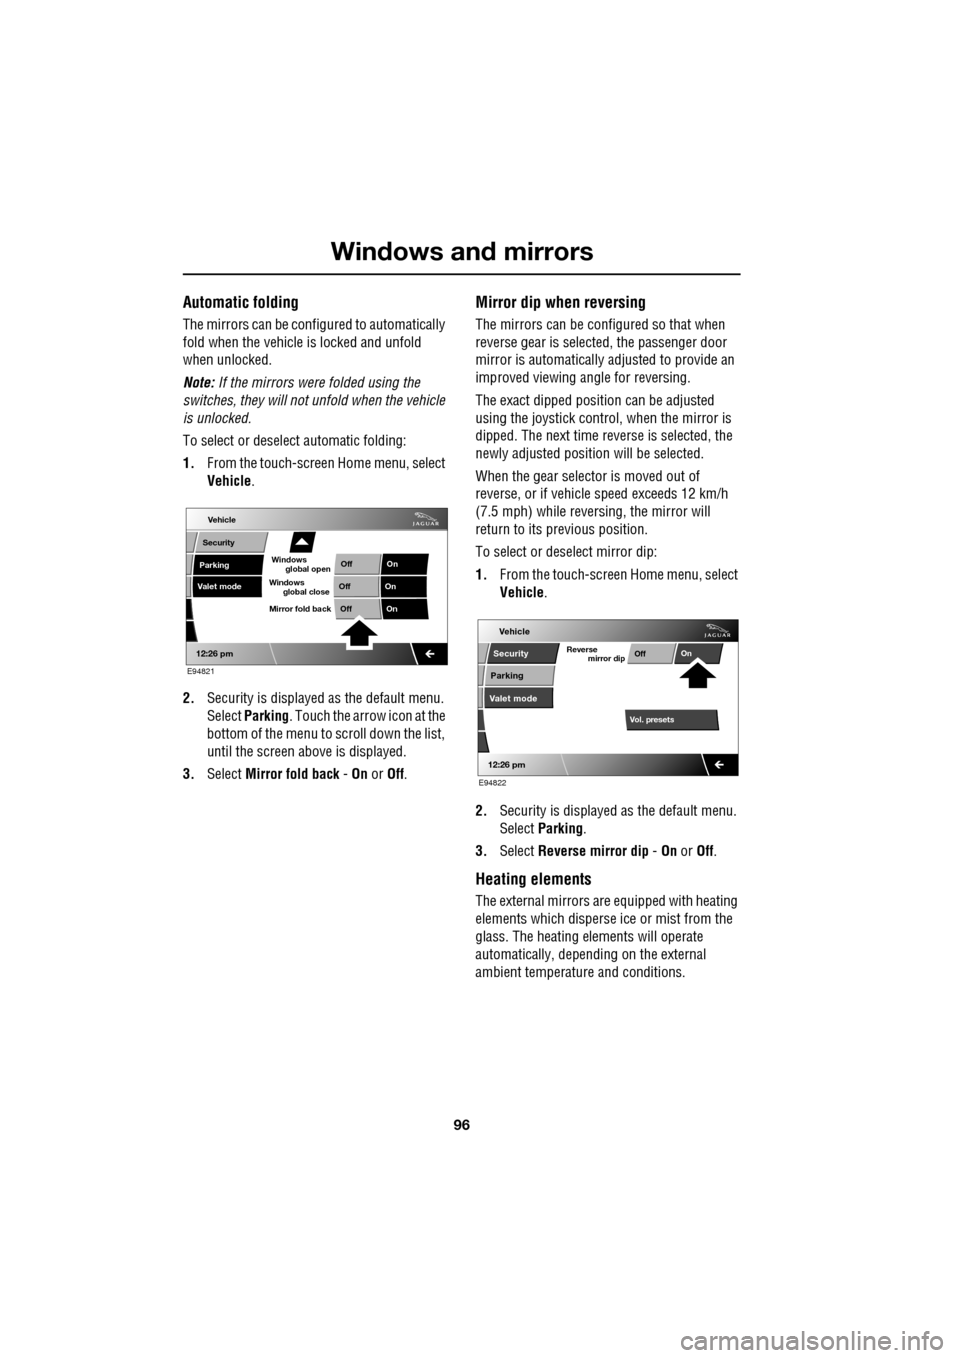
To select or deselect automatic folding:
1. From the touch-screen Home menu, select
Vehicle .
2. Security is displayed as the default menu.
Select Parking . Touch the arrow icon at the
bottom of the menu to scroll down the list,
until the screen a bove is displayed.
3. Select Mirror fold back - On or Off.
Mirror dip when reversing
The mirrors can be configured so that when
reverse gear is select ed, the passenger door
mirror is automatically adjusted to provide an
improved viewing a ngle for reversing.
The exact dipped positi on can be adjusted
using the joystick contro l, when the mirror is
dipped. The next time reverse is selected, the
newly adjusted position will be selected.
When the gear selector is moved out of
reverse, or if vehicle speed exceeds 12 km/h
(7.5 mph) while revers ing, the mirror will
return to its previous position.
To select or deselect mirror dip:
1. From the touch-screen Home menu, select
Vehicle .
2. Security is displayed as the default menu.
Select Parking .
3. Select Reverse mirror dip - On or Off.
Heating elements
The external mirrors are equipped with heating
elements which disperse ice or mist from the
glass. The heating el ements will operate
automatically, depending on the external
ambient temperatur e and conditions.
Vehicle
Valet mode
Security
Parking Off
On
Off On
12:26 pm
OffOn
Mirror fold back
E94821
global open
Windows
global close
Windows
mirror dip
Vol. presetsOff
On
Vehicle
Security
Parking
Valet mode
Reverse
12:26 pm
E94822
Page 97 of 391

97
Windows and mirrors
BLIND SPOT MONITOR
The Blind Spot Monitor (BSM) system
monitors a zone that covers the area adjacent
to the vehicle, that is not easily visible by the
driver and is designed to identify any object
overtaking the vehicle. Th e system uses a radar
on each side of the vehicle to identify any
overtaking vehicl e/object within the blind spot
area of the vehicle, while disregarding other
objects which may be stati onary or travelling in
the opposite direction, etc.
The radar monitors the ar ea extending from the
exterior mirror rearwards, to approximately 7
metres (23 feet) behind the rear wheels, and up
to 2.5 metres (8.2 feet) from the side of the
vehicle (the wi dth of a typical carriageway
lane).
Note: This radar sensor is approved in all RTTE
countries.
Note: The system covers an area of a fixed lane
width. If the lanes are narrower than a typical
carriageway lane, objects travelling in
non-adjacent lanes may be detected.
BSM automatically switches on and becomes
active when the vehicle is travelling at greater
than 16 km/h (10 mph) in a forward drive gear.
When the system initiates, it performs a
self-check, during which the warning icons in
the mirrors illuminate alternately for a short
period of time.
WARNINGS
The Blind Spot Monitor (BSM)
system is a supplement to, not a
replacement for, a safe driving style
and use of the exterior and rear-view mirrors.
It remains the driver's re sponsibility to detect
other vehicles, and their relative distance and
speed, when deciding whet her or not it is safe
to change lanes.
Please note that BSM may not be able
to give adequate wa rning of vehicles
approaching very quickly from behind
or vehicles that are be ing overtaken rapidly.
The radar sensors may be impaired
by rain, snow or road spray. This may
affect the sy stem's ability to reliably
detect a vehicle/object wi thin the blind spot. In
such conditions, take extra care when
changing lanes.
BSM may not be able to detect all
vehicles and may also detect objects,
such as roadside barriers, etc.
CAUTIONS
Ensure that the warning indicators in the
exterior mirrors are not obscured by
stickers or other objects.
Do not attach stickers or objects to the
rear bumpers, that may interfere with
the radar sensors.
E96410
Page 98 of 391

Windows and mirrors
98
BSM is designed to work most effectively when
driving on multi-lane highways.
If an object is identified by the system as being
an overtaking vehicle/object, an amber
warning icon ( 1) illuminates in the relevant
exterior mirror, to alert the driver that there is a
potential hazard in the vehicle's blind spot and
therefore, that a lane change might be
dangerous.
Note: If an overtaking vehicle is detected on
both sides of the vehicle simultaneously, the
warning icons in both mirrors will illuminate.
Note: BSM is automatically turned off when
reverse ( R) gear is selected, when the vehicle is
in park ( P), the vehicle is travelling below
16 km/h (10 mph) and also when the electrical
connector for the trailer socket is plugged in on
vehicles with a factory-fitted towing bracket.
When in these conditions, an amber warning
indicator within the exterior mirror is
displayed.Sensor blockage
The BSM system will automatically disable if
either of the sensors become completely
obscured, an amber wa rning indicator dot (2)
is displayed in the exterior mirror and the
message BSM sensor blocked appears in the
message centre.
Note: Blockage testing is only initiated when
vehicle speed is above 32 km/h (20 mph) and
will take at least two minutes of accumulated
time travelling above th is speed, to determine
that the sensor is blocked.
If the sensors become blocked, then please
check that there is nothing obscuring the rear
bumper and that it is cl ear from ice, frost and
dirt.
System fault
If a fault with one of the radar sensors is
detected, an amber warn ing indicator dot is
displayed in the exterior mirror and the
message BSM not available is displayed in the
message centre.
Note: Even if the detected fault only affects the
radar sensor on one side of the vehicle, the
whole system is disabled. If the fault is
temporary, the system will operate correctly
once the engine has been switched off and then
on again.
If a fault in the system occurs, consult your
Dealer/Authorised Repairer.
E96411
12
Page 99 of 391

99
Instruments
INSTRUMENT PANEL OVERVIEW
Instrument panel
1.Speedometer.
2. Message centre.
3. Tachometer.
4. Fuel gauge.
The instruments will not show correct
information until the i gnition system is on.
Speedometer
Indicates road speed.
Message centre
Displays warning and information messages
and gear selector mode and position
information. See WARNING AND
INFORMATION MESSAGES (page 106).
See AUTOMATIC TRANSMISSION (page 137).
Tachometer
Indicates engine speed in revolutions per
minute (RPM) x 1000.
Fuel gauge
The message centre will display FUEL LEVEL
LOW , when the fuel level is approximately 1/16
of tank capacity. This gives an approximate
range of 50 to 65 km (30 to 40 miles).
As a reminder for the location of the fuel filler,
there is an arrow above the fuel pump symbol,
which points to the releva nt side of the vehicle.
Akm
l/100km
JAG1630
123
4
CAUTION
Never allow the vehicle to run out of fuel.
The resulting misfire may cause serious
damage to the catalytic convertor.