2009 Hyundai Accent ignition
[x] Cancel search: ignitionPage 137 of 232
2 DRIVING YOUR HYUNDAI
10
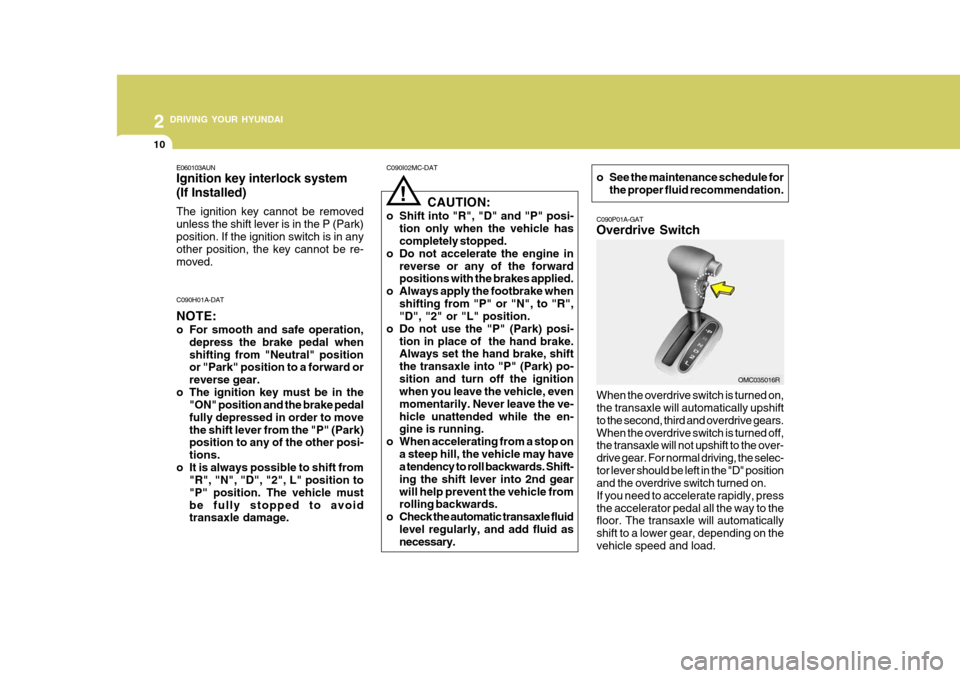
C090P01A-GAT Overdrive Switch
When the overdrive switch is turned on, the transaxle will automatically upshift to the second, third and overdrive gears.When the overdrive switch is turned off,
the transaxle will not upshift to the over- drive gear. For normal driving, the selec-tor lever should be left in the "D" position
and the overdrive switch turned on. If you need to accelerate rapidly, pressthe accelerator pedal all the way to the floor. The transaxle will automatically shift to a lower gear, depending on thevehicle speed and load.
C090I02MC-DAT
!
CAUTION:
o Shift into "R", "D" and "P" posi- tion only when the vehicle has completely stopped.
o Do not accelerate the engine in
reverse or any of the forwardpositions with the brakes applied.
o Always apply the footbrake when shifting from "P" or "N", to "R","D", "2" or "L" position.
o Do not use the "P" (Park) posi- tion in place of the hand brake.Always set the hand brake, shift the transaxle into "P" (Park) po-sition and turn off the ignition when you leave the vehicle, even momentarily. Never leave the ve-hicle unattended while the en- gine is running.
o When accelerating from a stop on a steep hill, the vehicle may havea tendency to roll backwards. Shift- ing the shift lever into 2nd gearwill help prevent the vehicle from rolling backwards.
o Check the automatic transaxle fluid level regularly, and add fluid asnecessary.
C090H01A-DAT NOTE:
o For smooth and safe operation,
depress the brake pedal when shifting from "Neutral" position or "Park" position to a forward or reverse gear.
o The ignition key must be in the "ON" position and the brake pedalfully depressed in order to movethe shift lever from the "P" (Park) position to any of the other posi- tions.
o It is always possible to shift from "R", "N", "D", "2", L" position to"P" position. The vehicle mustbe fully stopped to avoid transaxle damage.
OMC035016R
o See the maintenance schedule for
the proper fluid recommendation.
E060103AUN Ignition key interlock system (If Installed) The ignition key cannot be removed unless the shift lever is in the P (Park)position. If the ignition switch is in any other position, the key cannot be re- moved.
Page 140 of 232
2
DRIVING YOUR HYUNDAI
13
2
DRIVING YOUR HYUNDAI
13
C310B01JM-AAT ESP ON/OFF Mode When the ESP is operating, the ESP indicator in the instrument cluster willblink. If you turn the system off by pressing the ESP switch, the ESP-OFF indica-tor will come on and stay on. In the ESP-OFF mode, the stability control will be deactivated. Adjust your drivingaccordingly. To turn the system back on, press the switch again. The ESP- OFF indicator should go off. NOTE: The ESP mode will automatically be turned ON after the engine is turnedoff and restarted. C310D01JM-DAT Indicators and Warning The indicators should illuminate when the ignition key is turned to ON orSTART but should go out after three seconds. If the indicators do not illuminate, or theESP or ESP-OFF indicator does not go out after 3 seconds, have the vehicle checked by an authorised dealer. Should there be any unusual conditions in the device while driving, ESP-OFFindicator illuminates as a warning. If ESP-OFF indicator illuminates, pull your car to a safe place and stop theengine. Then, start the engine again to check if the ESP-OFF indicator goes out. If the indicator remains lit even after the engine has been started, have your carchecked by an authorised Hyundai dealer.
!
CAUTION:
Driving with varying tyre or wheel size may cause the ESP system tomalfunction. When replacing tyres, make sure they are the same size as your original tyres.!
Factors including speed, road condi- tions and driver steering input can allaffect whether ESP will be effective in preventing a loss of control. It is still your responsibility to drive and cornerat reasonable speeds and to leave a sufficient margin of safety.
WARNING:
Electronic stability program is only a driving aid; all normal precautions for driving in bad weather and on slippery road surfaces should beobserved.
Page 141 of 232
2 DRIVING YOUR HYUNDAI
14
Types of warning sound
o When an object is 120 cm to 81 cm(47 in. to 32 in.) from the rear bumper : Buzzer beeps intermittently
o When an object is 80 cm to 41 cm (31
in. to 16 in.) from the rear bumper :Buzzer beeps more frequently
o When an object is within 40 cm (15 in.) of the rear bumper : Buzzersounds continuously.
Non-operational conditions of rear parking assist system The rear parking assist system may not operate properly when: 1. Moisture is frozen to the sensor. (It will operate normally when the mois- ture has been cleared.)
2. The sensor is covered with foreign
matter, such as snow or water, or thesensor cover is blocked. (It will oper- ate normally when the material isremoved or the sensor is no longer blocked.)
3. Driving on uneven road surfaces
(unpaved roads, gravel, bumps, gra-dient).
Sensor OMC025109
REAR PARKING ASSIST SYSTEM
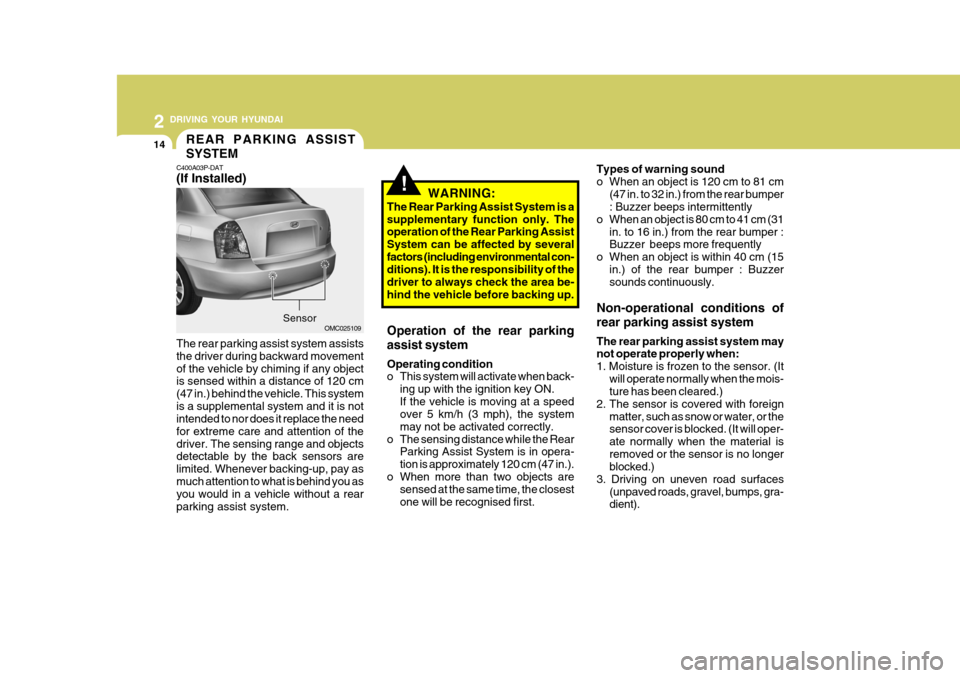
C400A03P-DAT (If Installed) The rear parking assist system assists the driver during backward movementof the vehicle by chiming if any object is sensed within a distance of 120 cm (47 in.) behind the vehicle. This systemis a supplemental system and it is not intended to nor does it replace the need for extreme care and attention of thedriver. The sensing range and objects detectable by the back sensors are limited. Whenever backing-up, pay asmuch attention to what is behind you as you would in a vehicle without a rear parking assist system.
!
Operation of the rear parking assist system Operating condition
o This system will activate when back-
ing up with the ignition key ON. If the vehicle is moving at a speed over 5 km/h (3 mph), the system may not be activated correctly.
o The sensing distance while the Rear Parking Assist System is in opera-tion is approximately 120 cm (47 in.).
o When more than two objects are sensed at the same time, the closestone will be recognised first. WARNING:
The Rear Parking Assist System is asupplementary function only. The operation of the Rear Parking Assist System can be affected by severalfactors (including environmental con- ditions). It is the responsibility of the driver to always check the area be-hind the vehicle before backing up.
Page 146 of 232
2
DRIVING YOUR HYUNDAI
19
2
DRIVING YOUR HYUNDAI
19
C160C01A-AAT Use High Quality Ethylene Gly- col Coolant Your Hyundai is delivered with high quality ethylene glycol coolant in the cooling system. It is the only type ofcoolant that should be used because it helps prevent corrosion in the cooling system, lubricates the water pump andprevents freezing. Be sure to replace or replenish your coolant in accor- dance with the maintenance schedulein Section 5. Before winter, have your coolant tested to assure that its freez- ing point is sufficient for the tempera-tures anticipated during the winter.
It should be noted that installing tyrechains on the tyre will provide a greaterdriving force, but will not prevent side skids. NOTE: Tyre chains are not legal in all states. Check state laws before fitting tyrechains.WINTER DRIVING
C160B01A-DAT Snowy or Icy Conditions To drive your vehicle in deep snow, it may be necessary to use snow tyres or to install tyre chains on your tyres. If snow tyre are needed, it is necessaryto select tyres equivalent in size and type to the original equipment tyres. Failure to do so may adversely affectthe safety and handling of your car. Furthermore, speeding, rapid accel- eration, sudden brake applications, andsharp turns are potentially very haz- ardous practices. During deceleration, use engine brak-ing to the fullest extent. Sudden brake applications on snowy or icy roads may cause skids to occur. You need to
keep sufficient distance between the vehicle in operation in front and your vehicle. Also, apply the brake gently.
C160A01A-DAT The more severe weather conditions of winter result in greater wear and other problems. To minimise the prob- lems of winter driving, you should fol-low these suggestions:
C160F02A-AAT Check Spark Plugs and Ignition System Inspect your spark plugs and replace them if necessary. Also check allignition wiring and components to be sure they are not cracked, worn or damaged in any way.
C160E01A-AAT Change to "Winter Weight" Oil if Necessary In some climates it is recommended that a lower viscosity "winter weight" oil be used during cold weather. See Section 9 for recommendations. If youaren't sure what weight oil you should use, consult your Hyundai dealer.
C160D01A-DAT Check Battery and Cables Winter puts additional burdens on the battery and charging system. Visuallyinspect the battery and cables as de- scribed in Section 6. The level of charge in your battery can be checked by yourHyundai dealer or a service station.
Page 154 of 232
3 WHAT TO DO IN AN EMERGENCY
2
!
IF THE ENGINE WILL NOT START
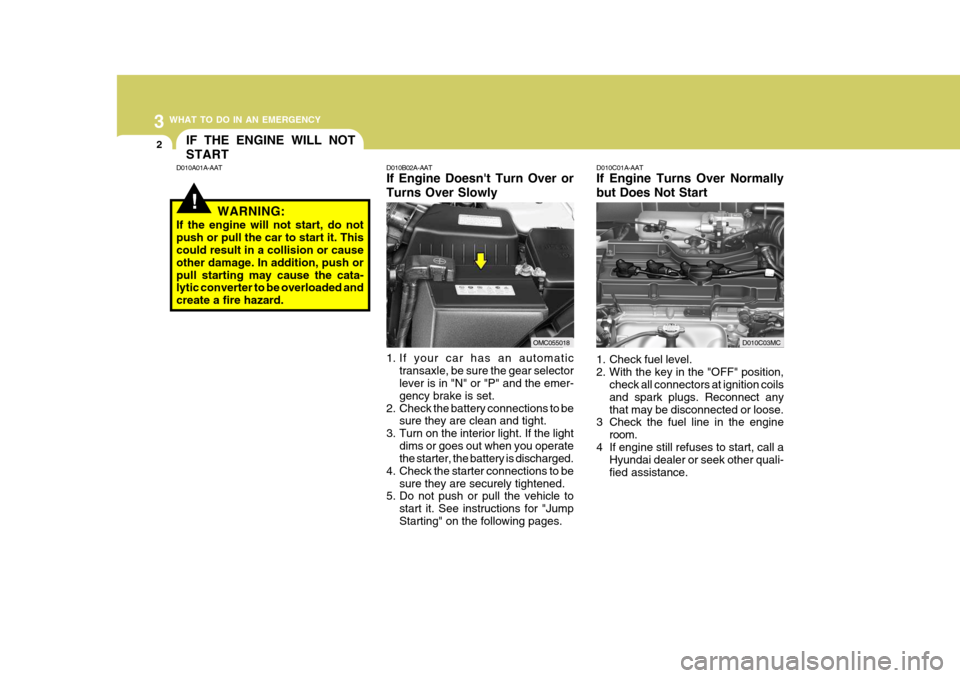
D010B02A-AAT If Engine Doesn't Turn Over or Turns Over Slowly
1. If your car has an automatic
transaxle, be sure the gear selector lever is in "N" or "P" and the emer- gency brake is set.
2. Check the battery connections to be sure they are clean and tight.
3. Turn on the interior light. If the light
dims or goes out when you operate the starter, the battery is discharged.
4. Check the starter connections to be
sure they are securely tightened.
5. Do not push or pull the vehicle to
start it. See instructions for "Jump Starting" on the following pages. D010C01A-AAT If Engine Turns Over Normally but Does Not Start
1. Check fuel level.
2. With the key in the "OFF" position,
check all connectors at ignition coilsand spark plugs. Reconnect anythat may be disconnected or loose.
3 Check the fuel line in the engine
room.
4 If engine still refuses to start, call a Hyundai dealer or seek other quali-fied assistance.
D010A01A-AAT
WARNING:
If the engine will not start, do notpush or pull the car to start it. This could result in a collision or cause other damage. In addition, push orpull starting may cause the cata- lytic converter to be overloaded and create a fire hazard.
OMC055018D010C03MC
Page 162 of 232
3 WHAT TO DO IN AN EMERGENCY
10
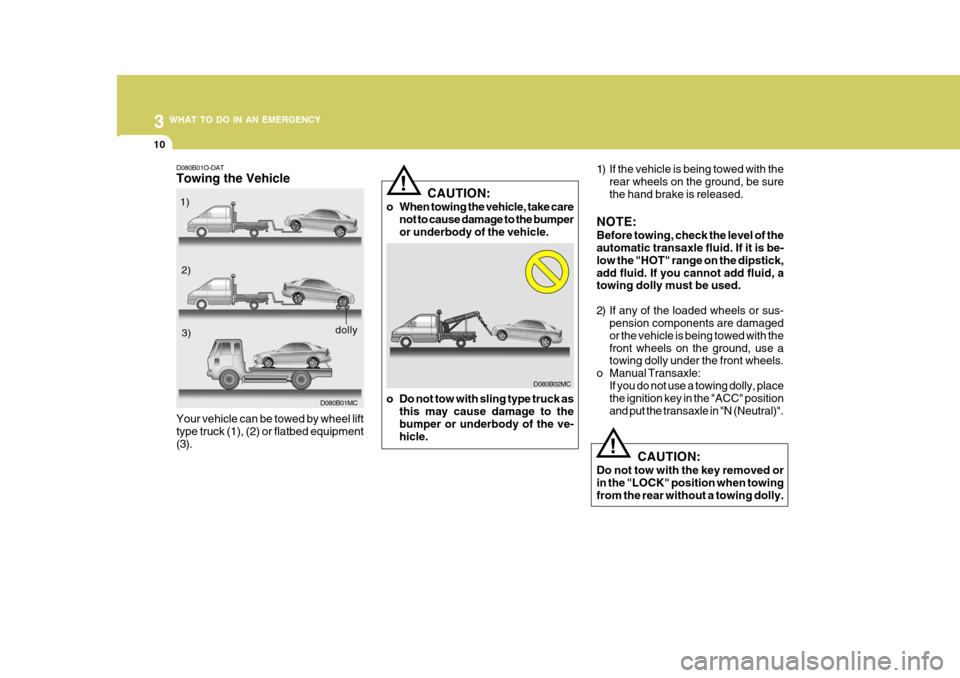
D080B01O-DAT Towing the Vehicle Your vehicle can be towed by wheel lift type truck (1), (2) or flatbed equipment(3).1)
2)3)
D080B01MC
dolly
D080B02MC
CAUTION:
o When towing the vehicle, take care not to cause damage to the bumper or underbody of the vehicle.
o Do not tow with sling type truck as this may cause damage to thebumper or underbody of the ve- hicle.
!
!
1) If the vehicle is being towed with the
rear wheels on the ground, be sure the hand brake is released.
NOTE: Before towing, check the level of the automatic transaxle fluid. If it is be- low the "HOT" range on the dipstick,add fluid. If you cannot add fluid, a towing dolly must be used.
2) If any of the loaded wheels or sus- pension components are damaged or the vehicle is being towed with thefront wheels on the ground, use a towing dolly under the front wheels.
o Manual Transaxle: If you do not use a towing dolly, placethe ignition key in the "ACC" position and put the transaxle in "N (Neutral)".
CAUTION:
Do not tow with the key removed orin the "LOCK" position when towing from the rear without a towing dolly.
Page 198 of 232
6
DO-IT-YOURSELF MAINTENANCE
17CHECKING AND REPLAC- ING FUSES
!
CAUTION:
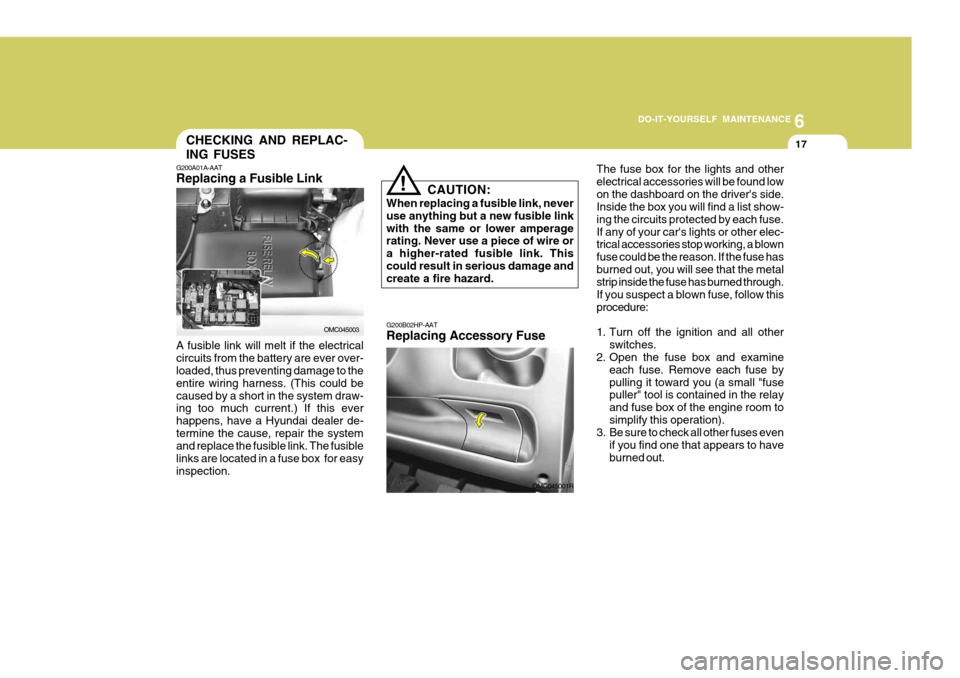
When replacing a fusible link, never use anything but a new fusible linkwith the same or lower amperage rating. Never use a piece of wire or a higher-rated fusible link. Thiscould result in serious damage and create a fire hazard. G200B02HP-AAT Replacing Accessory Fuse The fuse box for the lights and other electrical accessories will be found lowon the dashboard on the driver's side. Inside the box you will find a list show- ing the circuits protected by each fuse.If any of your car's lights or other elec- trical accessories stop working, a blown fuse could be the reason. If the fuse hasburned out, you will see that the metal strip inside the fuse has burned through. If you suspect a blown fuse, follow thisprocedure:
1. Turn off the ignition and all other
switches.
2. Open the fuse box and examine
each fuse. Remove each fuse by pulling it toward you (a small "fuse puller" tool is contained in the relay and fuse box of the engine room tosimplify this operation).
3. Be sure to check all other fuses even
if you find one that appears to haveburned out.
G200A01A-AAT Replacing a Fusible Link
OMC045003
A fusible link will melt if the electrical circuits from the battery are ever over- loaded, thus preventing damage to the entire wiring harness. (This could becaused by a short in the system draw- ing too much current.) If this ever happens, have a Hyundai dealer de-termine the cause, repair the system and replace the fusible link. The fusible links are located in a fuse box for easyinspection.
OMC045001R
Page 201 of 232
6 DO-IT-YOURSELF MAINTENANCE
20
!
o Never attempt to charge the bat-
tery when the battery cables are connected.
o The electrical ignition system works with high voltage.Never touch these componentswith the engine running or the ignition switched on.
!
G210B01Y-AAT Checking the Battery Keep the battery clean. Any evidence of corrosion around the battery postsor terminals should be removed using a solution of household baking soda and warm water. After the battery ter-minals are dry, cover them with a light coating of grease.
WARNING:
Always read the following instructions carefully when handling a battery.Keep lighted cigarettes and all other flames or sparks away from the battery.Hydrogen, which is a highly combustible gas, is always present in battery cells andmay explode if ignited. Keep batteries out of the reach of children becausebatteries contain highly cor- rosive SULFURIC ACID. Do not allow battery acid to con-tact your skin, eyes, cloth- ing or paint finish.
If any electrolyte gets into your eyes, flush your eyes with clean water for at least15 minutes and get immedi- ate medical attention. If pos- sible, continue to applywater with a sponge or cloth until medical attention is re- ceived.If electrolyte gets on your skin, thoroughly wash the contacted area.If you feel a pain or a burn- ing sensation, get medical attention immediately.Wear eye protection when charging or working near a battery.Always provide ventilation when working in an en- closed space.
o When lifting a plastic-cased bat- tery, excessive pressure on thecase may cause battery acid to leak, resulting in personal injury. Lift with a battery carrier or withyour hands on opposite corners.