2009 Hyundai Accent ignition
[x] Cancel search: ignitionPage 83 of 232
1FEATURES OF YOUR HYUNDAI
72
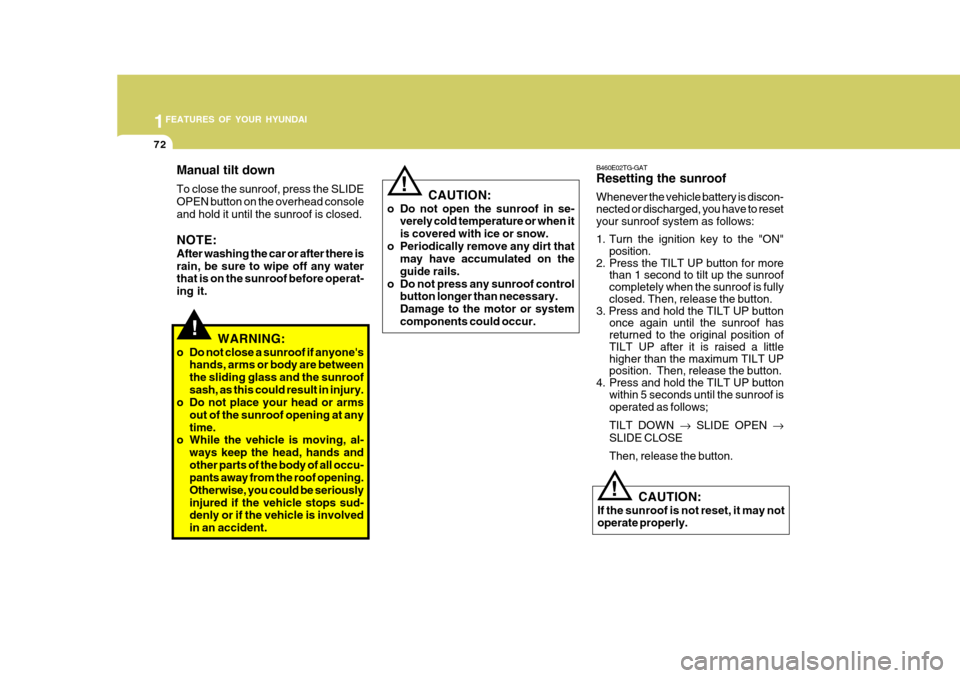
B460E02TG-GAT Resetting the sunroof Whenever the vehicle battery is discon- nected or discharged, you have to reset your sunroof system as follows:
1. Turn the ignition key to the "ON"position.
2. Press the TILT UP button for more than 1 second to tilt up the sunroof completely when the sunroof is fully closed. Then, release the button.
3. Press and hold the TILT UP button once again until the sunroof has returned to the original position of TILT UP after it is raised a little higher than the maximum TILT UP position. Then, release the button.
4. Press and hold the TILT UP button within 5 seconds until the sunroof is operated as follows; TILT DOWN � SLIDE OPEN �
SLIDE CLOSEThen, release the button.
! CAUTION:
If the sunroof is not reset, it may not operate properly.
!
!
WARNING:
o Do not close a sunroof if anyone's hands, arms or body are between the sliding glass and the sunroofsash, as this could result in injury.
o Do not place your head or arms
out of the sunroof opening at anytime.
o While the vehicle is moving, al-
ways keep the head, hands andother parts of the body of all occu- pants away from the roof opening. Otherwise, you could be seriouslyinjured if the vehicle stops sud- denly or if the vehicle is involved in an accident. CAUTION:
o Do not open the sunroof in se- verely cold temperature or when itis covered with ice or snow.
o Periodically remove any dirt that may have accumulated on theguide rails.
o Do not press any sunroof control button longer than necessary.Damage to the motor or systemcomponents could occur.
Manual tilt down To close the sunroof, press the SLIDE OPEN button on the overhead consoleand hold it until the sunroof is closed. NOTE: After washing the car or after there is rain, be sure to wipe off any water that is on the sunroof before operat- ing it.
Page 84 of 232
1
FEATURES OF YOUR HYUNDAI
73INTERIOR LIGHT
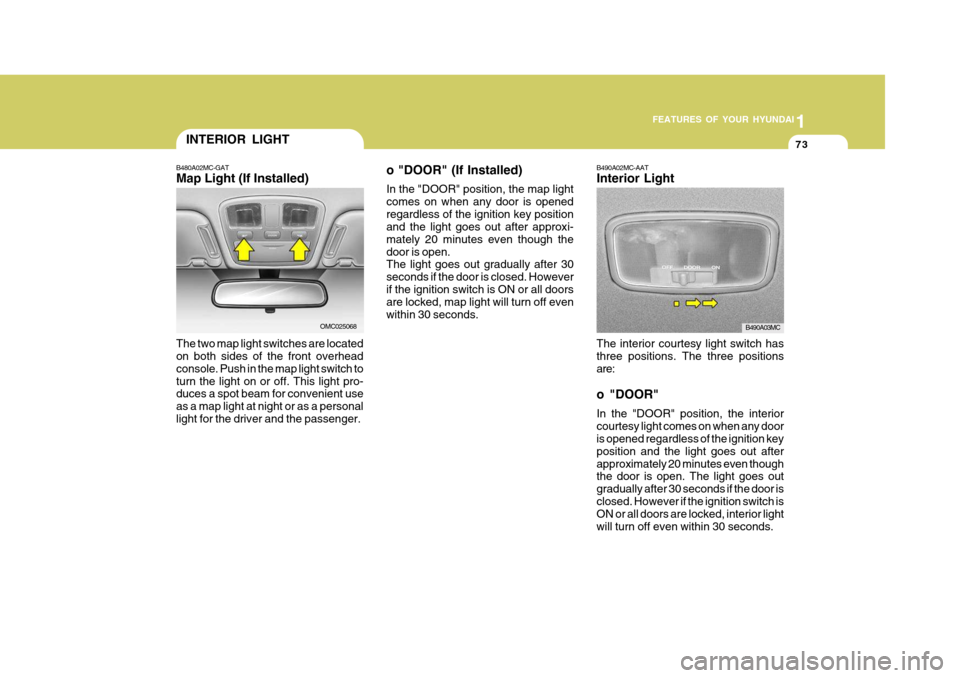
B480A02MC-GAT Map Light (If Installed) The two map light switches are located on both sides of the front overhead console. Push in the map light switch toturn the light on or off. This light pro- duces a spot beam for convenient use as a map light at night or as a personallight for the driver and the passenger.
OMC025068 o "DOOR" (If Installed) In the "DOOR" position, the map light comes on when any door is openedregardless of the ignition key position and the light goes out after approxi- mately 20 minutes even though thedoor is open. The light goes out gradually after 30 seconds if the door is closed. Howeverif the ignition switch is ON or all doors are locked, map light will turn off even within 30 seconds.
The interior courtesy light switch hasthree positions. The three positionsare: o "DOOR" In the "DOOR" position, the interior courtesy light comes on when any door is opened regardless of the ignition key position and the light goes out afterapproximately 20 minutes even though the door is open. The light goes out gradually after 30 seconds if the door isclosed. However if the ignition switch is ON or all doors are locked, interior light will turn off even within 30 seconds.
B490A02MC-AAT Interior LightB490A03MC
Page 116 of 232
1
FEATURES OF YOUR HYUNDAI
105
1
FEATURES OF YOUR HYUNDAI
105
1
FEATURES OF YOUR HYUNDAI
105
1
FEATURES OF YOUR HYUNDAI
105
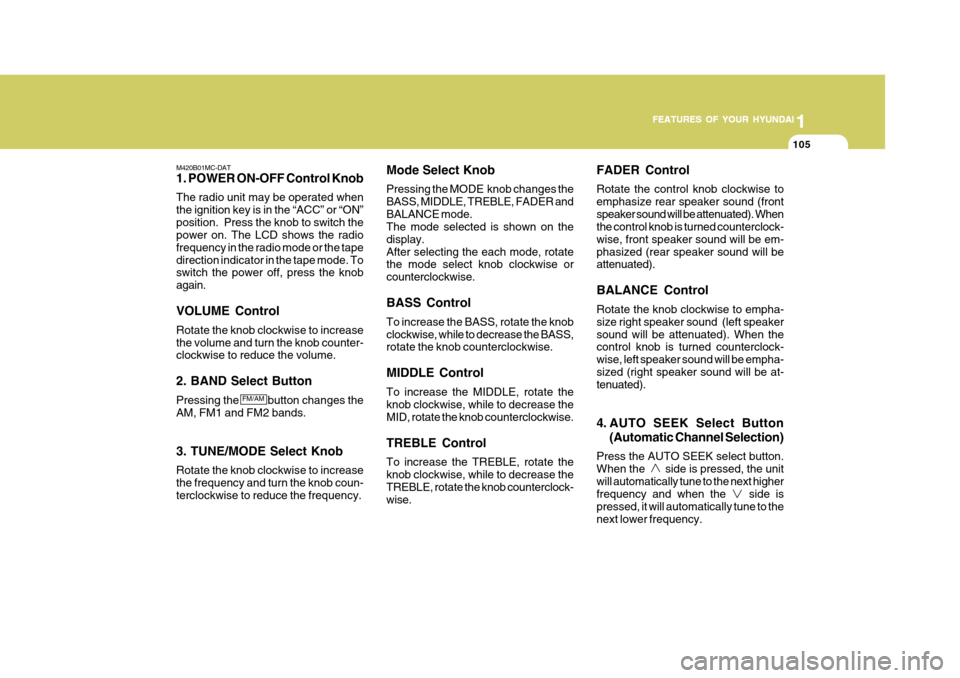
M420B01MC-DAT 1. POWER ON-OFF Control Knob The radio unit may be operated when the ignition key is in the “ACC” or “ON”position. Press the knob to switch the power on. The LCD shows the radio frequency in the radio mode or the tapedirection indicator in the tape mode. To switch the power off, press the knob again. VOLUME Control Rotate the knob clockwise to increase the volume and turn the knob counter- clockwise to reduce the volume. 2. BAND Select Button Pressing the button changes the AM, FM1 and FM2 bands. 3. TUNE/MODE Select Knob Rotate the knob clockwise to increase the frequency and turn the knob coun- terclockwise to reduce the frequency. Mode Select Knob Pressing the MODE knob changes the BASS, MIDDLE, TREBLE, FADER andBALANCE mode. The mode selected is shown on the display.After selecting the each mode, rotate the mode select knob clockwise or counterclockwise. BASS Control To increase the BASS, rotate the knob clockwise, while to decrease the BASS, rotate the knob counterclockwise. MIDDLE Control To increase the MIDDLE, rotate the knob clockwise, while to decrease the MID, rotate the knob counterclockwise. TREBLE Control To increase the TREBLE, rotate the knob clockwise, while to decrease the TREBLE, rotate the knob counterclock- wise.FADER Control Rotate the control knob clockwise to emphasize rear speaker sound (frontspeaker sound will be attenuated). When the control knob is turned counterclock- wise, front speaker sound will be em-phasized (rear speaker sound will be attenuated). BALANCE Control Rotate the knob clockwise to empha- size right speaker sound (left speakersound will be attenuated). When the control knob is turned counterclock- wise, left speaker sound will be empha-sized (right speaker sound will be at- tenuated).
4. AUTO SEEK Select Button
(Automatic Channel Selection)
Press the AUTO SEEK select button. When the side is pressed, the unitwill automatically tune to the next higher frequency and when the side is pressed, it will automatically tune to thenext lower frequency.
FM/AM
Page 121 of 232
1FEATURES OF YOUR HYUNDAI
110
H446B01MC-GAT 1. POWER ON-OFF Control Knob
o The radio unit may be operated when
the ignition key is in the "ACC" or "ON" position. Press the button to switch the power on. The LCD shows the radio frequency in the radio mode,CD/MP3 track in the CD/MP3 mode. To switch the power off, press the button again.
o Push the FM, AM or CD/MP3 to turn on that function without pushingPower ON-OFF control knob.
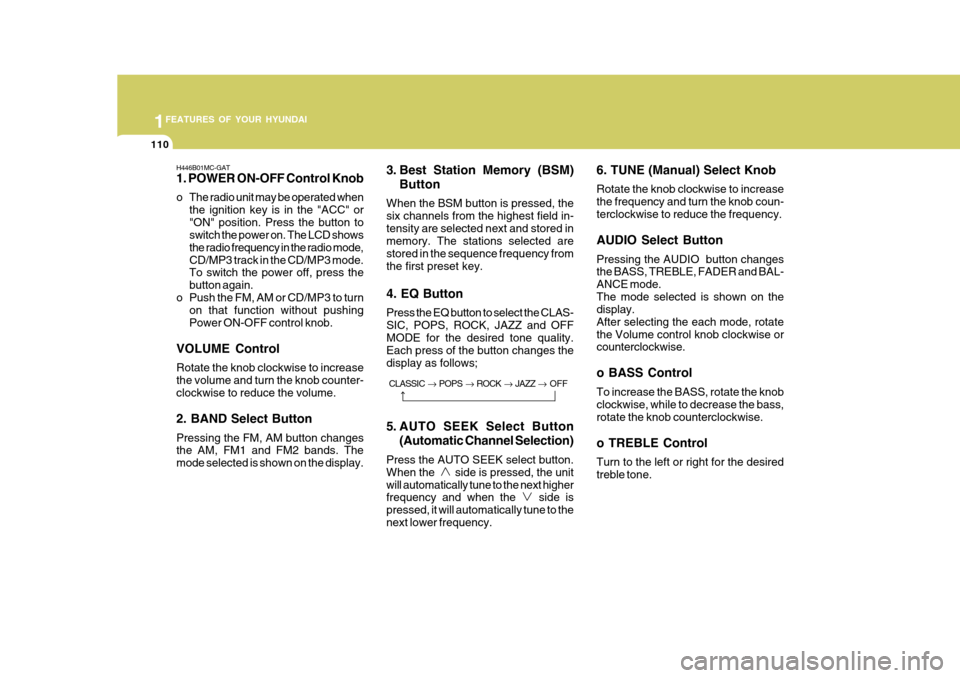
VOLUME Control Rotate the knob clockwise to increase the volume and turn the knob counter- clockwise to reduce the volume. 2. BAND Select Button Pressing the FM, AM button changes the AM, FM1 and FM2 bands. The mode selected is shown on the display. 3. Best Station Memory (BSM)
Button
When the BSM button is pressed, thesix channels from the highest field in-tensity are selected next and stored in memory. The stations selected are stored in the sequence frequency fromthe first preset key. 4. EQ Button Press the EQ button to select the CLAS- SIC, POPS, ROCK, JAZZ and OFFMODE for the desired tone quality. Each press of the button changes the display as follows;
5. AUTO SEEK Select Button (Automatic Channel Selection)
Press the AUTO SEEK select button. When the side is pressed, the unitwill automatically tune to the next higher frequency and when the side is pressed, it will automatically tune to thenext lower frequency. 6. TUNE (Manual) Select Knob Rotate the knob clockwise to increase the frequency and turn the knob coun-terclockwise to reduce the frequency. AUDIO Select Button Pressing the AUDIO button changes the BASS, TREBLE, FADER and BAL- ANCE mode.The mode selected is shown on the display. After selecting the each mode, rotatethe Volume control knob clockwise or counterclockwise. o BASS Control To increase the BASS, rotate the knob clockwise, while to decrease the bass, rotate the knob counterclockwise. o TREBLE Control Turn to the left or right for the desired treble tone.
CLASSIC
� POPS � ROCK � JAZZ � OFF
Page 124 of 232
1
FEATURES OF YOUR HYUNDAI
113
1
FEATURES OF YOUR HYUNDAI
113
1
FEATURES OF YOUR HYUNDAI
113
1
FEATURES OF YOUR HYUNDAI
113
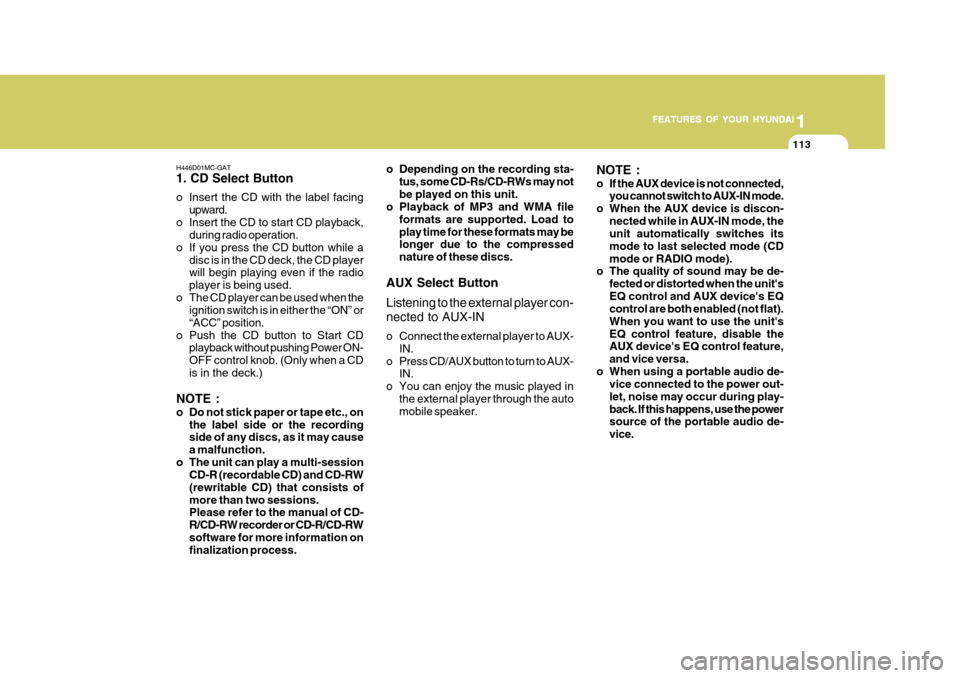
H446D01MC-GAT 1. CD Select Button
o Insert the CD with the label facing upward.
o Insert the CD to start CD playback, during radio operation.
o If you press the CD button while a disc is in the CD deck, the CD player will begin playing even if the radio player is being used.
o The CD player can be used when the ignition switch is in either the “ON” or“ACC” position.
o Push the CD button to Start CD playback without pushing Power ON-OFF control knob. (Only when a CDis in the deck.)
NOTE :
o Do not stick paper or tape etc., on the label side or the recording side of any discs, as it may cause a malfunction.
o The unit can play a multi-session CD-R (recordable CD) and CD-RW(rewritable CD) that consists ofmore than two sessions. Please refer to the manual of CD- R/CD-RW recorder or CD-R/CD-RWsoftware for more information on finalization process. o Depending on the recording sta-
tus, some CD-Rs/CD-RWs may not be played on this unit.
o Playback of MP3 and WMA file
formats are supported. Load toplay time for these formats may be longer due to the compressed nature of these discs.
AUX Select Button Listening to the external player con- nected to AUX-IN
o Connect the external player to AUX- IN.
o Press CD/AUX button to turn to AUX- IN.
o You can enjoy the music played in the external player through the auto mobile speaker. NOTE :
o If the AUX device is not connected,
you cannot switch to AUX-IN mode.
o When the AUX device is discon- nected while in AUX-IN mode, the unit automatically switches its mode to last selected mode (CDmode or RADIO mode).
o The quality of sound may be de-
fected or distorted when the unit'sEQ control and AUX device's EQ control are both enabled (not flat). When you want to use the unit'sEQ control feature, disable the AUX device's EQ control feature, and vice versa.
o When using a portable audio de- vice connected to the power out-let, noise may occur during play-back. If this happens, use the power source of the portable audio de- vice.
Page 130 of 232
2
DRIVING YOUR HYUNDAI
3
2
DRIVING YOUR HYUNDAI
3TO START THE ENGINEBEFORE STARTING THE EN- GINE
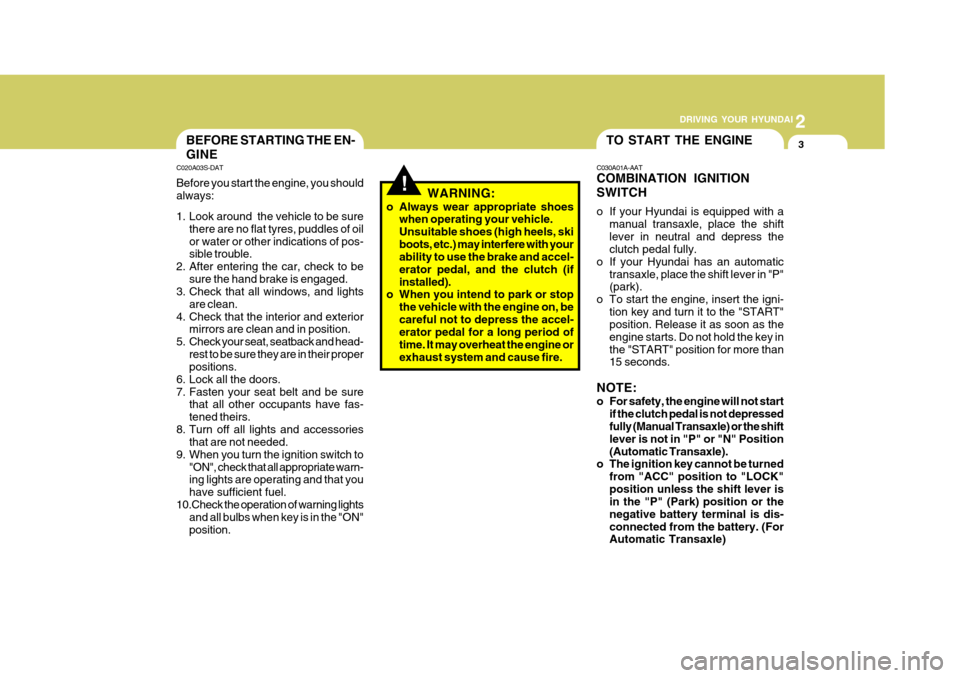
C020A03S-DAT Before you start the engine, you should always:
1. Look around the vehicle to be sure
there are no flat tyres, puddles of oil or water or other indications of pos- sible trouble.
2. After entering the car, check to be
sure the hand brake is engaged.
3. Check that all windows, and lights
are clean.
4. Check that the interior and exterior mirrors are clean and in position.
5. Check your seat, seatback and head- rest to be sure they are in their properpositions.
6. Lock all the doors.
7. Fasten your seat belt and be sure that all other occupants have fas-tened theirs.
8. Turn off all lights and accessories that are not needed.
9. When you turn the ignition switch to "ON", check that all appropriate warn- ing lights are operating and that you have sufficient fuel.
10.Check the operation of warning lights and all bulbs when key is in the "ON"position. C030A01A-AAT COMBINATION IGNITION SWITCH
o If your Hyundai is equipped with a
manual transaxle, place the shift lever in neutral and depress the clutch pedal fully.
o If your Hyundai has an automatic
transaxle, place the shift lever in "P"(park).
o To start the engine, insert the igni- tion key and turn it to the "START"position. Release it as soon as the engine starts. Do not hold the key inthe "START" position for more than 15 seconds.
NOTE:
o For safety, the engine will not start if the clutch pedal is not depressed fully (Manual Transaxle) or the shift lever is not in "P" or "N" Position(Automatic Transaxle).
o The ignition key cannot be turned
from "ACC" position to "LOCK"position unless the shift lever is in the "P" (Park) position or the negative battery terminal is dis-connected from the battery. (For Automatic Transaxle)
!WARNING:
o Always wear appropriate shoes when operating your vehicle. Unsuitable shoes (high heels, skiboots, etc.) may interfere with your ability to use the brake and accel- erator pedal, and the clutch (ifinstalled).
o When you intend to park or stop
the vehicle with the engine on, becareful not to depress the accel- erator pedal for a long period of time. It may overheat the engine orexhaust system and cause fire.
Page 131 of 232
2 DRIVING YOUR HYUNDAI
4
!
C040A01E
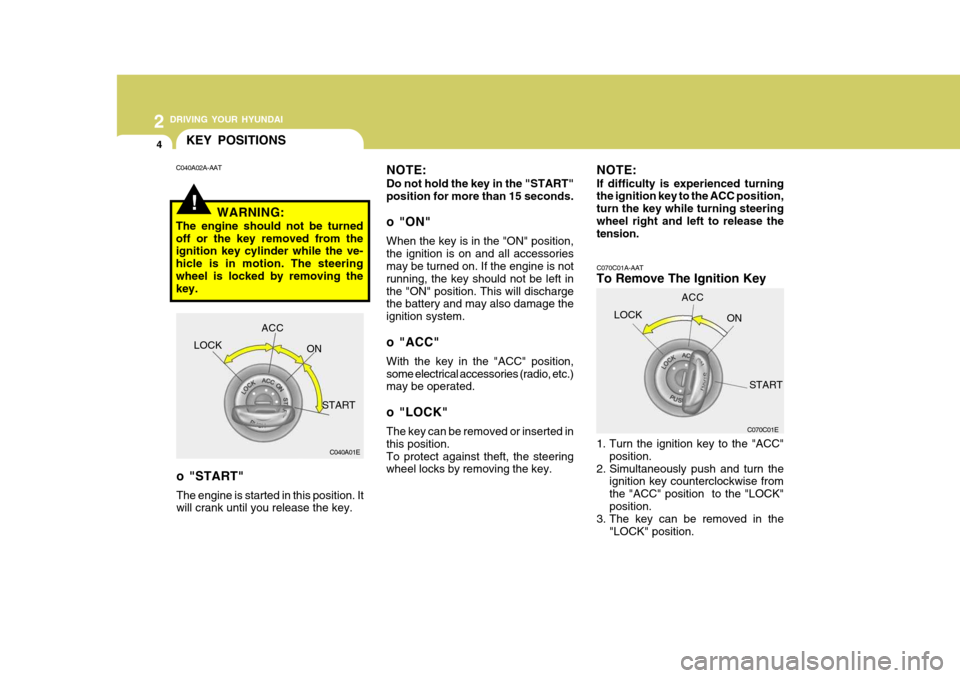
KEY POSITIONS
C070C01A-AAT
To Remove The Ignition Key
1. Turn the ignition key to the "ACC"position.
2. Simultaneously push and turn the ignition key counterclockwise from the "ACC" position to the "LOCK"position.
3. The key can be removed in the
"LOCK" position.
NOTE: Do not hold the key in the "START" position for more than 15 seconds.
o "ON" When the key is in the "ON" position, the ignition is on and all accessories may be turned on. If the engine is not running, the key should not be left inthe "ON" position. This will discharge the battery and may also damage the ignition system.
o "ACC" With the key in the "ACC" position, some electrical accessories (radio, etc.) may be operated.
o "LOCK" The key can be removed or inserted in this position.To protect against theft, the steering wheel locks by removing the key.
C040A02A-AAT
WARNING:
The engine should not be turned off or the key removed from the ignition key cylinder while the ve- hicle is in motion. The steeringwheel is locked by removing the key.
LOCK ACC
ON
START C070C01E
LOCK
ACC
ON
START
o "START" The engine is started in this position. It will crank until you release the key. NOTE: If difficulty is experienced turning the ignition key to the ACC position, turn the key while turning steeringwheel right and left to release the tension.
Page 132 of 232
2
DRIVING YOUR HYUNDAI
5
2
DRIVING YOUR HYUNDAI
5
!
!
STARTING
C050A01A-AAT
WARNING:
Never run the engine in a closed or poorly ventilated area any longer than is needed to move your car inor out of the area. The carbon mon- oxide gas emitted is odorless and can cause serious injury or death. C050B01A-AAT Normal Conditions: The Starting Procedure:
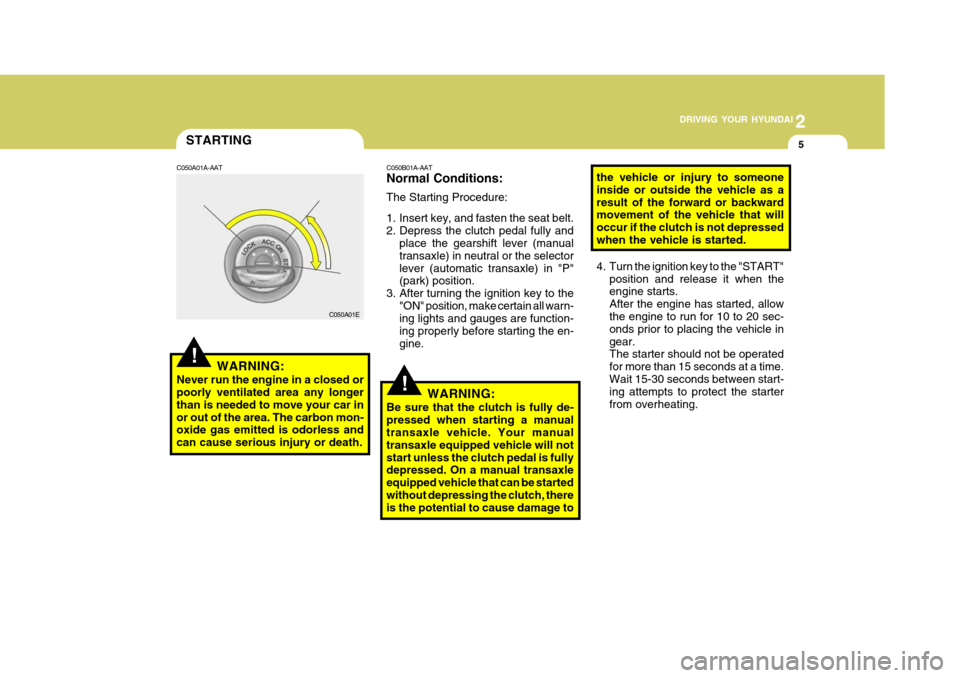
1. Insert key, and fasten the seat belt.
2. Depress the clutch pedal fully and
place the gearshift lever (manualtransaxle) in neutral or the selectorlever (automatic transaxle) in "P" (park) position.
3. After turning the ignition key to the "ON" position, make certain all warn-ing lights and gauges are function- ing properly before starting the en-gine.
WARNING:
Be sure that the clutch is fully de-pressed when starting a manual transaxle vehicle. Your manual transaxle equipped vehicle will notstart unless the clutch pedal is fully depressed. On a manual transaxle equipped vehicle that can be startedwithout depressing the clutch, there is the potential to cause damage to the vehicle or injury to someone inside or outside the vehicle as aresult of the forward or backward movement of the vehicle that will occur if the clutch is not depressedwhen the vehicle is started.
4. Turn the ignition key to the "START"
position and release it when the engine starts. After the engine has started, allowthe engine to run for 10 to 20 sec- onds prior to placing the vehicle in gear. The starter should not be operated for more than 15 seconds at a time.Wait 15-30 seconds between start- ing attempts to protect the starter from overheating.
C050A01E