2009 Hyundai Accent brake light
[x] Cancel search: brake lightPage 154 of 232
3 WHAT TO DO IN AN EMERGENCY
2
!
IF THE ENGINE WILL NOT START
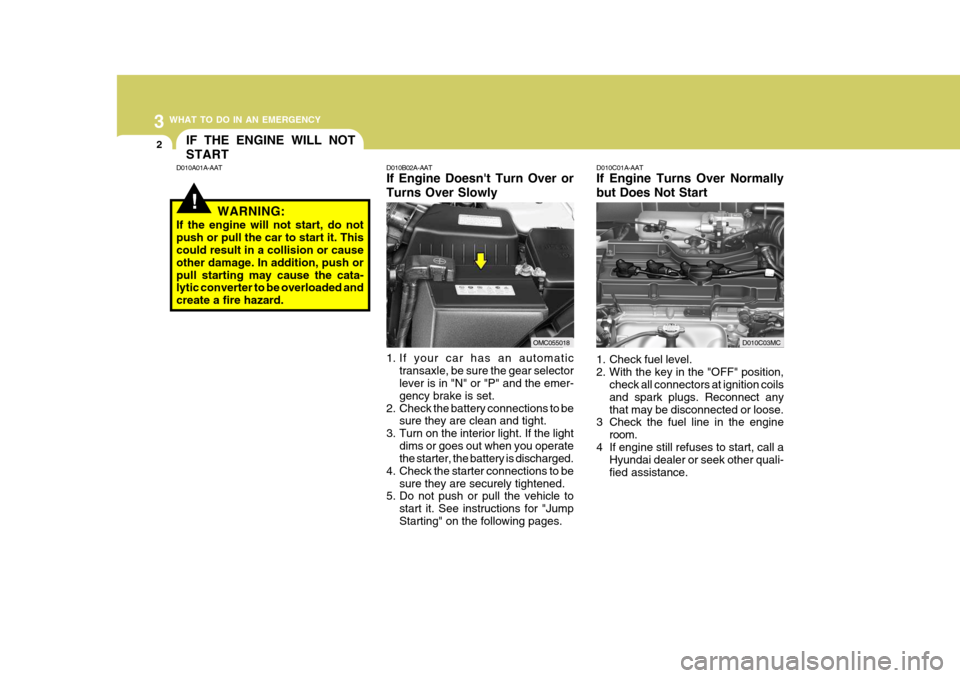
D010B02A-AAT If Engine Doesn't Turn Over or Turns Over Slowly
1. If your car has an automatic
transaxle, be sure the gear selector lever is in "N" or "P" and the emer- gency brake is set.
2. Check the battery connections to be sure they are clean and tight.
3. Turn on the interior light. If the light
dims or goes out when you operate the starter, the battery is discharged.
4. Check the starter connections to be
sure they are securely tightened.
5. Do not push or pull the vehicle to
start it. See instructions for "Jump Starting" on the following pages. D010C01A-AAT If Engine Turns Over Normally but Does Not Start
1. Check fuel level.
2. With the key in the "OFF" position,
check all connectors at ignition coilsand spark plugs. Reconnect anythat may be disconnected or loose.
3 Check the fuel line in the engine
room.
4 If engine still refuses to start, call a Hyundai dealer or seek other quali-fied assistance.
D010A01A-AAT
WARNING:
If the engine will not start, do notpush or pull the car to start it. This could result in a collision or cause other damage. In addition, push orpull starting may cause the cata- lytic converter to be overloaded and create a fire hazard.
OMC055018D010C03MC
Page 156 of 232
3 WHAT TO DO IN AN EMERGENCY
4IF THE ENGINE OVERHEATS
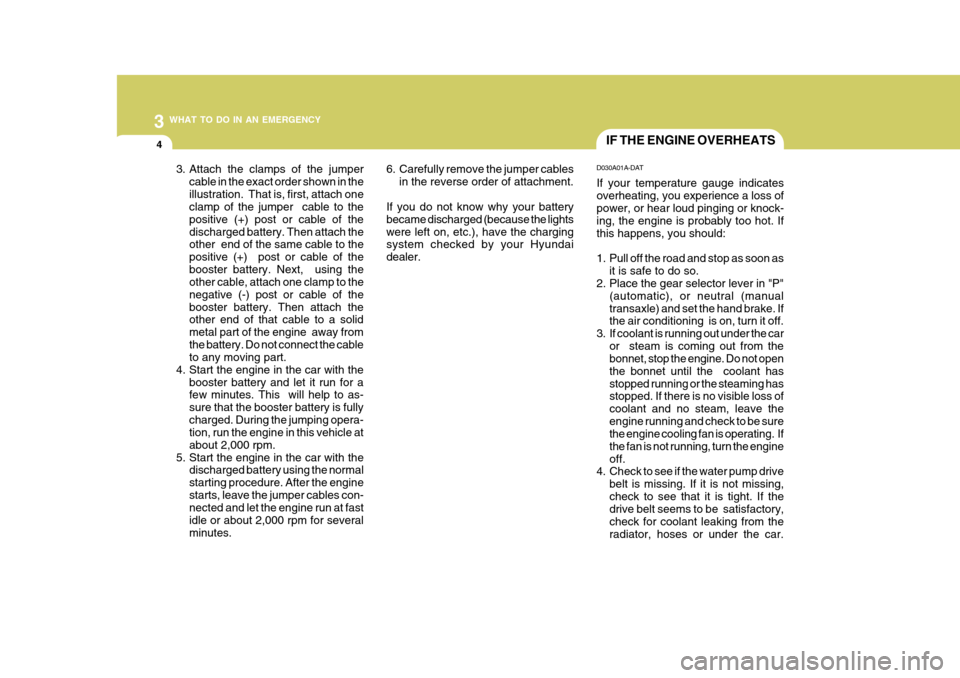
D030A01A-DAT If your temperature gauge indicates overheating, you experience a loss of power, or hear loud pinging or knock- ing, the engine is probably too hot. Ifthis happens, you should:
1. Pull off the road and stop as soon as it is safe to do so.
2. Place the gear selector lever in "P"
(automatic), or neutral (manual transaxle) and set the hand brake. If the air conditioning is on, turn it off.
3. If coolant is running out under the car or steam is coming out from thebonnet, stop the engine. Do not open the bonnet until the coolant hasstopped running or the steaming has stopped. If there is no visible loss of coolant and no steam, leave theengine running and check to be sure the engine cooling fan is operating. If the fan is not running, turn the engineoff.
4. Check to see if the water pump drive
belt is missing. If it is not missing,check to see that it is tight. If the drive belt seems to be satisfactory, check for coolant leaking from theradiator, hoses or under the car.
6. Carefully remove the jumper cables
in the reverse order of attachment.
If you do not know why your batterybecame discharged (because the lightswere left on, etc.), have the charging system checked by your Hyundai dealer.
3. Attach the clamps of the jumper
cable in the exact order shown in theillustration. That is, first, attach one clamp of the jumper cable to the positive (+) post or cable of thedischarged battery. Then attach the other end of the same cable to the positive (+) post or cable of thebooster battery. Next, using the other cable, attach one clamp to the negative (-) post or cable of thebooster battery. Then attach the other end of that cable to a solid metal part of the engine away fromthe battery. Do not connect the cable to any moving part.
4. Start the engine in the car with the booster battery and let it run for afew minutes. This will help to as- sure that the booster battery is fullycharged. During the jumping opera- tion, run the engine in this vehicle at about 2,000 rpm.
5. Start the engine in the car with the discharged battery using the normalstarting procedure. After the enginestarts, leave the jumper cables con- nected and let the engine run at fast idle or about 2,000 rpm for severalminutes.
Page 158 of 232
3 WHAT TO DO IN AN EMERGENCY
6WHEEL AND TYRE CHANG- ING
D050A01MC-DAT In the event of a puncture and subse- quent tyre deflation occurring whilst the vehicle is in motion:
o Allow the vehicle speed to decrease,
without using the brakes if possible.
o Pull off the road or into the curb where it is safe to do so and stop the vehicle. Turn off the engine.
o Activate the hazard warning light, apply the hand brake and place thetransaxle in gear ("P" position forAutomatic Transaxle).
o Passengers should not remain in-
side the vehicle during wheel chang-ing.
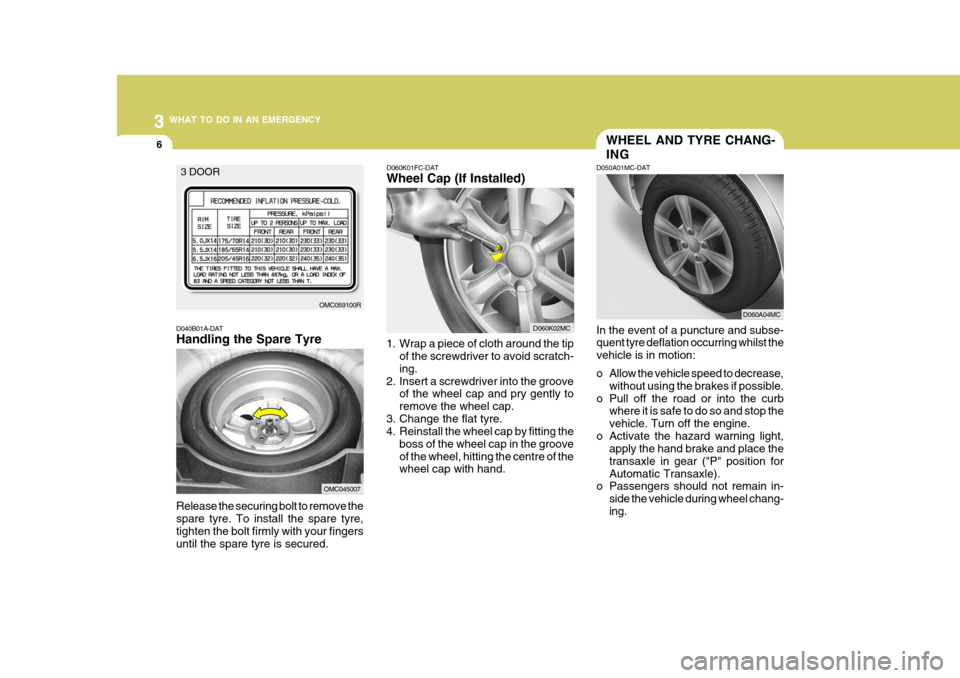
D040B01A-DAT Handling the Spare Tyre Release the securing bolt to remove the spare tyre. To install the spare tyre, tighten the bolt firmly with your fingers until the spare tyre is secured.
OMC059100R
3 DOOR
OMC045007
D060A04MC
D060K01FC-DAT Wheel Cap (If Installed)
1. Wrap a piece of cloth around the tip of the screwdriver to avoid scratch- ing.
2. Insert a screwdriver into the groove of the wheel cap and pry gently toremove the wheel cap.
3. Change the flat tyre.
4. Reinstall the wheel cap by fitting the
boss of the wheel cap in the groove of the wheel, hitting the centre of the wheel cap with hand.
D060K02MC
Page 184 of 232
6
DO-IT-YOURSELF MAINTENANCE
3GENERAL CHECKS
G020A01A-AAT Engine Compartment The following should be checked regu- larly:
o Engine oil level and condition
o Transaxle fluid level and condition
o Brake fluid level
o Clutch fluid level
o Engine coolant level
o Windshield washer fluid level
o Accessory drive belt condition
o Engine coolant hose condition
o Fluid leaks (on or below compo- nents)
o Power steering fluid level
o Battery condition
o Air cleaner filter condition G020C01A-DAT Vehicle Interior The following should be checked each time when the vehicle is driven:
o Lights operation
o Windshield wiper operation
o Horn operation
o Demister, heating system operation
(and air conditioning, if installed)
o Steering operation and condition
o Mirror condition and operation
o Turn signal light operation
o Accelerator pedal operation
o Brake operation, including hand
brake
o Manual transaxle operation, includ- ing clutch operation
o Automatic transaxle operation, in- cluding "Park" mechanism opera-tion
o Seat control condition and opera- tion
o Seat belt condition and operation
o Sunvisor operation If you notice anything that does not operate correctly or appears to befunctioning incorrectly, inspect it care- fully and seek assistance from your Hyundai dealer if service is needed.
G020B01A-DAT Vehicle Exterior The following should be checked monthly:
o Overall appearance and condition
o Wheel condition and wheel nut torque
o Exhaust system condition
o Light condition and operation
o Windshield glass condition
o Wiper blade condition
o Paint condition and body corrosion
o Fluid leaks
o Door and bonnet lock condition
o Tyre pressure and condition (includ-
ing spare tyre)
Page 229 of 232
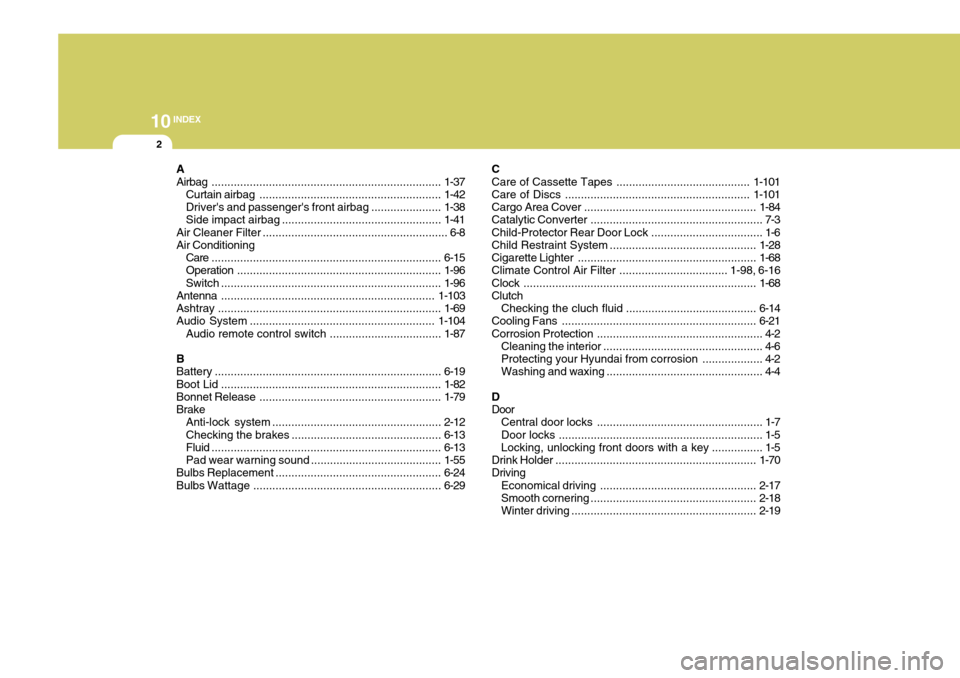
10INDEX
2
A Airbag ........................................................................ 1-37
Curtain airbag ......................................................... 1-42
Driver's and passenger's front airbag ...................... 1-38
Side impact airbag .................................................. 1-41
Air Cleaner Filter .......................................................... 6-8
Air Conditioning
Care ........................................................................ 6-15
Operation ................................................................ 1-96
Switch ..................................................................... 1-96
Antenna ................................................................... 1-103
Ashtray ...................................................................... 1-69
Audio System .......................................................... 1-104
Audio remote control switch ................................... 1-87
B Battery ....................................................................... 6-19
Boot Lid ..................................................................... 1-82
Bonnet Release ......................................................... 1-79
Brake Anti-lock system ..................................................... 2-12
Checking the brakes ............................................... 6-13
Fluid ........................................................................ 6-13
Pad wear warning sound ......................................... 1-55
Bulbs Replacem ent .................................................... 6-24
Bulbs W attage ........................................................... 6-29C
Care of Cassette Tapes ..........................................
1-101
Care of Discs .......................................................... 1-101
Cargo Area Cover ...................................................... 1-84
Catalytic Converter ...................................................... 7-3
Child-Protector Rear Door Lock ................................... 1-6
Child Restraint System .............................................. 1-28
Cigarette Lighter ........................................................ 1-68
Climate Control Air Filter .................................. 1-98, 6-16
Clock ......................................................................... 1-68
Clutch
Checking the cluch fluid ......................................... 6-14
Cooling Fans ............................................................. 6-21
Corrosion Protection .................................................... 4-2
Cleaning the interior .................................................. 4-6
Protecting your Hyundai from corrosion ................... 4-2
Washing and waxing ................................................. 4-4
DDoor Central door locks .................................................... 1-7
Door locks ................................................................ 1-5 Locking, unlocking front doors with a key ................ 1-5
Drink Holder ............................................................... 1-70
Driving
Economical driving ................................................. 2-17
Smooth corneri ng .................................................... 2-18
Winter driving .......................................................... 2-19
Page 230 of 232
10
INDEX
3
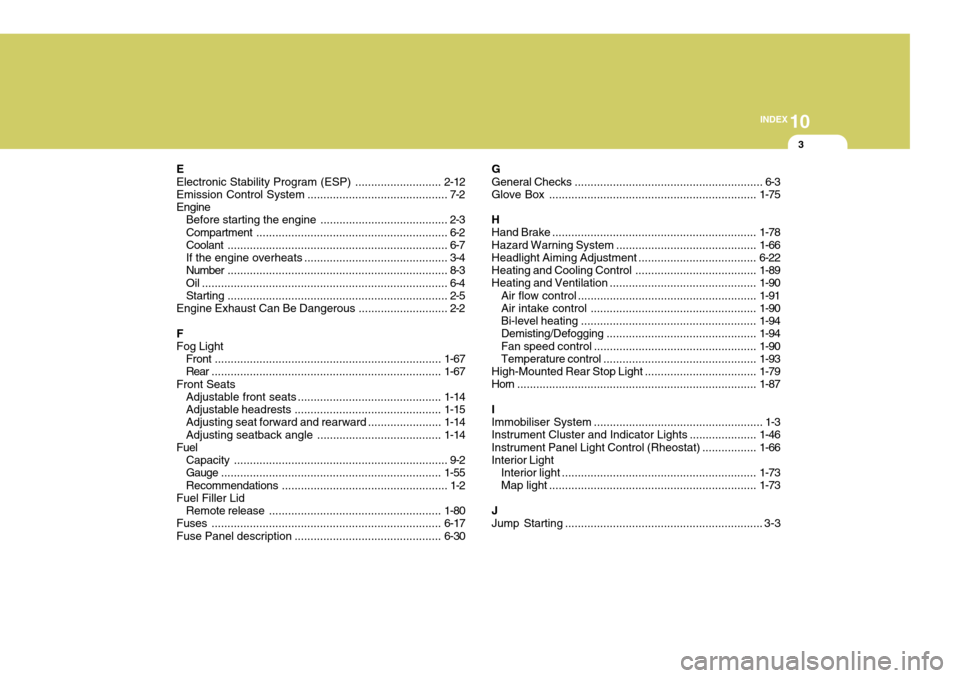
E Electronic Stability Program (ESP) ...........................2-12
Emission Contro l System ............................................ 7-2
Engine Before starting the engine ........................................ 2-3Compartment ............................................................ 6-2
Coolant ..................................................................... 6-7
If the engine overheats ............................................. 3-4
Number ..................................................................... 8-3
Oil ............................................................................. 6-4 Starting ..................................................................... 2-5
Engine Exhaust Can Be Dangerous ............................ 2-2
FFog Light Front ....................................................................... 1-67
Rear ........................................................................ 1-67
Front Seats Adjustable front seats ............................................. 1-14
Adjustable headrests .............................................. 1-15
Adjusting seat forward and rearward .......................1-14
Adjusting seatback angle ....................................... 1-14
Fuel
Capacity ................................................................... 9-2
Gauge ..................................................................... 1-55
Recommendations .................................................... 1-2
Fuel Filler Lid
Remote release ...................................................... 1-80
Fuses ........................................................................ 6-17
Fuse Panel description .............................................. 6-30G General Checks
........................................................... 6-3
Glove Box ................................................................. 1-75
H Hand Brake ................................................................ 1-78
Hazard Warning System ............................................ 1-66
Headlight Aiming Adjustment..................................... 6-22
Heating and Cooling Control ......................................1-89
Heating and Ventilation .............................................. 1-90
Air flow control ........................................................ 1-91
Air intake control .................................................... 1-90
Bi-level heati ng ....................................................... 1-94
Demisting/Defogging ............................................... 1-94
Fan speed control ................................................... 1-90
Temperature control ................................................ 1-93
High-Mounted Rear Stop Light................................... 1-79
Horn ........................................................................... 1-87
IImmobiliser System ..................................................... 1-3
Instrument Cluster and Indicator Lights ..................... 1-46
Instrument Panel Light Control (Rheostat) .................1-66
Interior Light
Interior light ............................................................. 1-73
Map light ................................................................. 1-73
JJump Starting .............................................................. 3-3