2009 HUMMER H3 towing
[x] Cancel search: towingPage 235 of 382

Trailer Brake Control Wiring
Harness
The trailer brake control wiring
harness is located under the
instrument panel to the right of the
steering column. The wires are
taped to the harness that goes to
the courtesy light under the
instrument panel. The harness has
the following wires:
Red Wire: AUX B+
Black Wire: Ground
Light Blue Wire: Brake Signal
Dark Blue Wire: Trailer Brakes
Trailer Recommendations
Subtract the hitch loads from the
Cargo Weight Rating (CWR). CWR
is the maximum weight of the
load the vehicle can carry. It does
not include the weight of the people
inside, but you can gure about
150 lbs. (68 kg) for each passenger.
The total cargo load must not be
more than the vehicles CWR.
Weigh the vehicle with the trailer
attached, so the GVWR or GAWR
are not exceeded. If using a
weight-distributing hitch, weigh the
vehicle without the spring bars
in place.
The best performance is obtained
by correctly spreading out the weight
of the load and choosing the
correct hitch and trailer brakes.
For more information seeTowing a
Trailer on page 4-42.
Driving Your Vehicle 4-53
Page 264 of 382

If No Steam Is Coming From
The Engine Compartment
If an engine overheat warning is
displayed but no steam can be seen
or heard, the problem may not be
too serious. Sometimes the engine
can get a little too hot when the
vehicle:
Climbs a long hill on a hot day.
Stops after high-speed driving.
Idles for long periods in traffic.
Tows a trailer. See “Driving
on Grades” underTowing a
Trailer on page 4-42.
If the overheat warning is displayed
with no sign of steam:
1. Turn the air conditioning off.
2. Turn the heater on to the highest
temperature and to the highest
fan speed. Open the windows as
necessary.3. In heavy traffic, let the engine idle
in N (Neutral) while stopped. If it
is safe to do so, pull off the road,
shift to P (Park) or N (Neutral) and
let the engine idle.
If the temperature overheat gage is
no longer in the overheat zone
or an overheat warning no longer
displays, the vehicle can be driven.
Continue to drive the vehicle
slow for about 10 minutes. Keep a
safe vehicle distance from the
car in front of you. If the warning
does not come back on, continue to
drive normally.
If the warning continues, pull over,
stop, and park the vehicle right away.
If there is no sign of steam, idle the
engine for three minutes while
parked. If the warning is still
displayed, turn off the engine until
it cools down.
Engine Fan Noise
This vehicle has a clutched engine
cooling fan. When the clutch is
engaged, the fan spins faster
to provide more air to cool the
engine. In most everyday driving
conditions, the clutch is not
engaged. This improves fuel
economy and reduces fan noise.
Under heavy vehicle loading,
trailer towing and/or high outside
temperatures, the fan speed
increases when the clutch engages.
So you may hear an increase in
fan noise. This is normal and should
not be mistaken as the transmission
slipping or making extra shifts.
It is merely the cooling system
functioning properly. The fan will
slow down when additional cooling
is not required and the clutch
disengages.
You may also hear this fan noise
when you start the engine. It will go
away as the fan clutch disengages.
5-28 Service and Appearance Care
Page 342 of 382

(d)Inspect wiper blades for wear,
cracking, or contamination.
Clean the windshield and wiper
blades, if contaminated. Replace
wiper blades that are worn or
damaged. See Windshield Wiper
Blade Replacement on page 5-44
and Windshield, Backglass,
and Wiper Blades on page 5-87
for more information.
(e)Make sure the safety belt
reminder light and safety belt
assemblies are working properly.
Look for any other loose or
damaged safety belt system parts.
If you see anything that might
keep a safety belt system from doing
its job, have it repaired. Have any
torn or frayed safety belts replaced.
Also see Checking the Restraint
Systems on page 1-60.
(f)Lubricate all key lock cylinders,
hood latch assembly, secondary
latch, pivots, spring anchor, release
pawl, rear compartment hinges,
outer endgate handle pivot points,
rear door detent link, rollermechanism, endgate handle pivot
points, latch bolt, fuel door hinge,
locks, and folding seat hardware.
More frequent lubrication may
be required when exposed to a
corrosive environment. Applying
silicone grease on weatherstrips
with a clean cloth will make
them last longer, seal better, and
not stick or squeak.
(g)Check vent hose at transfer
case for kinks and proper
installation.
(h)Change automatic transmission
fluid and filter if the vehicle is
mainly driven under one or more of
these conditions:
In heavy city traffic where the
outside temperature regularly
reaches 90°F (32°C) or higher.
In hilly or mountainous terrain.
When doing frequent trailer
towing.
Uses such as found in taxi,
police, or delivery service.(i)Drain, flush, and refill cooling
system. This service can be
complex; you should have your
dealer/retailer perform this service.
See Engine Coolant on page 5-23
for what to use. Inspect hoses.
Clean radiator, condenser,
pressure cap, and filler neck.
Pressure test the cooling system
and pressure cap.
(j)A fluid loss in any vehicle system
could indicate a problem. Have the
system inspected and repaired
and the fluid level checked. Add fluid
if needed.
(k)Visually inspect belt for fraying,
excessive cracks, or obvious
damage. Replace belt if necessary.
6-8 Maintenance Schedule
Page 360 of 382

HUMMER Technician
Roadside Service (U.S. only)
HUMMER’s exceptional Roadside
Service is more than an auto club or
towing service. It provides every
HUMMER owner in the United
States with the advantage of
contacting a HUMMER advisor and,
where available, a HUMMER
trained dealer technician who can
provide on-site service.
A dealer technician will travel to your
location within a 30 mile radius of a
participating HUMMER dealership.
If beyond this radius, we will arrange
to have your vehicle towed to the
nearest HUMMER dealership. Each
technician travels with a specially
equipped service vehicle complete
with the necessary HUMMER parts
and tools required to handle most
roadside repairs.
Services Not Included in
Roadside Assistance
Impound towing caused by
violation of any laws.
Legal nes.
Mounting, dismounting or
changing of snow tires, chains,
or other traction devices.
Towing or services for vehicles
driven on a non-public road or
highway.
Services Specic to Canadian
Purchased Vehicles
Fuel delivery:Reimbursement
is approximately $5 Canadian.
Diesel fuel delivery may be
restricted. Propane and other
fuels are not provided through
this service.
Lock-Out Service:Vehicle
registration is required.
Trip Routing Service:Limit of
six requests per year.
Trip Interruption Benets and
Assistance:Pre-authorization,
original detailed receipts, and a
copy of the repair orders are
required. Once authorization has
been received, the Roadside
Assistance advisor will help you
make arrangements and explain
how to receive payment.
Alternative Service:If
assistance cannot be provided
right away, the Roadside
Assistance advisor may give you
permission to get local emergency
road service. You will receive
payment, up to $100, after
sending the original receipt to
Roadside Assistance. Mechanical
failures may be covered, however
any cost for parts and labor for
repairs not covered by the
warranty are the owner
responsibility.
7-8 Customer Assistance Information
Page 364 of 382

Many insurance policies provide
reduced protection to your GM
vehicle by limiting compensation for
damage repairs by using aftermarket
collision parts. Some insurance
companies will not specify
aftermarket collision parts. When
purchasing insurance, we
recommend that you assure your
vehicle will be repaired with GM
original equipment collision parts. If
such insurance coverage is not
available from your current insurance
carrier, consider switching to another
insurance carrier.
If your vehicle is leased, the leasing
company may require you to
have insurance that assures repairs
with Genuine GM Original
Equipment Manufacturer (OEM)
parts or Genuine Manufacturer
replacement parts. Read your lease
carefully, as you may be charged
at the end of your lease for
poor quality repairs.If a Crash Occurs
Here is what to do if you are
involved in a crash.
Try to relax and then check to
make sure you are all right. If
you are uninjured, make sure that
no one else in your vehicle, or
the other vehicle, is injured.
If there has been an injury, call
emergency services for help.
Do not leave the scene of a crash
until all matters have been
taken care of. Move your vehicle
only if its position puts you in
danger or you are instructed to
move it by a police officer.
Give only the necessary and
requested information to
police and other parties involved
in the crash. Do not discuss
your personal condition, mental
frame of mind, or anything
unrelated to the crash. This will
help guard against post-crash
legal action.
If you need roadside assistance,
call GM Roadside Assistance.
SeeRoadside Service on
page 7-6for more information.
If your vehicle cannot be driven,
know where the towing service
will be taking it. Get a card from
the tow truck operator or write
down the driver’s name, the
service’s name, and the phone
number.
Remove any valuables from your
vehicle before it is towed away.
Make sure this includes your
insurance information and
registration if you keep these
items in your vehicle.
7-12 Customer Assistance Information
Page 378 of 382
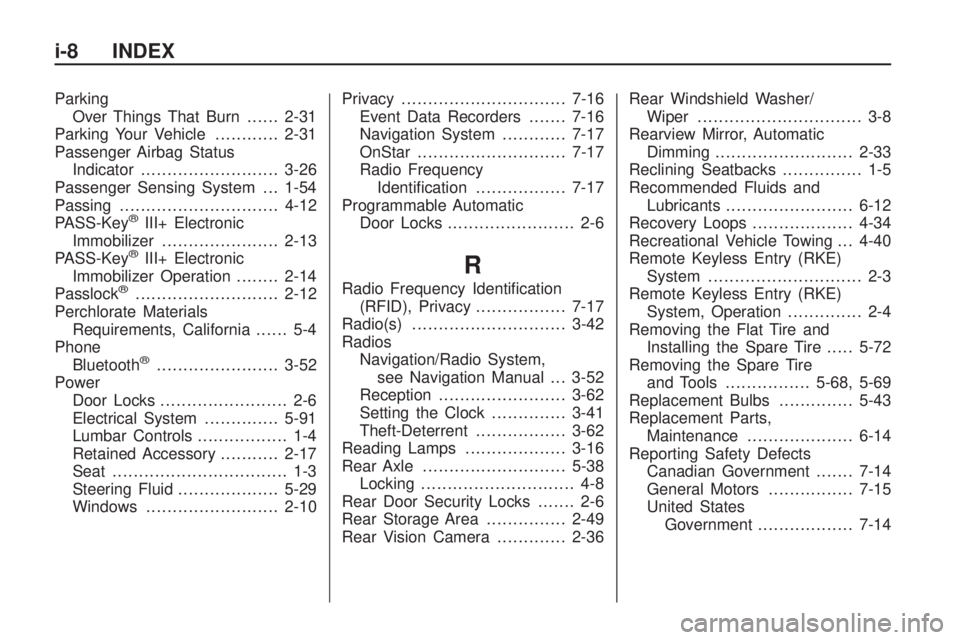
Parking
Over Things That Burn......2-31
Parking Your Vehicle............2-31
Passenger Airbag Status
Indicator..........................3-26
Passenger Sensing System . . . 1-54
Passing..............................4-12
PASS-Key
®III+ Electronic
Immobilizer......................2-13
PASS-Key
®III+ Electronic
Immobilizer Operation........2-14
Passlock
®...........................2-12
Perchlorate Materials
Requirements, California...... 5-4
Phone
Bluetooth
®.......................3-52
Power
Door Locks........................ 2-6
Electrical System..............5-91
Lumbar Controls................. 1-4
Retained Accessory...........2-17
Seat................................. 1-3
Steering Fluid...................5-29
Windows.........................2-10Privacy...............................7-16
Event Data Recorders.......7-16
Navigation System............7-17
OnStar............................7-17
Radio Frequency
Identication.................7-17
Programmable Automatic
Door Locks........................ 2-6
R
Radio Frequency Identication
(RFID), Privacy.................7-17
Radio(s).............................3-42
Radios
Navigation/Radio System,
see Navigation Manual . . . 3-52
Reception........................3-62
Setting the Clock..............3-41
Theft-Deterrent.................3-62
Reading Lamps...................3-16
Rear Axle...........................5-38
Locking............................. 4-8
Rear Door Security Locks....... 2-6
Rear Storage Area...............2-49
Rear Vision Camera.............2-36Rear Windshield Washer/
Wiper............................... 3-8
Rearview Mirror, Automatic
Dimming ..........................2-33
Reclining Seatbacks............... 1-5
Recommended Fluids and
Lubricants........................6-12
Recovery Loops...................4-34
Recreational Vehicle Towing . . . 4-40
Remote Keyless Entry (RKE)
System............................. 2-3
Remote Keyless Entry (RKE)
System, Operation.............. 2-4
Removing the Flat Tire and
Installing the Spare Tire.....5-72
Removing the Spare Tire
and Tools................5-68, 5-69
Replacement Bulbs..............5-43
Replacement Parts,
Maintenance....................6-14
Reporting Safety Defects
Canadian Government.......7-14
General Motors................7-15
United States
Government..................7-14
i-8 INDEX
Page 380 of 382

Starting the Engine..............2-17
Steering..............................4-10
Steering Wheel, Tilt Wheel...... 3-6
Storage Areas
Cargo Management
System........................2-49
Center Console
Storage Area................2-47
Convenience Net..............2-49
Cupholders......................2-47
Front Seat Storage Net.....2-47
Glove Box.......................2-47
Luggage Carrier...............2-48
Rear Storage Area............2-49
Stuck in Sand, Mud, Ice,
or Snow..........................4-33
Sun Visors..........................2-11
Sunroof..............................2-50
Swing-gate........................... 2-9
T
Tachometer.........................3-24
Tailgate................................ 2-7
Taillamps
Turn Signal, Stoplamps and
Back-up Lamps.............5-42Taillamps (cont.)
Theft-Deterrent, Radio...........3-62
Theft-Deterrent Systems........2-11
Content Theft-Deterrent.....2-11
PASS-Key
®III+ Electronic
Immobilizer...................2-13
PASS-Key
®III+ Electronic
Immobilizer Operation....2-14
Passlock
®........................2-12
Tilt Wheel............................. 3-6
Time, Setting.......................3-41
Tire
Pressure Light..................3-30
Tires..................................5-44
Aluminum or
Chrome-Plated Wheels,
Cleaning......................5-88
Buying New Tires.............5-59
Chains............................5-65
Changing a Flat Tire.........5-66
Cleaning..........................5-89
Different Size...................5-61
If a Tire Goes Flat............5-66
Ination - Tire Pressure.....5-51
Inspection and Rotation.....5-57
Installing the Spare Tire.....5-72Tires (cont.)
Pressure Monitor
Operation.....................5-54
Pressure Monitor System . . . 5-52
Removing the Flat Tire......5-72
Removing the Spare Tire
and Tools.............5-68, 5-69
Secondary Latch System . . . 5-76
Spare Tire.......................5-82
Storing a Flat or Spare Tire
and Tools.............5-78, 5-80
Tire Sidewall Labeling.......5-45
Tire Terminology and
Denitions....................5-48
Uniform Tire Quality
Grading.......................5-62
Wheel Alignment and Tire
Balance.......................5-63
Wheel Replacement..........5-64
When It Is Time for New
Tires............................5-58
Towing
Recreational Vehicle..........4-40
Towing a Trailer................4-42
Your Vehicle.....................4-40
i-10 INDEX