Page 331 of 578
�Û�Ý
CONT INUED
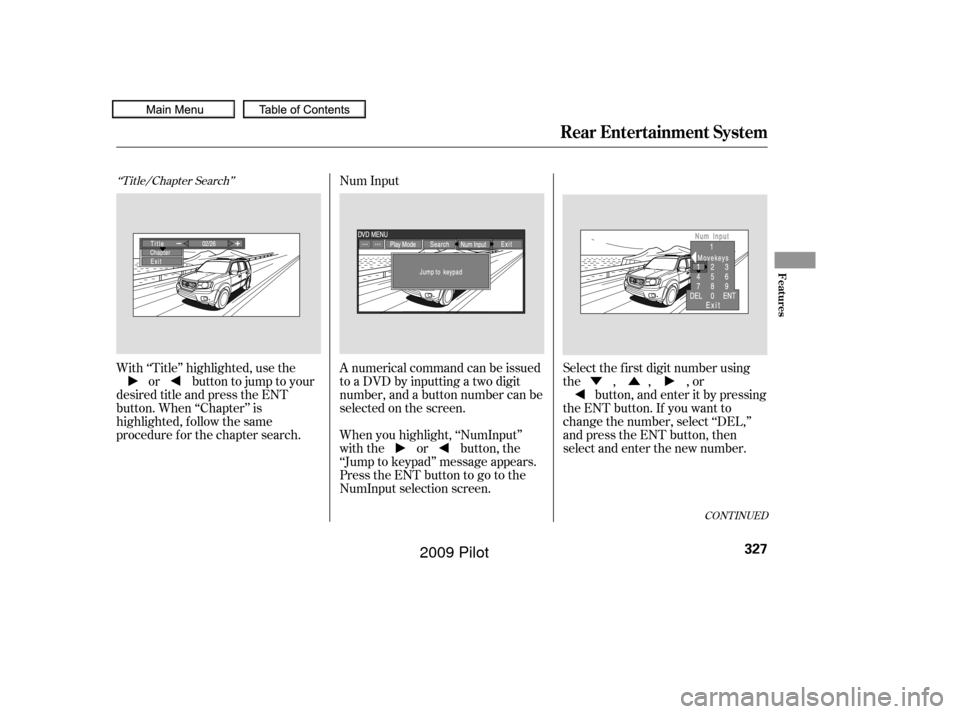
‘‘Title/Chapter Search’’
With ‘‘Title’’ highlighted, use theor buttontojumptoyour
desired title and press the ENT
button. When ‘‘Chapter’’ is
highlighted, f ollow the same
procedure f or the chapter search. A numerical command can be issued
to a DVD by inputting a two digit
number, and a button number can be
selected on the screen.
Select the f irst digit number using
the , , , or
button, and enter it by pressing
the ENT button. If you want to
change the number, select ‘‘DEL,’’
and press the ENT button, then
select and enter the new number.
When you highlight, ‘‘NumInput’’
with the or button, the
‘‘Jump to keypad’’ message appears.
PresstheENTbuttontogotothe
NumInput selection screen. Num Input
Rear Entertainment System
Features
327
�����—�����—�
���y�
����
�
��
���y���
�(�/���������y���������y
2009 Pilot
Page 332 of 578
�Ý�Û
Select and enter the second digit
number the same way. The cursor
will automatically move to the ‘‘ENT’’
icon when you press the ENT button.
Press the ENT button to enter the
number command. To go back to the
DVD screen, press the RETURN
button or select EXIT and press the
ENT button.
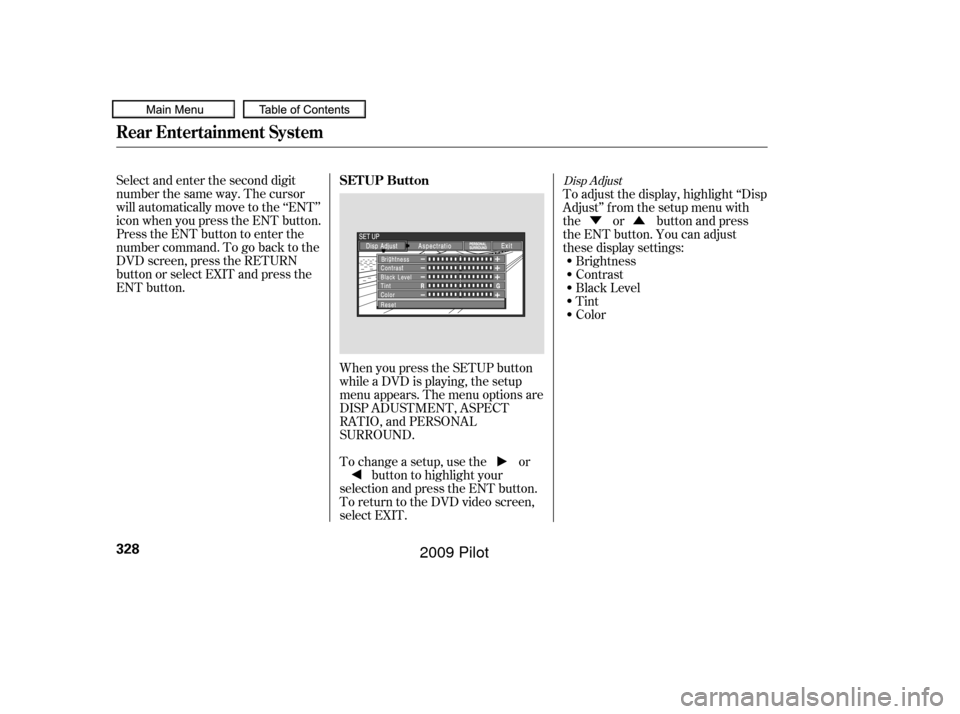
When you press the SETUP button
while a DVD is playing, the setup
menu appears. The menu options are
DISP ADUSTMENT, ASPECT
RATIO, and PERSONAL
SURROUND.
To change a setup, use the orbutton to highlight your
selection and press the ENT button.
To return to the DVD video screen,
select EXIT. To adjust the display, highlight ‘‘Disp
Adjust’’ f rom the setup menu with
the or button and press
the ENT button. You can adjust
these display settings:
Brightness
Contrast
Black Level
Tint
Color
Disp Adjust
Rear Entertainment System
SETUP Button
328
�����—�����—�
���y�
����
�
������y���
�(�/���������y���������y
2009 Pilot
Page 334 of 578
Select the ‘‘Aspect Ratio’’ by pressing
the or button, then press
the ENT button.
The selectable setting menu is
displayed, and the current setting is
highlighted in blue.
You can set the screen mode to
these settings:
Normal
Wide
Zoom
Full Select the desired setting by
pressing the or button,
then press the ENT button.
Aspect Ratio
Rear Entertainment System
330
�����—�����—�
���y�
����
�
������y���
�(�/���������y���������y
2009 Pilot
Page 335 of 578
�Û�Ý
CONT INUED
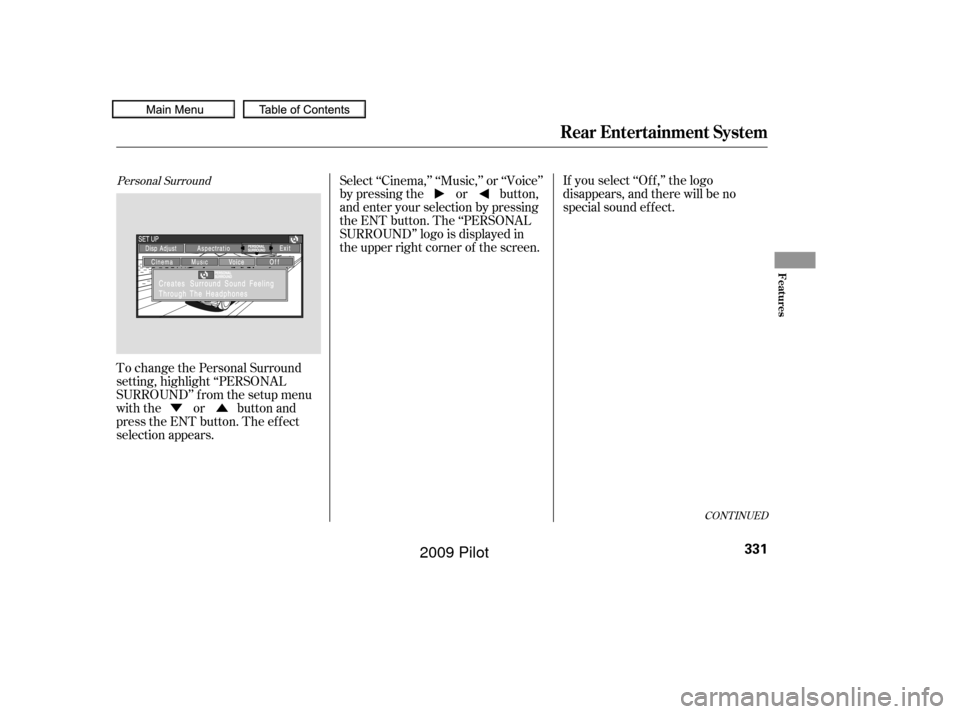
To change the Personal Surround
setting, highlight ‘‘PERSONAL
SURROUND’’ from the setup menu
with the or button and
press the ENT button. The ef f ect
selection appears.If you select ‘‘Of f ,’’ the logo
disappears, and there will be no
special sound ef f ect.
Select ‘‘Cinema,’’ ‘‘Music,’’ or ‘‘Voice’’
by pressing the or button,
and enter your selection by pressing
the ENT button. The ‘‘PERSONAL
SURROUND’’ logo is displayed in
the upper right corner of the screen.
Personal Surround
Rear Entertainment System
Features
331
�����—�����—�
���y�
����
�
����
�y���
�(�/���������y���������y
2009 Pilot
Page 341 of 578
When you select and enter ‘‘Yes,’’
the display changes as shown above.
To change the level, you need to
enter your f our digit password.
Select the number f or the f irst digit
by pressing the , , , orbutton, and enter it by pressing
the ENT button. Repeat this until all
f our digits are f illed. When you enter
the f ourth number, the cursor
automatically moves to ‘‘ENT’’ on the
display. Press the ENT button on the
control panel.
You can place an auditory restriction
by changing the parental control
level. The higher the level number,
the lower the restriction.
Highlight ‘‘Parental Level’’ and press
ENT button. You will see the
submenu. If you select ‘‘No’’ and
press the ENT button, the screen
goes back to the ‘‘Others’’ menu.
Parental Level
CONT INUED
Rear Entertainment System
Features
337
�����—�����—�
���y�
����
��������y���
�(�/���������y���������y
2009 Pilot
Page 349 of 578
CONT INUED
Auxiliary input jacks and headphone
connectors f or the rear
entertainment system are on the
back of the center console
compartment.
Remove the battery. Install the new
battery in the earpiece as shown in
the diagram next to the battery slot.
Slide the cover back into place on the
earpiece, then press down on the
back edge to lock it in place.
Each headphone uses one AAA
battery. The battery is under the
cover on the lef t earpiece. To
remove the cover, insert a coin in the
slot and twist it slightly to pry the
cover away f rom the earpiece. Pull
the cover outward, and pivot it out of
the way.
An improperly disposed of battery
can hurt the environment.
Always conf irm local regulations f or
battery disposal.
Rear Entertainment System
Replacing Bat t eriesAuxiliary Input Jacks
Features
345
COVER
BATTERY
TAB
�����—�����—�
���y�
����
��������y���
�(�/���������y���������y
2009 Pilot
Page 351 of 578

The security system automatically
sets 15 seconds after you lock the
doors, the hood, the tailgate, and the
glass hatch. For the system to
activate, you must lock the doors,
thetailgateandtheglasshatchfrom
the outside with the key, driver’s
lock tab, door lock master switch, or
remote transmitter. The security
system indicator on the instrument
panel starts blinking immediately to
show you the system is setting itself . The security system helps to protect
your vehicle and valuables f rom thef t.
The horn sounds and a combination
of headlights, parking lights, side
marker lights and taillights f lashes if
someone attempts to break into your
vehicle or remove the audio unit.
This alarm continues for two
minutes, then the system resets. To
reset an alarming system bef ore the
two minutes have elapsed, unlock
the driver’s door with the key or the
remote transmitter.Once the security system is set,
opening any door, the tailgate, the
glass hatch, or the hood without
using the key or the remote
transmitter will cause the alarm to
sound. It will also sound if the radio
is removed f rom the dashboard or
the wiring is cut.The security system will not set if
the hood, the tailgate, the glass
hatch, or any door is not f ully closed.
If the system will not set, check that
thedoors,thetailgateandthehood
are f ully closed.
Do not attempt to alter this system
or add other devices to it.
Except LX models
Security System
Features
347
SECURITY SYSTEM INDICATOR
�����—�����—�
���y�
����
��������y���
�(�/���������y���������y
2009 Pilot
Page 353 of 578

You can increase the set cruising
speed in any of these ways:You can decrease the set cruising
speed in any of these ways:
Press and hold the RES/ACCEL
button. When you reach the
desired cruising speed, release the
button.
Push on the accelerator pedal.
Accelerate to the desired cruising
speed, then press the SET/
DECEL button.
Cruise control may not hold the set
speed when you are going up and
down hills. If your vehicle speed
increases going down a hill, use the
brakes to slow down. This will cancel
thecruisecontrol.Toresumetheset
speed, press the RES/ACCEL button.
The CRUISE CONTROL indicator
on the instrument panel will come
back on.
When climbing a steep hill, the
automatic transmission may
downshif t to hold the set speed.
To increase the speed in very
small amounts, tap the RES/
ACCEL button. Each time you do
this, your vehicle will speed up
about 1 mph (1.6 km/h). If you need to decrease your
speed quickly, use the brakes as you
normally would.
Tap the brake pedal lightly with
your f oot. The CRUISE
CONTROL indicator on the
instrument panel will go out.
When the vehicle slows to the
desired speed, press the SET/
DECEL button. Press and hold the SET/DECEL
button. Release the button when
you reach the desired speed.
To slow down in very small
amounts, tap the SET/DECEL
button. Each time you do this,
your vehicle will slow down about
1 mph (1.6 km/h).
CONT INUED
Changing the Set Speed
Cruise Control
Features
349
NOTE:
�����—�����—�
���y�
����
��������y���
�(�/���������y���������y
2009 Pilot