Page 268 of 352
Replacing a Fog Light BulbOn Sport modelThe fog lights use halogen bulbs.
When replacing a bulb, handle it
carefully. See page262for more
information.1. Use a Phillips-head screwdriver toremove the screw.
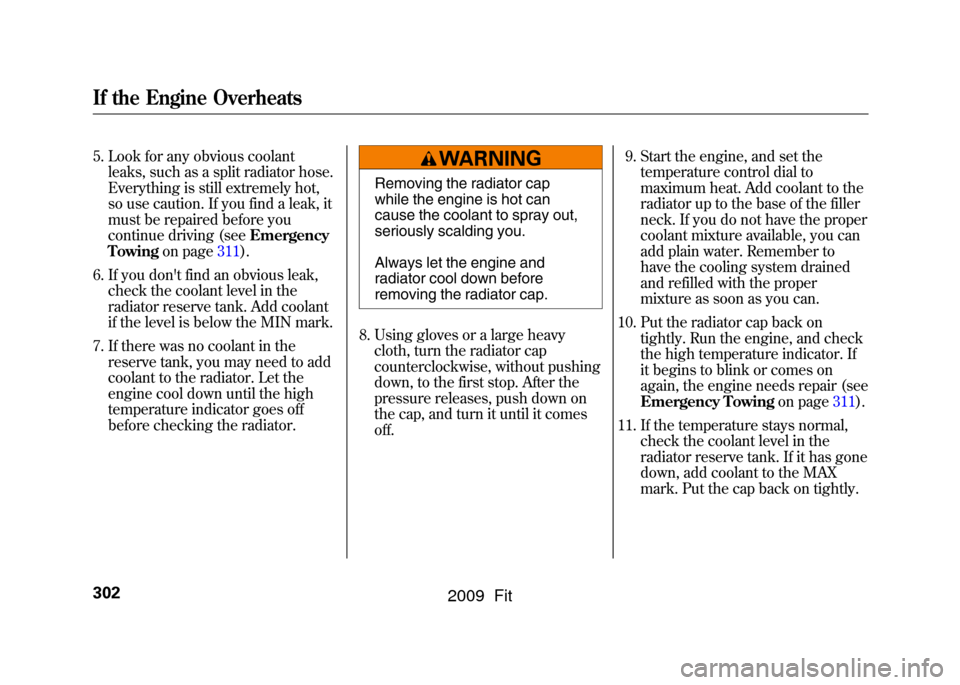
2. To remove the fog light assembly, pull it out of the bumper.
3. Remove the electrical connectorfrom the bulb by squeezing the
connector to unlock the tab, then
slide the connector off the bulb.
4. Remove the bulb by turning it about one-quarter turn
counterclockwise. 5. Insert the new bulb into the hole,
and turn it one-quarter turn
clockwise to lock it in place.
6. Push the electrical connector back onto the bulb. Make sure it is on
all the way.
7. Turn on the fog lights to test the new bulb.
8. Reinstall the fog light assembly, then tighten the screw.
SCREW
ELECTRICAL CONNECTOR
CONTINUED
Lights
265
Maintenance
2009 Fit
Page 269 of 352
Replacing Rear Bulbs1. Open the tailgate. Place a cloth onthe edge of the light assembly
cover. Remove the cover by
carefully prying in the notch on its
middle edge with a flat-tip
screwdriver.
2. Determine which of the threebulbs is burned out: stop/taillight,
back-up light, or turn signal light.
3. Remove the socket by turning it one-quarter turn counterclockwise. 4. Remove the burned out bulb from
the socket by pulling it straight out
of its socket.
5. Install the new bulb in the socket.
6. Turn on the lights to make sure the new bulb is working.
7. Reinstall the socket into the light assembly by turning it clockwise
until it locks.
8. Reinstall the light assembly cover.
LIGHT ASSEMBLY COVER
Lights266
2009 Fit
Page 270 of 352
Cleaning the Seat BeltsIf your seat belts get dirty, use a soft
brush with a mixture of mild soap
and warm water to clean them. Do
not use bleach, dye, or cleaning
solvents. Let the belts air-dry before
you use the vehicle.Dirt build-up in the loops of the seat
belt anchors can cause the belts to
retract slowly. Wipe the insides of
the loops with a clean cloth
dampened in mild soap and warm
water or isopropyl alcohol.
Floor Mats
(Optional)
The driver's floor mat that came with
your vehicle hooks over the floor mat
anchors. To lock each hook, turn the
knob clockwise. This keeps the floor
mat from sliding forward and
possibly interfering with the pedals.
When cleaning or replacing, turn the
knob counterclockwise to unhook
the floor mat.
LOOP
Unlock
Lock
KNOB
CONTINUED
Cleaning the Seat Belts, Floor Mats
267
Maintenance
2009 Fit
Page 289 of 352
6. Take the jack out of the cargo area.Turn the jack's end bracket
counterclockwise to loosen it, then
remove the jack by lifting it
straight up.
7. Unscrew the wing bolt and take the spare tire out of its well.
8. On all models except Sport andCanadian LX model with manual
transmission, remove the wheel
cover by carefully prying under its
edge with the flat tip of the
extension.
9. Loosen each wheel nut 1/2 turnwith the wheel nut wrench.
EXTENSION WHEEL NUT
WHEEL COVER
WHEEL NUT WRENCH
Changing a Flat Tire286
2009 Fit
Page 290 of 352
10. Place the jack under the jackingpoint nearest the tire you need to
change. It is pointed to by a △
mark molded into the underside of
the body (Sport model). Turn the
end bracket clockwise until the top
of the jack contacts the jacking
point. Make sure the jacking point
tab is resting in the jack notch.
11. Use the extension and the wheel nut wrench as shown to raise the
vehicle until the flat tire is off the
ground.
12. Remove the wheel nuts, then remove the flat tire. Handle the
wheel nuts carefully; they may be
hot from driving. Place the flat tire
on the ground with the outside
surface facing up.
13. Before mounting the spare tire,wipe any dirt off the mounting
surface of the wheel and hub with
a clean cloth. Wipe the hub
carefully; it may be hot from
driving.
JACKING POINT
EXTENSION
WHEEL NUT WRENCH
BRAKE HUB
CONTINUED
Changing a Flat Tire
287
Taking Care of the Unexpected
2009 Fit
Page 305 of 352

5. Look for any obvious coolantleaks, such as a split radiator hose.
Everything is still extremely hot,
so use caution. If you find a leak, it
must be repaired before you
continue driving (see Emergency
Towing on page311).
6. If you don't find an obvious leak, check the coolant level in the
radiator reserve tank. Add coolant
if the level is below the MIN mark.
7. If there was no coolant in the reserve tank, you may need to add
coolant to the radiator. Let the
engine cool down until the high
temperature indicator goes off
before checking the radiator.
Removing the radiator cap
while the engine is hot can
cause the coolant to spray out,
seriously scalding you.
Always let the engine and
radiator cool down before
removing the radiator cap.
8. Using gloves or a large heavy cloth, turn the radiator cap
counterclockwise, without pushing
down, to the first stop. After the
pressure releases, push down on
the cap, and turn it until it comes
off. 9. Start the engine, and set the
temperature control dial to
maximum heat. Add coolant to the
radiator up to the base of the filler
neck. If you do not have the proper
coolant mixture available, you can
add plain water. Remember to
have the cooling system drained
and refilled with the proper
mixture as soon as you can.
10. Put the radiator cap back on tightly. Run the engine, and check
the high temperature indicator. If
it begins to blink or comes on
again, the engine needs repair (see
Emergency Towing on page311).
11. If the temperature stays normal, check the coolant level in the
radiator reserve tank. If it has gone
down, add coolant to the MAX
mark. Put the cap back on tightly.
If the Engine Overheats302
2009 Fit
Page 311 of 352

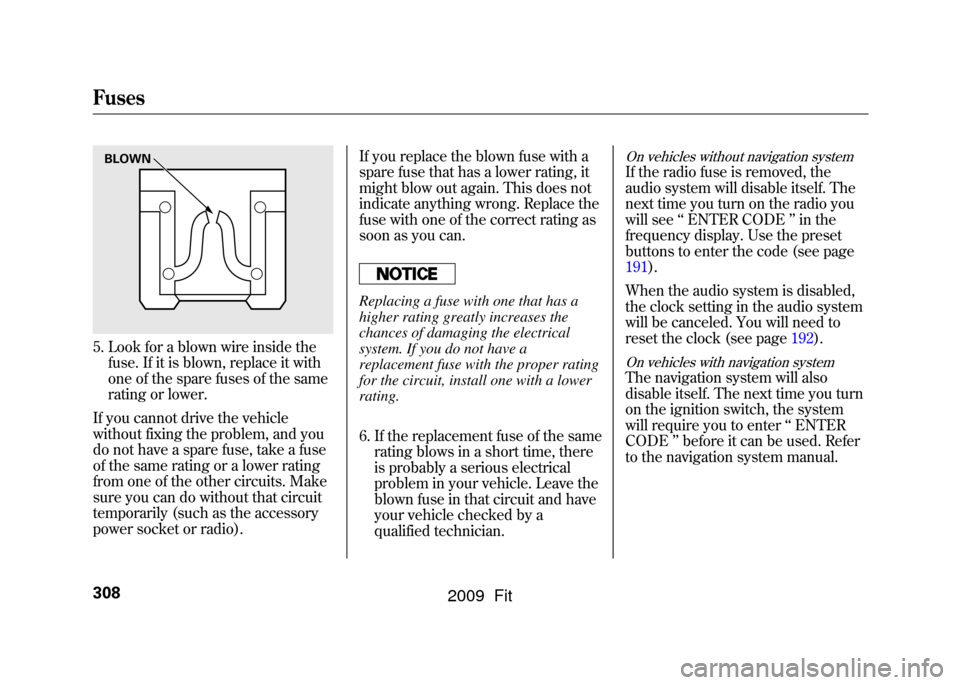
5. Look for a blown wire inside thefuse. If it is blown, replace it with
one of the spare fuses of the same
rating or lower.
If you cannot drive the vehicle
without fixing the problem, and you
do not have a spare fuse, take a fuse
of the same rating or a lower rating
from one of the other circuits. Make
sure you can do without that circuit
temporarily (such as the accessory
power socket or radio). If you replace the blown fuse with a
spare fuse that has a lower rating, it
might blow out again. This does not
indicate anything wrong. Replace the
fuse with one of the correct rating as
soon as you can.
Replacing a fuse with one that has a
higher rating greatly increases the
chances of damaging the electrical
system. If you do not have a
replacement fuse with the proper rating
for the circuit, install one with a lower
rating.
6. If the replacement fuse of the same
rating blows in a short time, there
is probably a serious electrical
problem in your vehicle. Leave the
blown fuse in that circuit and have
your vehicle checked by a
qualified technician.
On vehicles without navigation systemIf the radio fuse is removed, the
audio system will disable itself. The
next time you turn on the radio you
will see ‘‘ENTER CODE ’’in the
frequency display. Use the preset
buttons to enter the code (see page
191).
When the audio system is disabled,
the clock setting in the audio system
will be canceled. You will need to
reset the clock (see page 192).On vehicles with navigation systemThe navigation system will also
disable itself. The next time you turn
on the ignition switch, the system
will require you to enter‘‘ENTER
CODE ’’before it can be used. Refer
to the navigation system manual.
BLOWNFuses308
2009 Fit
Page 341 of 352

Bulb ReplacementBack-up Lights
........................
266
Brake Lights
...........................
266
Fog Lights
...............................
265
Front Parking Lights
...............
263
Front Side Marker Lights
........
263
Headlights
..............................
262
Rear Bulbs
..............................
266
Specifications
..........................
319
Taillights
.................................
266
Turn Signal Lights
..........
263, 266
Bulbs, Halogen
..........................
262
C
Cancel Button
............................
196
Capacities Chart
.........................
318
Carbon Monoxide Hazard
............
53
Cargo
.........................................
208
Cargo Hook
................................
212
Cargo, How to Carry
..................
208
Carrying Cargo
..........................
208
CAUTION, Explanation of
............
iii
CD Care
.....................................
186
CD Error Messages
............
128, 157 CD Player
...........................
122,
149
Certification Label
......................
316
Chains, Tires
..............................
278
Changing a Flat Tire
..................
285
Changing Oil How to
....................................
254
When to
..................................
245
Charging System Indicator
...........................
60, 303
Check Fuel Cap Indicator
.............
70
Checklist, Before Driving
...........
215
Childproof Door Locks
.................
82
Child Safety
..................................
34
Booster Seats
...........................
50
Child Seats
..........................
39, 41
Important Safety Reminders.....
38
Infants
......................................
39
Large Children
.........................
49
LATCH
.....................................
43
Risks with Airbags
...................
35
Small Children
.........................
40
Tethers
....................................
47
Warning Labels
........................
36
Where Should a Child Sit?
........
35
Child Seats
.............................
34, 41
LATCH Anchorage Points
........
43 Tether Anchorage Points
.........
47
Cleaning the Seat Belts
..............
267
Clock
..........................................
192
Clutch Fluid
...............................
261
Code, Audio System
...................
191
CO in the Exhaust
................
53, 326
Cold Weather, Starting in
...........
216
Compact Spare Tire
....................
284
Consumer Information (U.S. only)
.......................................
332
Controls, Instruments and
............
57
Coolant Adding
....................................
256
Checking
................................
202
Proper Solution
.......................
256
Temperature Indicator
.............
63
Crankcase Emissions Control System
...................................
326
Cruise Control Indicator
...............
65
Cruise Control Operation
...........
194
Cup Holders
...............................
106
Current Fuel Mileage
...................
70
Customer Service Office
............
332
IndexII
2009 Fit