2009 FORD F SERIES MOTORHOME AND COMMERCIAL CHASSIS ignition
[x] Cancel search: ignitionPage 10 of 136
WARNING LIGHTS AND CHIMES
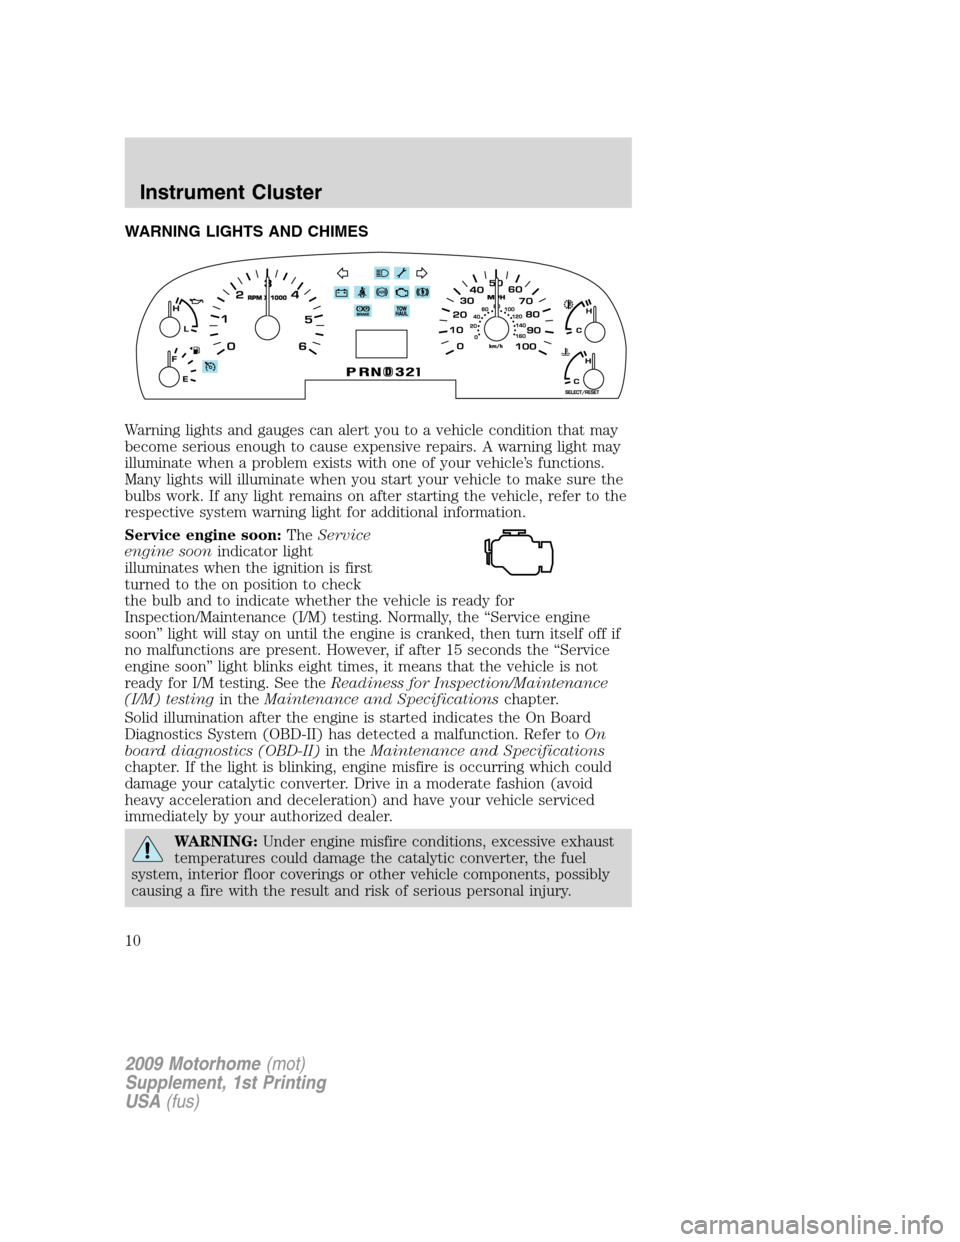
Warning lights and gauges can alert you to a vehicle condition that may
become serious enough to cause expensive repairs. A warning light may
illuminate when a problem exists with one of your vehicle’s functions.
Many lights will illuminate when you start your vehicle to make sure the
bulbs work. If any light remains on after starting the vehicle, refer to the
respective system warning light for additional information.
Service engine soon:TheService
engine soonindicator light
illuminates when the ignition is first
turned to the on position to check
the bulb and to indicate whether the vehicle is ready for
Inspection/Maintenance (I/M) testing. Normally, the “Service engine
soon” light will stay on until the engine is cranked, then turn itself off if
no malfunctions are present. However, if after 15 seconds the “Service
engine soon” light blinks eight times, it means that the vehicle is not
ready for I/M testing. See theReadiness for Inspection/Maintenance
(I/M) testingin theMaintenance and Specificationschapter.
Solid illumination after the engine is started indicates the On Board
Diagnostics System (OBD-II) has detected a malfunction. Refer toOn
board diagnostics (OBD-II)in theMaintenance and Specifications
chapter. If the light is blinking, engine misfire is occurring which could
damage your catalytic converter. Drive in a moderate fashion (avoid
heavy acceleration and deceleration) and have your vehicle serviced
immediately by your authorized dealer.
WARNING:Under engine misfire conditions, excessive exhaust
temperatures could damage the catalytic converter, the fuel
system, interior floor coverings or other vehicle components, possibly
causing a fire with the result and risk of serious personal injury.
2009 Motorhome(mot)
Supplement, 1st Printing
USA(fus)
Instrument Cluster
10
Page 11 of 136
Electronic throttle control:
Illuminates when the engine has defaulted to a “limp-home” operation.
Report the fault to a dealer at the earliest opportunity.
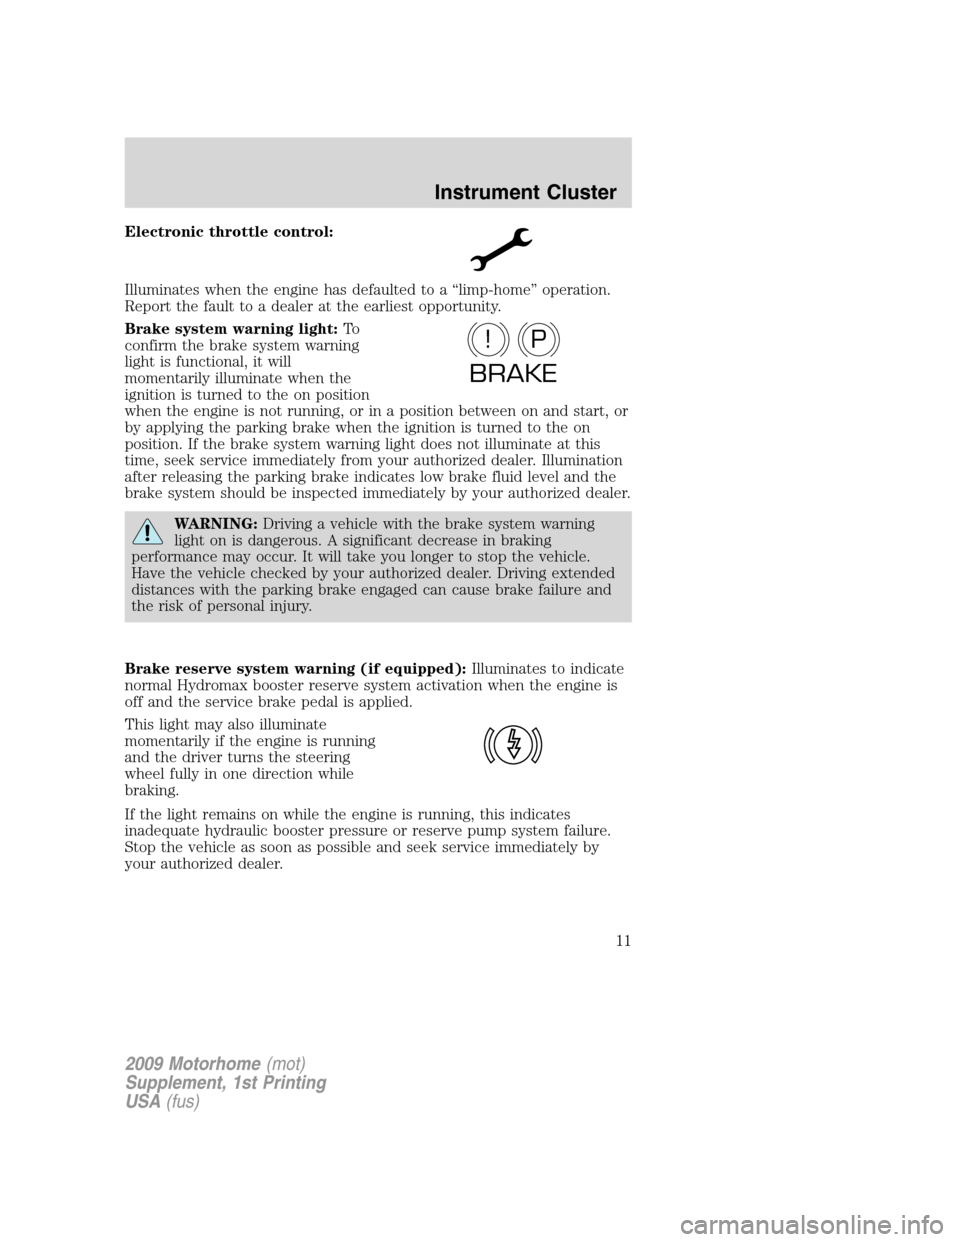
Brake system warning light:To
confirm the brake system warning
light is functional, it will
momentarily illuminate when the
ignition is turned to the on position
when the engine is not running, or in a position between on and start, or
by applying the parking brake when the ignition is turned to the on
position. If the brake system warning light does not illuminate at this
time, seek service immediately from your authorized dealer. Illumination
after releasing the parking brake indicates low brake fluid level and the
brake system should be inspected immediately by your authorized dealer.
WARNING:Driving a vehicle with the brake system warning
light on is dangerous. A significant decrease in braking
performance may occur. It will take you longer to stop the vehicle.
Have the vehicle checked by your authorized dealer. Driving extended
distances with the parking brake engaged can cause brake failure and
the risk of personal injury.
Brake reserve system warning (if equipped):Illuminates to indicate
normal Hydromax booster reserve system activation when the engine is
off and the service brake pedal is applied.
This light may also illuminate
momentarily if the engine is running
and the driver turns the steering
wheel fully in one direction while
braking.
If the light remains on while the engine is running, this indicates
inadequate hydraulic booster pressure or reserve pump system failure.
Stop the vehicle as soon as possible and seek service immediately by
your authorized dealer.
P!
BRAKE
2009 Motorhome(mot)
Supplement, 1st Printing
USA(fus)
Instrument Cluster
11
Page 15 of 136
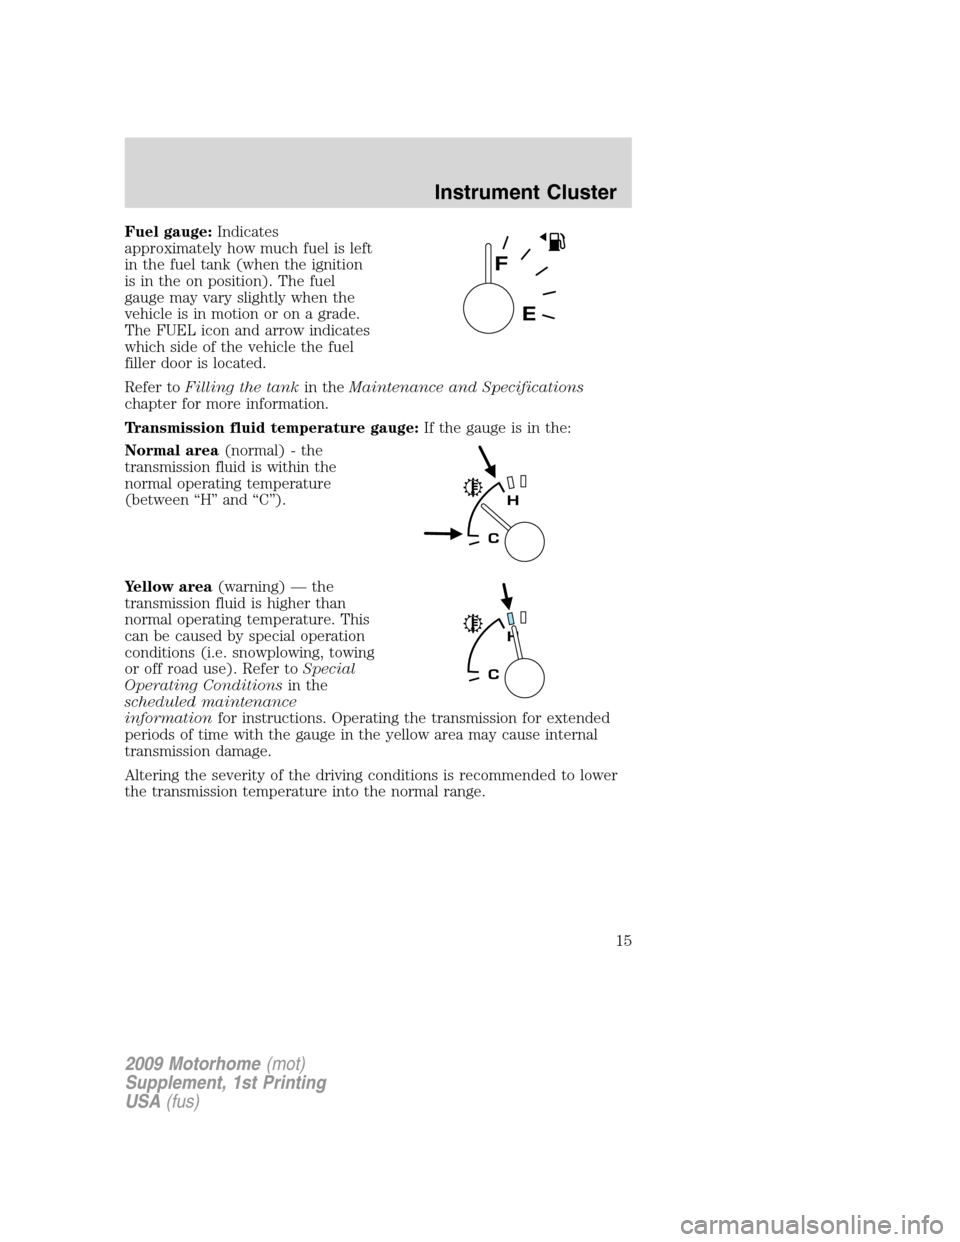
Fuel gauge:Indicates
approximately how much fuel is left
in the fuel tank (when the ignition
is in the on position). The fuel
gauge may vary slightly when the
vehicle is in motion or on a grade.
The FUEL icon and arrow indicates
which side of the vehicle the fuel
filler door is located.
Refer toFilling the tankin theMaintenance and Specifications
chapter for more information.
Transmission fluid temperature gauge:If the gauge is in the:
Normal area(normal) - the
transmission fluid is within the
normal operating temperature
(between “H” and “C”).
Yellow area(warning) — the
transmission fluid is higher than
normal operating temperature. This
can be caused by special operation
conditions (i.e. snowplowing, towing
or off road use). Refer toSpecial
Operating Conditionsin the
scheduled maintenance
informationfor instructions. Operating the transmission for extended
periods of time with the gauge in the yellow area may cause internal
transmission damage.
Altering the severity of the driving conditions is recommended to lower
the transmission temperature into the normal range.
2009 Motorhome(mot)
Supplement, 1st Printing
USA(fus)
Instrument Cluster
15
Page 17 of 136
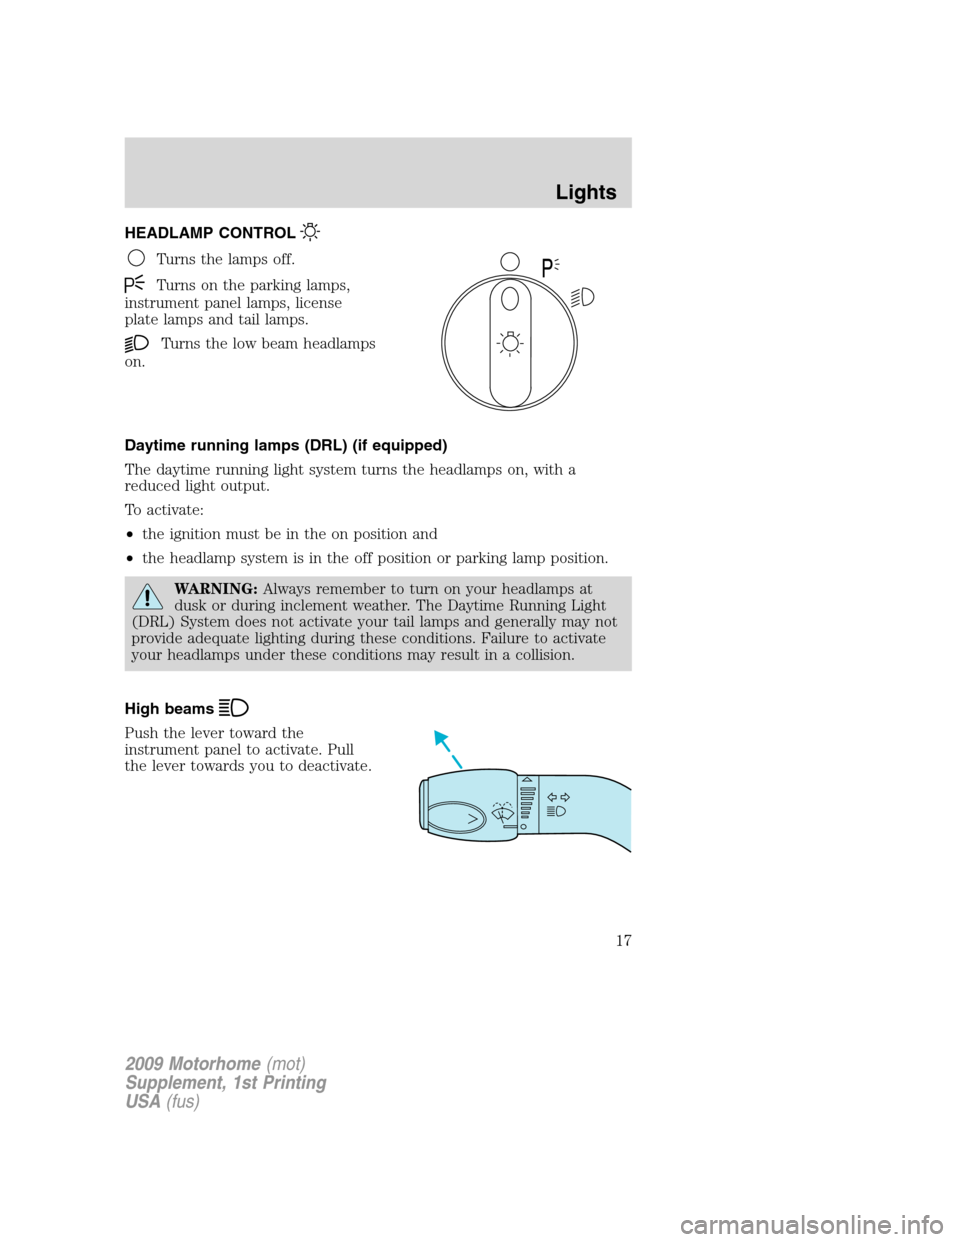
HEADLAMP CONTROL
Turns the lamps off.
Turns on the parking lamps,
instrument panel lamps, license
plate lamps and tail lamps.
Turns the low beam headlamps
on.
Daytime running lamps (DRL) (if equipped)
The daytime running light system turns the headlamps on, with a
reduced light output.
To activate:
•the ignition must be in the on position and
•the headlamp system is in the off position or parking lamp position.
WARNING:Always remember to turn on your headlamps at
dusk or during inclement weather. The Daytime Running Light
(DRL) System does not activate your tail lamps and generally may not
provide adequate lighting during these conditions. Failure to activate
your headlamps under these conditions may result in a collision.
High beams
Push the lever toward the
instrument panel to activate. Pull
the lever towards you to deactivate.
2009 Motorhome(mot)
Supplement, 1st Printing
USA(fus)
Lights
17
Page 22 of 136
Turning off speed control
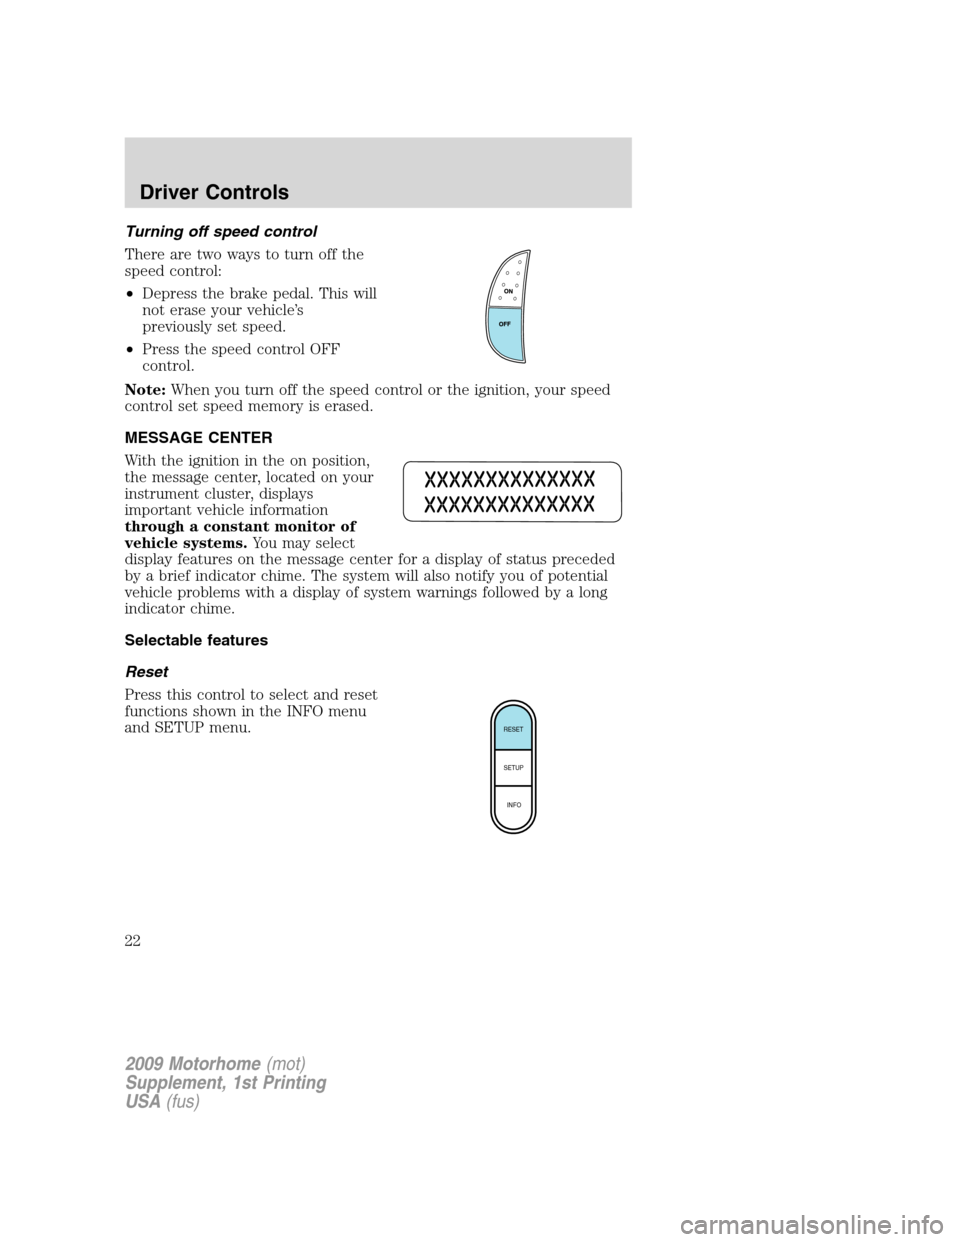
There are two ways to turn off the
speed control:
•Depress the brake pedal. This will
not erase your vehicle’s
previously set speed.
•Press the speed control OFF
control.
Note:When you turn off the speed control or the ignition, your speed
control set speed memory is erased.
MESSAGE CENTER
With the ignition in the on position,
the message center, located on your
instrument cluster, displays
important vehicle information
through a constant monitor of
vehicle systems.You may select
display features on the message center for a display of status preceded
by a brief indicator chime. The system will also notify you of potential
vehicle problems with a display of system warnings followed by a long
indicator chime.
Selectable features
Reset
Press this control to select and reset
functions shown in the INFO menu
and SETUP menu.
RESET
SETUP
INFO
2009 Motorhome(mot)
Supplement, 1st Printing
USA(fus)
Driver Controls
22
Page 23 of 136
Info menu
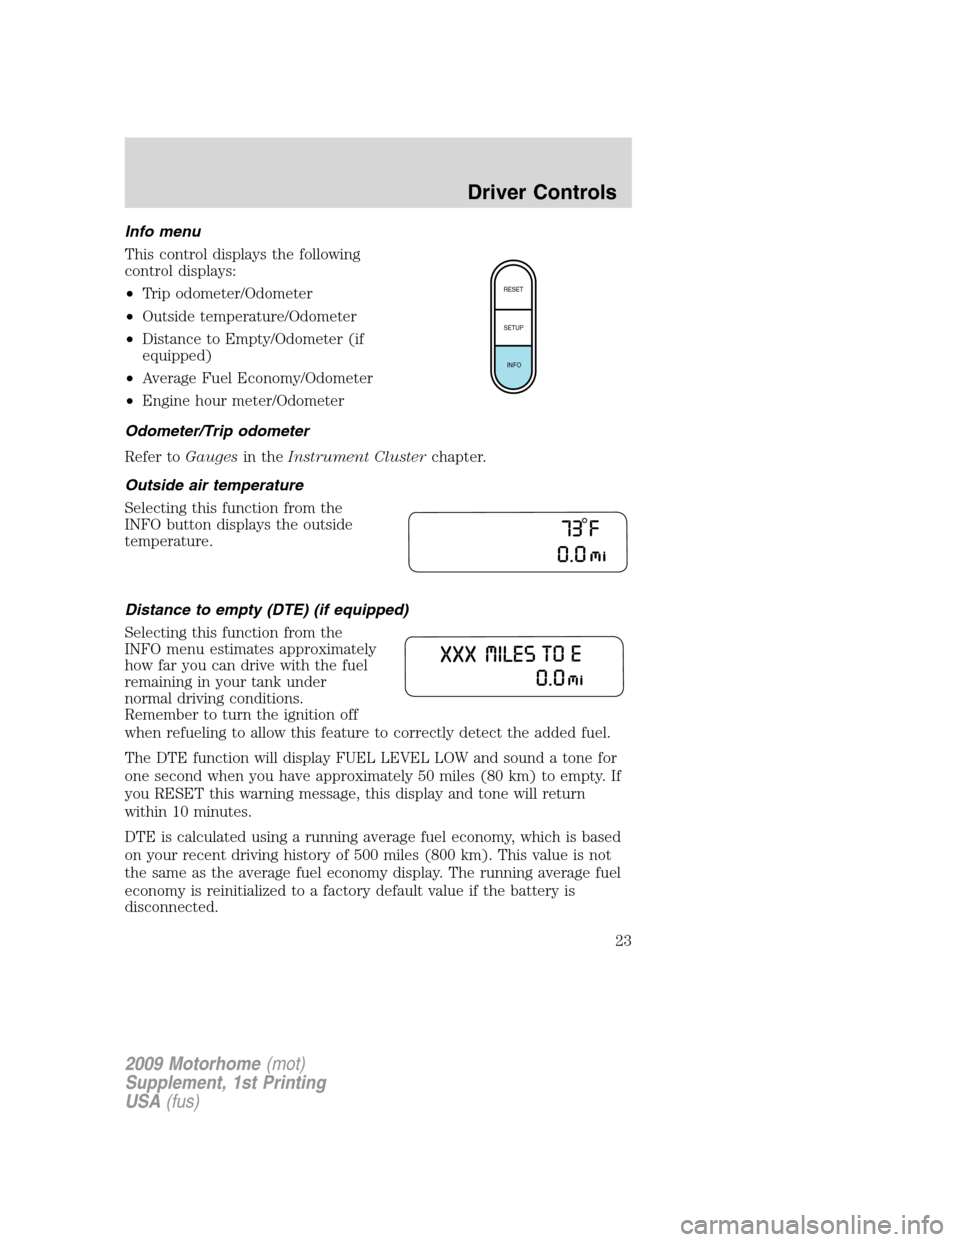
This control displays the following
control displays:
•Trip odometer/Odometer
•Outside temperature/Odometer
•Distance to Empty/Odometer (if
equipped)
•Average Fuel Economy/Odometer
•Engine hour meter/Odometer
Odometer/Trip odometer
Refer toGaugesin theInstrument Clusterchapter.
Outside air temperature
Selecting this function from the
INFO button displays the outside
temperature.
Distance to empty (DTE) (if equipped)
Selecting this function from the
INFO menu estimates approximately
how far you can drive with the fuel
remaining in your tank under
normal driving conditions.
Remember to turn the ignition off
when refueling to allow this feature to correctly detect the added fuel.
The DTE function will display FUEL LEVEL LOW and sound a tone for
one second when you have approximately 50 miles (80 km) to empty. If
you RESET this warning message, this display and tone will return
within 10 minutes.
DTE is calculated using a running average fuel economy, which is based
on your recent driving history of 500 miles (800 km). This value is not
the same as the average fuel economy display. The running average fuel
economy is reinitialized to a factory default value if the battery is
disconnected.
RESET
SETUP
INFO
2009 Motorhome(mot)
Supplement, 1st Printing
USA(fus)
Driver Controls
23
Page 51 of 136
Preparing to tow
Use the proper equipment for towing a trailer and make sure it is
properly attached to your vehicle. Contact your authorized dealer or a
reliable trailer dealer as soon as possible if you require assistance.
Hitches
You must distribute the load in your trailer so that 10–15% of the total
weight of the trailer is on the tongue.
Weight distributing hitch
When hooking up a trailer using a load equalizing hitch, always use the
following procedure:
1. Park the unloaded vehicle on a level surface. With the ignition on and
all doors closed, allow the vehicle to stand for several minutes so that it
can level.
2. Measure the height of a reference point on the front and rear bumpers
at the center of the vehicle.
3. Attach the trailer to the vehicle and adjust the hitch equalizers so that
the front bumper height is within
1�2inch (13 mm) of the reference
point. After proper adjustment, the rear bumper should be no higher
than in Step 2.
WARNING:Do not adjust a weight distributing hitch to any
position where the rear bumper of the vehicle is higher than it
was before attaching the trailer. Doing so will defeat the function of
the weight distributing hitch, which may cause unpredictable handling,
and could result in serious personal injury.
Safety chains
Always connect the trailer’s safety chains to the frame or hook retainers
of the vehicle hitch. To connect the trailer’s safety chains, cross the
chains under the trailer tongue and allow slack for turning corners.
If you use a rental trailer, follow the instructions that the rental agency
gives to you.
Do not attach safety chains to the bumper.
2009 Motorhome(mot)
Supplement, 1st Printing
USA(fus)
Tires, Wheels and Loading
51
Page 54 of 136
STARTING
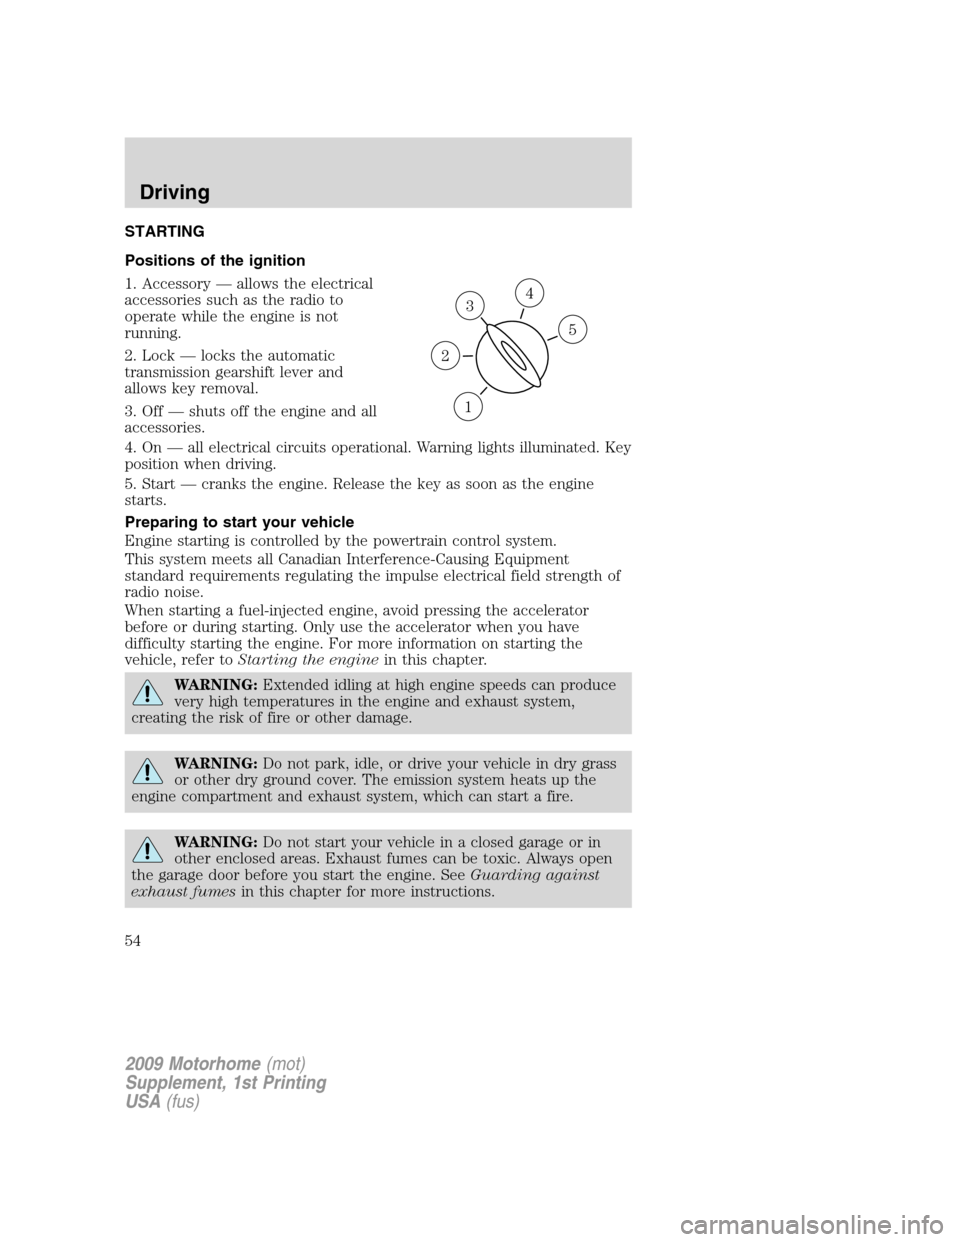
Positions of the ignition
1. Accessory — allows the electrical
accessories such as the radio to
operate while the engine is not
running.
2. Lock — locks the automatic
transmission gearshift lever and
allows key removal.
3. Off — shuts off the engine and all
accessories.
4. On — all electrical circuits operational. Warning lights illuminated. Key
position when driving.
5. Start — cranks the engine. Release the key as soon as the engine
starts.
Preparing to start your vehicle
Engine starting is controlled by the powertrain control system.
This system meets all Canadian Interference-Causing Equipment
standard requirements regulating the impulse electrical field strength of
radio noise.
When starting a fuel-injected engine, avoid pressing the accelerator
before or during starting. Only use the accelerator when you have
difficulty starting the engine. For more information on starting the
vehicle, refer toStarting the enginein this chapter.
WARNING:Extended idling at high engine speeds can produce
very high temperatures in the engine and exhaust system,
creating the risk of fire or other damage.
WARNING:Do not park, idle, or drive your vehicle in dry grass
or other dry ground cover. The emission system heats up the
engine compartment and exhaust system, which can start a fire.
WARNING:Do not start your vehicle in a closed garage or in
other enclosed areas. Exhaust fumes can be toxic. Always open
the garage door before you start the engine. SeeGuarding against
exhaust fumesin this chapter for more instructions.
3
1
2
5
4
2009 Motorhome(mot)
Supplement, 1st Printing
USA(fus)
Driving
54