Page 1 of 136
Introduction
3
Instrument Cluster
10
Warning lights and chimes 10
Gauges 13
Lights
17
Headlamps 17
Turn signal control 18
Bulb replacement 18
Driver Controls
19
Windshield wiper/washer control 19
Steering wheel adjustment 19
Speed control 20
Message center 22
Tires, Wheels and Loading
28
Tire information 28
Tire inflation 30
Vehicle loading 45
Trailer towing 50
Driving
54
Starting 54
Brakes 57
Transmission operation 61
Roadside Emergencies
67
Getting roadside assistance 67
Hazard flasher switch 68
Fuses and relays 69
Changing tires 76
Wheel lug nut torque 82
Jump starting 82
Wrecker towing 86
Table of Contents
1
2009 Motorhome(mot)
Supplement, 1st Printing
USA(fus)
Page 4 of 136
SAFETY AND ENVIRONMENT PROTECTION
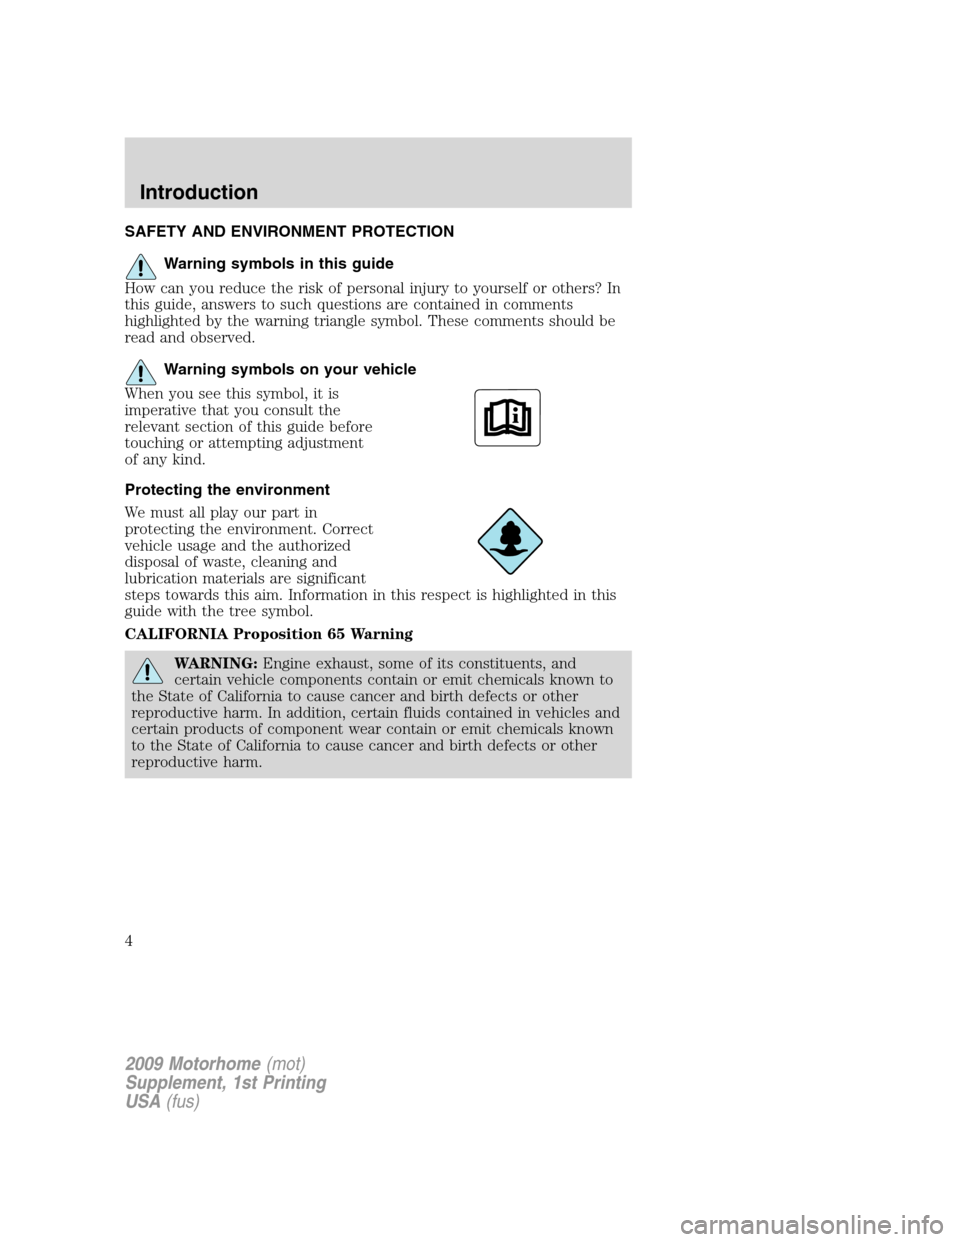
Warning symbols in this guide
How can you reduce the risk of personal injury to yourself or others? In
this guide, answers to such questions are contained in comments
highlighted by the warning triangle symbol. These comments should be
read and observed.
Warning symbols on your vehicle
When you see this symbol, it is
imperative that you consult the
relevant section of this guide before
touching or attempting adjustment
of any kind.
Protecting the environment
We must all play our part in
protecting the environment. Correct
vehicle usage and the authorized
disposal of waste, cleaning and
lubrication materials are significant
steps towards this aim. Information in this respect is highlighted in this
guide with the tree symbol.
CALIFORNIA Proposition 65 Warning
WARNING:Engine exhaust, some of its constituents, and
certain vehicle components contain or emit chemicals known to
the State of California to cause cancer and birth defects or other
reproductive harm. In addition, certain fluids contained in vehicles and
certain products of component wear contain or emit chemicals known
to the State of California to cause cancer and birth defects or other
reproductive harm.
2009 Motorhome(mot)
Supplement, 1st Printing
USA(fus)
Introduction
4
Page 5 of 136
PERCHLORATE MATERIAL
Certain components of this vehicle such as airbag modules, seat belt
pretensioners, and button cell batteries may contain Perchlorate Material
– Special handling may apply for service or vehicle end of life disposal.
See www.dtsc.ca.gov/hazardouswaste/perchlorate.
BREAKING-IN YOUR VEHICLE
Your vehicle does not need an extensive break-in. Try not to drive
continuously at the same speed for the first 1,000 miles (1,600 km) of
new vehicle operation. Vary your speed frequently in order to give the
moving parts a chance to break in.
Drive your new vehicle at least 1,000 miles (1,600 km) before towing a
trailer. For more detailed information about towing a trailer, refer to
Trailer towingin theTires, Wheels and Loadingchapter.
Do not add friction modifier compounds or special break-in oils since
these additives may prevent piston ring seating. SeeEngine oilin the
Maintenance and Specificationschapter for more information on oil
usage.
SPECIAL NOTICES
New Vehicle Limited Warranty
For a detailed description of what is covered and what is not covered by
your vehicle’s New Vehicle Limited Warranty, refer to theWarranty
Guide/Customer Information Guidethat is provided to you along with
yourOwner’s Guide.
Service Data Recording
Service data recorders in your vehicle are capable of collecting and
storing diagnostic information about your vehicle. This potentially
includes information about the performance or status of various systems
and modules in the vehicle, such as engine, throttle, steering or brake
systems. In order to properly diagnose and service your vehicle, Ford
Motor Company, Ford of Canada, and service and repair facilities may
access vehicle diagnostic information through a direct connection to your
vehicle when diagnosing or servicing your vehicle. For U.S. only (if
equipped), if you choose to use the SYNC�Vehicle Health Report, you
consent that certain diagnostic information may also be accessed
electronically by Ford Motor Company and Ford authorized service
facilities, and that the diagnostic information may be used for any
purpose. See yourSYNC�Supplementfor more information.
2009 Motorhome(mot)
Supplement, 1st Printing
USA(fus)
Introduction
5
Page 12 of 136
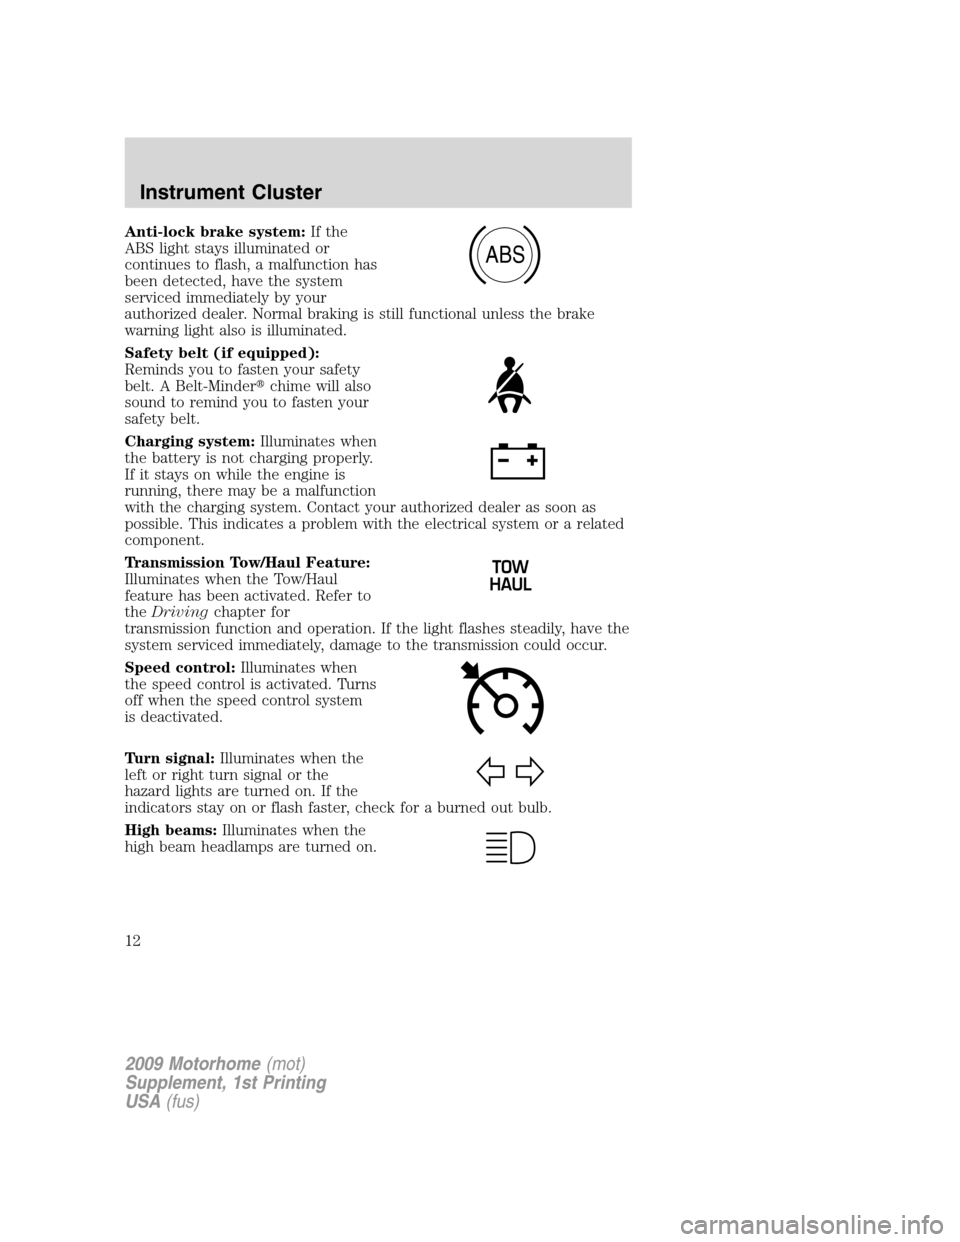
Anti-lock brake system:If the
ABS light stays illuminated or
continues to flash, a malfunction has
been detected, have the system
serviced immediately by your
authorized dealer. Normal braking is still functional unless the brake
warning light also is illuminated.
Safety belt (if equipped):
Reminds you to fasten your safety
belt. A Belt-Minder�chime will also
sound to remind you to fasten your
safety belt.
Charging system:Illuminates when
the battery is not charging properly.
If it stays on while the engine is
running, there may be a malfunction
with the charging system. Contact your authorized dealer as soon as
possible. This indicates a problem with the electrical system or a related
component.
Transmission Tow/Haul Feature:
Illuminates when the Tow/Haul
feature has been activated. Refer to
theDrivingchapter for
transmission function and operation. If the light flashes steadily, have the
system serviced immediately, damage to the transmission could occur.
Speed control:Illuminates when
the speed control is activated. Turns
off when the speed control system
is deactivated.
Turn signal:Illuminates when the
left or right turn signal or the
hazard lights are turned on. If the
indicators stay on or flash faster, check for a burned out bulb.
High beams:Illuminates when the
high beam headlamps are turned on.
ABS
2009 Motorhome(mot)
Supplement, 1st Printing
USA(fus)
Instrument Cluster
12
Page 15 of 136
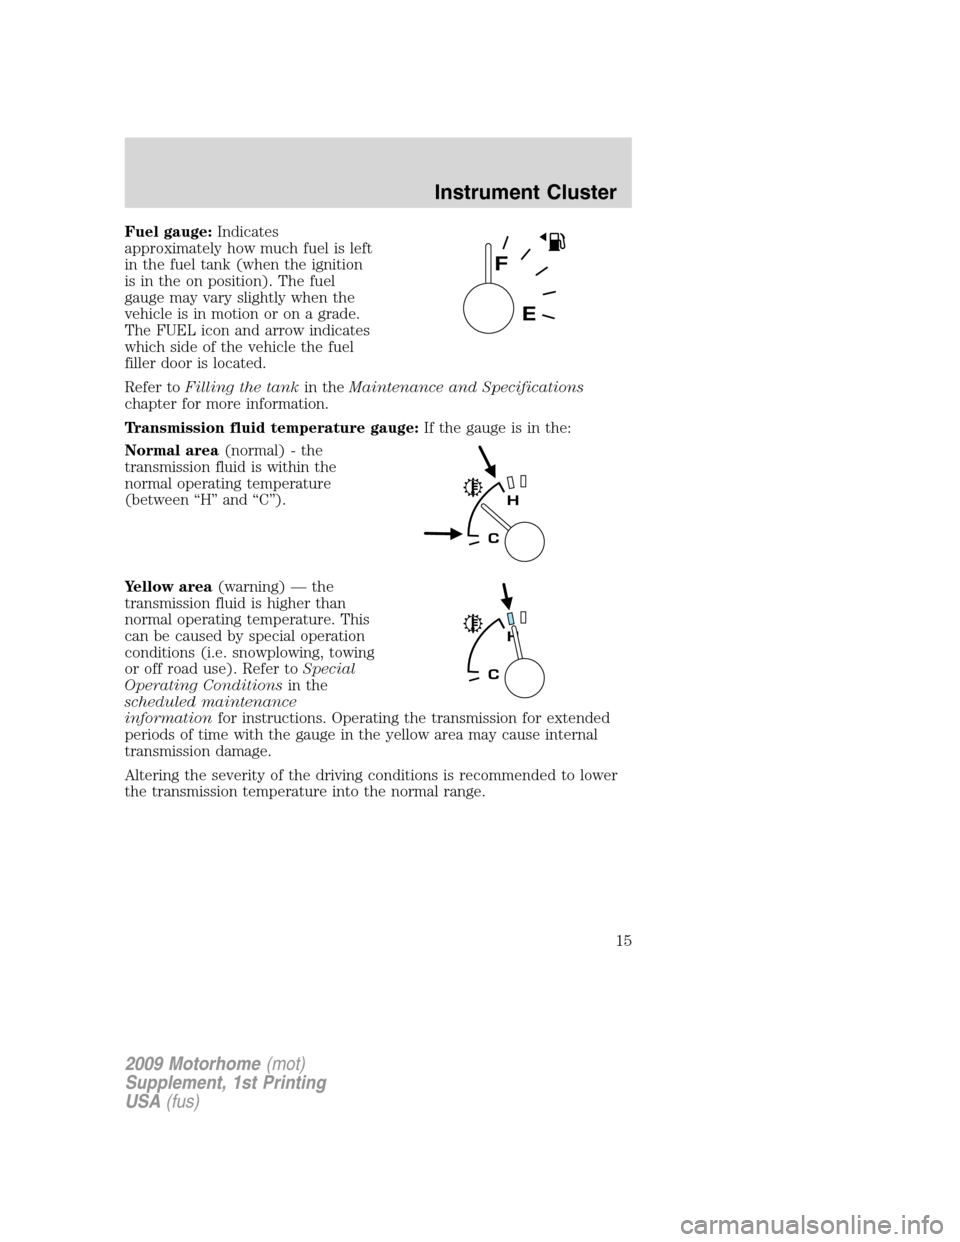
Fuel gauge:Indicates
approximately how much fuel is left
in the fuel tank (when the ignition
is in the on position). The fuel
gauge may vary slightly when the
vehicle is in motion or on a grade.
The FUEL icon and arrow indicates
which side of the vehicle the fuel
filler door is located.
Refer toFilling the tankin theMaintenance and Specifications
chapter for more information.
Transmission fluid temperature gauge:If the gauge is in the:
Normal area(normal) - the
transmission fluid is within the
normal operating temperature
(between “H” and “C”).
Yellow area(warning) — the
transmission fluid is higher than
normal operating temperature. This
can be caused by special operation
conditions (i.e. snowplowing, towing
or off road use). Refer toSpecial
Operating Conditionsin the
scheduled maintenance
informationfor instructions. Operating the transmission for extended
periods of time with the gauge in the yellow area may cause internal
transmission damage.
Altering the severity of the driving conditions is recommended to lower
the transmission temperature into the normal range.
2009 Motorhome(mot)
Supplement, 1st Printing
USA(fus)
Instrument Cluster
15
Page 17 of 136
HEADLAMP CONTROL
Turns the lamps off.
Turns on the parking lamps,
instrument panel lamps, license
plate lamps and tail lamps.
Turns the low beam headlamps
on.
Daytime running lamps (DRL) (if equipped)
The daytime running light system turns the headlamps on, with a
reduced light output.
To activate:
•the ignition must be in the on position and
•the headlamp system is in the off position or parking lamp position.
WARNING:Always remember to turn on your headlamps at
dusk or during inclement weather. The Daytime Running Light
(DRL) System does not activate your tail lamps and generally may not
provide adequate lighting during these conditions. Failure to activate
your headlamps under these conditions may result in a collision.
High beams
Push the lever toward the
instrument panel to activate. Pull
the lever towards you to deactivate.
2009 Motorhome(mot)
Supplement, 1st Printing
USA(fus)
Lights
17
Page 18 of 136
Flash to pass
Pull toward you slightly to activate
and release to deactivate.
PANEL DIMMER CONTROL
Use to adjust the brightness of the
instrument panel and all applicable
switches in the vehicle during
headlamp and parking lamp
operation.
Move the control up or down to
adjust the intensity of the panel
lighting.
Move the control to the full upright
position, past detent, to turn on the interior lamps.
Note:If the battery is disconnected, discharged, or a new battery is
installed, the dimmer switch requires re-calibration. Rotate the dimmer
switch from the full dim position to the full dome/on position to reset.
This will ensure that your displays are visible under all lighting
conditions.
TURN SIGNAL CONTROL
•Push down to activate the left
turn signal.
•Push up to activate the right turn
signal.
BULB REPLACEMENT
Replacing exterior bulbs
Check the operation of all the bulbs frequently.
2009 Motorhome(mot)
Supplement, 1st Printing
USA(fus)
Lights
18
Page 19 of 136
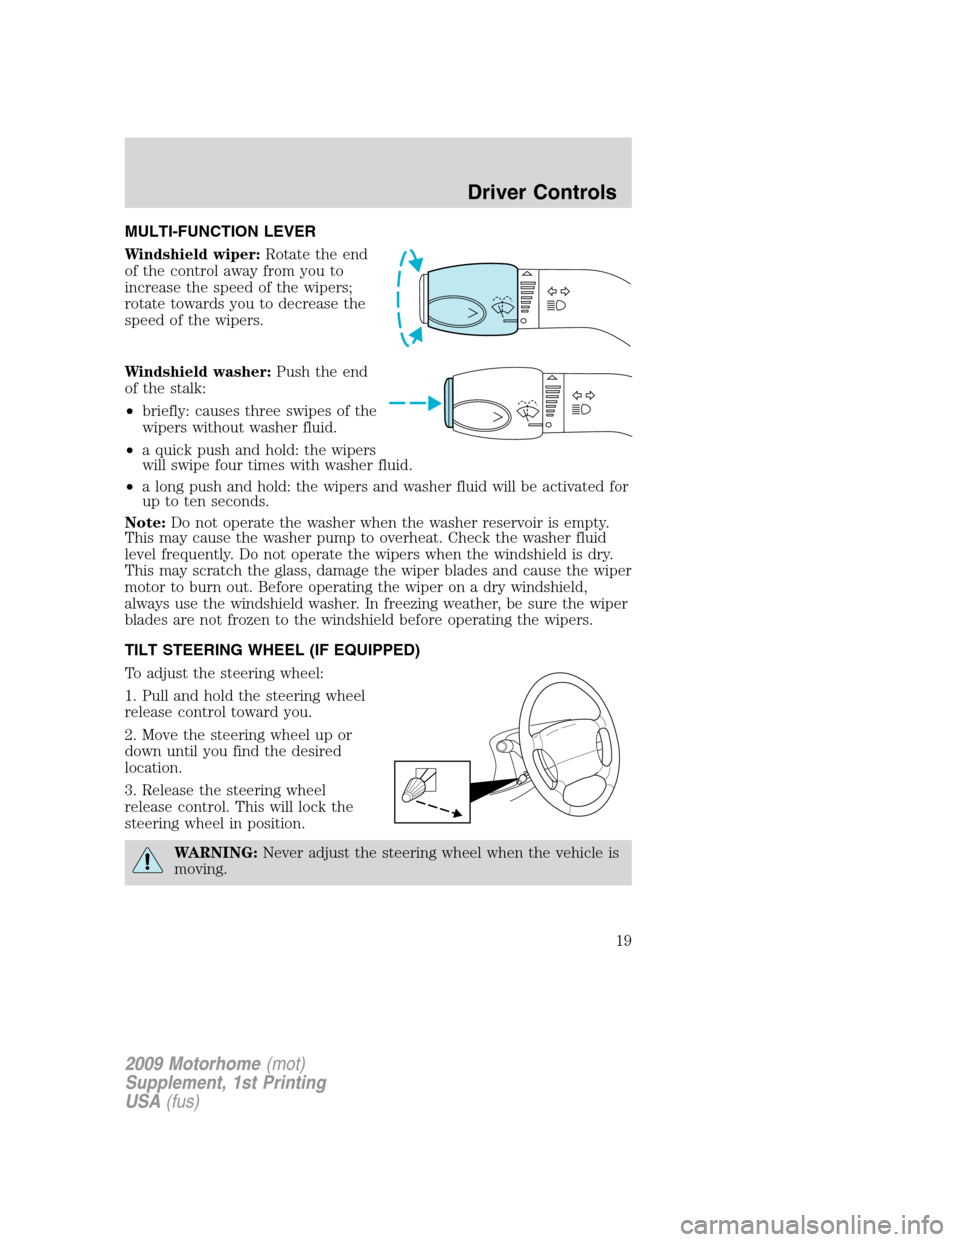
MULTI-FUNCTION LEVER
Windshield wiper:Rotate the end
of the control away from you to
increase the speed of the wipers;
rotate towards you to decrease the
speed of the wipers.
Windshield washer:Push the end
of the stalk:
•briefly: causes three swipes of the
wipers without washer fluid.
•a quick push and hold: the wipers
will swipe four times with washer fluid.
•a long push and hold: the wipers and washer fluid will be activated for
up to ten seconds.
Note:Do not operate the washer when the washer reservoir is empty.
This may cause the washer pump to overheat. Check the washer fluid
level frequently. Do not operate the wipers when the windshield is dry.
This may scratch the glass, damage the wiper blades and cause the wiper
motor to burn out. Before operating the wiper on a dry windshield,
always use the windshield washer. In freezing weather, be sure the wiper
blades are not frozen to the windshield before operating the wipers.
TILT STEERING WHEEL (IF EQUIPPED)
To adjust the steering wheel:
1. Pull and hold the steering wheel
release control toward you.
2. Move the steering wheel up or
down until you find the desired
location.
3. Release the steering wheel
release control. This will lock the
steering wheel in position.
WARNING:Never adjust the steering wheel when the vehicle is
moving.
2009 Motorhome(mot)
Supplement, 1st Printing
USA(fus)
Driver Controls
19