2009 FORD EXPLORER warning light
[x] Cancel search: warning lightPage 259 of 407

Low Tire
Pressure
Warning LightPossible
causeCustomer Action Required
Flashing Warning
LightSpare tire in
useYour temporary spare tire is in use.
Repair the damaged road wheel and
re-mount it on the vehicle to restore
system functionality. For a
description of how the system
functions under these conditions,
refer toWhen your temporary
spare tire is installedin this
section.
TPMS
malfunctionIf your tires are properly inflated and
your spare tire is not in use and the
TPMS warning light still flashes,
contact your authorized dealer as
soon as possible.
When inflating your tires
When putting air into your tires (such as at a gas station or in your
garage), the Tire Pressure Monitoring System may not respond
immediately to the air added to your tires.
It may take up to two minutes of driving over 20 mph (32 km/h) for the
light to turn OFF after you have filled your tires to the recommended
inflation pressure.
How temperature affects your tire pressure
The Tire Pressure Monitoring System (TPMS) monitors tire pressure in
each pneumatic tire. While driving in a normal manner, a typical
passenger tire inflation pressure may increase approximately 2 to 4 psi
(14 to 28 kPa) from a cold start situation. If the vehicle is stationary
over night with the outside temperature significantly lower than the
daytime temperature, the tire pressure may decrease approximately 3 psi
(20.7 kPa) for a drop of 30° F (16.6°C) in ambient temperature. This
lower pressure value may be detected by the TPMS as being significantly
lower than the recommended inflation pressure and activate the TPMS
warning for low tire pressure. If the low tire pressure warning light is
ON, visually check each tire to verify that no tire is flat. (If one or more
tires are flat, repair as necessary.) Check air pressure in the road tires. If
any tire is under-inflated, carefully drive the vehicle to the nearest
location where air can be added to the tires. Inflate all the tires to the
recommended inflation pressure.
2009 Explorer(exp)
Owners Guide, 1st Printing
USA(fus)
Tires, Wheels and Loading
259
Page 270 of 407

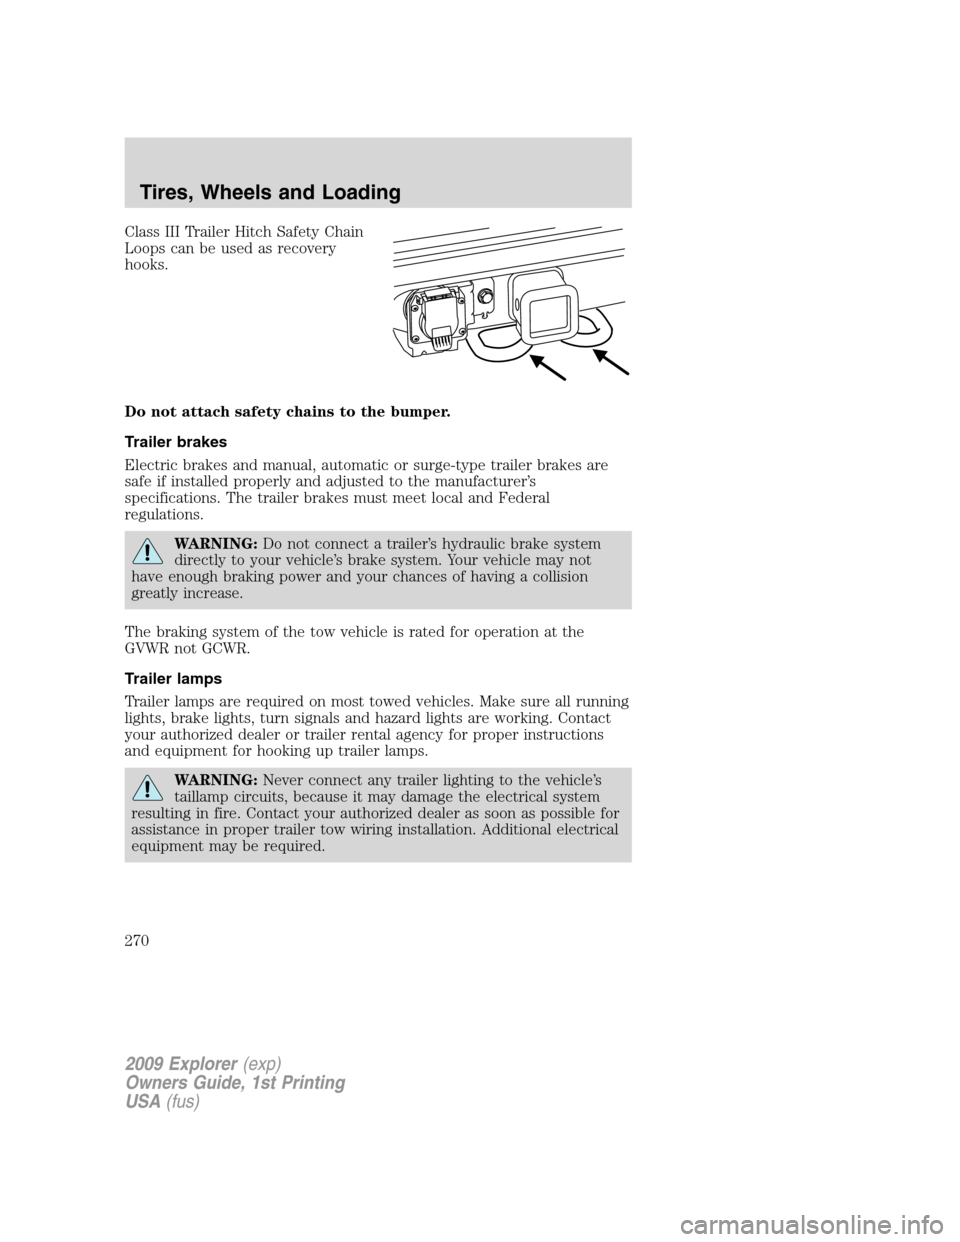
Class III Trailer Hitch Safety Chain
Loops can be used as recovery
hooks.
Do not attach safety chains to the bumper.
Trailer brakes
Electric brakes and manual, automatic or surge-type trailer brakes are
safe if installed properly and adjusted to the manufacturer’s
specifications. The trailer brakes must meet local and Federal
regulations.
WARNING:Do not connect a trailer’s hydraulic brake system
directly to your vehicle’s brake system. Your vehicle may not
have enough braking power and your chances of having a collision
greatly increase.
The braking system of the tow vehicle is rated for operation at the
GVWR not GCWR.
Trailer lamps
Trailer lamps are required on most towed vehicles. Make sure all running
lights, brake lights, turn signals and hazard lights are working. Contact
your authorized dealer or trailer rental agency for proper instructions
and equipment for hooking up trailer lamps.
WARNING:Never connect any trailer lighting to the vehicle’s
taillamp circuits, because it may damage the electrical system
resulting in fire. Contact your authorized dealer as soon as possible for
assistance in proper trailer tow wiring installation. Additional electrical
equipment may be required.
2009 Explorer(exp)
Owners Guide, 1st Printing
USA(fus)
Tires, Wheels and Loading
270
Page 274 of 407

STARTING
Positions of the ignition
1. Off— locks the gearshift lever
and allows key removal. This
position also shuts the engine and
all electrical accessories off.
2. Accessory— allows the electrical
accessories such as the radio to
operate while the engine is not
running.
3. On— all electrical circuits
operational. Warning lights
illuminated. Key position when driving.
4. Start— cranks the engine. Release the key as soon as the engine
starts.
Preparing to start your vehicle
Engine starting is controlled by the powertrain control system.
This system meets all Canadian Interference-Causing Equipment
standard requirements regulating the impulse electrical field strength of
radio noise.
When starting a fuel-injected engine, don’t press the accelerator before
or during starting. Only use the accelerator when you have difficulty
starting the engine. For more information on starting the vehicle, refer to
Starting the enginein this chapter.
WARNING:Extended idling at high engine speeds can produce
very high temperatures in the engine and exhaust system,
creating the risk of fire or other damage.
WARNING:Do not park, idle, or drive your vehicle in dry grass
or other dry ground cover. The emission system heats up the
engine compartment and exhaust system, which can start a fire.
WARNING:Do not start your vehicle in a closed garage or in
other enclosed areas. Exhaust fumes can be toxic. Always open
the garage door before you start the engine. SeeGuarding against
exhaust fumesin this chapter for more instructions.
2009 Explorer(exp)
Owners Guide, 1st Printing
USA(fus)
Driving
274
Page 276 of 407

•Make sure the gearshift is in P
(Park).
3. Turn the key to 3 (on) without
turning the key to 4 (start).
Some warning lights will briefly illuminate. SeeWarning lights and
chimesin theInstrument Clusterchapter for more information
regarding the warning lights.
2009 Explorer(exp)
Owners Guide, 1st Printing
USA(fus)
Driving
276
Page 279 of 407

•Be sure that areas where the vehicle is parked are clean and clear of
all combustibles such as petroleum products, dust, rags, paper and
similar items.
•Be sure that the engine block heater, heater cord and extension cord
are solidly connected. A poor connection can cause the cord to
become very hot and may result in an electrical shock or fire. Be sure
to check for heat anywhere in the electrical hookup once the system
has been operating for approximately a half hour.
•Finally, have the engine block heater system checked during your fall
tune-up to be sure it’s in good working order.
How to use the engine block heater
Ensure the receptacle terminals are clean and dry prior to use. To clean
them, use a dry cloth.
Depending on the type of factory installed equipment, your engine block
heater system may consume anywhere between 400 watts or 1000 watts
of energy per hour. Your factory installed block heater system does not
have a thermostat; however, maximum temperature is attained after
approximately three hours of operation. Block heater operation longer
than three hours will not improve system performance and will
unnecessarily use additional electricity.
Make sure system is unplugged and properly stowed before driving the
vehicle. While not in use, make sure the protective cover seals the
prongs of the engine block heater cord plug.
BRAKES
Occasional brake noise is normal. If a metal-to-metal, continuous grinding
or continuous squeal sound is present, the brake linings may be worn-out
and should be inspected by an authorized dealer. If the vehicle has
continuous vibration or shudder in the steering wheel while braking, the
vehicle should be inspected by an authorized dealer.
Refer toBrake system warning
lightin theInstrument Cluster
chapter for information on the brake
system warning light.
P!
BRAKE
2009 Explorer(exp)
Owners Guide, 1st Printing
USA(fus)
Driving
279
Page 280 of 407

Four-wheel anti-lock brake system (ABS)
Your vehicle is equipped with an Anti-lock Braking System (ABS). This
system helps you maintain steering control during emergency stops by
keeping the brakes from locking. Noise from the ABS pump motor and
brake pedal pulsation may be observed during ABS braking and the
brake pedal may suddenly travel a little farther as soon as ABS braking is
done and normal brake operation resumes. These are normal
characteristics of the ABS and should be no reason for concern.
Using ABS
When hard braking is required, apply continuous force on the brake
pedal; do not pump the brake pedal since this will reduce the
effectiveness of the ABS and will increase your vehicle’s stopping
distance. The ABS will be activated immediately, allowing you to retain
steering control during hard braking and on slippery surfaces. However,
the ABS does not decrease stopping distance.
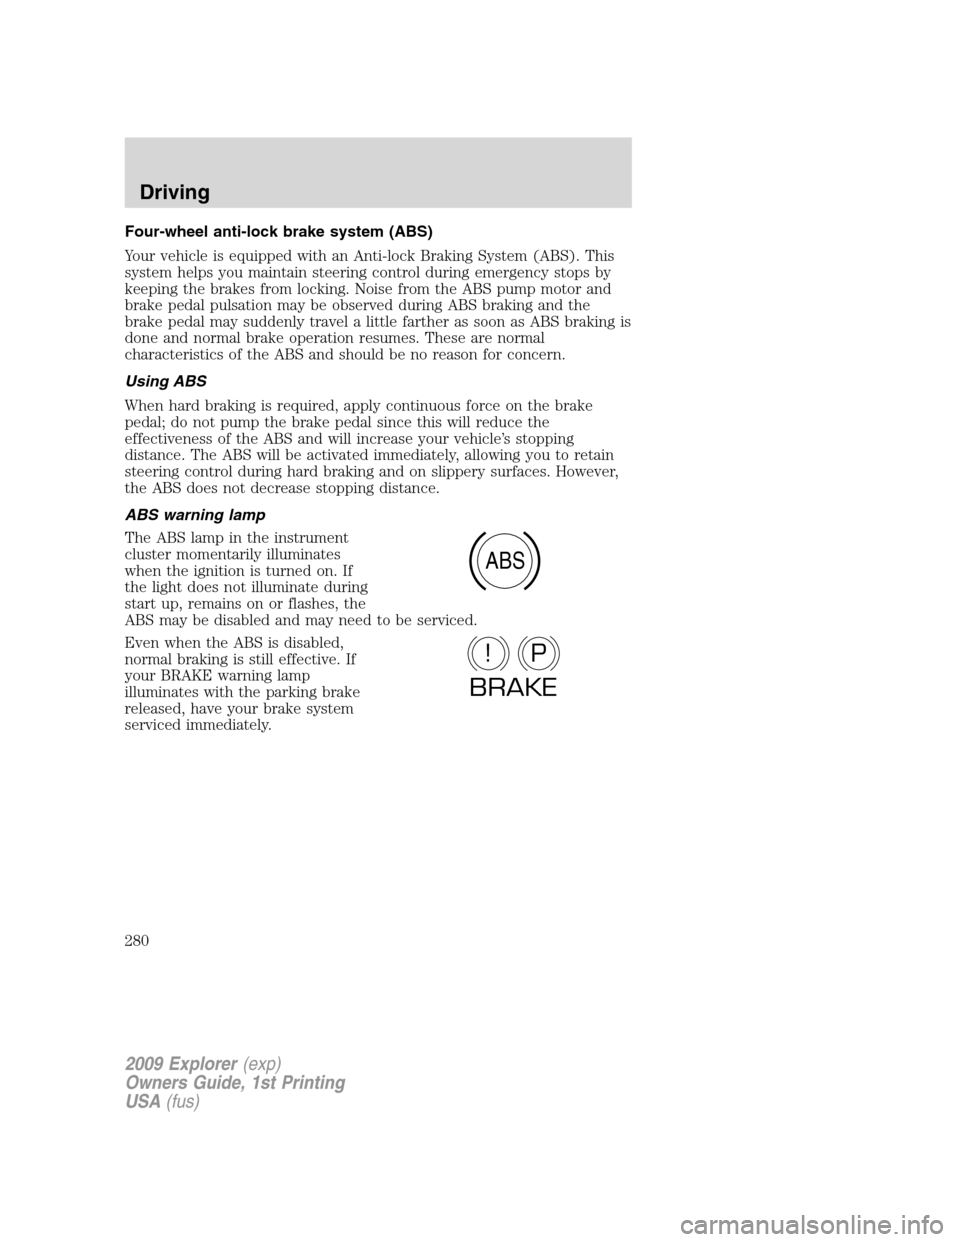
ABS warning lamp
The ABS lamp in the instrument
cluster momentarily illuminates
when the ignition is turned on. If
the light does not illuminate during
start up, remains on or flashes, the
ABS may be disabled and may need to be serviced.
Even when the ABS is disabled,
normal braking is still effective. If
your BRAKE warning lamp
illuminates with the parking brake
released, have your brake system
serviced immediately.
ABS
P!
BRAKE
2009 Explorer(exp)
Owners Guide, 1st Printing
USA(fus)
Driving
280
Page 296 of 407

•Allows upshifts by moving gearshift lever.
•Will not downshift into 1 (First) at high speeds; allows for 1 (First)
when vehicle reaches slower speeds.
Forced downshifts
•Allowed in D (Drive) only.
•Depress the accelerator to the floor.
•Allows transmission to select an appropriate gear.
If your vehicle gets stuck in mud or snow
If your vehicle gets stuck in mud or snow, it may be rocked out by
shifting between forward and reverse gears, stopping between shifts in a
steady pattern. Press lightly on the accelerator in each gear.
Do not rock the vehicle if the engine is not at normal operating
temperature or damage to the transmission may occur.
Do not rock the vehicle for more than a minute or damage to the
transmission and tires may occur, or the engine may overheat.
REVERSE SENSING SYSTEM (IF EQUIPPED)
The reverse sensing system sounds a tone to warn the driver of obstacles
near the rear bumper when the R (Reverse) gear is selected.
WARNING:To help avoid personal injury, please read and
understand the limitations of the reverse sensing system as
contained in this section. The park assist is only an aid for some
(generally large and fixed) objects when moving in reverse on a flat
surface at “parking speeds”. Inclement weather may also affect the
function of the RSS; this may include reduced performance or a false
activation.
WARNING:To help avoid personal injury, always use caution
when in R (Reverse) and when using the reverse sensing system.
WARNING:This system is not designed to prevent contact with
small or moving objects. The system is designed to provide a
warning to assist the driver in detecting objects to avoid damaging the
vehicle. The system may not detect smaller objects, particularly those
close to the ground.
2009 Explorer(exp)
Owners Guide, 1st Printing
USA(fus)
Driving
296
Page 299 of 407

The radar sensor is located behind the rear bumper/fascia. Always
keep the rear bumper/fascia free from snow, ice and large
accumulations of dirt. These elements may cause the system to
operate inaccurately.
If the vehicle sustains damage to the rear bumper/fascia, leaving
it misaligned or bent, the sensing zone may be altered causing
inaccurate measurement of obstacles or false alarms.
FOUR-WHEEL DRIVE (4WD) OPERATION (IF EQUIPPED)
WARNING:For important information regarding safe operation
of this type of vehicle, seePreparing to drive your vehiclein
this chapter.
Four–wheel drive (4WD) supplies power to all four wheels. Do not use
4X4 High or 4X4 Low on dry, hard surfaced roads. Doing so will produce
excessive noise, increase tire wear and may damage drive components.
4X4 High and 4X4 Low are only intended for consistently slippery or
loose surfaces. The use of 4X4 High or 4X4 Low on these surfaces may
produce some noise, such as occasional clunks, but will not damage the
drive system.
If equipped with the Electronic Shift 4WD System, and 4WD Low
is selected while the vehicle is moving above 3 mph (5 km/h), the
4WD system will not engage. This is normal and should be no
reason for concern.Refer toShifting to/from 4WD Lowfor proper
operation.
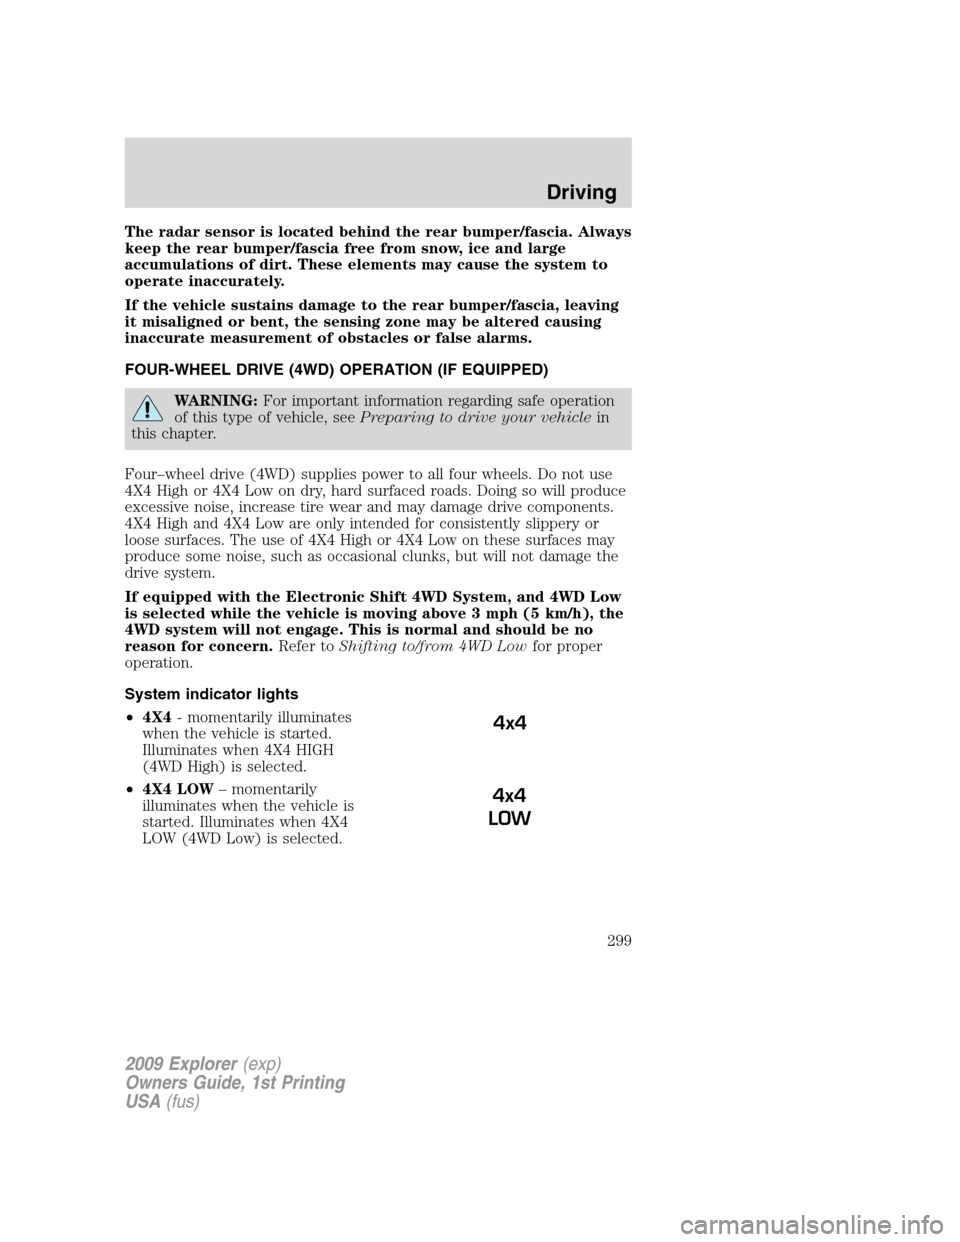
System indicator lights
•4X4- momentarily illuminates
when the vehicle is started.
Illuminates when 4X4 HIGH
(4WD High) is selected.
•4X4 LOW– momentarily
illuminates when the vehicle is
started. Illuminates when 4X4
LOW (4WD Low) is selected.
4x4
4x4
LOW
2009 Explorer(exp)
Owners Guide, 1st Printing
USA(fus)
Driving
299