Page 393 of 415

detected by the OBD-II may not have symptoms that are apparent,
continued driving with the service engine soon indicator on can
result in increased emissions, lower fuel economy, reduced engine and
transmission smoothness, and lead to more costly repairs.
Readiness for Inspection/Maintenance (I/M) testing
Some state/provincial and local governments may have
Inspection/Maintenance (I/M) programs to inspect the emission control
equipment on your vehicle. Failure to pass this inspection could prevent
you from getting a vehicle registration. Your vehicle may not pass the I/M
test if the service engine soon indicator is on or not working
properly (bulb is burned out), or if the OBD-II system has determined
that some of the emission control systems have not been properly
checked. In this case, the vehicle is considered not ready for I/M testing.
If the service engine soon indicator is on or the bulb does not
work, the vehicle may need to be serviced. Refer to the On board
diagnostics (OBD-II) description in this chapter.
If the vehicle’s engine or transmission has just been serviced, or the
battery has recently run down or been replaced, the OBD-II system may
indicate that the vehicle is not ready for I/M testing. To determine if the
vehicle is ready for I/M testing, turn the ignition key to the on position
for 15 seconds without cranking the engine. If the service engine
soon indicator blinks eight times, it means that the vehicle is not
ready for I/M testing; if the service engine soon indicator stays on
solid, it means that the vehicle is ready for I/M testing.
The OBD-II system is designed to check the emission control system
during normal driving. A complete check may take several days. If the
vehicle is not ready for I/M testing, the following driving cycle consisting
of mixed city and highway driving may be performed:
15 minutes of steady driving on an expressway/highway followed by
20 minutes of stop-and-go driving with at least four 30-second idle
periods.
Allow the vehicle to sit for at least eight hours without starting the
engine. Then, start the engine and complete the above driving cycle. The
engine must warm up to its normal operating temperature. Once started,
do not turn off the engine until the above driving cycle is complete. If
the vehicle is still not ready for I/M testing, the above driving cycle will
have to be repeated.
2009 Expedition (exd)
Owners Guide, 2nd Printing
USA (fus) Maintenance and Specifications
393
Page 394 of 415

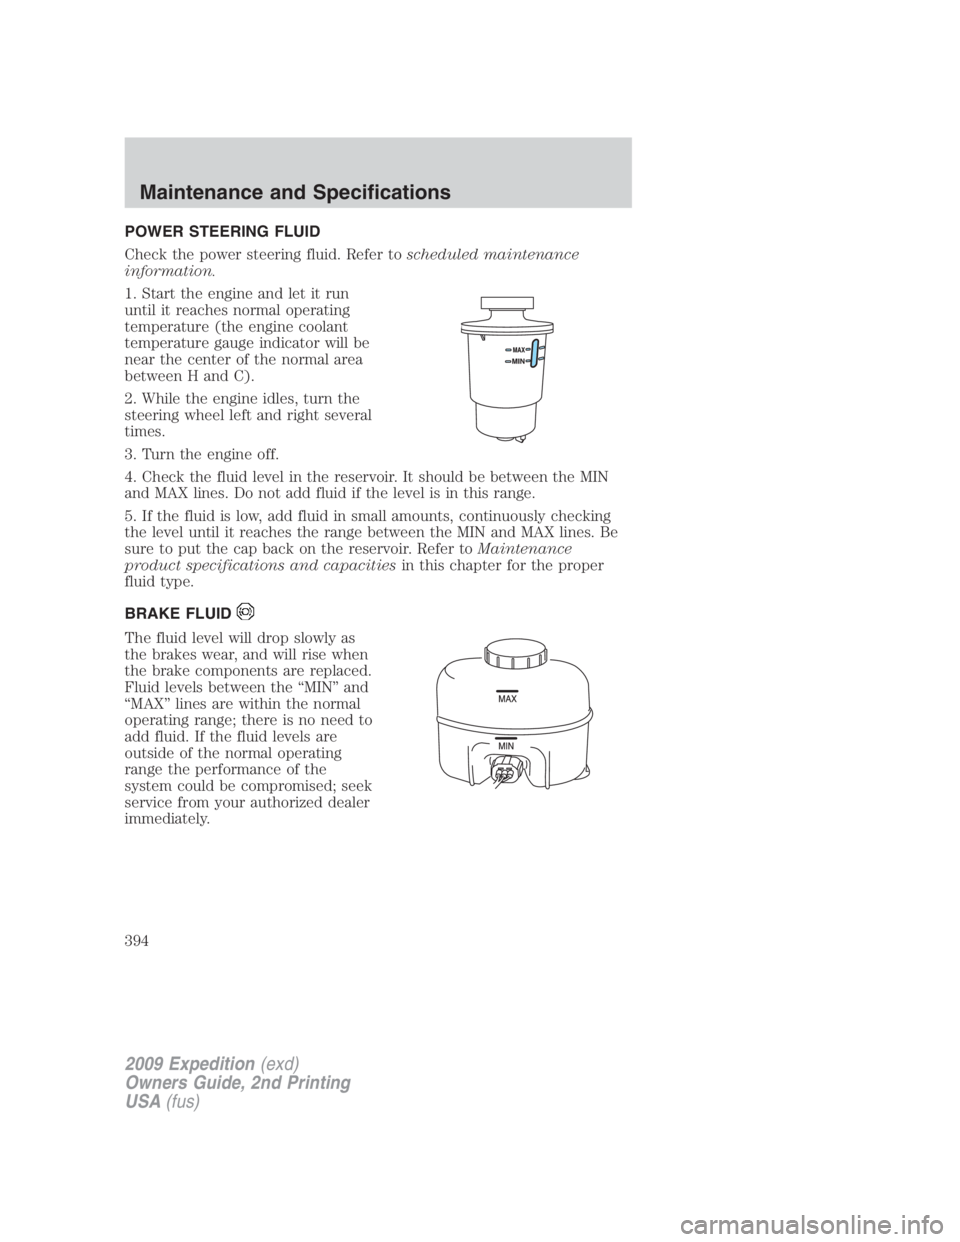
POWER STEERING FLUID
Check the power steering fluid. Refer to scheduled maintenance
information.
1. Start the engine and let it run
until it reaches normal operating
temperature (the engine coolant
temperature gauge indicator will be
near the center of the normal area
between H and C).
2. While the engine idles, turn the
steering wheel left and right several
times.
3. Turn the engine off.
4. Check the fluid level in the reservoir. It should be between the MIN
and MAX lines. Do not add fluid if the level is in this range.
5. If the fluid is low, add fluid in small amounts, continuously checking
the level until it reaches the range between the MIN and MAX lines. Be
sure to put the cap back on the reservoir. Refer to Maintenance
product specifications and capacities in this chapter for the proper
fluid type.
BRAKE FLUID
The fluid level will drop slowly as
the brakes wear, and will rise when
the brake components are replaced.
Fluid levels between the “MIN” and
“MAX” lines are within the normal
operating range; there is no need to
add fluid. If the fluid levels are
outside of the normal operating
range the performance of the
system could be compromised; seek
service from your authorized dealer
immediately.
2009 Expedition (exd)
Owners Guide, 2nd Printing
USA (fus)Maintenance and Specifications
394
Page 395 of 415

TRANSMISSION FLUID
Checking automatic transmission fluid
The automatic transmission does not have a transmission fluid dipstick.
Refer to your scheduled maintenance information for scheduled
intervals for fluid checks and changes. Your transmission does not
consume fluid. However, the fluid level should be checked if the
transmission is not working properly, (i.e., if the transmission slips or
shifts slowly) or if you notice some sign of fluid leakage.
Transmission fluid should be checked by an authorized dealer. If
required, fluid should be added by an authorized dealer.
Do not use supplemental transmission fluid additives, treatments or
cleaning agents. The use of these materials may affect transmission
operation and result in damage to internal transmission components.
AIR FILTER
Refer to scheduled maintenance information for the appropriate
intervals for changing the air filter element.
When changing the air filter element, use only the air filter element
listed. Refer to Motorcraft part numbers in this chapter.
WARNING: To reduce the risk of vehicle damage and/or
personal burn injuries do not start your engine with the air
cleaner removed and do not remove it while the engine is running.
Changing the air filter element
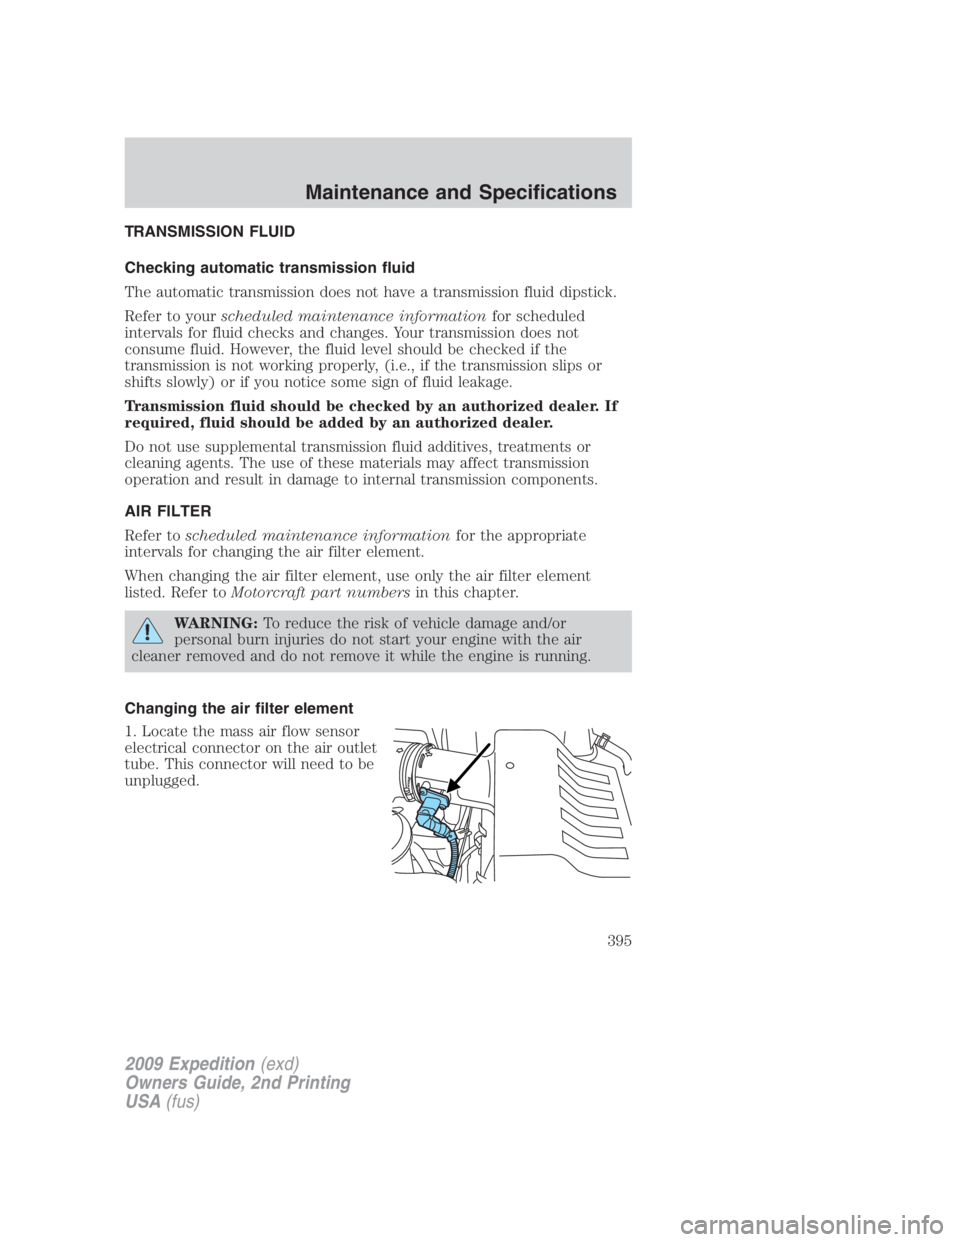
1. Locate the mass air flow sensor
electrical connector on the air outlet
tube. This connector will need to be
unplugged.
2009 Expedition (exd)
Owners Guide, 2nd Printing
USA (fus) Maintenance and Specifications
395
Page 396 of 415
2. Unlock the locking clip on the
connector (connector shown from
below for clarity), then squeeze and
pull the connector off of the air
outlet tube.
3. Clean the area around the air
tube to air cover connection to
prevent debris from entering the
system and then loosen the bolt on
the air tube clamp so the clamp is
no longer snug to the air tube. It is
not necessary to completely remove
the clamp.
4. Pull the air tube off from the air
cleaner housing.
5. Release the three clamps that
secure the cover to the air filter
housing. Push the air filter cover
toward the center of the vehicle and
up slightly to release it.
2009 Expedition (exd)
Owners Guide, 2nd Printing
USA (fus)Maintenance and Specifications
396
Page 397 of 415
6. Remove the air filter element
from the air filter housing.
7. Install a new air filter element.
8. Replace the air filter housing
cover and secure the clamps. Be
careful not to crimp the filter
element edges between the air filter
housing and cover and ensure that
the tabs on the edge are properly
aligned into the slots.
9. Slip the air tube onto the air filter
housing and tighten the air-tube
clamp bolt snugly, but do not
overtighten it.
10. Reconnect the mass air flow
sensor electrical connector to the
outlet tube. Make sure the locking
tab on the connector is in the
“locked” position (connector shown
from below for clarity).
2009 Expedition (exd)
Owners Guide, 2nd Printing
USA (fus) Maintenance and Specifications
397
Page 398 of 415
Note: Failure to use the correct air filter element may result in severe
engine damage. The customer warranty may be void for any damage to
the engine if the correct air filter element is not used.
MOTORCRAFT PART NUMBERS
Component 5.4L 3V V8 engine
Air filter element FA-1883
Battery BXT-65-650 or BXT-65-750 (if
equipped)
Fuel filter FG-1036 2
Oil filter FL-820-S
Spark plugs 1
1
For spark plug replacement, see your authorized dealer. Refer to
scheduled maintenance information for the appropriate intervals for
changing the spark plugs. 2
Long wheel base only
Replace the spark plugs with ones that meet Ford material and
design specifications for your vehicle, such as Motorcraft or
equivalent replacement parts. The customer warranty may be
void for any damage to the engine if such spark plugs are not
used.
2009 Expedition (exd)
Owners Guide, 2nd Printing
USA (fus)Maintenance and Specifications
398
Page 399 of 415
MAINTENANCE PRODUCT SPECIFICATIONS AND CAPACITIES
Item Capacity Ford part name Ford part number /
Ford specification
Brake fluid Between MIN and
MAX on reservoir Motorcraft High
Performance DOT 3
Motor Vehicle Brake
Fluid PM-1-C /
WSS-M6C62-A or
WSS-M6C65-A1
Hinges, latches, striker
plates and rotors, seat
tracks, fuel filler door
hinge and spring — Multi-Purpose Grease XG-4 or XL-5 /
ESB-M1C93-B
Lock cylinders — Motorcraft Penetrating
and Lock Lubricant XL-1 /
None2009 Expedition (exd)
Owners Guide, 2nd Printing
USA (fus) Maintenance and Specifications
399
Page 400 of 415
Item Capacity Ford part name Ford part number /
Ford specification
Engine coolant (Base
radiator without aux
rear heat) 16.4 quarts
(15.5L)
Motorcraft Premium
Gold Engine Coolant
(yellow-colored)
1VC-7-B /
WSS-M97B51-A1Engine coolant
(Heavy-duty trailer tow
radiator without aux
rear heat) 16.9 quarts
(16.0L)
Engine coolant (Base
radiator with aux rear
heat) 19.0 quarts
(18.0L)
Engine coolant
(Heavy-duty trailer tow
radiator with aux rear
heat) 19.5 quarts
(18.5L)
Cooling system stop
leak pellets — Motorcraft Cooling
System Stop Leak Pellets VC-6 /
WSS-M99B37-B6
Engine oil 7.0 quarts (6.6 L) Motorcraft SAE 5W-20
Premium Synthetic
Blend Motor Oil
Motorcraft SAE 5W-20
Super Premium Motor
Oil
2XO-5W20-QSP (US)
CXO-5W20–LSP12
(Canada) /
WSS-M2C930-A and API
Certification Mark
Automatic transmission
fluid (6R80) 11.0 quarts
(10.5L)
3Motorcraft
MERCON LV AT F
4XT-10-QLV /
MERCON LV2009 Expedition (exd)
Owners Guide, 2nd Printing
USA (fus)Maintenance and Specifications
400