Page 253 of 449

cause damage to the transmission. The torque converter
will refill within five seconds of shifting from PARK into
any other gear position.
FOUR-WHEEL DRIVE OPERATION
NV233/243 GII Transfer Case Operating
Information/Precautions
The NV233/243 is an electric-shift transfer case and is
operated by the 4WD Control Switch (Transfer Case
Switch), which is located on the instrument panel.
The NV233/243 transfer case provides four mode posi-
tions: 2 (rear) wheel drive high range, 4 wheel drive high
range, 4 wheel drive low range, and NEUTRAL.
The NV233/243 transfer case is designed to be driven in
the 2-wheel drive position (2WD) for normal street and
highway conditions (dry hard-surfaced roads).
When additional traction is required, the transfer case
4WD LOCK and 4WD LOW positions can be used to lockthe front and rear driveshafts together and force the front
and rear wheels to rotate at the same speed. This is
accomplished by rotating the 4WD Control Switch to the
desired position - Refer to ªShifting Procedureº in this
section. The 4WD LOCK and 4WD LOW positions are
designed for loose or slippery road surfaces only. Driving
in the 4WD LOCK and 4WD LOW positions on dry
hard-surfaced roads may cause increased tire wear and
damage to the driveline components.
The transfer case NEUTRAL position is selected by
depressing the recessed button located on the lower
left-hand corner of the 4WD Control Switch.
NOTE:The transfer case NEUTRAL position is to be
used for recreational towing only. Refer to ªRecreational
Towingº in Section 5 for specific procedures on shifting
into and out of NEUTRAL.
STARTING AND OPERATING 251
5
Page 343 of 449

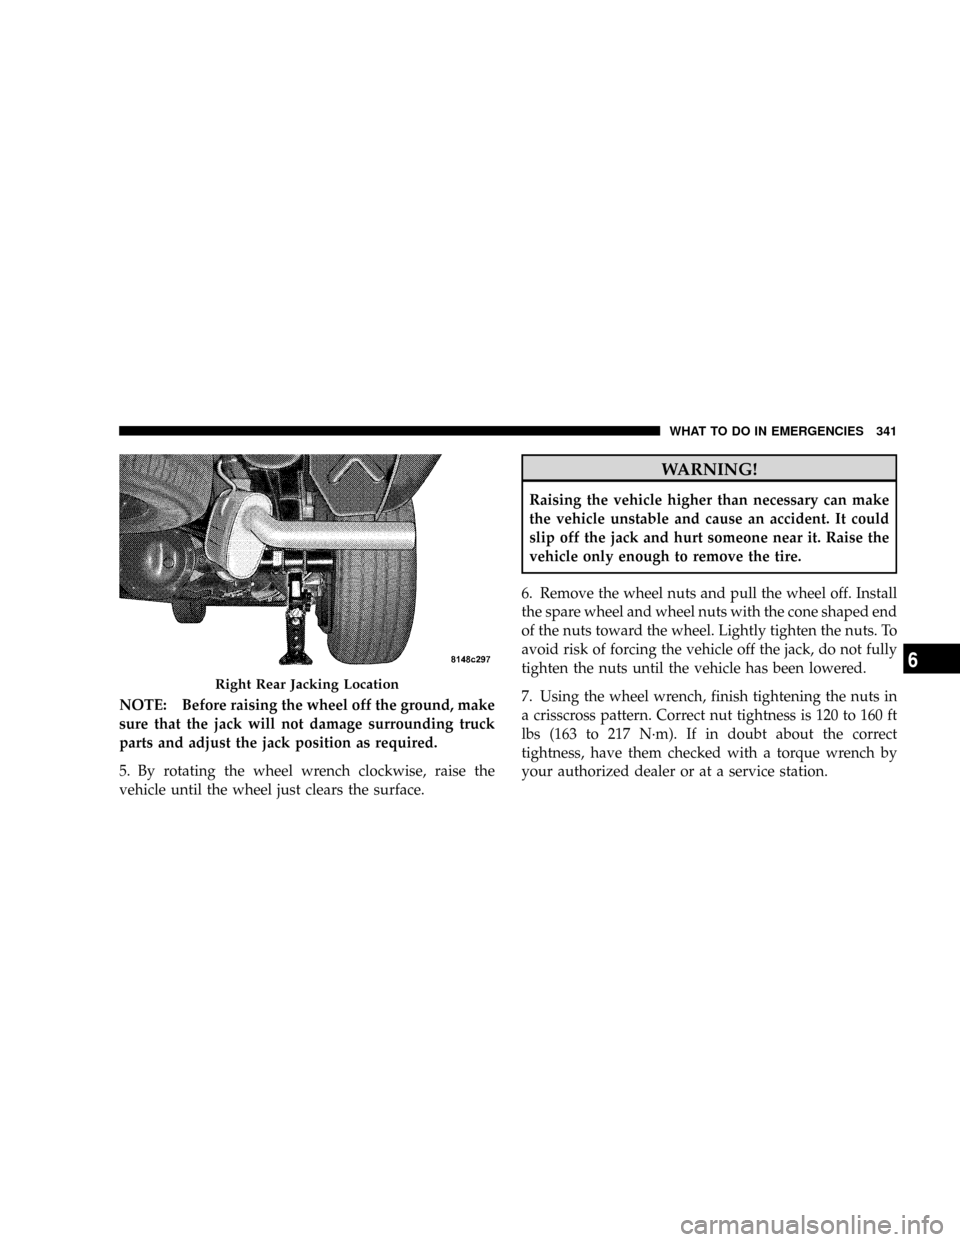
NOTE: Before raising the wheel off the ground, make
sure that the jack will not damage surrounding truck
parts and adjust the jack position as required.
5. By rotating the wheel wrench clockwise, raise the
vehicle until the wheel just clears the surface.
WARNING!
Raising the vehicle higher than necessary can make
the vehicle unstable and cause an accident. It could
slip off the jack and hurt someone near it. Raise the
vehicle only enough to remove the tire.
6. Remove the wheel nuts and pull the wheel off. Install
the spare wheel and wheel nuts with the cone shaped end
of the nuts toward the wheel. Lightly tighten the nuts. To
avoid risk of forcing the vehicle off the jack, do not fully
tighten the nuts until the vehicle has been lowered.
7. Using the wheel wrench, finish tightening the nuts in
a crisscross pattern. Correct nut tightness is 120 to 160 ft
lbs (163 to 217 N´m). If in doubt about the correct
tightness, have them checked with a torque wrench by
your authorized dealer or at a service station.
Right Rear Jacking Location
WHAT TO DO IN EMERGENCIES 341
6
Page 444 of 449

High Speed.......................... 282
Inflation Pressures..................... 281
Jacking............................. 337
Life of Tires.......................... 286
Load Capacity.....................276,277
Pressure Monitor System (TPMS)........... 292
Pressure Warning Light.................. 176
Quality Grading....................... 422
Radial.............................. 283
Replacement......................... 287
Rotation............................. 291
Safety...........................272,280
Sizes............................... 273
Snow Tires........................... 291
Spare Tire........................... 334
Spinning............................ 285
Tread Wear Indicators................... 286
Wheel Mounting....................... 337
Wheel Nut Torque..................... 341Tongue Weight/Trailer Weight.............. 316
Torque Converter Clutch.................. 250
Tow Hooks, Emergency................... 346
Towing............................... 310
24-Hour Towing Assistance................ 96
Disabled Vehicle....................... 347
Guide.............................. 316
Recreational.......................... 324
Weight.............................. 316
Towing Assistance........................ 96
Traction.............................. 263
Trailer Towing.......................... 310
Cooling System Tips.................... 323
Hitches............................. 315
Minimum Requirements................. 317
Trailer and Tongue Weight................ 316
Wiring.............................. 320
Trailer Towing Guide..................... 316
Trailer Weight.......................... 316
442 INDEX
Page 446 of 449

Warning Lights (Instrument Cluster
Description)........................... 168
Warnings and Cautions..................... 6
Warranty Information..................... 419
Washers, Windshield..................... 131
Washing Vehicle......................... 377
Water
Driving Through...................... 264
Weight Load Carrying.................... 308
Wheel Alignment and Balance............... 288
Wheel and Wheel Trim.................... 378
Wheel and Wheel Trim Care................ 378
Wheel Changing........................ 332
Wheel Mounting........................ 337
Wheel Nut Torque....................... 341
Wind Buffeting.......................... 35
Window Fogging........................ 232
Windows.............................. 34
Power............................... 34Rear Sliding.......................... 156
Windshield Defroster..................... 230
Windshield Washers................129,131,363
Fluid............................129,363
Windshield Wiper Blades.................. 362
Windshield Wipers....................... 129
Wiper Blade Replacement.................. 362
Wipers, Intermittent...................... 130
Wrecker Towing......................... 347
YES EssentialstFabric Cleaning Procedure...... 379
444 INDEX