Page 30 of 469
equipped). Then, prior to the end of the 15 minute cycle,
press and release the START/STOP button. If the
START/STOP button is not present, insert the key into
the ignition switch and turn the switch to the ON
position.
NOTE:
•For vehicles not equipped with Keyless Go feature, the
ignition switch must be in the ON position in order to
drive the vehicle.
•For vehicles not equipped with Keyless Go feature, the
message “Insert Key/Turn To On” will display in the
EVIC until you insert the key. Once inserted, the
message “Turn To On” will display in the EVIC until
you turn the key to ON.
•For vehicles equipped with Keyless Go feature, the
message “Push Button/Insert Key” will display in the
EVIC until you push the START button.
DOOR LOCKS
Manual Door Locks
To lock each door, push the door lock plunger on each
door trim panel downward. To unlock each door, pull the
door lock plunger on each door trim panel upward.
Door Lock Plunger
28 THINGS TO KNOW BEFORE STARTING YOUR VEHICLE
Page 31 of 469

If the door lock plunger is down when you shut the door,
the door will lock. Therefore, make sure the key is not
inside the vehicle before closing the door.
WARNING!
•For personal security and safety in the event of an
accident, lock the vehicle doors before you drive as
well as when you park and leave the vehicle.
•When leaving the vehicle, always remove the key
from the ignition and lock your vehicle. Unsuper-
vised use of vehicle equipment may cause severe
personal injuries and death.
•Never leave children alone in a vehicle. Leaving
unattended children in a vehicle is dangerous for a
number of reasons. A child or others could be
seriously or fatally injured. Don’t leave the key in
the ignition. A child could operate power win-
dows, other controls, or move the vehicle.
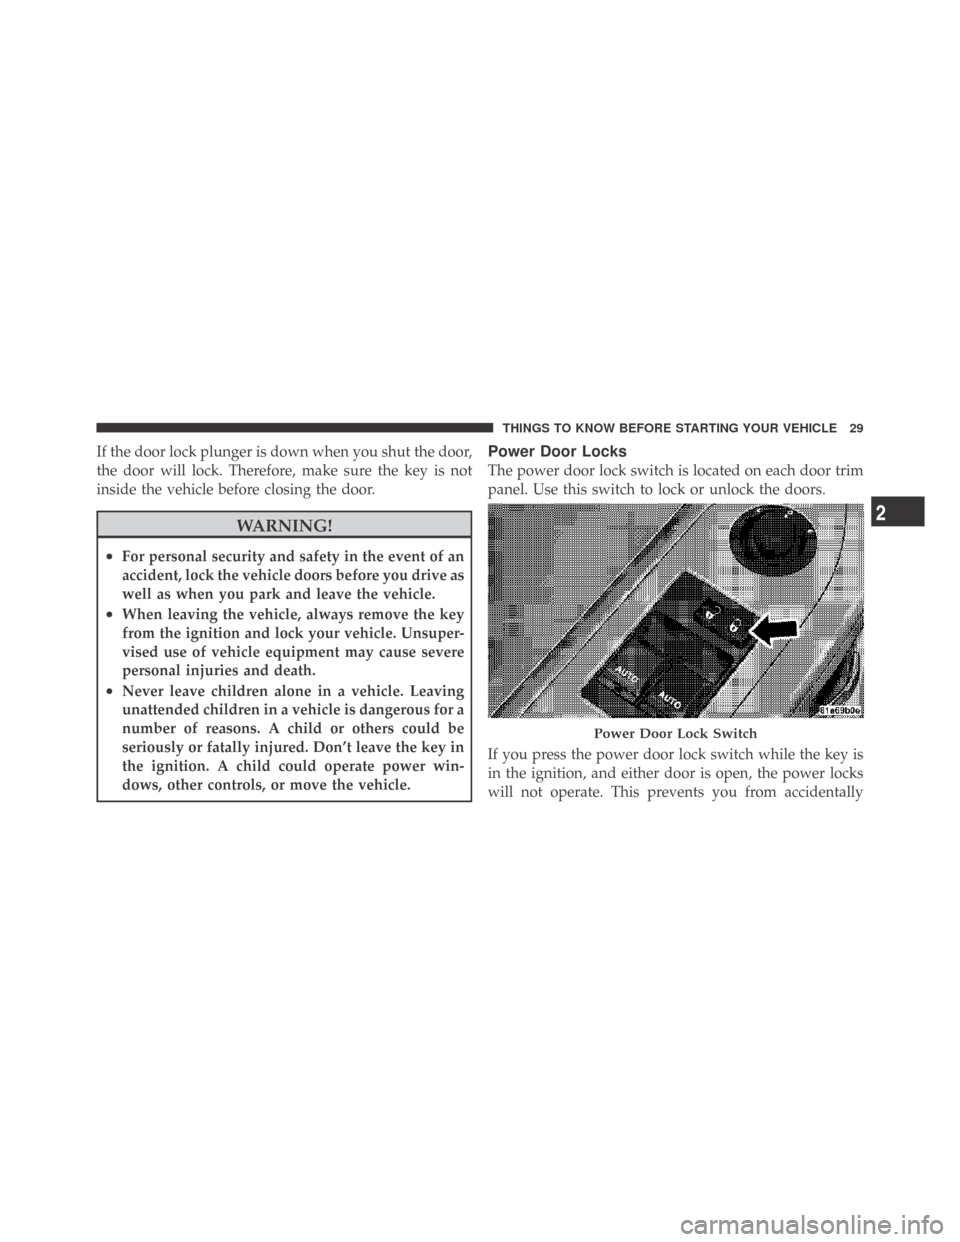
Power Door Locks
The power door lock switch is located on each door trim
panel. Use this switch to lock or unlock the doors.
If you press the power door lock switch while the key is
in the ignition, and either door is open, the power locks
will not operate. This prevents you from accidentally
Power Door Lock Switch
2
THINGS TO KNOW BEFORE STARTING YOUR VEHICLE 29
Page 32 of 469

locking the key in the vehicle. Removing the key or
closing the door will allow the locks to operate. If a door
is open, the key is in the ignition, and the ignition is in the
LOCK or ACC position, a chime will sound as a reminder
to remove the key.
Automatic Door Locks
The doors will lock automatically if all of the following
conditions are met:
1. The Automatic Door Locks feature is enabled
2. The transmission is in gear
3. All doors are closed
4. The throttle is pressed
5. The vehicle speed is above 15 mph (24 km/h), and
6. The doors were not previously locked using the power
door lock switch or Remote Keyless Entry (RKE)
transmitter.
Automatic Door Locks — If Equipped
The auto door lock feature can be enabled or disabled by
your authorized dealer. See your authorized dealer for
programming.
Automatic Unlock Doors on Exit
The doors will unlock automatically if:
1. The Automatic Unlock Doors On Exit feature is en-
abled
2. The transmission was in gear and the vehicle speed
returned to 0 mph (0 km/h)
3. The transmission is in NEUTRAL or PARK
4. The driver door is opened
5. The doors were not previously unlocked, and
6. The vehicle speed is 0 mph (0 km/h).
30 THINGS TO KNOW BEFORE STARTING YOUR VEHICLE
Page 33 of 469

Automatic Unlock Doors on Exit Programming
The Automatic Unlock Doors On Exit feature can be
enabled or disabled. Refer to “Unlock Doors Automati-
cally on Exit,” under “Personal Settings (Customer-
Programmable Features),” under “Electronic Vehicle In-
formation Center (EVIC)” in Section 4.
•When not using the EVIC, perform the following
steps:
1. Enter the vehicle and close all doors.
2. Place the key in the ignition switch.
3. Within 15 seconds, cycle the ignition switch between
LOCK and ON and then back to LOCK four times ending
up in the LOCK position.However, do not start the
engine.4. Within 30 seconds, depress the power door UNLOCK
switch to unlock the doors.
5. A single chime will indicate the completion of the
programming.
NOTE:If you do not hear the chime, it means that the
system did not enter the programming mode and you
will need to repeat the procedure.
6. Repeat these steps if you want to return this feature to
its previous setting.
NOTE:Use the Automatic Unlock Doors On Exit feature
in accordance with local laws.
2
THINGS TO KNOW BEFORE STARTING YOUR VEHICLE 31
Page 34 of 469
WINDOWS
Power Windows
The window controls on the driver’s door control both of
the door windows.There is a single window control on the passenger’s door
trim panel that operates the window on the passenger’s
door. The window controls will operate only when the
ignition switch is in the ON or ACC position.
NOTE:
•The door window will lower slightly if it is closed
completely when opening the door. The window will
return to its fully closed position after closing the door.
This action allows the door to open without resistance
and prevents window and seal damage.
•You can remotely lower both the driver side and
passenger side windows at the same time. Refer to
“Remote Keyless Entry/Express Down Window Fea-
ture” in this section.
Power Window Switches
32 THINGS TO KNOW BEFORE STARTING YOUR VEHICLE
Page 35 of 469

WARNING!
Never leave children in a vehicle with the key in the
ignition switch. Occupants, particularly unattended
children, can become entrapped by the windows
while operating the power window switches. Such
entrapment may result in serious injury or death.
AUTO-Down Feature
The driver’s door power window switch and passenger
door power window switch have an AUTO-down fea-
ture. Press the window switch to the second detent,
release, and the window will go down automatically.
To open the window part way, press the window switch
to the first detent and release it when you want the
window to stop.
To stop the window from going all the way down during
the AUTO-down operation, pull up on the switch briefly.The power window switches will remain active for up to
60 minutes after the ignition switch is turned OFF.
Opening either door will cancel this feature. The time for
this feature is programmable. Refer to “Delay Power Off
to Accessories Until Exit,” under “Personal Settings
(Customer-Programmable Features)” in the “Electronic
Vehicle Information Center (EVIC),” in Section 4 of this
manual.Wind Buffeting
Wind buffeting can be described as the perception of
pressure on the ears or a helicopter-type sound in the
ears. Your vehicle may exhibit wind buffeting with the
windows down, or the sunroof (if equipped) in certain
open or partially open positions. This is a normal occur-
rence and can be minimized. If the buffeting occurs with
one window open, then open the other window to
minimize the buffeting. If the buffeting occurs with the
sunroof open, then adjust the sunroof opening to mini-
mize the buffeting.
2
THINGS TO KNOW BEFORE STARTING YOUR VEHICLE 33
Page 36 of 469
TRUNK LOCK AND RELEASE
The trunk lid can be released from inside the vehicle by
pressing the Trunk Release button. The button is located
on the instrument panel to the left of the steering wheel.
NOTE:The transmission must be in PARK before the
button will operate. If equipped with a manual transmis-
sion, the vehicle speed must be under 5 mph (8 km/h)
before the button will operate.
The trunk lid can be released from
outside the vehicle by pressing the
Trunk Release button on the Re-
mote Keyless Entry (RKE) trans-
mitter twice within five seconds.With the ignition switch in the ON position, the Trunk
Open symbol will display in the instrument cluster
indicating that the trunk is open. The odometer display
will reappear once the trunk is closed.
With the ignition switch in the LOCK position or the key
removed from the ignition switch, the Trunk Open sym-
bol will display until the trunk is closed.
Trunk Release
Button
34 THINGS TO KNOW BEFORE STARTING YOUR VEHICLE
Page 45 of 469

chime and flash the Seat Belt Reminder Light for 96 sec-
onds or until the driver’s seat belt is buckled. The
BeltAlert�will be reactivated if the driver’s seat belt is
unbuckled for more than 10 seconds and the vehicle
speed is greater than 5 mph (8 km/h).
BeltAlert�Programming
The BeltAlert�can be enabled or disabled by your
authorized dealer or by performing the following steps:
NOTE:Chrysler LLC does not recommend deactivating
the BeltAlert�.
1. With both doors closed, and the ignition switch in any
position except ON or START, buckle the driver’s seat
belt.
2. Turn the ignition switch to the ON position, but do not
start the engine. Wait for the Seat Belt Reminder Light to
turn off and then proceed to the next step.NOTE:You must perform the following steps within
60 seconds of turning the ignition switch to the ON
position.
3. Within 60 seconds of turning the ignition switch to the
ON position, unbuckle and then re-buckle the driver’s
seat belt at least three times, ending with the seat belt
buckled.
NOTE:Watch for the Seat Belt Reminder Light to turn
on while unbuckling the seat belt and turn off while
re-buckling the seat belt. It may be necessary to retract
the seat belt.
4. Turn the ignition switch to the LOCK position. A
single chime will sound to signify that you have success-
fully completed the programming.
The BeltAlert�can be reactivated by repeating this pro-
cedure.
2
THINGS TO KNOW BEFORE STARTING YOUR VEHICLE 43