Page 21 of 469
•The Vehicle Security Alarm remains armed during
trunk entry. Pressing the TRUNK button will not
disarm the Vehicle Security Alarm. If someone enters
the vehicle through the trunk, and opens any door, the
alarm will sound.
•When the Vehicle Security Alarm is armed, the interior
power door lock switches will not unlock the doors.
The Vehicle Security Alarm is designed to protect your
vehicle; however, you can create conditions where the
Vehicle Security Alarm will give you a false alarm. If one
of the previously-described arming sequences has oc-
curred, the Vehicle Security Alarm will arm regardless of
whether you are in the vehicle or not. If you remain in the
vehicle and open a door, the alarm will sound. If this
occurs, disarm the Vehicle Security Alarm.
If the Vehicle Security Alarm is armed and the battery
becomes disconnected, the Vehicle Security Alarm will
remain armed when the battery is reconnected. Theexterior lights will flash, and the horn will sound. If this
occurs, disarm the Vehicle Security Alarm.
Tamper Alert
If something has triggered the Vehicle Security Alarm in
your absence, the horn will sound three times when you
disarm the Vehicle Security Alarm. Check the vehicle for
tampering.
ILLUMINATED ENTRY SYSTEM
The courtesy lights will turn on when you press the
UNLOCK button on the Remote Keyless Entry (RKE)
transmitter or open any door.
The lights will fade to off after approximately 30 seconds
or they will immediately fade to off once the ignition
switch is turned ON from the LOCK position.
2
THINGS TO KNOW BEFORE STARTING YOUR VEHICLE 19
Page 26 of 469
second and release. When the Panic Alarm is on, the
headlights and park lights will flash, the horn will pulse
on and off, and the interior lights will turn on.
The Panic Alarm will stay on for three minutes unless
you turn it off by either pressing the PANIC button a
second time or drive the vehicle at a speed of 5 mph
(24 km/h) or greater.
NOTE:
•The interior lights will turn off if you turn the ignition
switch to the ACC or ON position while the Panic
Alarm is activated. However, the exterior lights and
horn will remain on.
•You may need to be less than 35 ft (11 m) from the
vehicle when using the transmitter to turn off the
Panic Alarm due to the radio frequency noises emitted
by the system.
Programming Additional Transmitters
If you do not have a programmed RKE transmitter,
contact your authorized dealer for details.
Transmitter Battery Service
The recommended replacement battery is CR2032.
NOTE:Perchlorate Material – special handling may
apply. See www.dtsc.ca.gov/hazardouswaste/
perchlorate.
1. If the RKE transmitter is equipped with a screw,
remove the screw. With the RKE ransmitter buttons
facing down, use a flat blade to pry the two halves of the
RKE transmitter apart. Make sure not to damage the
elastomer seal during removal.
2. Remove and replace the battery. When replacing the
battery, match the + sign on the battery to the + sign on
the inside of the battery clip, located on the back cover.
24 THINGS TO KNOW BEFORE STARTING YOUR VEHICLE
Page 48 of 469
NOTE:The front airbags are certified to the Federal
regulations that allow less forceful deployment.
The front airbags have a multistage inflator design. This
allows the airbag to have different rates of inflation that
are based on collision severity.
WARNING!
•Do not put anything on or around the front airbag
covers or attempt to open them. You may damage the
airbags and you could be injured because the airbags
are no longer functional. These protective covers for
the airbag cushions are designed to open only when
the airbags are inflating.
•Do not drill, cut or tamper with the knee bolster in
any way.
•Do not mount any accessories to the knee bolster
such as alarm lights, stereos, citizens band radios etc.
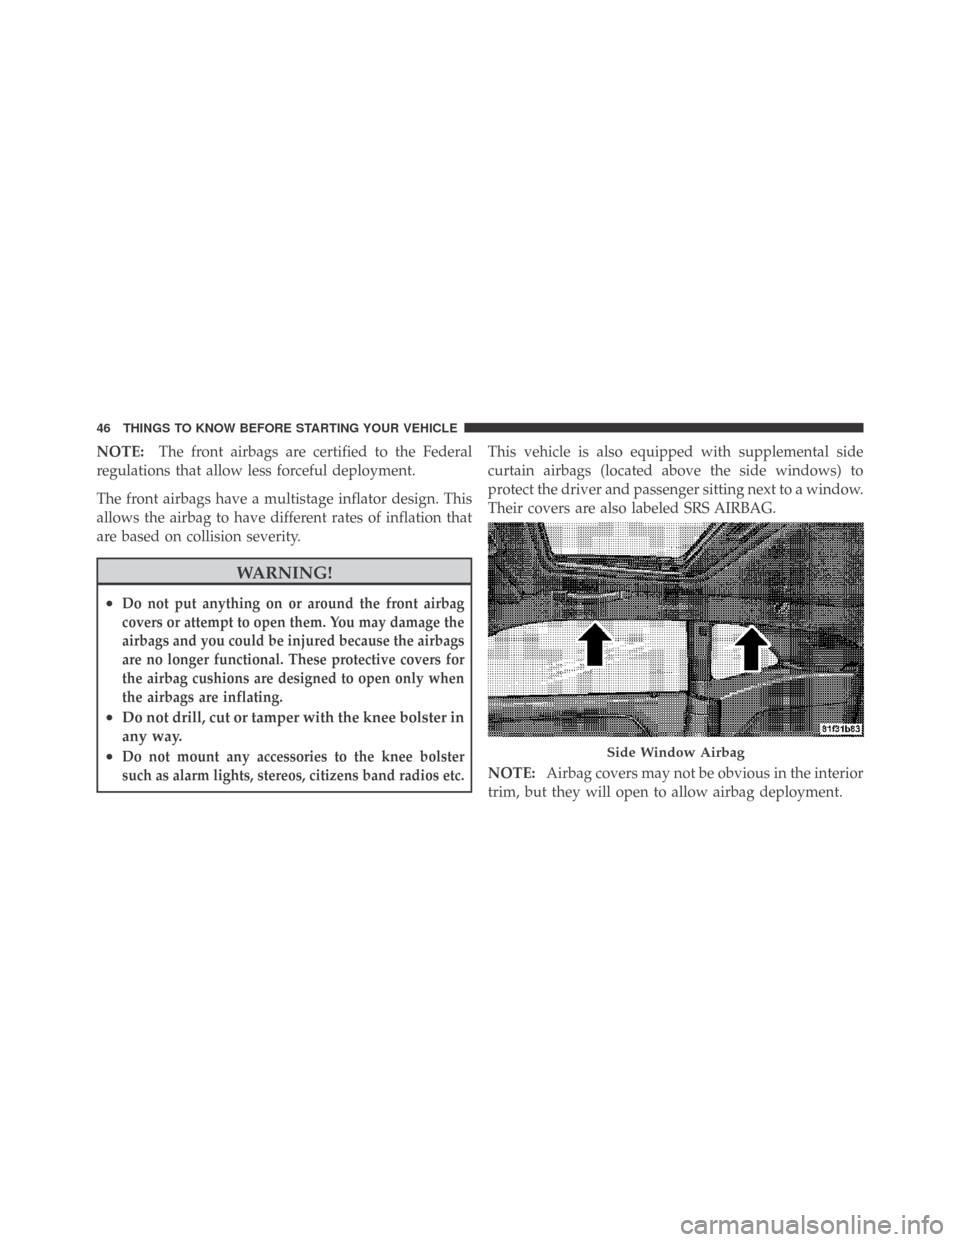
This vehicle is also equipped with supplemental side
curtain airbags (located above the side windows) to
protect the driver and passenger sitting next to a window.
Their covers are also labeled SRS AIRBAG.
NOTE:Airbag covers may not be obvious in the interior
trim, but they will open to allow airbag deployment.
Side Window Airbag
46 THINGS TO KNOW BEFORE STARTING YOUR VEHICLE
Page 55 of 469

throat irritation, move to fresh air. If the irritation
continues, see your doctor. If these particles settle on
your clothing, follow the garment manufacturer’s in-
structions for cleaning.
•It is not advisable to drive your vehicle after the
airbags have been deployed. If you are involved in
another collision, the airbags will not be in place to
protect you.
WARNING!
Deployed airbags cannot protect you in another col-
lision. Have the airbags replaced by an authorized
dealer as soon as possible.
Enhanced Accident Response System
In the event of an impact that causes airbag deployment,
with the vehicle stopped, the vehicle communication
network intact, and the power intact, the Enhanced
Accident Response System performs the following func-
tions:
•Cuts off fuel to the engine.
•Flashes hazard lights.
•Turns on the interior lights, which remain on as long as
the battery has power or until the ignition key is
removed.
•Unlocks the doors automatically.
NOTE:The interior lights can only be deactivated if the
key is removed from the ignition switch or the vehicle is
driven.
2
THINGS TO KNOW BEFORE STARTING YOUR VEHICLE 53
Page 74 of 469
�Voice Recognition (VR) System —
If Equipped.......................... 106
▫Voice Recognition (VR) System Operation . . . 106
▫Commands........................ 108
▫VoiceTraining .......................111
�Seats...............................111
▫Easy Entry Seats......................111
▫Power Seats........................ 112
▫Manual Front Seatback Recline........... 113
▫Lumbar Support..................... 114
▫Head Restraints..................... 114
▫Heated Seats....................... 115
▫Folding Rear Seat.................... 116�To Open And Close The Hood............ 117
�Lights ............................. 119
▫Headlight Switch.................... 119
▫Automatic Headlights — If Equipped...... 120
▫Headlights On With Wipers (Available With
Auto Headlights Only)................ 120
▫Headlight Time Delay................. 120
▫Daytime Running Lights — If Equipped.... 121
▫Lights-On Reminder.................. 121
▫Fog Lights — If Equipped.............. 121
▫Multifunction Lever.................. 122
▫Overhead Console Map/Reading Lights.... 123
▫InteriorLights ...................... 123
72 UNDERSTANDING THE FEATURES OF YOUR VEHICLE
Page 121 of 469
LIGHTS
Headlight Switch
The headlight switch is located on the left side of the
instrument panel. This switch controls the operation of
the headlights, parking lights, instrument panel lights,
instrument panel light dimming, interior lights and fog
lights.
Rotate the headlight switch clockwise to the first detent
for parking light and instrument panel light operation.
Turn it to the second detent for headlight, parking light
and instrument panel light operation.
Headlight Switch
3
UNDERSTANDING THE FEATURES OF YOUR VEHICLE 119
Page 125 of 469
High Beam/Low Beam Select Switch
Push the multifunction lever away from you to switch
the headlights to high beam. Pull the multifunction lever
toward you to switch the headlights back to low beam.
Flash-to-Pass
You can signal another vehicle with your headlights by
lightly pulling the multifunction lever toward you. This
will turn on the high beam headlights until the lever is
released.
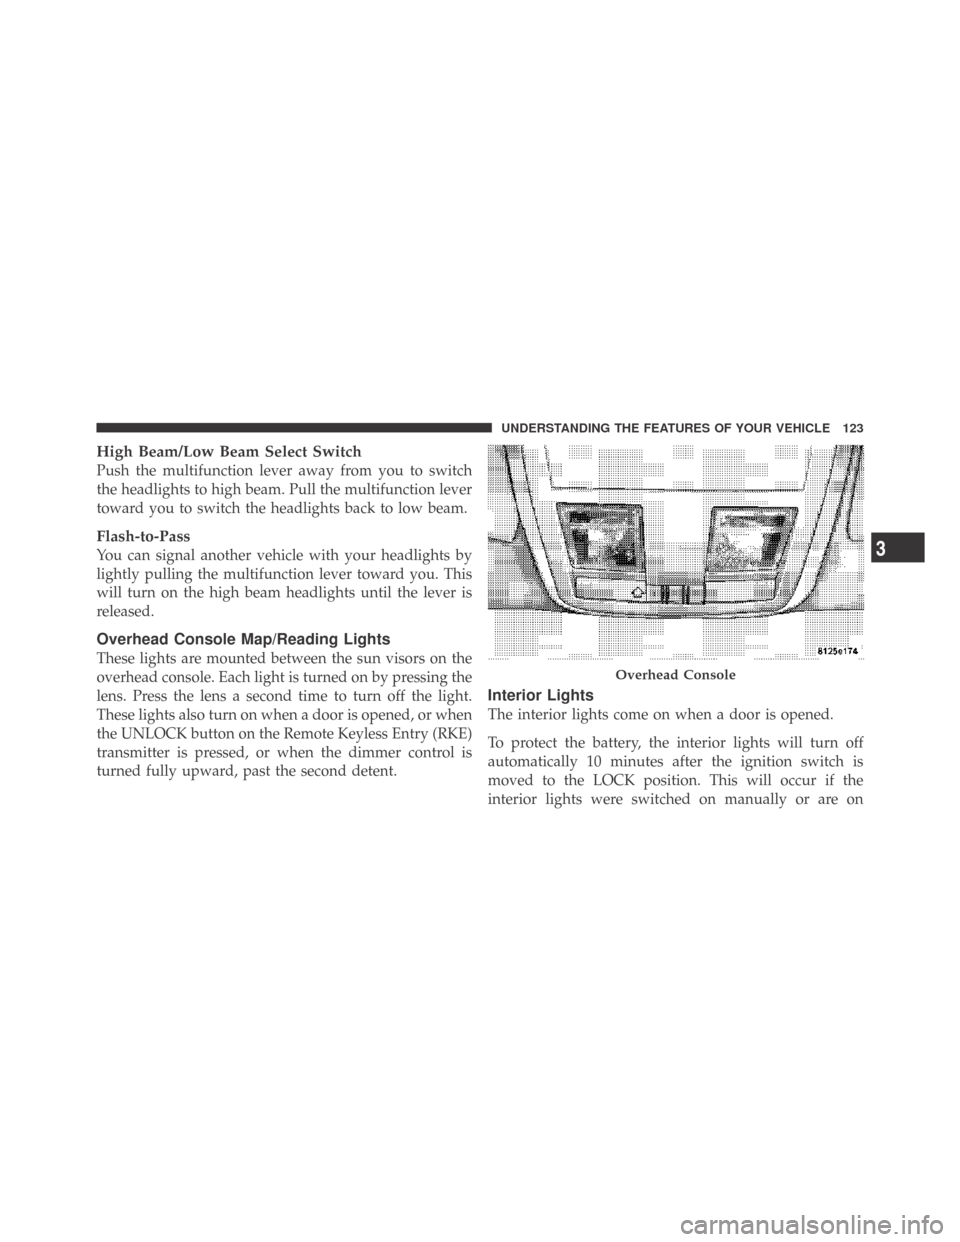
Overhead Console Map/Reading Lights
These lights are mounted between the sun visors on the
overhead console. Each light is turned on by pressing the
lens. Press the lens a second time to turn off the light.
These lights also turn on when a door is opened, or when
the UNLOCK button on the Remote Keyless Entry (RKE)
transmitter is pressed, or when the dimmer control is
turned fully upward, past the second detent.
Interior Lights
The interior lights come on when a door is opened.
To protect the battery, the interior lights will turn off
automatically 10 minutes after the ignition switch is
moved to the LOCK position. This will occur if the
interior lights were switched on manually or are on
Overhead Console
3
UNDERSTANDING THE FEATURES OF YOUR VEHICLE 123
Page 126 of 469
because a door is open. This includes the glove box light,
but not the trunk light. To restore interior light operation,
either turn the ignition switch ON or cycle the light
switch.
Dimmer Control
The dimmer control is part of the
headlight switch and is located on the
left side of the instrument panel. With
the parking lights or headlights on,
rotating the dimmer control upward
will increase the brightness of the in-
strument panel lights and, if
equipped, the lighting in the door map pockets, door
handles and cupholders.
Dome Light Position
Rotate the dimmer control completely upward to the
second detent to turn on the interior lights. The interior
lights will remain on when the dimmer control is in this
position.
Interior Light Defeat (OFF)
Rotate the dimmer control to the extreme bottom off
position. The interior lights will remain off when the
doors are open.
Parade Mode (Daytime Brightness Feature)
Rotate the dimmer control upward to the first detent.
This feature brightens all text displays such as the
odometer, Electronic Vehicle Information Center (EVIC),
and radio when the parking lights or headlights are on.
124 UNDERSTANDING THE FEATURES OF YOUR VEHICLE