Page 219 of 475

Press and hold the INFO button again for three seconds
to return to�elapsed time�display.
Operation Instructions - Auxiliary Mode
The auxiliary (AUX) jack is an audio input jack, which
allows the user to plug in a portable device such as an
MP3/WMA player, cassette player, or microphone and
utilize the vehicle’s audio system to amplify the source
and play through the vehicle speakers.
Pressing the AUX button will change the mode to auxil-
iary device if the AUX jack is connected.
NOTE:The AUX device must be turned on and the
device’s volume set to the proper level. If the AUX audio
is not loud enough, turn the device’s volume up. If the
AUX audio sounds distorted, turn the device’s volume
down.
SEEK Button (Auxiliary Mode)
No function.
SCAN Button (Auxiliary Mode)
No function.
EJECT Button (Auxiliary Mode)
No function.
TIME Button (Auxiliary Mode)
Press the TIME button to change the display from
elapsed playing time to time of day. The time of day will
display for five seconds.
RW/FF (Auxiliary Mode)
No function.
SET Button (Auxiliary Mode)
No function.
UNDERSTANDING YOUR INSTRUMENT PANEL 217
4
Page 220 of 475
Operating Instructions — Voice Recognition
System (VR) (If Equipped)
For the radio, refer to “Voice Recognition System (VR)” in
Section 3.
For UConnect�“Voice Recognition System (VR),” refer to
“Hands-Free Communication (UConnect�)” in Section 3.
Operating Instructions - Hands-Free Phone
(UConnect�) (If Equipped)
Refer to “Hands-Free Communication (UConnect�)” in
Section 3.
Operating Instructions - Satellite Radio Mode (If
Equipped)
Refer to “Satellite Radio” in this section.
Operating Instructions - Video Entertainment
System (VES)™ (If Equipped)
Refer to separate “Video Entertainment System (VES)™
Guide.”Dolby�
Manufactured under license from Dolby�Laboratories.
�Dolby��and the double-D symbol are trademarks of
Dolby�Laboratories.
Macrovision
This product incorporates copyright protection technol-
ogy that is protected by U.S. patents and other intellec-
tual property rights. Use of this copyright protection
technology must be authorized by Macrovision, and is
intended for home and other limited viewing uses only,
unless otherwise authorized by Macrovision. Reverse
engineering or disassembly is prohibited
DTS™
�DTS™�and�DTS™ 2.0�are trademarks of Digital The-
ater Systems, Inc.
218 UNDERSTANDING YOUR INSTRUMENT PANEL
Page 234 of 475

SEEK Buttons
Press and release the SEEK buttons to search for the next
listenable station in AM/FM mode. Press the right switch
to seek up and the left switch to seek down. The radio
will remain tuned to the new station until you make
another selection. Holding either button will bypass
stations without stopping until you release it.
Voice Recognition System (Radio) — If Equipped
Refer to “Voice Recognition System (VR)” in Section 3.
Voice Recognition Button (UConnect�Hands-Free
Phone) — If Equipped
Press this button to operate the Hands-Free Phone
(UConnect�) feature (if equipped). Refer to “Hands-Free
Communication (UConnect�)” in Section 3.
If your vehicle is not equipped with or this feature is not
available on your vehicle, a “Not Equipped With
UConnect” message will display on the radio screen.
Phone Button (UConnect�Hands-Free Phone) — If
Equipped
Press this button to operate the Hands-Free Phone
(UConnect�) feature (if equipped). Refer to “Hands-Free
Communication (UConnect�)” in Section 3.
If your vehicle is not equipped with or this feature is not
available on your vehicle, a “Not Equipped With
UConnect” message will display on the radio screen.
TIME Button
Press the TIME button and the time of day will display. In
AM or FM mode, pressing the TIME button will switch
between the time and frequency displays.
Clock Setting Procedure
1. Press and hold the TIME button, until the hours blink.
2. Adjust the hours by turning the right side Tune/Scroll
control knob.
232 UNDERSTANDING YOUR INSTRUMENT PANEL
Page 245 of 475
NOTE:The AUX device must be turned on and the
device’s volume set to proper level. If the AUX audio is
not loud enough, turn the device’s volume up. If the AUX
audio sounds distorted, turn the device’s volume down.
TIME Button (Auxiliary Mode)
Press this button to change the display to time of day. The
time of day will display for five seconds (when ignition is
OFF).
Operating Instructions - Hands-Free Phone
(UConnect�) (If Equipped)
Refer to “Hands-Free Communication (UConnect�)” in
Section 3.
Operating Instructions - Satellite Radio Mode (If
Equipped)
Refer to “Satellite Radio” in this section.
SATELLITE RADIO (RSC) — IF EQUIPPED
(RER/REQ/REN RADIOS ONLY)
Satellite radio uses direct satellite to receiver broadcast-
ing technology to provide clear digital sound, coast to
coast. The subscription service provider is Sirius Satellite
Radio. This service offers up to 100 channels of music,
sports, news, entertainment, and programming for chil-
dren, directly from its satellites and broadcasting studios.
System Activation
Sirius Satellite Radio service is pre-activated, and you may
begin listening immediately to the one year of SIRIUS audio
service that is included with the factory-installed satellite
radio system in your vehicle. Sirius will contact you to
supply a welcome kit and to confirm subscription informa-
tion, including the set up of your on-line listening account at
no additional charge. For further information, call the toll-
free number 888-539-7474, or visit the Sirius web site at
www.sirius.com. Please have the following information
available when calling:
UNDERSTANDING YOUR INSTRUMENT PANEL 243
4
Page 249 of 475

SET Button — To Set the Push-Button Memory
When you are receiving a channel that you wish to
commit to push-button memory, press the SET button.
The symbol SET 1 will now show in the display window.
Select the button (1-6) you wish to lock onto this channel
and press and release that button. If a button is not
selected within 5 seconds after pressing the SET button,
the channel will continue to play but will not be stored
into push-button memory.
You may add a second channel to each push-button by
repeating the above procedure with this exception: Press
the SET button twice and SET 2 will show in the display
window. Each button can be set for SET 1 and SET 2. This
allows a total of 12 Satellite channels to be stored into
push-button memory. The channels stored in SET 2
memory can be selected by pressing the push-button
twice.Every time a preset button is used, a corresponding
button number will display.
Buttons1-6
These buttons tune the radio to the channels that you
commit to push-button memory {12 Satellite stations}.
Operating Instructions - Hands Free Phone (If
Equipped)
Refer to “Hands-Free Communication (UConnect�)” in
Section 3 of this manual.
Operating Instructions - Video Entertainment
System (VES™) (If Equipped)
Refer to separate “Video Entertainment System (VES™)
Guide.”
UNDERSTANDING YOUR INSTRUMENT PANEL 247
4
Page 252 of 475
6. Do not expose the disc to direct sunlight.
7. Do not store the disc where temperatures may become
too high.
NOTE:If you experience difficulty in playing a particu-
lar disc, it may be damaged (i.e. scratched, reflective
coating removed, a hair, moisture or dew on the disc)
oversized, or have theft protection encoding. Try a
known good disc before considering disc player service.
RADIO OPERATION AND CELLULAR PHONES
Under certain conditions, the cellular phone being ON in
your vehicle can cause erratic or noisy performance from
your radio. This condition may be lessened or eliminated
by relocating the cellular phone antenna. This condition
is not harmful to the radio. If your radio performance
does not satisfactorily “clear” by the repositioning of the
antenna, it is recommended that the radio volume be
turned down or off during cellular phone operation.
CLIMATE CONTROLS
The Air Conditioning and Heating System is designed to
make you comfortable in all types of weather.
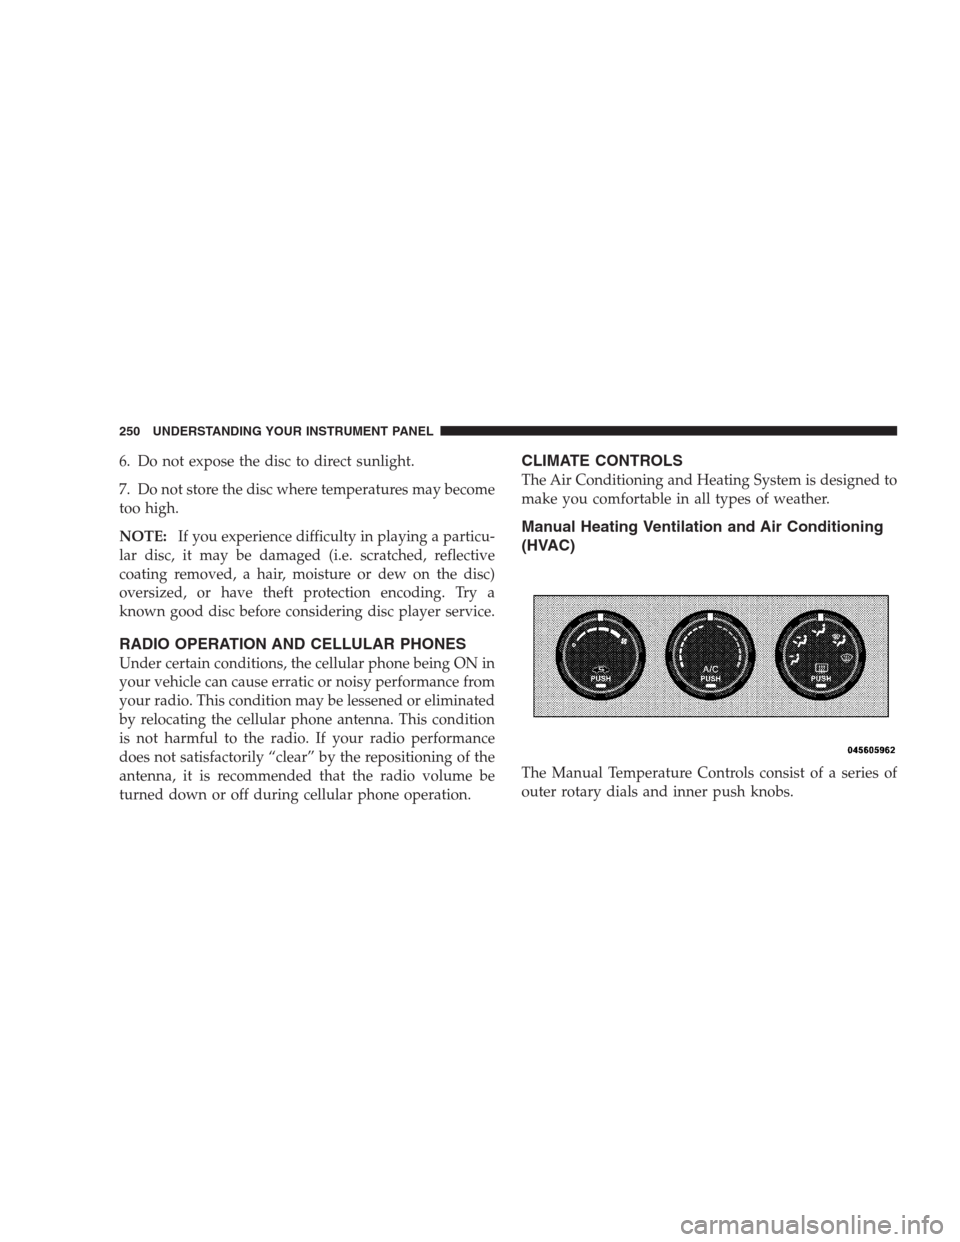
Manual Heating Ventilation and Air Conditioning
(HVAC)
The Manual Temperature Controls consist of a series of
outer rotary dials and inner push knobs.
250 UNDERSTANDING YOUR INSTRUMENT PANEL
Page 446 of 475
This is why you should always talk to an authorized
dealer’s service manager first. Most matters can be re-
solved with this process.
•If for some reason you are still not satisfied, talk to the
general manager or owner of the authorized dealer-
ship. They want to know if you need assistance.
•If an authorized dealership is unable to resolve the
concern, you may contact the manufacturer’s customer
center.
Any communication to the manufacturer’s customer cen-
ter should include the following information:
•Owner’s name and address
•Owner’s telephone number (home and office)
•Authorized dealership name
•Vehicle Identification Number (VIN)
•Vehicle delivery date and mileage
Chrysler LLC Customer Center
P.O. Box 21–8004
Auburn Hills, MI 48321–8004
Phone: (800) 992-1997
Chrysler Canada Inc. Customer Center
P.O. Box 1621
Windsor, Ontario N9A 4H6
Phone: (800) 465–2001
In Mexico contact:
Av. Prolongacion Paseo de la Reforma, 1240
Sante Fe C.P. 05109
Mexico, D. F.
In Mexico City: 5081-7568
Outside Mexico City: 1-800-505-1300
444 IF YOU NEED CONSUMER ASSISTANCE
Page 449 of 475
To contact NHTSA, you may either call the Auto Safety
Hotline toll free at 1–888–327–4236 (TTY: 1–800–424– 9153),
or go to http://www.safercar.gov; or write to: Adminis-
trator, NHTSA, 400 Seventh Street, SW., Washington, D.C.
20590. You can also obtain other information about motor
vehicle safety from http://www.safercar.gov.
In Canada
If you believe that your vehicle has a safety defect, you
should contact the Customer Service Department imme-
diately. Canadian customers who wish to report a safety
defect to the Canadian government should write to:
Transport Canada, Motor Vehicle Defect Investigations
and Recalls, 2780 Sheffield Road, Ottawa, Ontario K1B
3V9.
PUBLICATION ORDER FORMS
To order the following manuals, you may use either the
website or the phone numbers listed below. Visa, Mas-
tercard, American Express, and Discover orders are ac-
cepted. If you prefer mailing your payment, please call
for an order form.
NOTE:A street address is required when ordering
manuals (no P.O. Boxes).
•Service Manuals
These comprehensive Service Manuals provide the
information that students and professional technicians
need in diagnosing/troubleshooting, problem solving,
maintaining, servicing, and repairing Chrysler LLC
vehicles. A complete working knowledge of the ve-
hicle, system, and/or components is written in
straightforward language with illustrations, diagrams,
and charts.
IF YOU NEED CONSUMER ASSISTANCE 447
9