2009 CHRYSLER PT CRUISER air condition
[x] Cancel search: air conditionPage 72 of 410

•Make sure that the child is upright in the seat.
•The lap portion should be low on the hips and as snug
as possible.
•Check belt fit periodically. A child’s squirming or
slouching can move the belt out of position.
•If the shoulder belt contacts the face or neck, move the
child closer to the center of the vehicle. Never allow a
child to put the shoulder belt under an arm or behind
their back.
Transporting Pets
Airbags deploying in the front seat could harm your pet.
An unrestrained pet will be thrown about and possibly
injured, or injure a passenger during panic braking or in
a collision.
Pets should be restrained in the rear seat in pet harnesses
or pet carriers that are secured by seat belts.
ENGINE BREAK-IN RECOMMENDATIONS
A long break-in period is not required for the engine in
your vehicle.
Drive moderately during the first 300 miles (500 km).
After the initial 60 miles (100 km), speeds up to 50 or
55 mph (80 or 90 km/h) are desirable.
While cruising, brief full-throttle acceleration within the
limits of local traffic laws, contributes to a good break-in.
Wide-open throttle acceleration in low gear can be detri-
mental and should be avoided.
The engine oil installed in the engine at the factory is a
high-quality energy conserving type lubricant. Oil
changes should be consistent with anticipated climate
conditions under which vehicle operations will occur.
The recommended viscosity and quality grades are
shown in “Engine Oil”, under “Maintenance Procedures”
in section 7 of this manual. NON-DETERGENT OR
STRAIGHT MINERAL OILS MUST NEVER BE USED.
70 THINGS TO KNOW BEFORE STARTING YOUR VEHICLE
Page 74 of 410

Do not run the engine in a closed garage or in confined
areas any longer than needed to move your vehicle in or
out of the area.
If it is necessary to sit in a parked vehicle with the engine
running, adjust your heating or cooling controls to force
outside air into the vehicle. Set the blower at high speed.
If you are required to drive with the trunk/liftgate open,
make sure that all windows are closed and the climate
control BLOWER switch is set at high speed. DO NOT
use the recirculation mode.
The best protection against carbon monoxide entry into
the vehicle body is a properly maintained engine exhaust
system.
Whenever a change is noticed in the sound of the exhaust
system, when exhaust fumes can be detected inside the
vehicle, or when the underside or rear of the vehicle isdamaged, have a competent mechanic inspect the com-
plete exhaust system and adjacent body areas for broken,
damaged, deteriorated, or mispositioned parts. Open
seams or loose connections could permit exhaust fumes
to seep into the passenger compartment. In addition,
inspect the exhaust system each time the vehicle is raised
for lubrication or oil change. Replace as required.
Safety Checks You Should Make Inside the
Vehicle
Seat Belts
Inspect the belt system periodically, checking for cuts,
frays, and loose parts. Damaged parts must be replaced
immediately. Do not disassemble or modify the system.
Front seat belt assemblies must be replaced after a
collision. Rear seat belt assemblies must be replaced after
a collision if they have been damaged (i.e., bent retractor,
torn webbing, etc.). If there is any question regarding belt
or retractor condition, replace the belt.
72 THINGS TO KNOW BEFORE STARTING YOUR VEHICLE
Page 166 of 410

INSTRUMENT CLUSTER DESCRIPTIONS
1. Fuel Gauge
When the ignition switch is in the ON position, the
pointer will show the level of fuel remaining in the fuel
tank.
2. Fuel Door Reminder
This is a reminder that the Fuel Filler Door is located on
the front passenger’s (right) side of the vehicle.
3. Temperature Gauge
The temperature gauge shows engine coolant tempera-
ture. Any reading within the normal range indicates that
the engine cooling system is operating satisfactorily.The gauge pointer will likely indicate a higher tempera-
ture when driving in hot weather, up mountain grades,
or when towing a trailer. It should not be allowed to
exceed the upper limits of the normal operating range.
CAUTION!
Driving with a hot engine cooling system could
damage your vehicle. If temperature gauge reads “H”
pull over and stop the vehicle. Idle the vehicle with
the air conditioner turned off until the pointer drops
back into the normal range. If the pointer remains on
the “H” and you hear continuous chimes, turn the
engine off immediately, and call an authorized deal-
ership for service.
164 UNDERSTANDING YOUR INSTRUMENT PANEL
Page 169 of 410

CAUTION!
The TPMS has been optimized for the original
equipment tires and wheels. TPMS pressures and
warning have been established for the tire size
equipped on your vehicle. Undesirable system opera-
tion or sensor damage may result when using re-
placement equipment that is not of the same size,
type, and/or style. Aftermarket wheels can cause
sensor damage. Do not use tire sealant from a can, or
balance beads if your vehicle is equipped with a
TPMS, as damage to the sensors may result.
8. Odometer/Trip Odometer
The odometer shows the total distance the vehicle has
been driven. U.S. federal regulations require that upon
transfer of vehicle ownership, the seller certify to the
purchaser the correct mileage that the vehicle has been
driven. Therefore, if the odometer reading is changed during repair or replacement, be sure to keep a record of
the reading before and after the service so that the correct
mileage can be determined.
Vehicle Warning Messages
When the appropriate conditions exist, “door,” “gate,”
“LoW TirE,” “CHAngE OIL”or “GASCAP” will display
in the odometer.
NOTE:
If the instrument cluster is equipped with the
optional Electronic Vehicle Information Center (EVIC),
then all warnings including ”Low Tire,” “Door Ajar” and
“Liftgate Ajar” will only display in the EVIC. (Refer to
“Electronic Vehicle Information Center (EVIC)” in this
section for specific messages).
LoW TirE
When the appropriate condition exists, the odometer
display will toggle between LoW and TirE for three
cycles.
4
UNDERSTANDING YOUR INSTRUMENT PANEL 167
Page 172 of 410

If the light remains on when the parking brake has been
disengaged, and the fluid level is at the full mark on the
master cylinder reservoir, it indicates a possible brake
hydraulic system malfunction or that a problem with the
Brake Booster has been detected by the Anti-Lock Brake
System (ABS) / Electronic Stability Program (ESP) sys-
tem. In this case, the light will remain on until the
condition has been corrected. If the problem is related to
the brake booster, the ABS pump will run when applying
the brake and a brake pedal pulsation may be felt during
each stop.
The dual brake system provides a reserve braking capac-
ity in the event of a failure to a portion of the hydraulic
system. A leak in either half of the dual brake system is
indicated by the Brake Warning Light, which will turn on
when the brake fluid level in the master cylinder has
dropped below a specified level.
The light will remain on until the cause is corrected.NOTE:
The light may flash momentarily during sharp
cornering maneuvers, which change fluid level condi-
tions. The vehicle should have service performed, and
the brake fluid level checked.
If brake failure is indicated, immediate repair is neces-
sary.
WARNING!
Driving a vehicle with the red brake light on is
dangerous. Part of the brake system may have failed.
It will take longer to stop the vehicle. You could have
an accident. Have the vehicle checked immediately.
Vehicles equipped with the Anti-Lock Brake System
(ABS), are also equipped with Electronic Brake Force
Distribution (EBD). In the event of an EBD failure, the
Brake Warning Light will turn on along with the ABS
Light. Immediate repair to the ABS system is required.
170 UNDERSTANDING YOUR INSTRUMENT PANEL
Page 175 of 410

22. Oil Pressure Warning LightThis light indicates low engine oil pressure. The
light should turn on momentarily when the engine
is started. If the light turns on while driving, stop the
vehicle and shut off the engine as soon as possible. A
chime will sound for four minutes when this light turns
on.
Do not operate the vehicle until the cause is corrected.
This light does not indicate how much oil is in the engine.
The engine oil level must be checked under the hood.
23. Airbag Warning Light This light turns on and remains on for seven
seconds as a bulb check when the ignition
switch is first turned ON. If the light is not on
during starting, stays on, or turns on while
driving, have the system inspected by an authorized
dealer as soon as possible. 24. High Beam Indicator
This indicator shows that the high beam head-
lights are on. Push the multifunction lever forward
to switch the headlights to high beam, and pull toward
yourself (normal position) to return to low beam.
25. Compass Mini-Trip Computer (CMTC) or Electronic
Vehicle Information Center (EVIC) Button—If Equipped
Pushing this button will switch between the different
EVIC functions.
Press the CMTC reset button to scroll through sub-menus
(i.e., Trip Functions: AVG Fuel Economy, DTE Elapsed
Time, and Units).
26. Compass Mini-Trip Computer (CMTC) or Electronic
Vehicle Information Center (EVIC) Display — If
Equipped
On vehicles equipped with Electronic Vehicle Informa-
tion Center (EVIC), when the appropriate conditions
4
UNDERSTANDING YOUR INSTRUMENT PANEL 173
Page 215 of 410

NOTE:If you experience difficulty in playing a particu-
lar disc, it may be damaged (i.e., scratched, reflective
coating removed, a hair, moisture or dew on the disc)
oversized, or have protection encoding. Try a known
good disc before considering disc player service.
RADIO OPERATION AND CELLULAR PHONES
Under certain conditions, the cellular phone being on in
your vehicle can cause erratic or noisy performance from
your radio. This condition may be lessened or eliminated
by relocating the cellular phone antenna. This condition
is not harmful to the radio. If your radio performance
does not satisfactorily “clear” by the repositioning of the
antenna, it is recommended that the radio volume be
turned down or off during cellular phone operation.
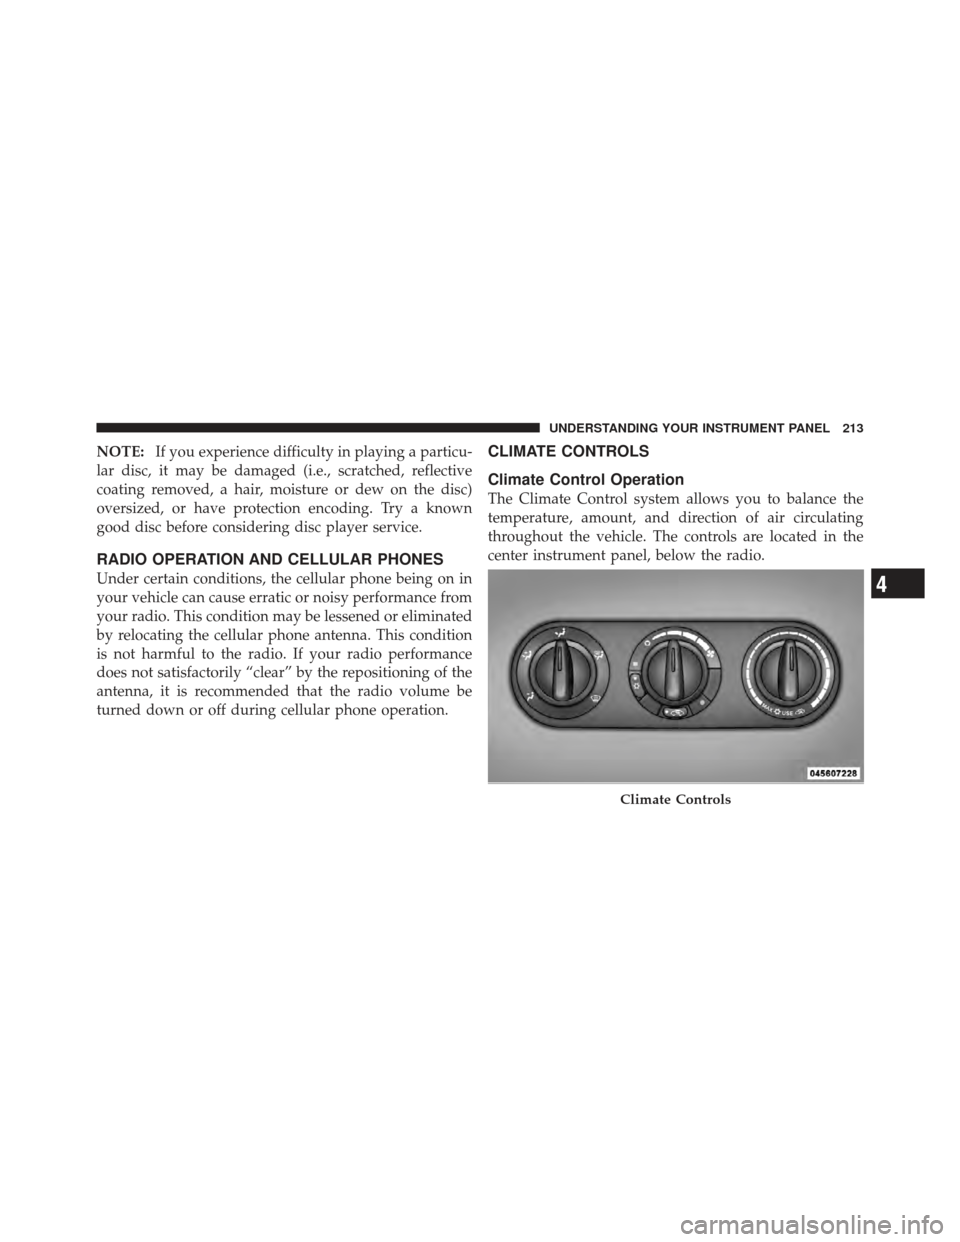
CLIMATE CONTROLS
Climate Control Operation
The Climate Control system allows you to balance the
temperature, amount, and direction of air circulating
throughout the vehicle. The controls are located in the
center instrument panel, below the radio.
Climate Controls
4
UNDERSTANDING YOUR INSTRUMENT PANEL 213
Page 216 of 410

NOTE:The air conditioning system of your vehicle
contains R-134a, a refrigerant that does not deplete the
ozone layer in the upper atmosphere.
The controls are as follows:
Fan Control
Use the Fan control to regulate the
amount of air forced through the
system in any mode you select.
The fan speed increases as you
move the control to the right from
the off position.
NOTE: For vehicles equipped with Remote Start, the
climate controls will not function during Remote Start
operation if the fan control is left in the “O” (off) position.
Mode Control (Air Direction)
The Mode control allows you to
choose from several patterns of air
distribution. You can select either
a primary mode, as identified by
the symbols, or a blend of two of
these modes. The closer the con-
trol is to a particular mode, the
more air distribution you receive
from that mode
Panel Air is directed through the outlets in the instrument
panel. These outlets can be adjusted to direct airflow.
Bi-Level Air is directed through the panel and floor outlets.
214 UNDERSTANDING YOUR INSTRUMENT PANEL