2009 CHEVROLET EXPRESS CARGO VAN lock
[x] Cancel search: lockPage 105 of 408

Starting Procedure
1. With your foot off the accelerator pedal, turn the
ignition key to START. When the engine starts,
let go of the key. The idle speed will go down as
your engine gets warm. Do not race the engine
immediately after starting it. Operate the engine and
transmission gently to allow the oil to warm up
and lubricate all moving parts.
The vehicle has a Computer-Controlled Cranking
System. This feature assists in starting the engine
and protects components. If the ignition key is turned
to the START position, and then released when the
engine begins cranking, the engine will continue
cranking for a few seconds or until the vehicle starts.
If the engine does not start and the key is held in
START for many seconds, cranking will be stopped
after 15 seconds to prevent cranking motor damage.
To prevent gear damage, this system also prevents
cranking if the engine is already running. Engine
cranking can be stopped by turning the ignition
switch to the ACC/ACCESSORY or LOCK/OFF
position.
Notice:Cranking the engine for long periods of
time, by returning the key to the START position
immediately after cranking has ended, can overheat
and damage the cranking motor, and drain the
battery. Wait at least 15 seconds between each try,
to let the cranking motor cool down.2. If the engine does not start after 5-10 seconds,
especially in very cold weather (below 0°F or−18°C),
it could be flooded with too much gasoline. Try
pushing the accelerator pedal all the way to the floor
and holding it there as you hold the key in START for
up to 15 seconds. Wait at least 15 seconds between
each try, to allow the cranking motor to cool down.
When the engine starts, let go of the key and
accelerator. If the vehicle starts briefly but then
stops again, do the same thing. This clears the extra
gasoline from the engine. Do not race the engine
immediately after starting it. Operate the engine
and transmission gently until the oil warms up and
lubricates all moving parts.
Notice:The engine is designed to work with the
electronics in the vehicle. If you add electrical parts
or accessories, you could change the way the
engine operates. Before adding electrical equipment,
check with your dealer/retailer. If you do not, the
engine might not perform properly. Any resulting
damage would not be covered by the vehicle
warranty.
2-21
Page 107 of 408
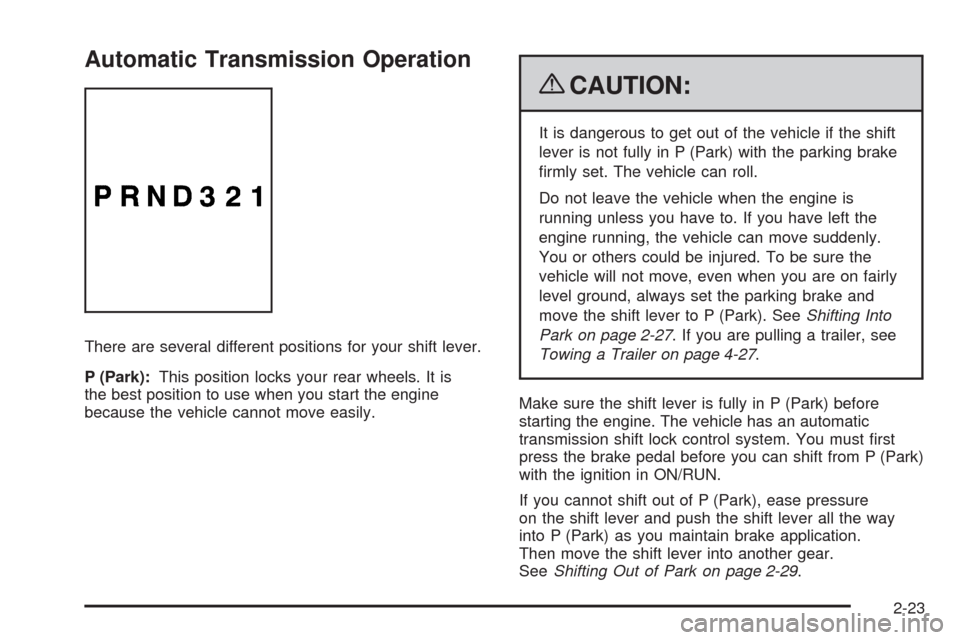
Automatic Transmission Operation
There are several different positions for your shift lever.
P (Park):This position locks your rear wheels. It is
the best position to use when you start the engine
because the vehicle cannot move easily.
{CAUTION:
It is dangerous to get out of the vehicle if the shift
lever is not fully in P (Park) with the parking brake
firmly set. The vehicle can roll.
Do not leave the vehicle when the engine is
running unless you have to. If you have left the
engine running, the vehicle can move suddenly.
You or others could be injured. To be sure the
vehicle will not move, even when you are on fairly
level ground, always set the parking brake and
move the shift lever to P (Park). SeeShifting Into
Park on page 2-27. If you are pulling a trailer, see
Towing a Trailer on page 4-27.
Make sure the shift lever is fully in P (Park) before
starting the engine. The vehicle has an automatic
transmission shift lock control system. You must first
press the brake pedal before you can shift from P (Park)
with the ignition in ON/RUN.
If you cannot shift out of P (Park), ease pressure
on the shift lever and push the shift lever all the way
into P (Park) as you maintain brake application.
Then move the shift lever into another gear.
SeeShifting Out of Park on page 2-29.
2-23
Page 111 of 408
To release the parking brake, hold the regular brake
pedal down. Pull the handle, located just above
the parking brake pedal, with the parking brake symbol,
to release the parking brake.
If the ignition is on when the parking brake is released,
the brake system warning light will go off.
Notice:Driving with the parking brake on can
overheat the brake system and cause premature
wear or damage to brake system parts. Verify that
the parking brake is fully released and the brake
warning light is off before driving.
If you are towing a trailer and are parking on a hill, see
Towing a Trailer on page 4-27.Shifting Into Park
{CAUTION:
It can be dangerous to get out of the vehicle if the
shift lever is not fully in P (Park) with the parking
brake firmly set. The vehicle can roll. If you have
left the engine running, the vehicle can move
suddenly. You or others could be injured. To be
sure the vehicle will not move, even when you are
on fairly level ground, use the steps that follow.
If you are pulling a trailer, seeTowing a Trailer
on page 4-27.
1. Hold the brake pedal down and set the parking
brake. SeeParking Brake on page 2-26
2. Move the shift lever into P (Park) by pulling the shift
lever toward you and moving it up as far as it will go.
3. Turn the ignition key to LOCK/OFF.
4. Remove the key and take it with you. If you can
leave the vehicle with the ignition key in your
hand, the vehicle is in P (Park).
2-27
Page 112 of 408
Leaving the Vehicle With the Engine
Running
{CAUTION:
It can be dangerous to leave the vehicle with the
engine running. The vehicle could move suddenly
if the shift lever is not fully in P (Park) with the
parking brake firmly set. And, if you leave the
vehicle with the engine running, it could overheat
and even catch fire. You or others could be
injured. Do not leave the vehicle with the engine
running.
If you have to leave the vehicle with the engine running,
be sure the vehicle is in P (Park) and the parking brake is
firmly set before you leave it. After you move the shift
lever into P (Park), hold the regular brake pedal down.
Then, see if you can move the shift lever away from
P (Park) without first pulling it toward you. If you can, it
means that the shift lever was not fully locked into
P (Park).
Torque Lock
If you are parking on a hill and you do not shift the vehicle
into P (Park) properly, the weight of the vehicle may put
too much force on the parking pawl in the transmission.
You may find it difficult to pull the shift lever out of
P (Park). This is called torque lock. To prevent torque
lock, set the parking brake and then shift into P (Park)
properly before you leave the driver seat. To find out how,
seeShifting Into Park on page 2-27.
When you are ready to drive, move the shift lever out of
P (Park) before you release the parking brake.
If torque lock does occur, you may need to have another
vehicle push yours a little uphill to take some of the
pressure from the parking pawl in the transmission, so
you can pull the shift lever out of P (Park).
2-28
Page 113 of 408
Shifting Out of Park
The vehicle has an automatic transmission shift lock
control system. You have to fully apply the brakes before
you can shift from P (Park) when the ignition is in
ON/RUN. SeeAutomatic Transmission Operation on
page 2-23.
The shift lock control system is designed to do the
following:
•Prevent the ignition key from being removed unless
the shift lever is in P (Park).
•Prevent movement of the shift lever out of P (Park),
unless the ignition is in ON/RUN and the regular
brake pedal is applied.
The shift lock control system is always functional except
in the case of a dead battery or low voltage (less
than 9 V) battery.
If the vehicle has an uncharged battery or a battery with
low voltage, try charging or jump starting the battery.
SeeJump Starting on page 5-40for more information.To shift out of P (Park) use the following:
1. Apply the brake pedal.
2. Move the shift lever to the desired position.
If you still are unable to shift out of P (Park):
1. Ease the pressure on the shift lever.
2. While holding down the brake pedal, push the shift
lever all the way into P (Park)
3. Move the shift lever to the desired position.
If you are still having a problem shifting, then have the
vehicle serviced.
Parking Over Things That Burn
{CAUTION:
Things that can burn could touch hot exhaust
parts under the vehicle and ignite. Do not park
over papers, leaves, dry grass, or other things that
can burn.
2-29
Page 117 of 408
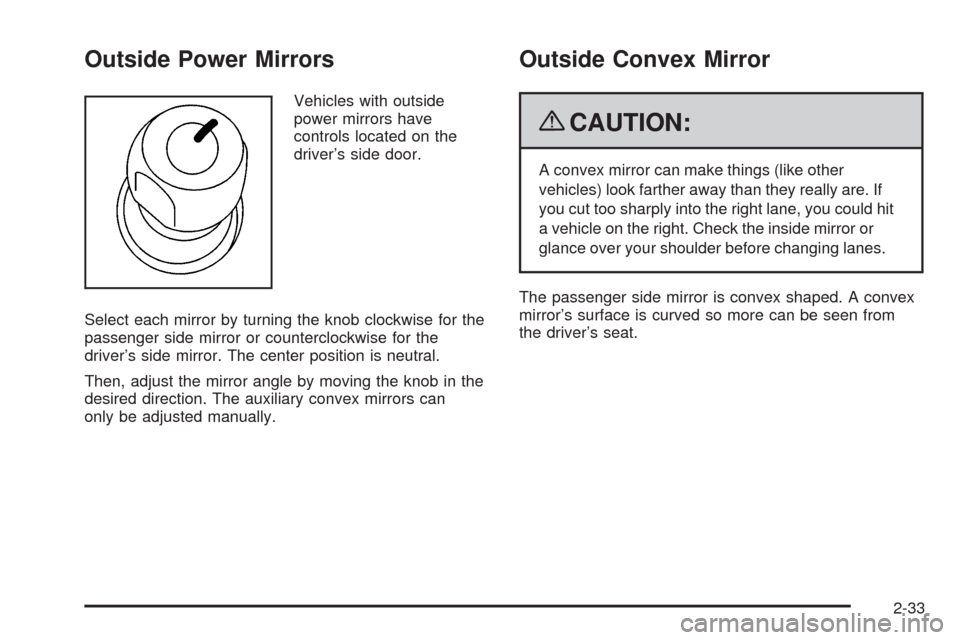
Outside Power Mirrors
Vehicles with outside
power mirrors have
controls located on the
driver’s side door.
Select each mirror by turning the knob clockwise for the
passenger side mirror or counterclockwise for the
driver’s side mirror. The center position is neutral.
Then, adjust the mirror angle by moving the knob in the
desired direction. The auxiliary convex mirrors can
only be adjusted manually.
Outside Convex Mirror
{CAUTION:
A convex mirror can make things (like other
vehicles) look farther away than they really are. If
you cut too sharply into the right lane, you could hit
a vehicle on the right. Check the inside mirror or
glance over your shoulder before changing lanes.
The passenger side mirror is convex shaped. A convex
mirror’s surface is curved so more can be seen from
the driver’s seat.
2-33
Page 119 of 408

Instrument Panel Overview...............................3-4
Hazard Warning Flashers................................3-6
Horn .............................................................3-6
Tilt Wheel.....................................................3-6
Turn Signal/Multifunction Lever.........................3-7
Turn and Lane-Change Signals........................3-7
Headlamp High/Low-Beam Changer..................3-8
Flash-to-Pass.................................................3-8
Windshield Wipers..........................................3-8
Windshield Washer.........................................3-9
Cruise Control................................................3-9
Exterior Lamps.............................................3-12
Headlamps on Reminder................................3-14
Daytime Running Lamps (DRL).......................3-14
Automatic Headlamp System..........................3-15
Instrument Panel Brightness...........................3-15
Dome Lamps ...............................................3-16
Dome Lamp Override....................................3-16
Entry/Exit Lighting.........................................3-16
Reading Lamps............................................3-16
Electric Power Management...........................3-17
Battery Run-Down Protection..........................3-17
Accessory Power Outlet(s).............................3-18
Ashtray(s) and Cigarette Lighter......................3-18Climate Controls............................................3-19
Climate Control System.................................3-19
Outlet Adjustment.........................................3-21
Rear Heating System....................................3-21
Rear Air Conditioning and Heating System.......3-22
Warning Lights, Gages, and Indicators............3-23
Instrument Panel Cluster................................3-24
Speedometer and Odometer...........................3-25
Trip Odometer..............................................3-25
Safety Belt Reminders...................................3-26
Airbag Readiness Light
..................................3-27
Airbag Off Light............................................3-28
Passenger Airbag Status Indicator...................3-29
Charging System Light..................................3-30
Voltmeter Gage............................................3-31
Brake System Warning Light..........................3-31
Antilock Brake System (ABS) Warning Light.....3-32
StabiliTrak
®Indicator Light.............................3-33
Engine Coolant Temperature Gage..................3-33
Tire Pressure Light.......................................3-34
Malfunction Indicator Lamp.............................3-34
Oil Pressure Gage........................................3-37
Oil Pressure Light.........................................3-38
Security Light...............................................3-39
Section 3 Instrument Panel
3-1
Page 120 of 408

Cruise Control Light......................................3-39
Highbeam On Light.......................................3-39
Tow/Haul Mode Light....................................3-40
Fuel Gage...................................................3-40
Driver Information Center (DIC).......................3-41
DIC Operation and Displays...........................3-41
DIC Compass..............................................3-46
DIC Warnings and Messages.........................3-48
DIC Vehicle Customization.............................3-57Audio System(s).............................................3-63
Setting the Clock..........................................3-64
Radio(s)......................................................3-67
Using an MP3..............................................3-77
Theft-Deterrent Feature..................................3-82
Audio Steering Wheel Controls.......................3-83
Radio Reception...........................................3-84
Fixed Mast Antenna......................................3-84
Section 3 Instrument Panel
3-2