2009 CHEVROLET CORVETTE odometer
[x] Cancel search: odometerPage 137 of 434
Instrument Panel Overview...............................3-4
Hazard Warning Flashers................................3-6
Horn .............................................................3-6
Tilt Wheel.....................................................3-6
Turn Signal/Multifunction Lever.........................3-7
Turn and Lane-Change Signals (Auto Signal).....3-8
Headlamp High/Low-Beam Changer..................3-8
Flash-to-Pass.................................................3-9
Windshield Wipers..........................................3-9
Windshield Washer.......................................3-10
Cruise Control..............................................3-10
Exterior Lamps.............................................3-14
Wiper Activated Headlamps............................3-14
Headlamps on Reminder................................3-15
Daytime Running Lamps (DRL).......................3-15
Fog Lamps ..................................................3-16
Twilight Sentinel
®..........................................3-16
Exterior Lighting Battery Saver........................3-17
Instrument Panel Brightness...........................3-18
Courtesy Lamps...........................................3-18
Entry/Exit Lighting.........................................3-18
Reading Lamps............................................3-18
Battery Run-Down Protection..........................3-18
Head-Up Display (HUD).................................3-19
Accessory Power Outlet(s).............................3-23
Ashtray(s) and Cigarette Lighter......................3-24Climate Controls............................................3-24
Dual Automatic Climate Control System...........3-24
Outlet Adjustment.........................................3-29
Passenger Compartment Air Filter...................3-30
Warning Lights, Gages, and Indicators............3-31
Instrument Panel Cluster................................3-32
Speedometer and Odometer...........................3-34
Tachometer.................................................3-34
Safety Belt Reminders...................................3-34
Airbag Readiness Light..................................3-35
Passenger Airbag Status Indicator...................3-36
Voltmeter Gage............................................3-37
One-to-Four Shift Light (Manual Transmission) . . .3-38
Brake System Warning Light..........................3-38
Antilock Brake System (ABS) Warning Light.....3-39
Traction Control System (TCS) Warning Light. . . .3-40
Active Handling System Light.........................3-40
Engine Coolant Temperature Gage..................3-41
Tire Pressure Light.......................................3-42
Malfunction Indicator Lamp.............................3-42
Engine Oil Pressure Gage.............................3-46
Security Light...............................................3-47
Fog Lamp Light............................................3-47
Lights On Reminder......................................3-47
Highbeam On Light.......................................3-47
Fuel Gage
...................................................3-48
Boost Gage (ZR1 Only).................................3-49
Section 3 Instrument Panel
3-1
Page 170 of 434
Speedometer and Odometer
The speedometer shows the speed in either miles per
hour (mph) or kilometers per hour (km/h). For more
information see “Personal Options” underDIC Vehicle
Personalization on page 3-71.
To read the odometer with the ignition off, turn on the
parking lamps.
If the vehicle needs a new odometer installed, the
mileage total of the new odometer will be set to the
original miles (kilometers) of the old odometer. See your
dealer/retailer if the odometer must be replaced in the
vehicle.
Tachometer
The tachometer displays the engine speed in thousands
of revolutions per minute (rpm).
Notice:Fuel shuts off at about 6500 rpm for the
base model, 7000 rpm for the Z06 model, and
6600 rpm for the ZR1 model. If the vehicle continues
to be driven at the fuel shut off rpm, the engine
could be damaged. Be sure to operate the vehicle
below the fuel shut off rpm or reduce the vehicle’s
rpm quickly when the fuel shuts off.
Safety Belt Reminders
Safety Belt Reminder Light
When the engine is started, a chime comes on for
several seconds to remind people to fasten their safety
belts, unless the driver safety belt is already buckled.
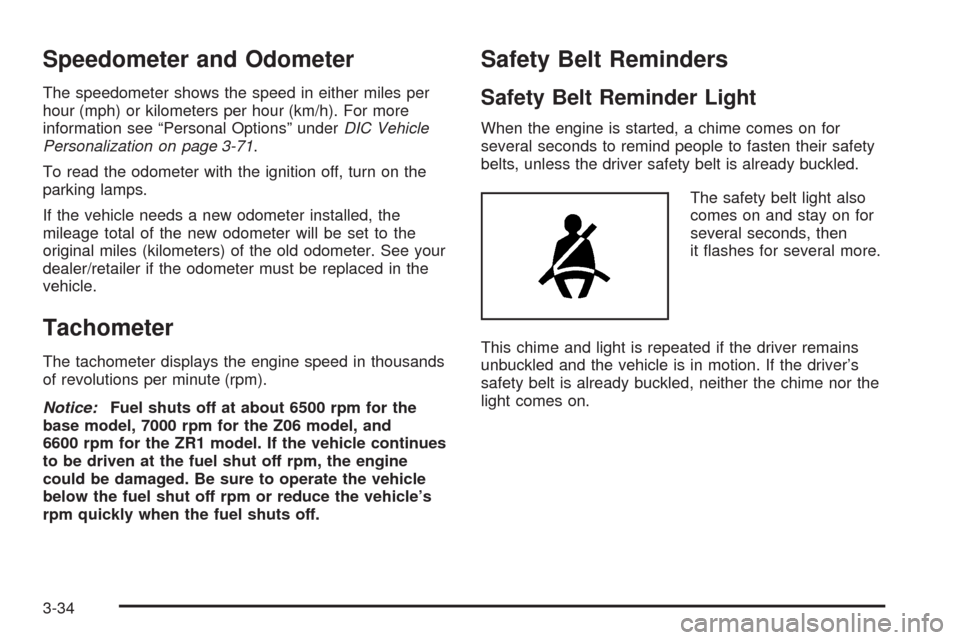
The safety belt light also
comes on and stay on for
several seconds, then
it �ashes for several more.
This chime and light is repeated if the driver remains
unbuckled and the vehicle is in motion. If the driver’s
safety belt is already buckled, neither the chime nor the
light comes on.
3-34
Page 189 of 434
TRIP Button
The TRIP button displays the odometer, trip distance,
elapsed time, average speed, and oil life remaining
information.
Odometer:The odometer shows how far your
vehicle has been driven in either miles or kilometers.
Press the TRIP button to display odometer readings,
such as:
ODOMETER 12345 MI or
ODOMETER 20008 km
You can also display the odometer by turning on the
parking lamps.
Trip Odometers:There are two trip odometers.
Press the TRIP button to display TRIP ODOMETER A
readings and press the button again to display TRIP
ODOMETER B readings, such as:
TRIP ODOMETER A 130.5 MI or
TRIP ODOMETER A 209.9 km
TRIP ODOMETER B 300.5 MI or
TRIP ODOMETER B 483.5 km
Both of the trip odometers can be used simultaneously.
The trip odometers can be reset by pressing the
RESET button on the DIC.There is also a miles since last ignition feature that
displays the number of miles (kilometers) driven since
you last started the vehicle. Press and hold the
RESET button for three seconds, then release it.
The miles (kilometers) since the last ignition cycle will
be set into the trip odometer.
Elapsed Timer:Press the TRIP button until ELAPSED
TIMER is displayed, such as ELAPSED TIMER .00.
When the ignition is in on, the DIC can be used
as a stopwatch. The display can show hours, minutes
and seconds. The elapsed time indicator will record
up to 23 hours, 59 minutes and 59 seconds, then it will
reset to zero and continue counting. The display
appears as ELAPSED TIMER .00 in the elapsed time
function.
You can start or stop the elapsed time by pressing the
RESET button. To reset the elapsed time to zero,
press the RESET button for three seconds while the
timer is displayed.
Pressing and holding the RESET button for at least
10 seconds will reset the timer display to the time since
last ignition cycle.
3-53
Page 355 of 434
{CAUTION:
Putting a used wheel on the vehicle is dangerous.
You cannot know how it has been used or how
far it has been driven. It could fail suddenly and
cause a crash. If you have to replace a wheel,
use a new GM original equipment wheel.
Notice:The wrong wheel can also cause problems
with bearing life, brake cooling, speedometer or
odometer calibration, headlamp aim, bumper height,
vehicle ground clearance, and tire clearance to
the body and chassis.
{CAUTION:
Rust or dirt on a wheel, or on the parts to
which it is fastened, can make wheel nuts
become loose after a time. The wheel could
come off and cause a crash. When you
change a wheel, remove any rust or dirt from
places where the wheel attaches to the
vehicle. In an emergency, you can use a cloth
or a paper towel to do this; but be sure to use a
scraper or wire brush later, if you need to, to
get all the rust or dirt off.
5-83
Page 400 of 434
Maintenance Record
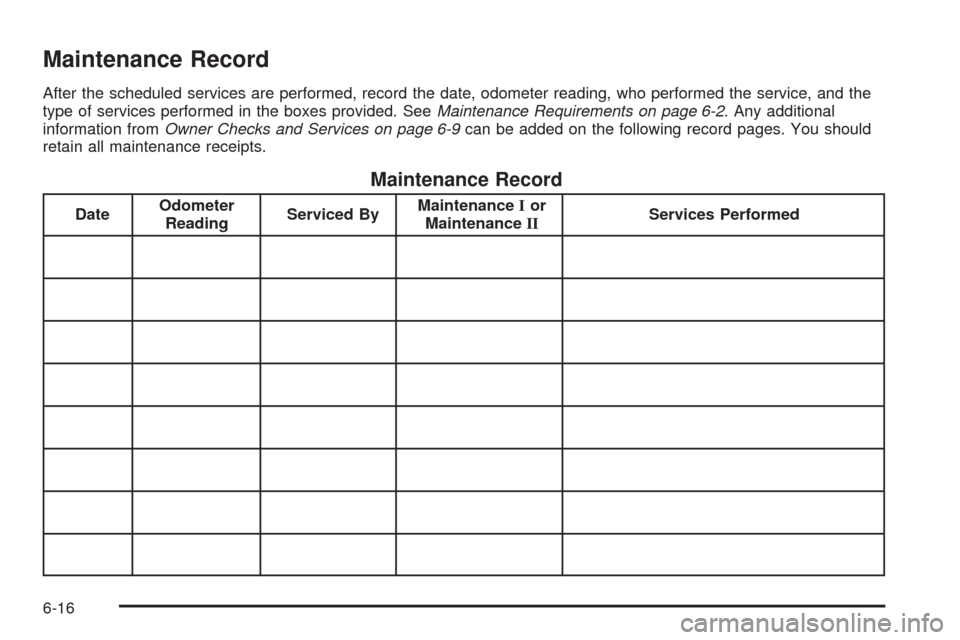
After the scheduled services are performed, record the date, odometer reading, who performed the service, and the
type of services performed in the boxes provided. SeeMaintenance Requirements on page 6-2. Any additional
information fromOwner Checks and Services on page 6-9can be added on the following record pages. You should
retain all maintenance receipts.
Maintenance Record
DateOdometer
ReadingServiced ByMaintenanceIor
MaintenanceIIServices Performed
6-16
Page 401 of 434
Maintenance Record (cont’d)
DateOdometer
ReadingServiced ByMaintenanceIor
MaintenanceIIServices Performed
6-17
Page 402 of 434
Maintenance Record (cont’d)
DateOdometer
ReadingServiced ByMaintenanceIor
MaintenanceIIServices Performed
6-18
Page 410 of 434
Calling for Assistance
When calling Roadside Assistance, have the following
information ready:
Your name, home address, and home telephone
number
Telephone number of your location
Location of the vehicle
Model, year, color, and license plate number of the
vehicle
Odometer reading, Vehicle Identi�cation Number
(VIN), and delivery date of the vehicle
Description of the problem
Coverage
Services are provided up to 5 years/100,000 miles
(160 000 km), whichever comes �rst.
In the U.S., anyone driving the vehicle is covered.
In Canada, a person driving the vehicle without
permission from the owner is not covered.
Roadside Assistance is not a part of the New Vehicle
Limited Warranty. Chevrolet and General Motors of
Canada Limited reserve the right to make any changes
or discontinue the Roadside Assistance program at
any time without noti�cation.Chevrolet and General Motors of Canada Limited
reserve the right to limit services or payment to an owner
or driver if they decide the claims are made too often,
or the same type of claim is made many times.
Services Provided
Emergency Fuel Delivery:Delivery of enough fuel
for the vehicle to get to the nearest service station.
Lock-Out Service:Service is provided to unlock the
vehicle if you are locked out. A remote unlock may
be available if you have OnStar
®. For security
reasons, the driver must present identi�cation
before this service is given.
Emergency Tow From a Public Road or Highway:
Tow to the nearest Chevrolet dealer for warranty
service, or if the vehicle was in a crash and cannot
be driven. Assistance is also given when the vehicle
is stuck in the sand, mud, or snow.
Flat Tire Change:Service is provided to change a
�at tire with the spare tire. The spare tire, if equipped,
must be in good condition and properly in�ated.
It is the owner’s responsibility for the repair or
replacement of the tire if it is not covered by the
warranty.
7-8